![]()

In this last section of the game, Niko is forced to make a decision which will have major impacts on the final outcome of the story. There are two possible outcomes, so it is recommended that you save your progress before making the decision, and that way you can go back later and try the alternative outcome.
Mission Guide: Chapter One |
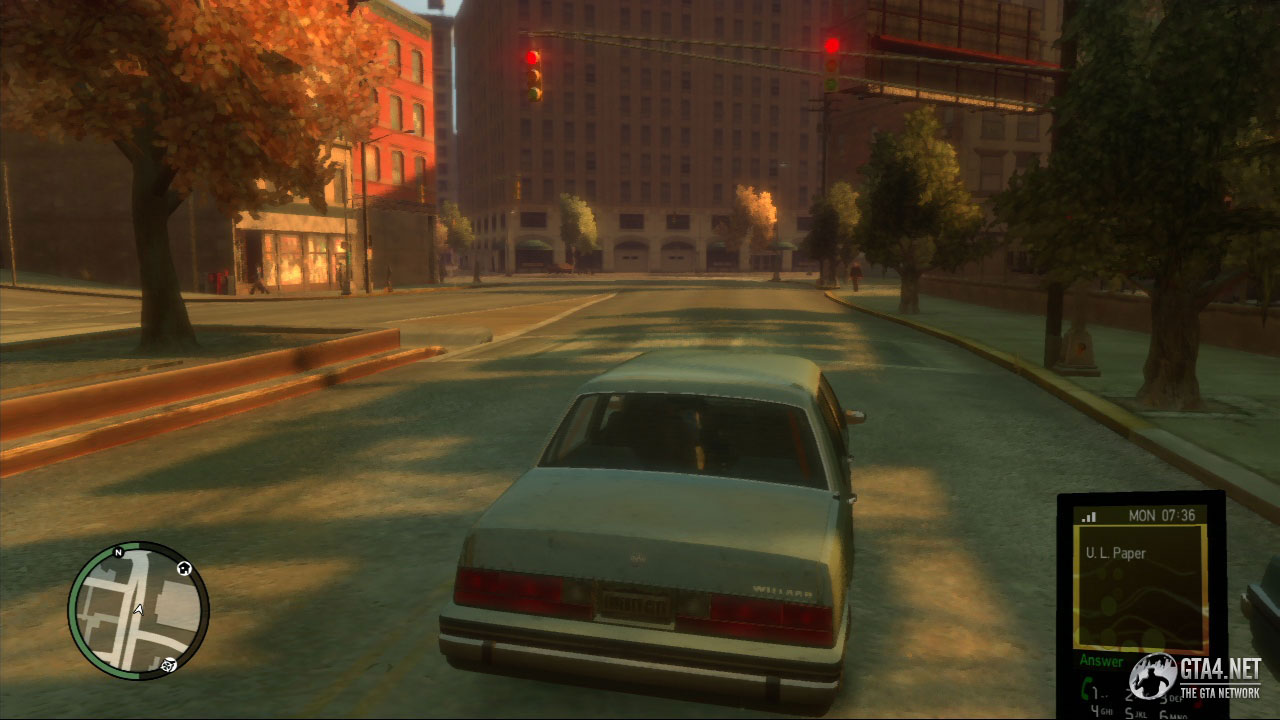
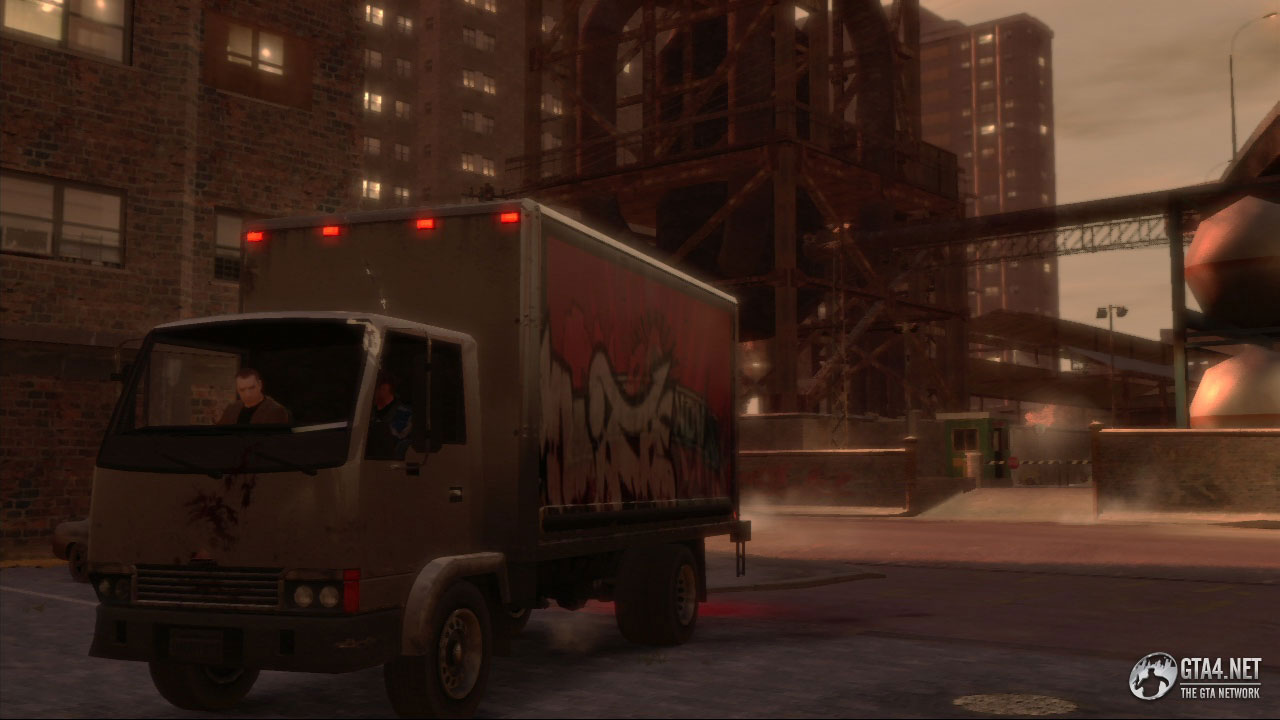
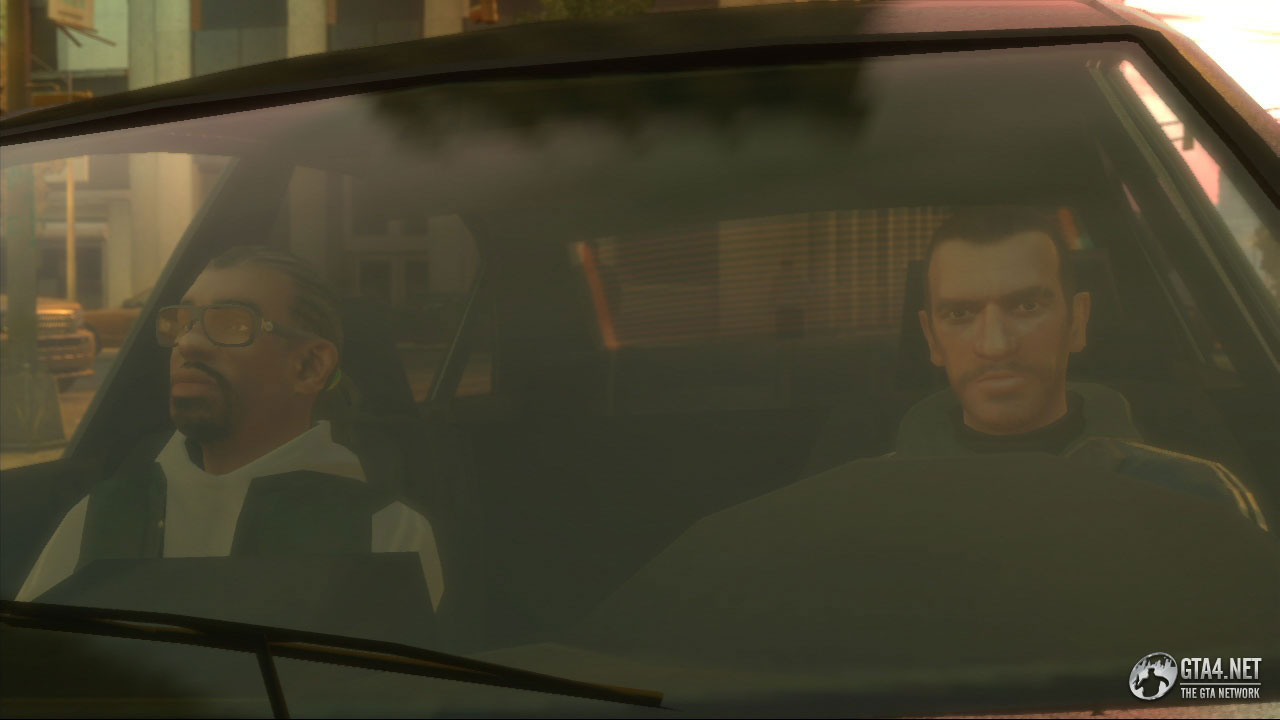
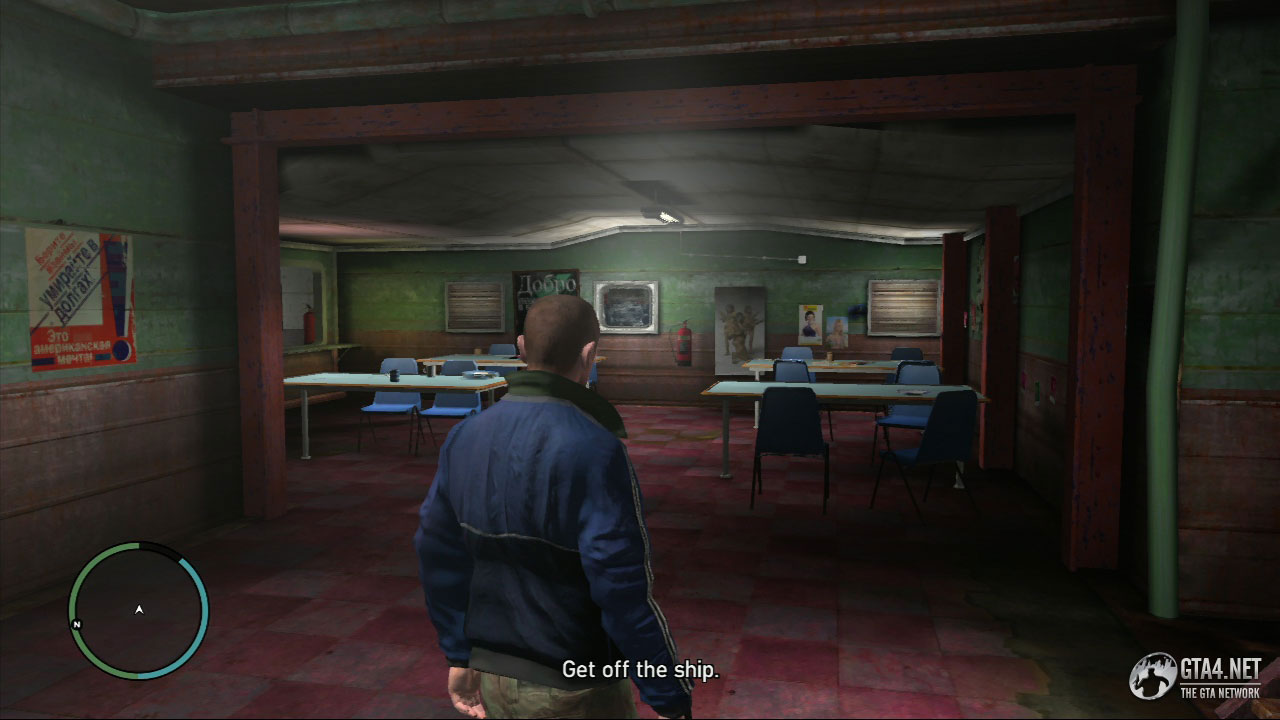
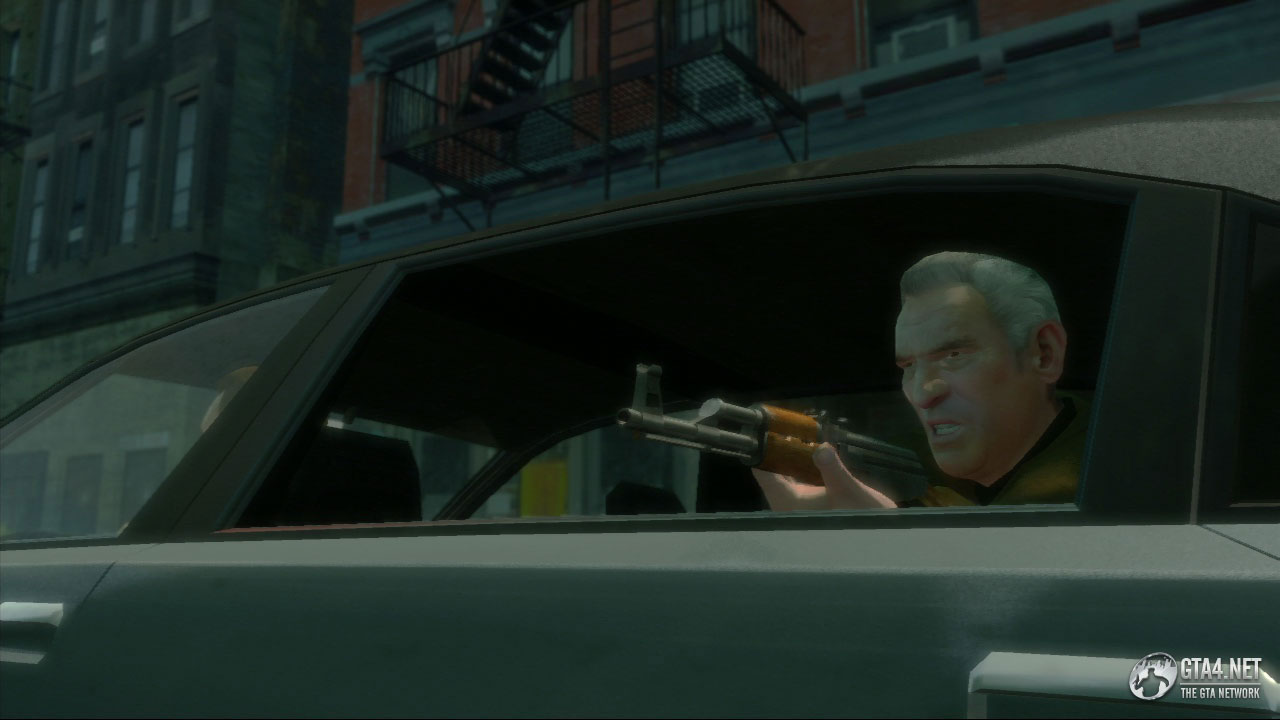
![]() After completing "Weekend at Florian's", "Pest Control" and "Liquidize the Assets", Niko is contacted by U.L. Paper to say that Darko Brevic has been brought into the country. He is being dropped off in the cargo area at the airport.
After completing "Weekend at Florian's", "Pest Control" and "Liquidize the Assets", Niko is contacted by U.L. Paper to say that Darko Brevic has been brought into the country. He is being dropped off in the cargo area at the airport.
Niko calls Roman to tell him the news about Darko. Roman insists on going with you, so pick him up at Firefly Island before heading to the airport. You don't need to worry about health/armour/ammo in this mission, as there are no shootouts involved.

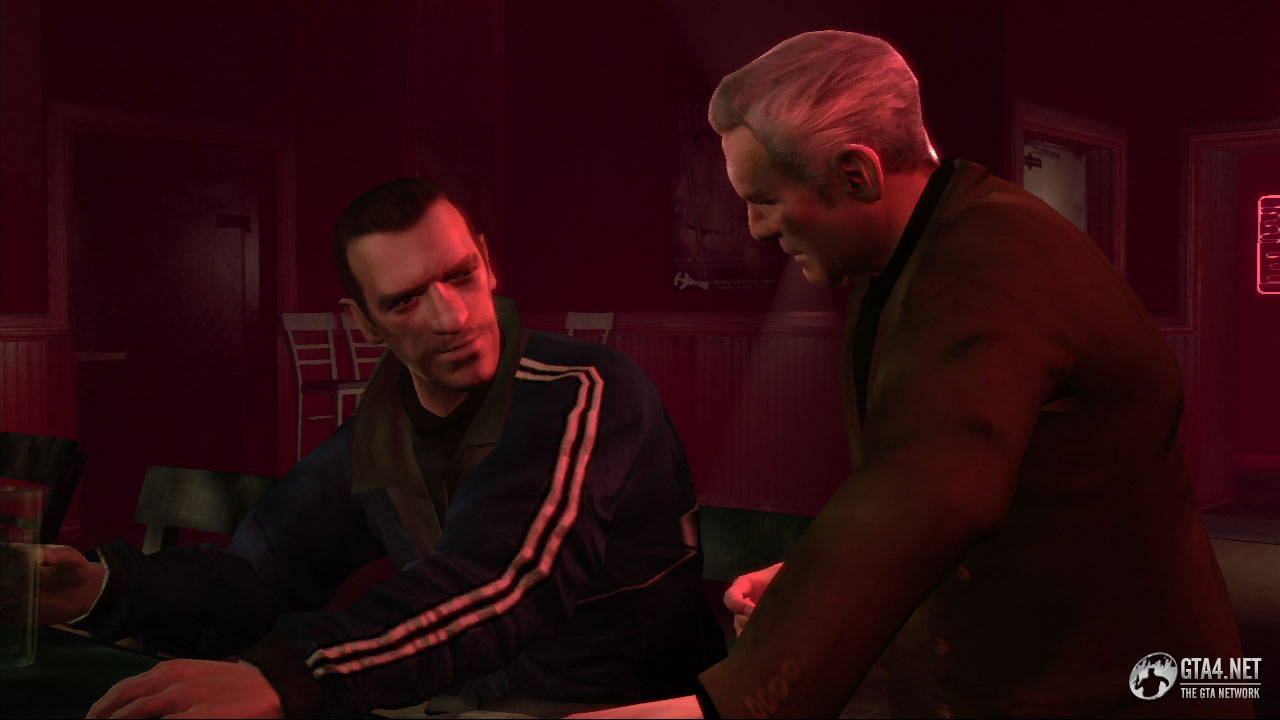
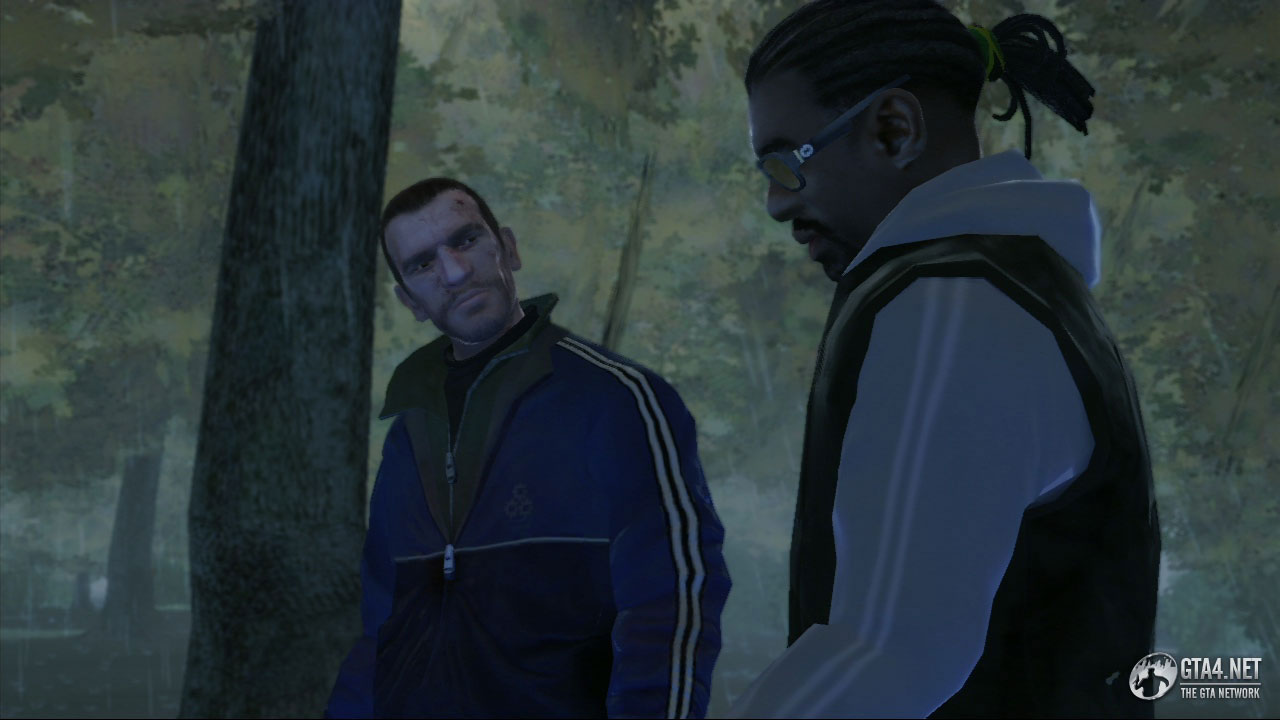
After collecting Roman, drive to the cargo area at Francis International Airport and stop in the yellow marker. A van arrives, from which Darko Brevic emerges, with his hands tied behind his back. Darko looks as if he's been living a rough life - the guilt of betraying his friends many years ago has clearly destroyed him. Niko confronts him, and demands an explanation for the betrayal. "We were friends, but I had other friends. Friends that Goran and his guys killed," explains Darko.
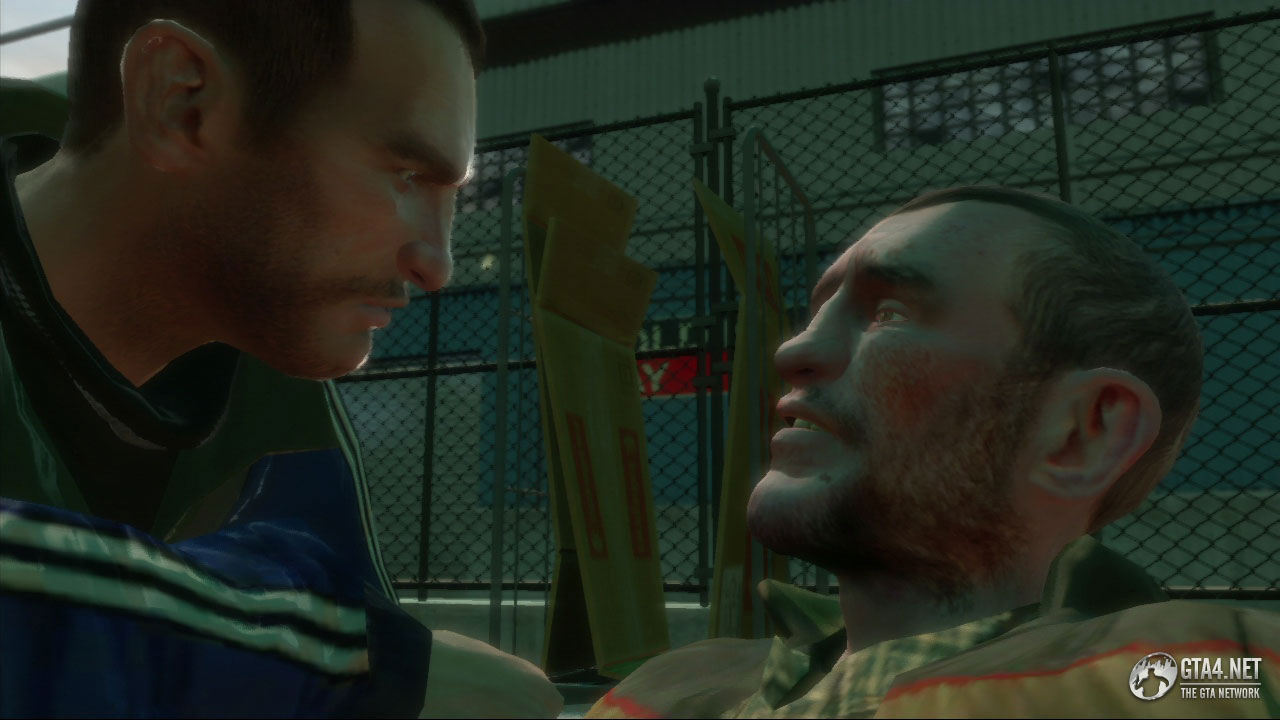
Darko invites Niko to kill him, because in his opinion it would be "doing him a favour." Roman advises him not to - he believes Darko should be left to suffer instead.
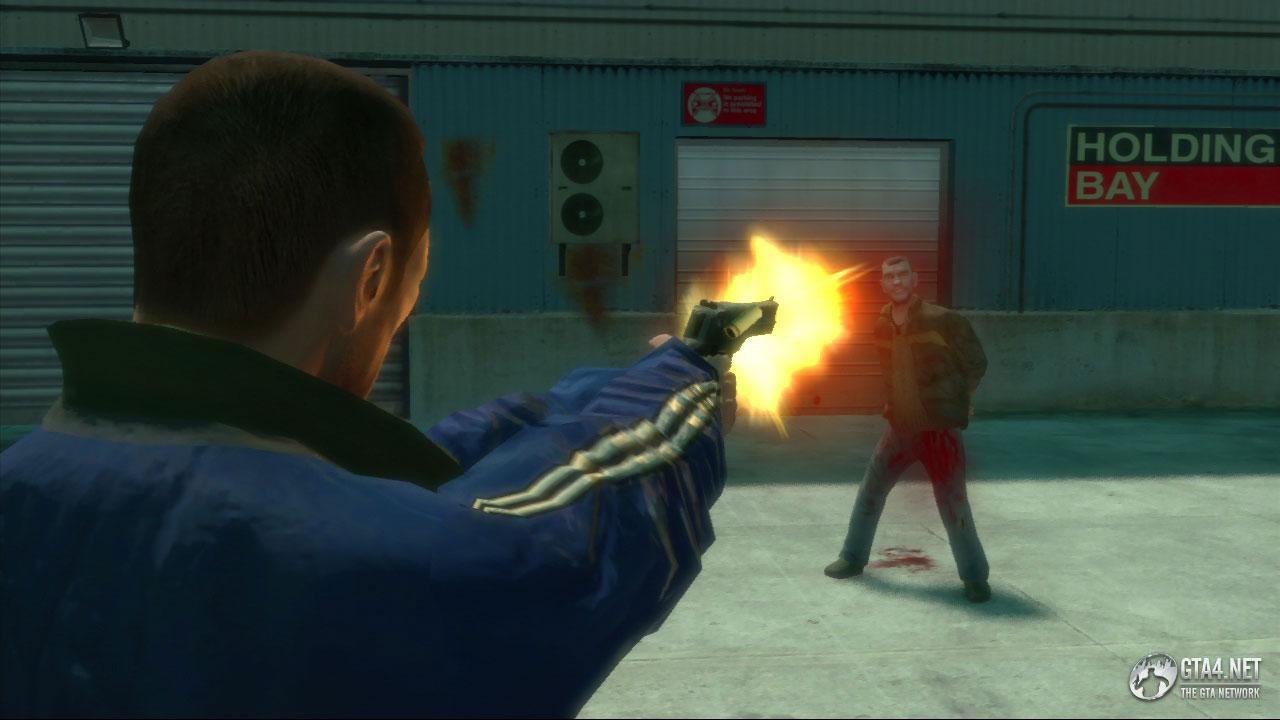

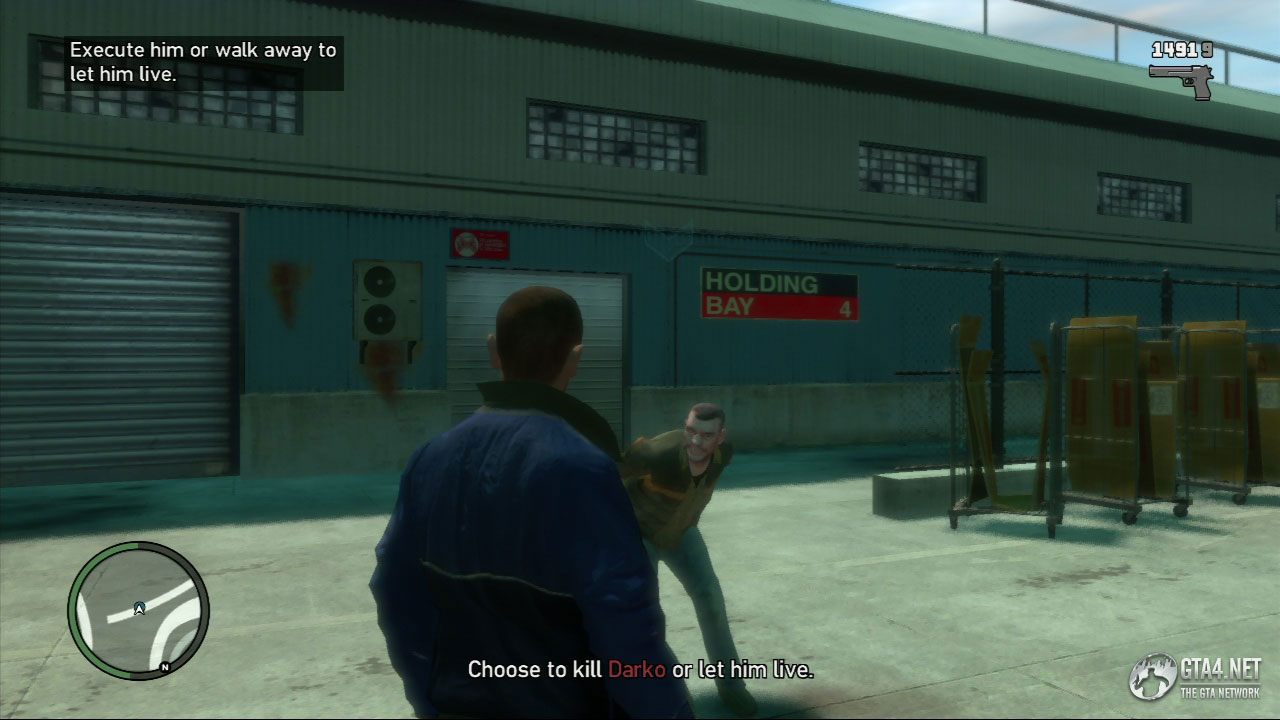
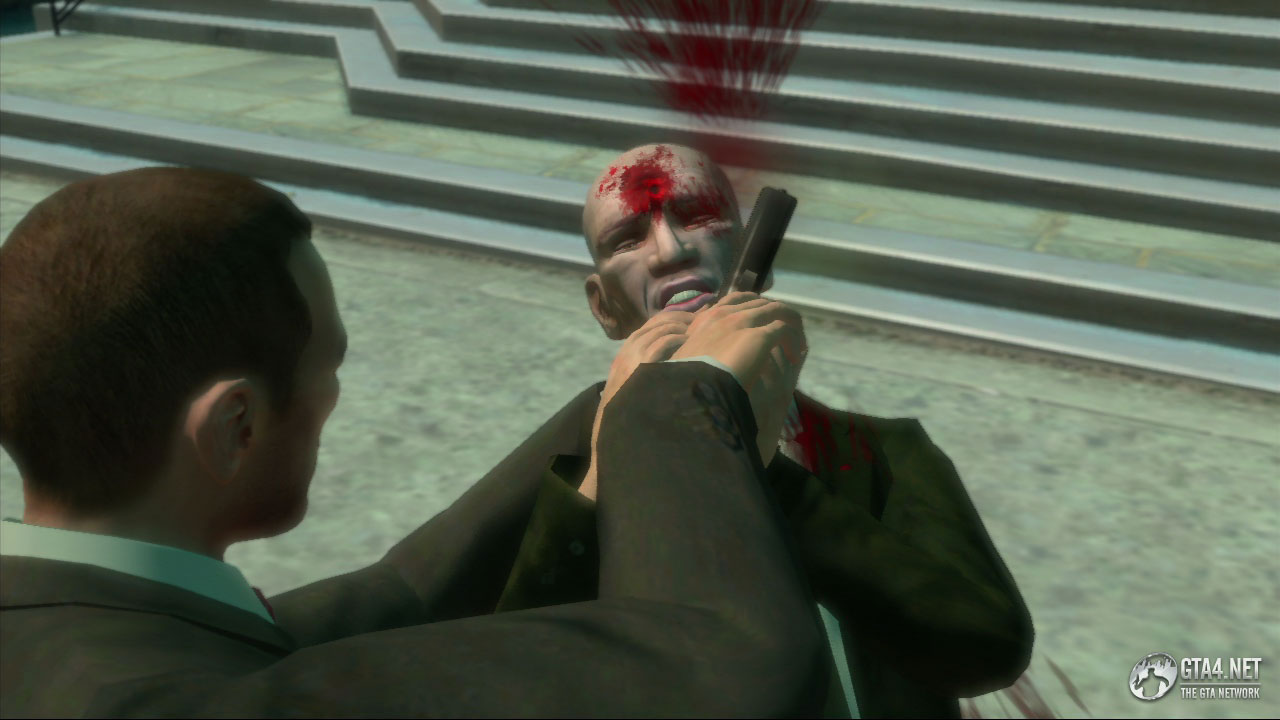
After the cutscene, you have a choice to make. You can either execute Darko (using the pistol) or decide to let him live. Your decision will have no major impacts on the storyline, all it affects are a few lines of dialogue after the mission. Make your decision, and then take Roman back to Brucie's place in Broker. Afterwards, Niko calls Bernie to inform him of the situation.
![]() Pegorino calls to say "the shit has gone down." He needs to see you at the club in Tudor.
Pegorino calls to say "the shit has gone down." He needs to see you at the club in Tudor.
Meet Jimmy at the Honkers club in Tudor - he has another favour to ask. The Pegorinos are in all kinds of trouble, and Jimmy needs you to do a deal with some Russians as a last attempt to save the family business. Jimmy has found a buyer for the heroin that Phil made you steal in the mission "Truck Hustle," but Jimmy needs you to work Dimitri in order to sell it. Niko refuses to work with Dimitri after he betrayed him, but Jimmy says he should put their differences behind him and focus on the cash.

After reluctantly agreeing to do the deal for Jimmy, Niko calls Roman and then Kate for some advice. Roman says you should do the deal and forget about your differences with Dimitri, whereas Kate believes you shouldn't compromise what you believe in for money.
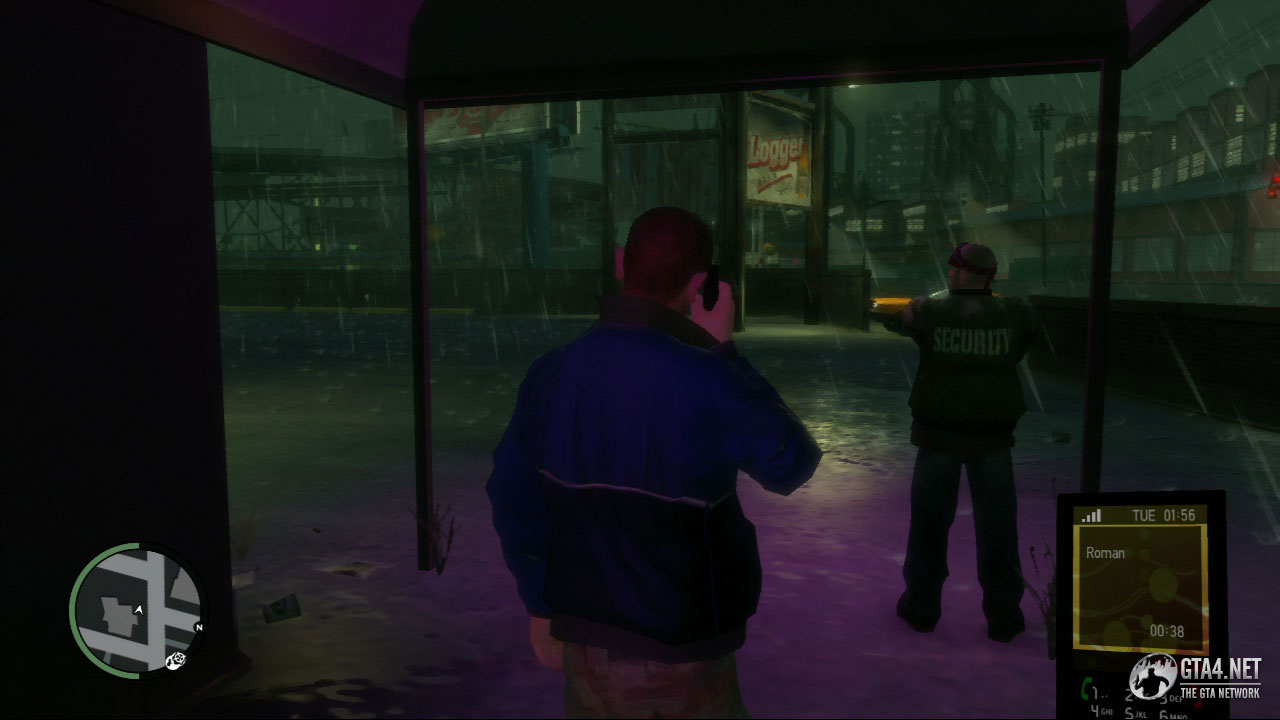
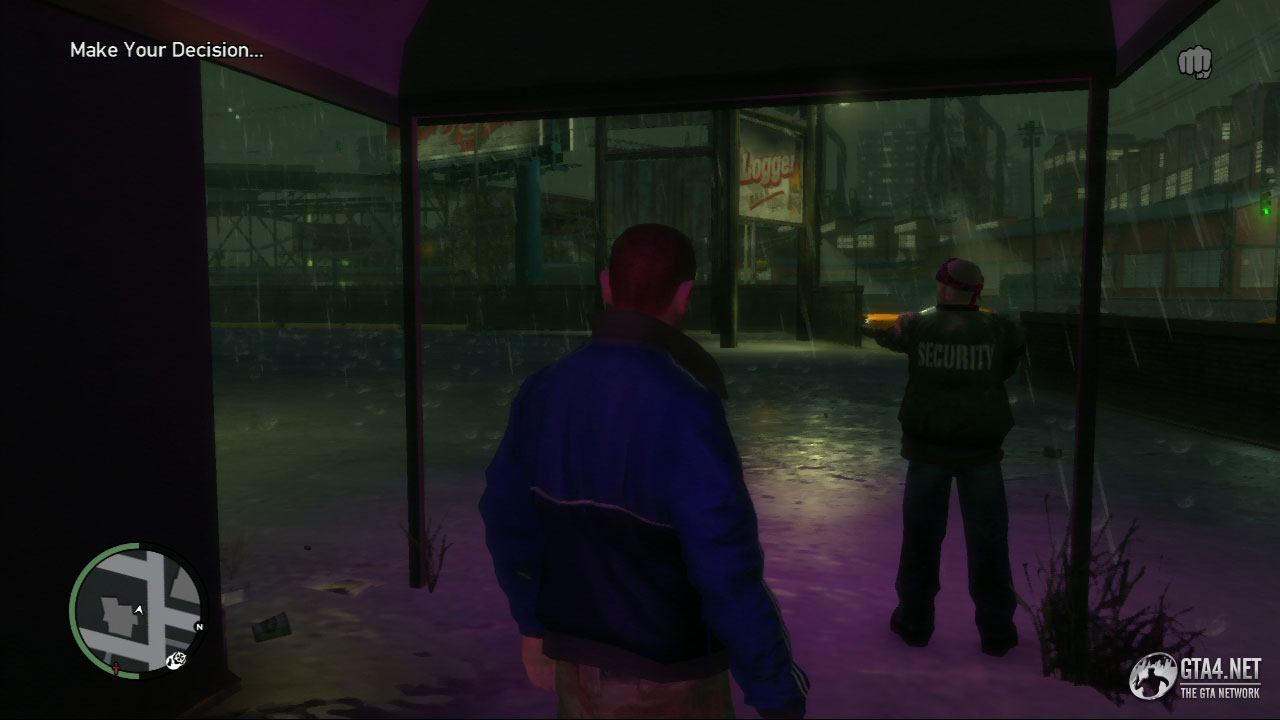
Two icons are placed on the radar - a red dagger representing 'revenge' and a green dollar sign representing 'deal'. You now have to decide what you're going to do, based on the advice given to you by Kate and Roman. So will it be deal or revenge? Your decision will have major impacts on the final outcome of the story, and if you wish to know what these impacts are, read ahead and find out.
Follow the "$" icon on the radar to meet up with Phil, and take him to the warehouse in Port Tudor. During the trip, Phil explains what is going to happen at the deal. Be sure to have plenty of health, armour and ammo before starting the mission.
Phil explains that Dimitri will hand over the heroin to the buyers (at a separate location) while you and Phil go in and collect the money. Dimitri will call once it's done, and the buyers will hand over the cash once they receive word that the H has been collected.

When you reach the warehouse in Port Tudor, Dimitri calls to give you an update. Instead of giving the buyers the heroin, Dimitri decided to kill them and keep it instead. "If I was you, I'd go and get the money off them. It has to be on the site. That way we all win," he claims. Phil says the buyers won't let you leave without a fight, so you may aswell go in and take the cash.
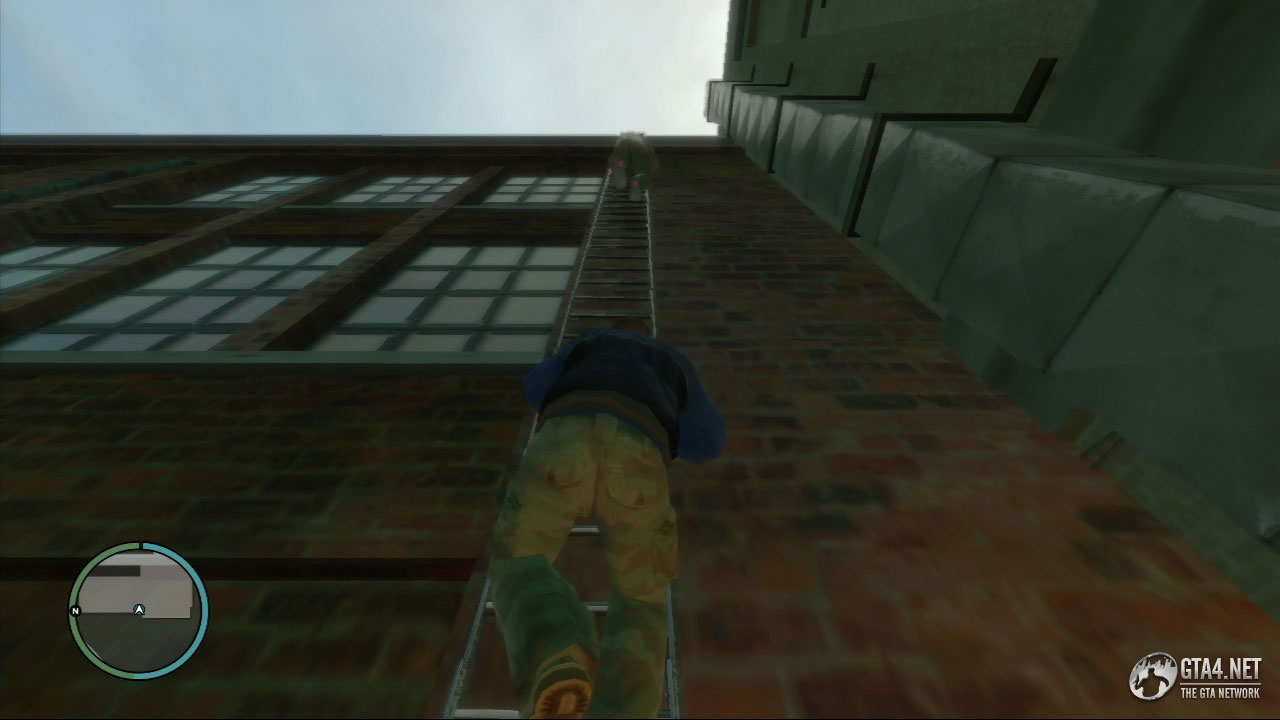
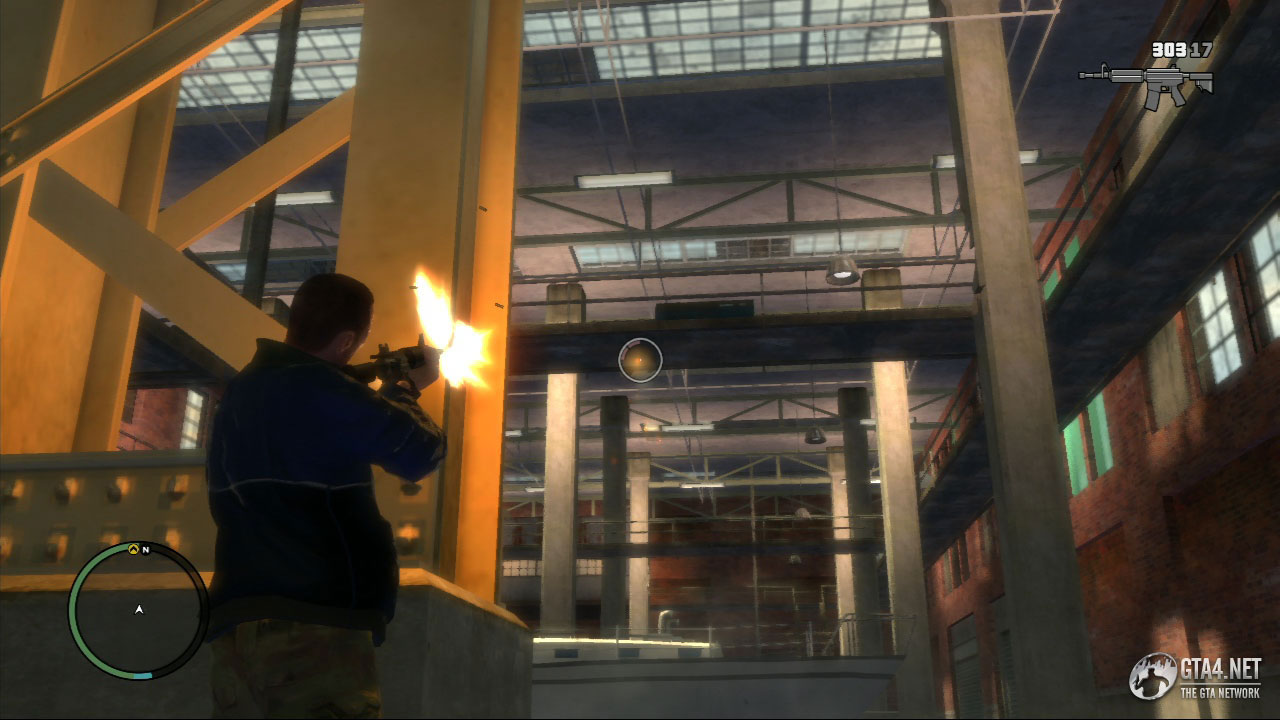
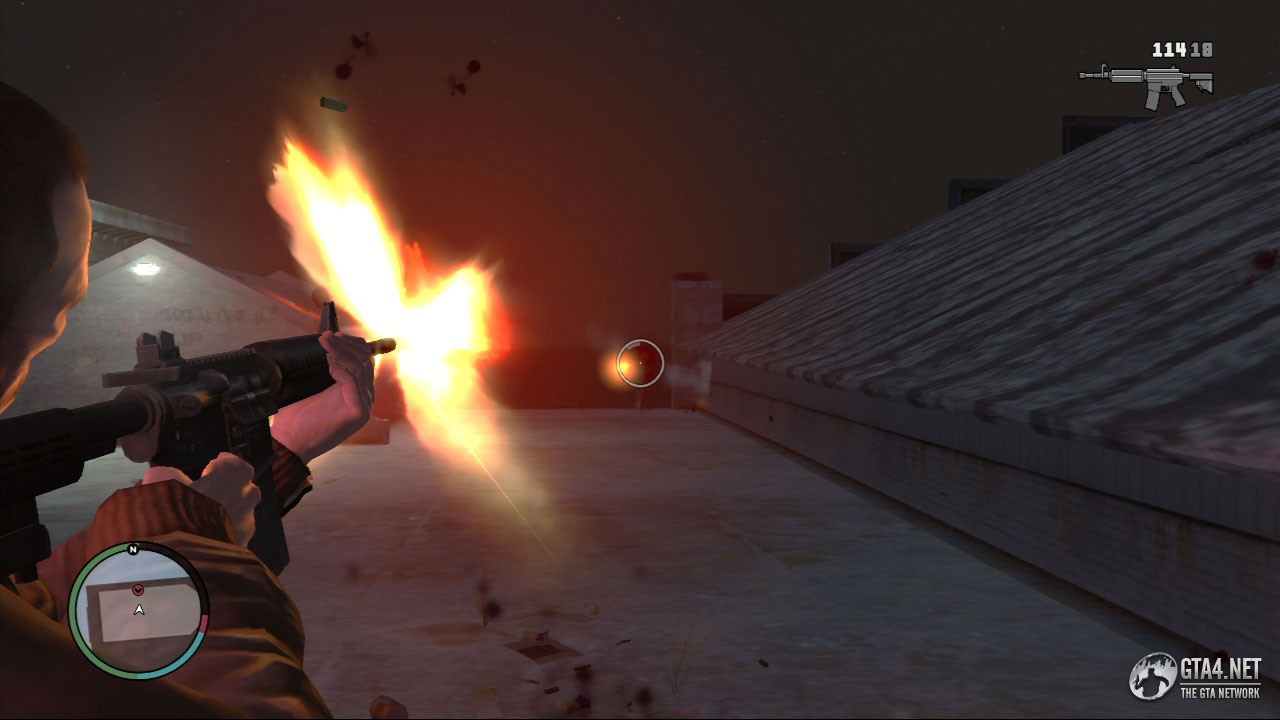
Follow Phil around to the side of the warehouse, and use the ladder to get onto the roof. Phil wants to get an idea of what is going on inside, so go over to the glass panel on the roof. Drop into the warehouse with Phil, and stay close to him at all times. The cash is in an office at the opposite end of the warehouse, and is represented by a yellow blip on the radar.
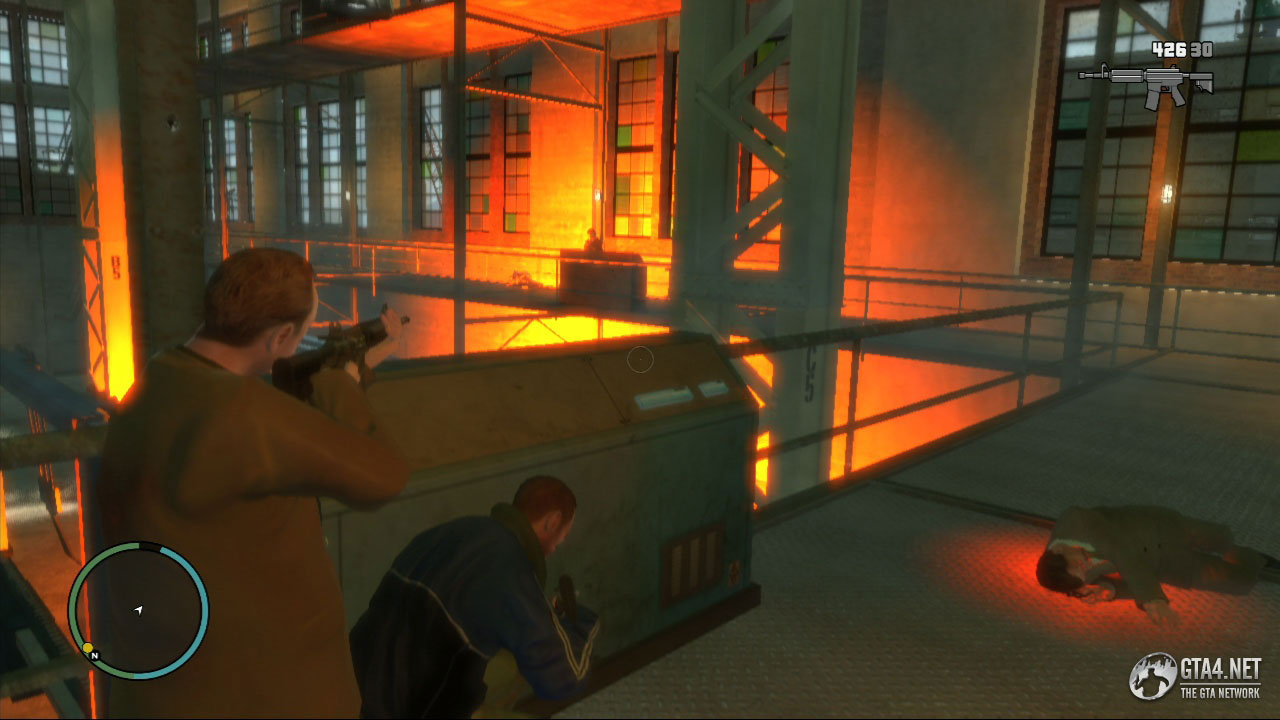
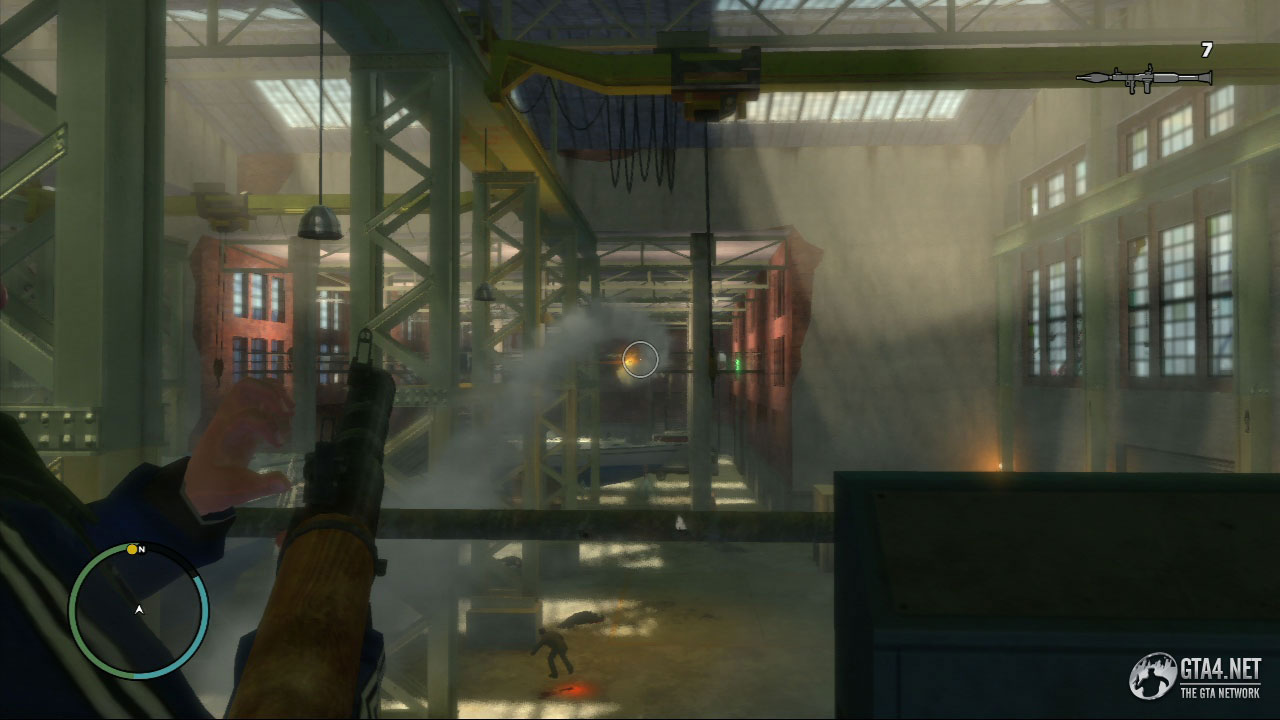
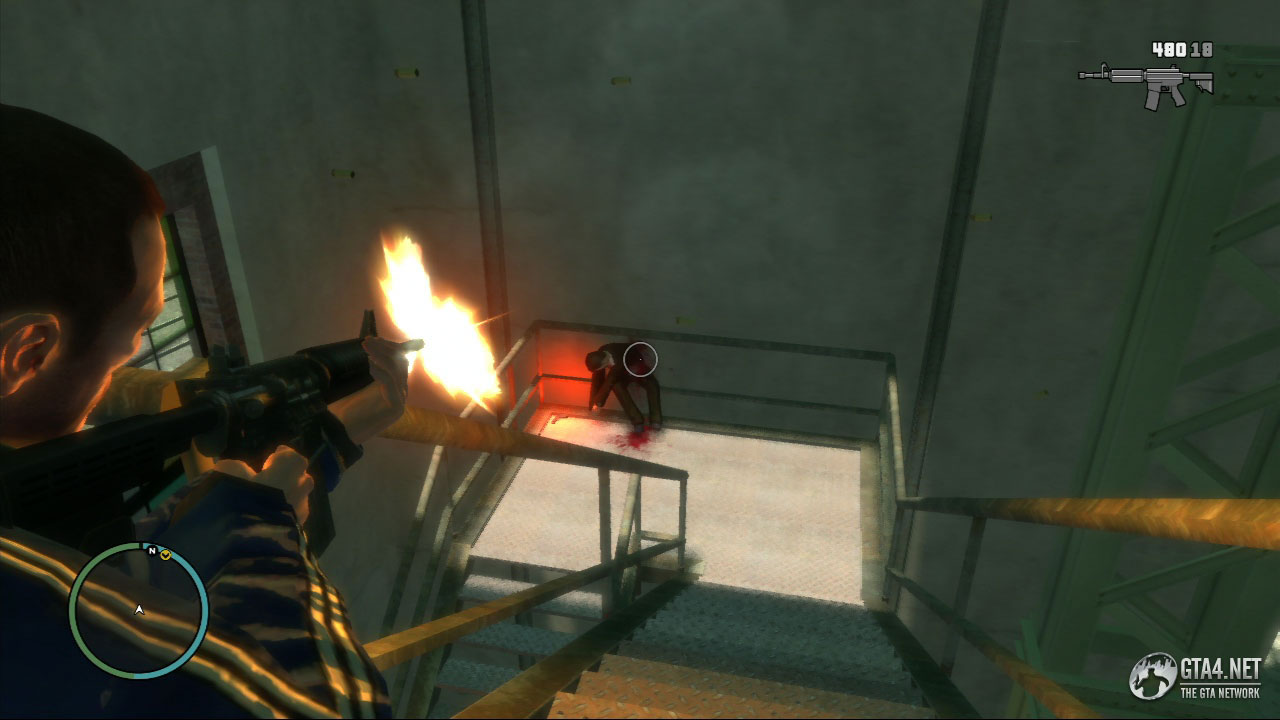
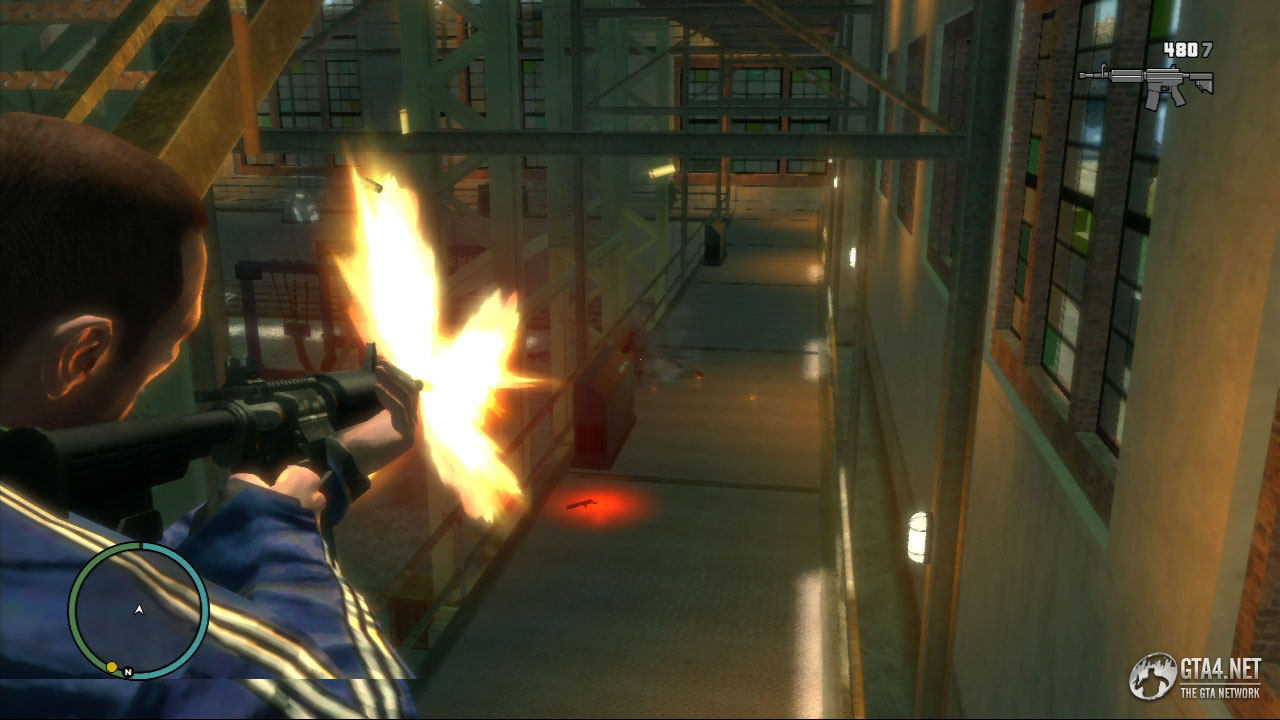
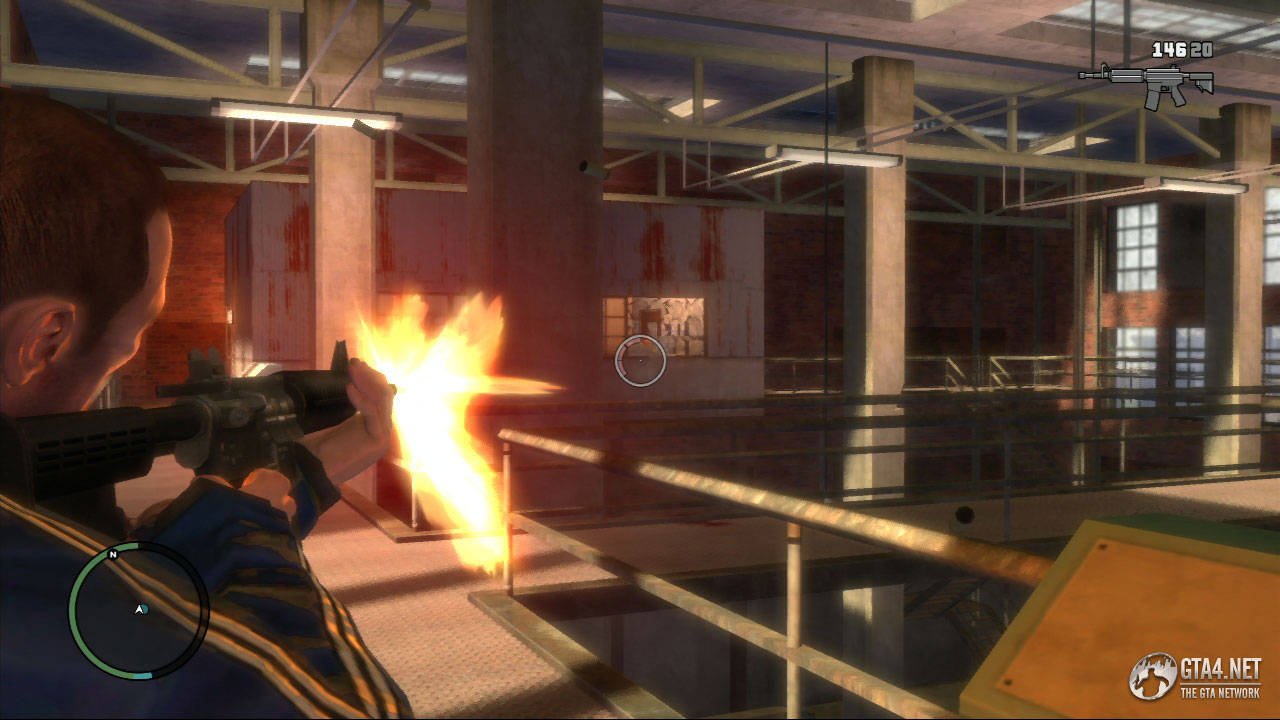
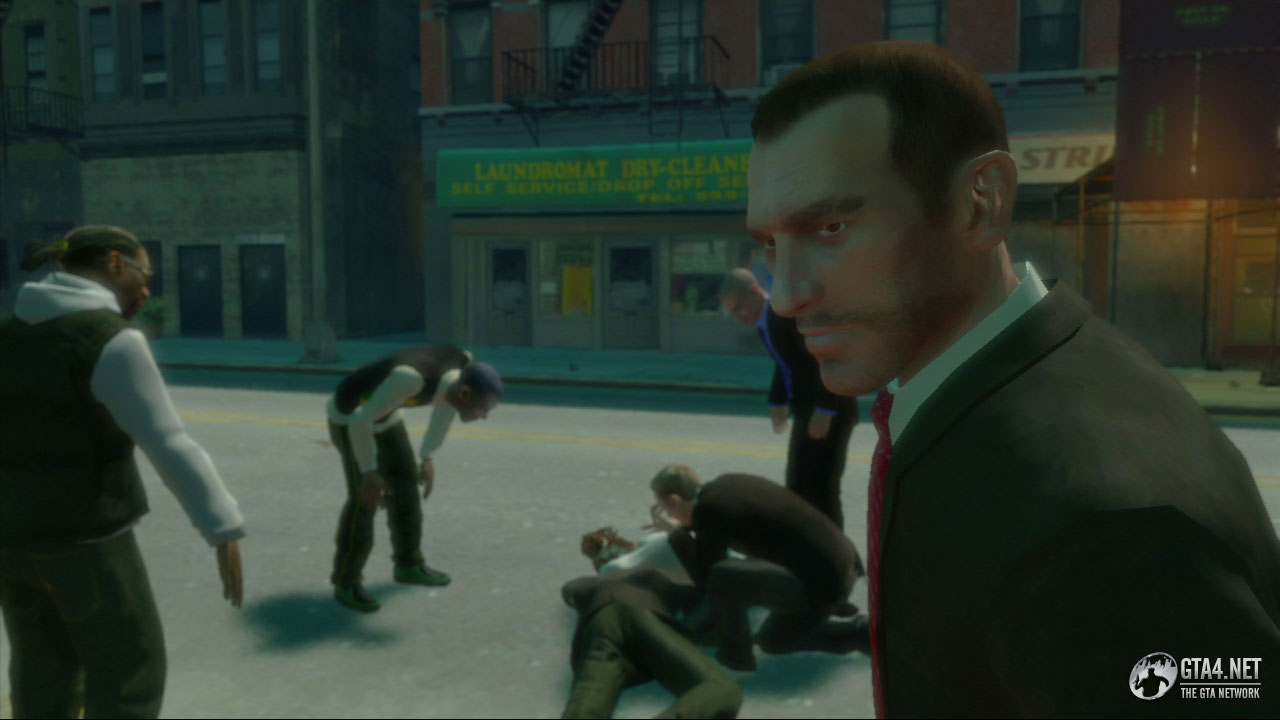
Follow Phil through the warehouse and eliminate anyone in your path. There isn't a lot of cover on the upper level of the warehouse, but use whatever you can find and eliminate the attackers. Watch out for the gunmen coming up the stairs, and deal with the attackers on the walkway first before moving down to the ground floor.
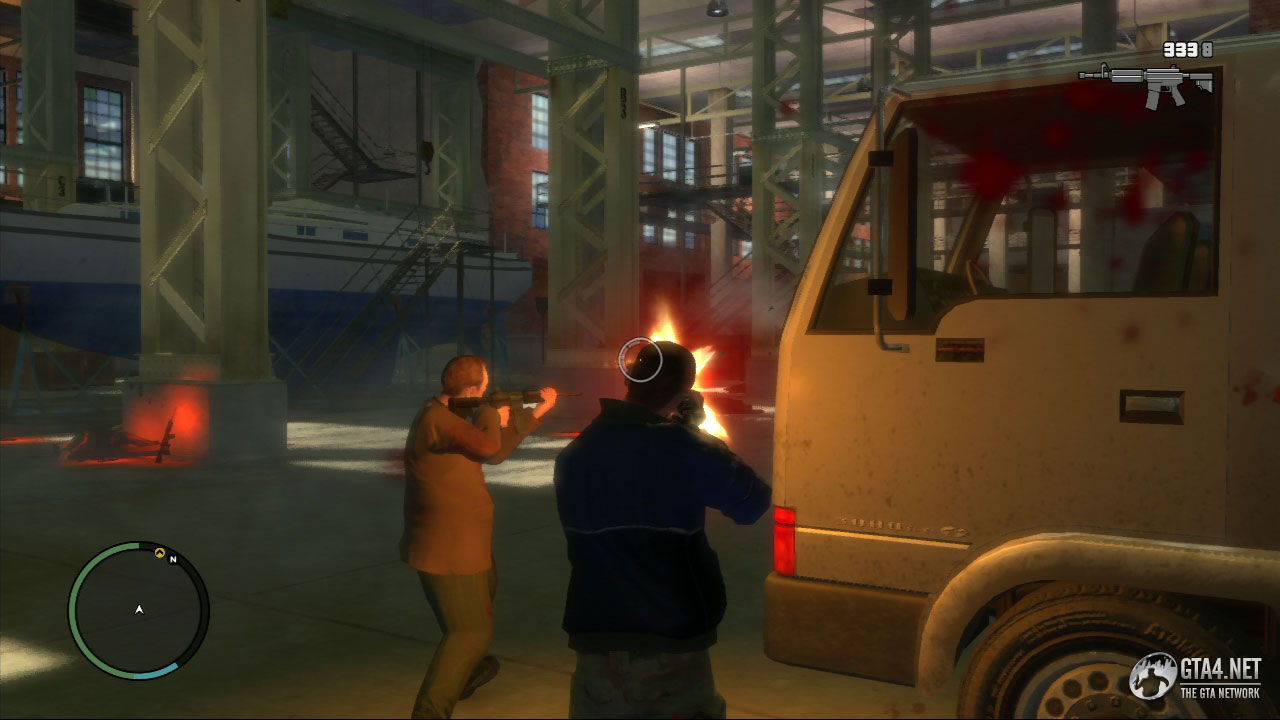
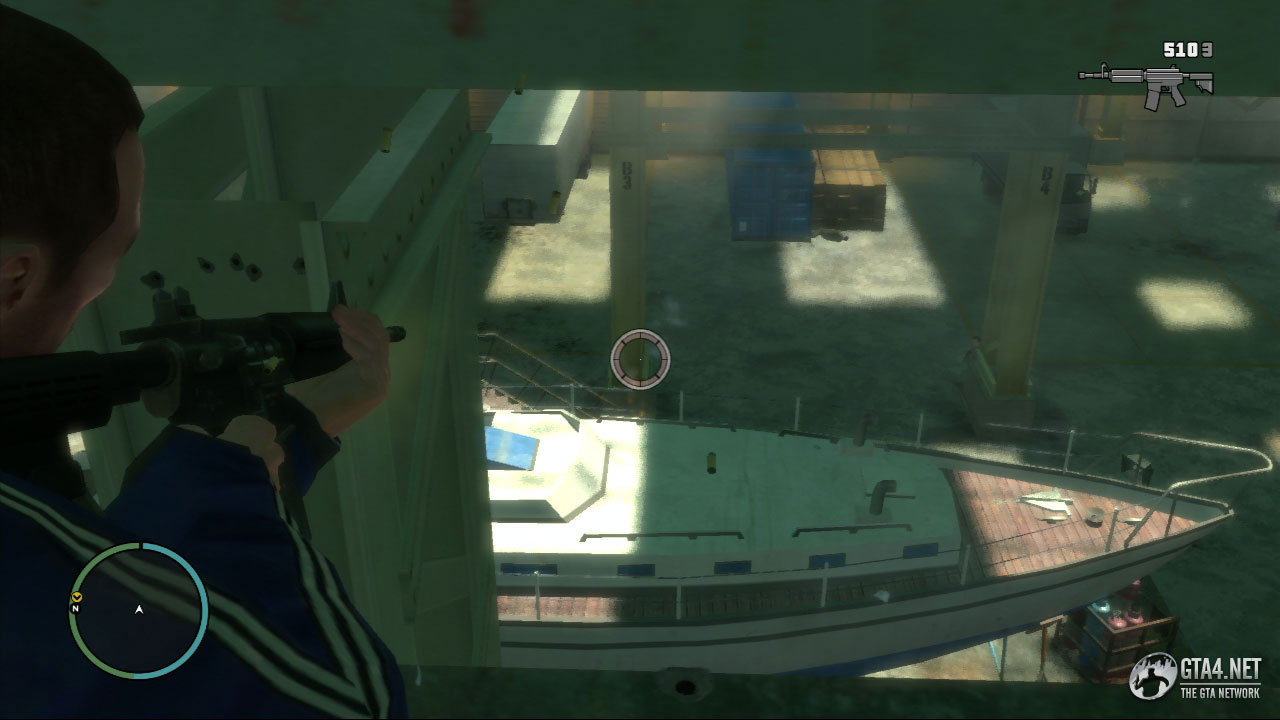
Use the sniper rifle from the walkway to eliminate as many enemies as possible. There is a health kit beside the yacht in the middle of the warehouse on the ground floor, and a second health kit is situated in the office which holds the cash. As you approach the office, shoot the gunmen through the window and then follow Phil towards the door. As Phil breaks into the office, the buyers attempt to escape with the cash.
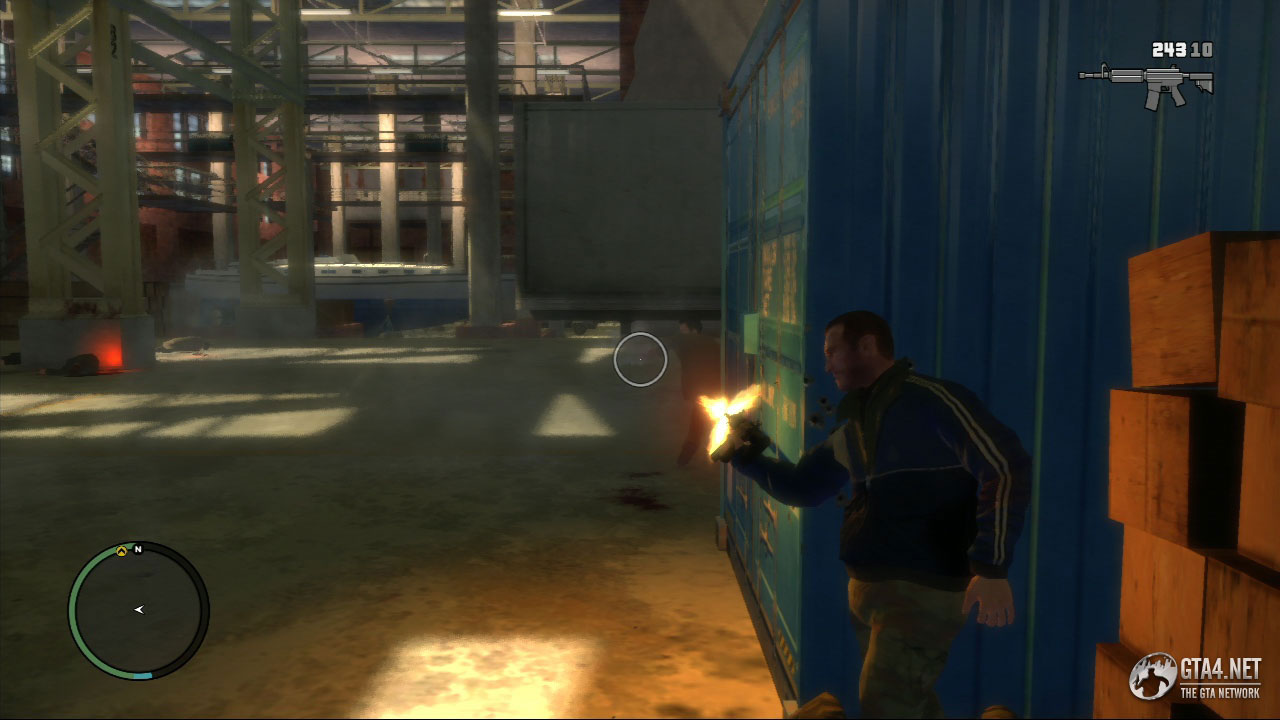
Follow the buyers to the bottom of the stairs and get in a vehicle with Phil. First you will see a truck (inside the warehouse) but outside there is a Rancher and a Sanchez, which may be more suitable for chasing. Chase the buyers, and be careful to avoid any objects which are thrown from back of the truck.

Shoot the delivery truck until it stops, and then waste the driver and pick up the cash. Take Phil back to the club to complete the mission. Niko calls Roman and Pegorino after the mission to let them know what happened, and both are extremely satisfied with the outcome.
Mr. & Mrs. Bellic (Deal)
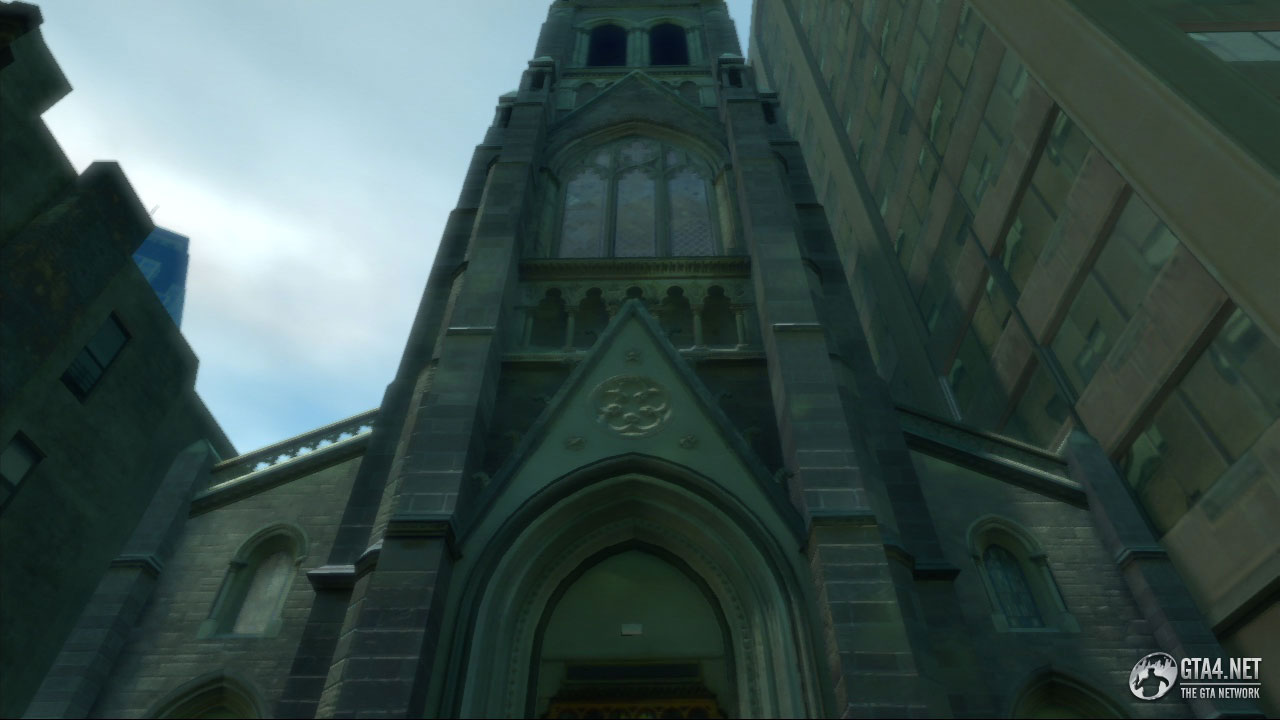
After completing "If The Price is Right," Roman calls to remind you to be at the church by 10:00 AM. You need to look smart for the wedding, so get a suit from one of the safehouses, or purchase one at Perseus.

Roman calls again shortly before the wedding to find out where you are. Afterwards, a yellow blip appears on the radar which represents the church. Meet Roman at the church on Liberty Lane in Suffolk, and watch the cutscene which follows.


During the cutscene, Roman and Mallorie get married at the church, and guests at the wedding include Little Jacob, Badman, Brucie and Bernie. While the couple are celebrating outside, one of Dimitri's men tries to kill Niko. There is a struggle between Niko and the hitman, during which Roman is accidentally shot and killed.
After the cutscene, you wake up at the safehouse in Bohan, and you now need to start preparing for the final mission. It's time to get revenge on Dimitri.
A Revenger's Tragedy (Deal)
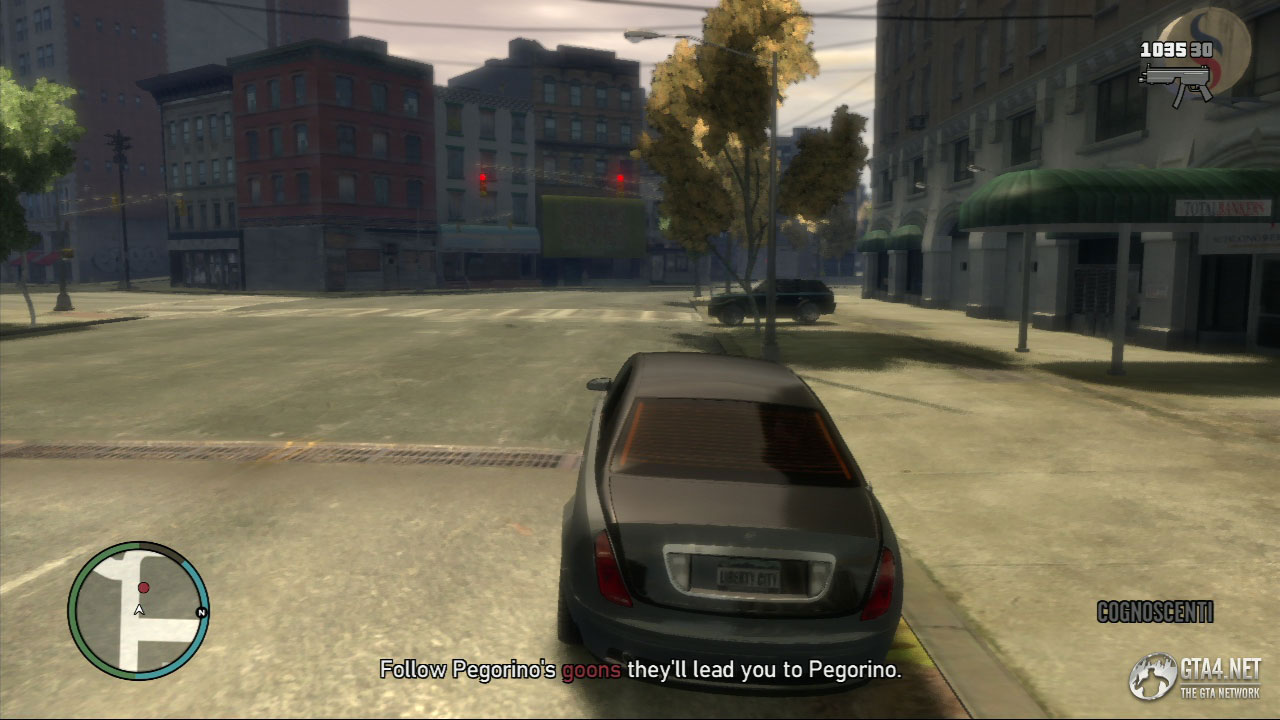
![]() After completing "Mr. & Mrs. Bellic," Jacob calls to say he has tracked some of Pegorino's goons, and is hoping they will lead him to Jimmy Pegorino.
After completing "Mr. & Mrs. Bellic," Jacob calls to say he has tracked some of Pegorino's goons, and is hoping they will lead him to Jimmy Pegorino.
Make sure you have full health, armour and plenty of weapons before starting the mission (plenty of grenades and an RPG would be useful). Meet Jacob at Koresh Square in Alderney City, and get inside Jacob's car.

After the cutscene, Pegorino's goons are seen leaving the building. Follow the goons, but don't shoot them because you need them to lead you to Jimmy Pegorino. The chase initially heads South before switching North, and it eventually leads to an old casino on Beaverhead Avenue. The chase goes on for about three minutes in total.


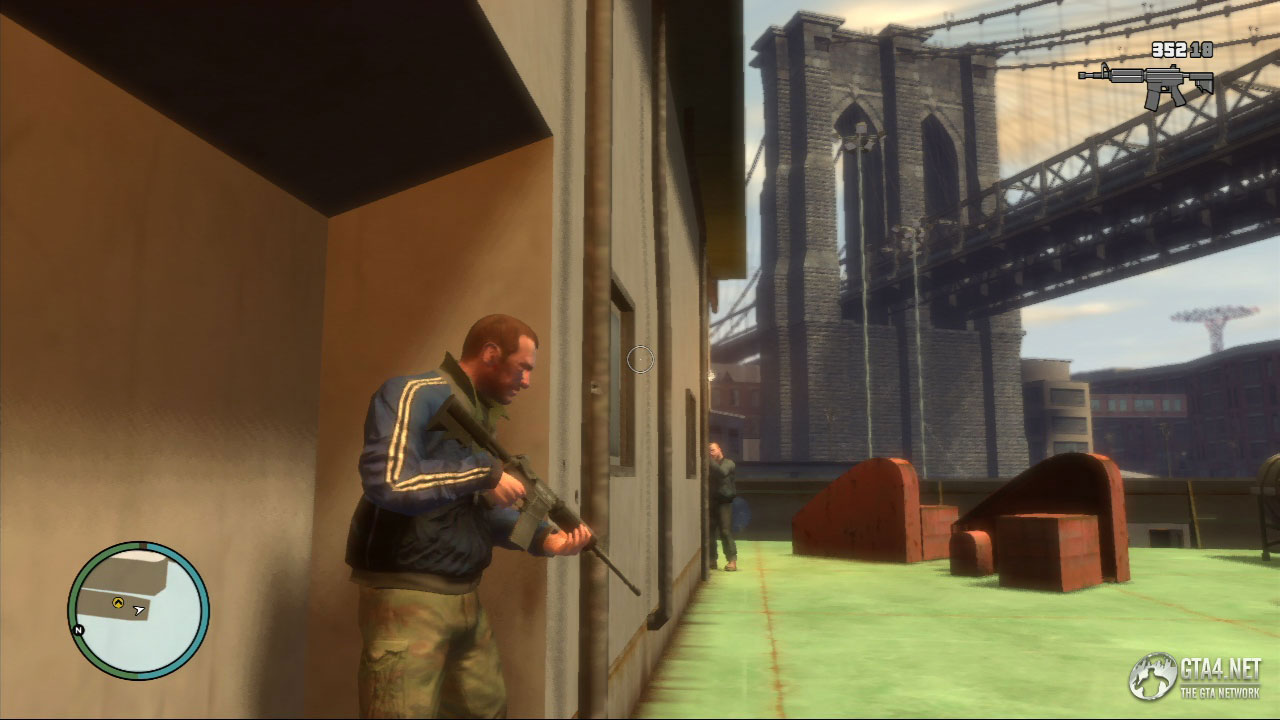
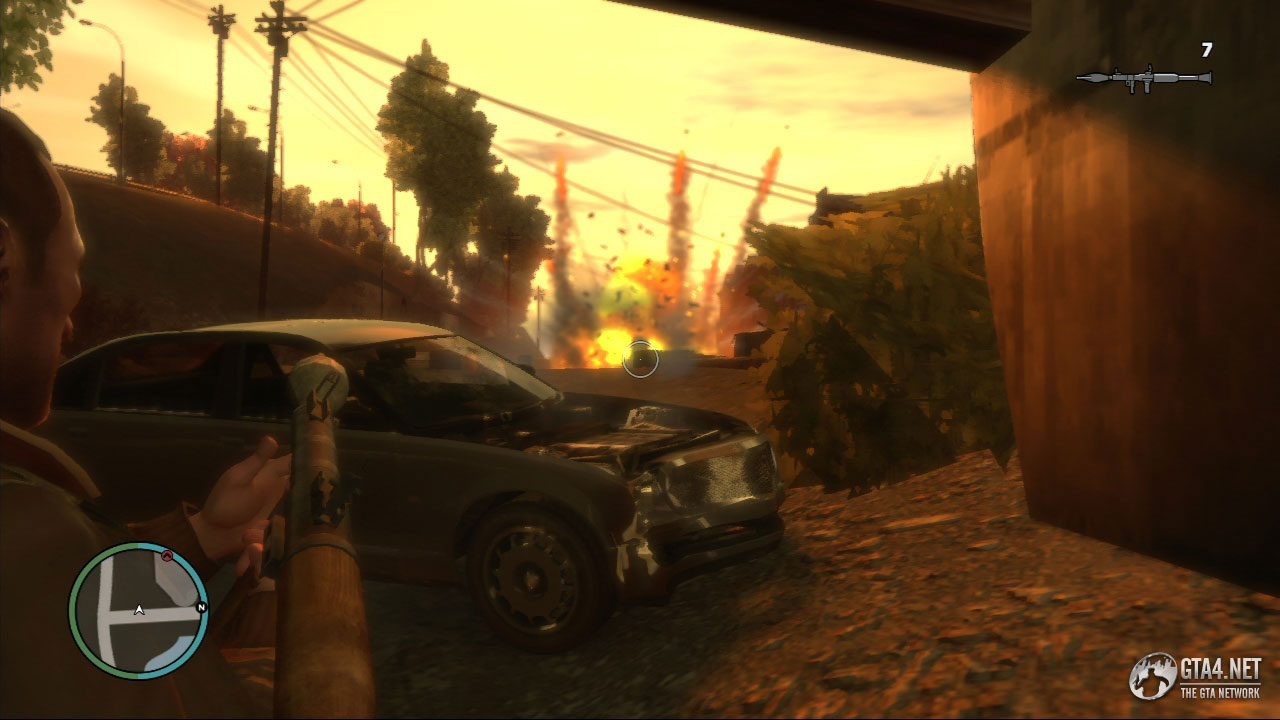
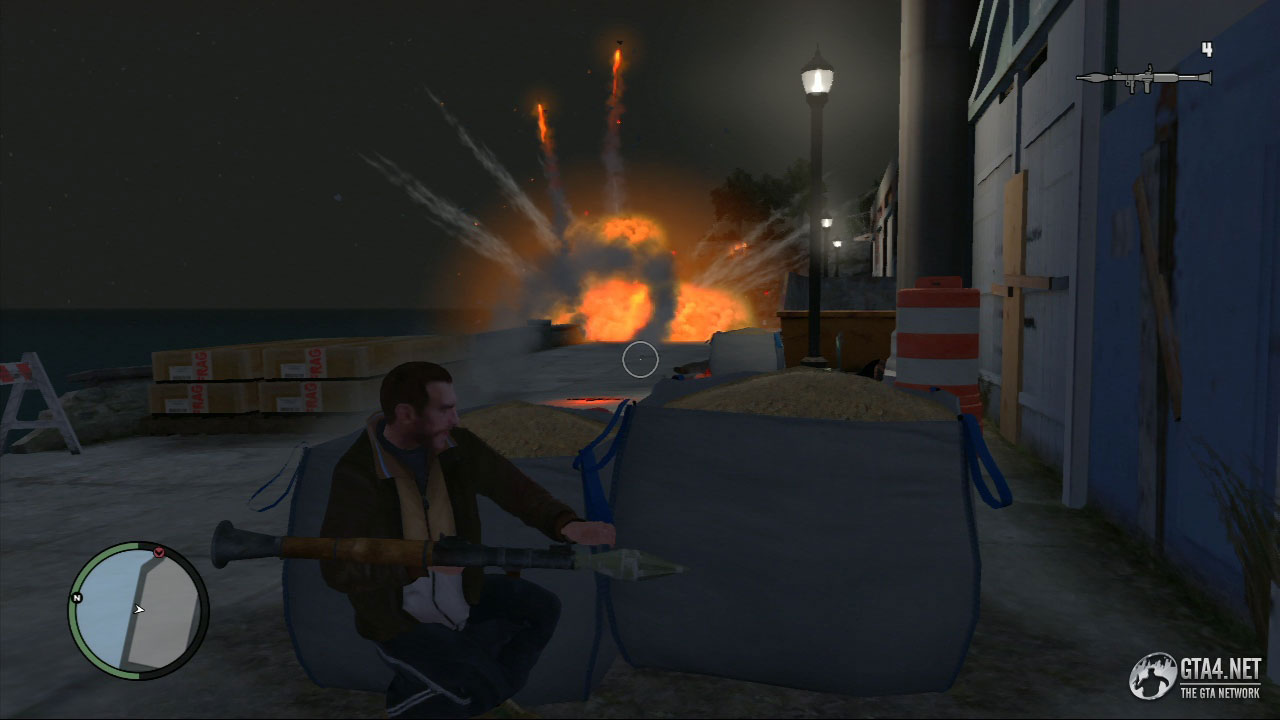
When you reach the casino, the car comes under heavy fire, and Jacob leaves to work on an escape plan. Use the car as cover, and eliminate all of Pegorino's goons outside the casino. Focus on the ones on the roof of the casino first, and then take out the ones straight ahead. Use the RPG to blow up their cars (which they are using as cover) but be careful not to blow yourself up - stand well away from any cars etc.
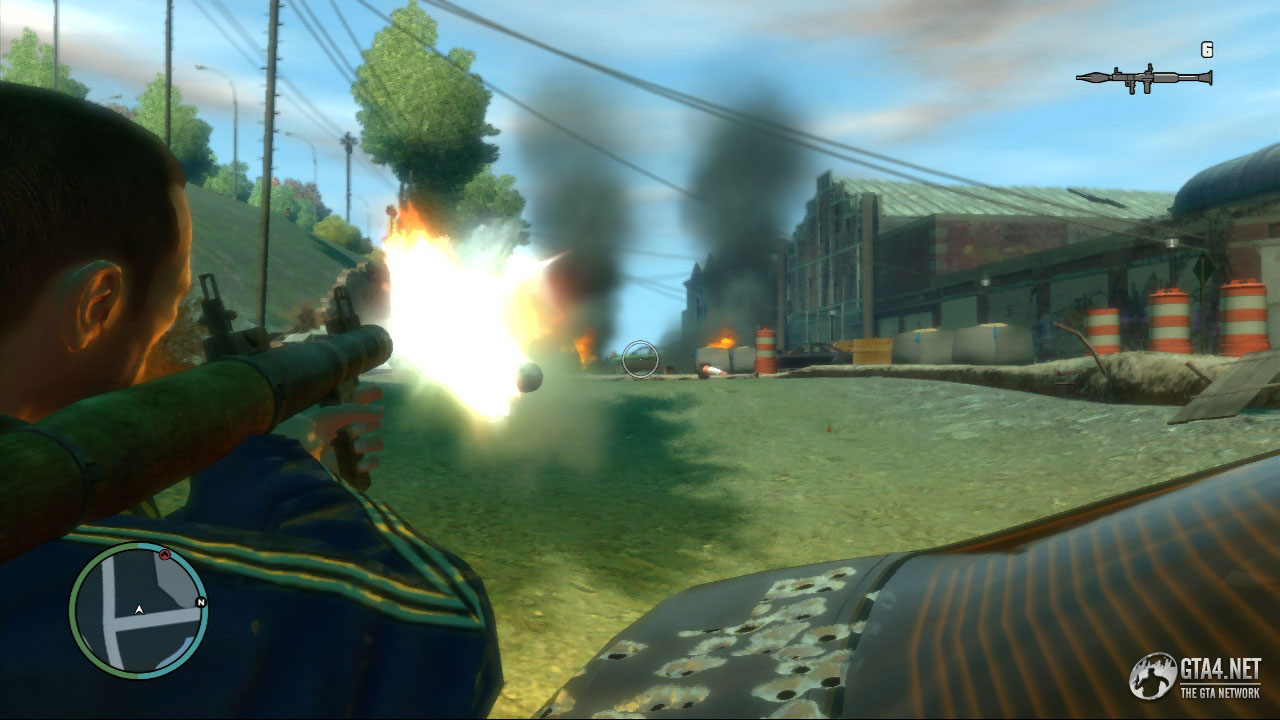
Once you've taken out most of the goons, proceed forward towards the old casino, and use the bags of consutrction material (or one of the burned out vehicles) as cover. From this position, eliminate any remaining attackers using grenades, rockets, and anything else you have available. When you are sure that no more attackers are present, go towards the entrance of the casino and take cover.
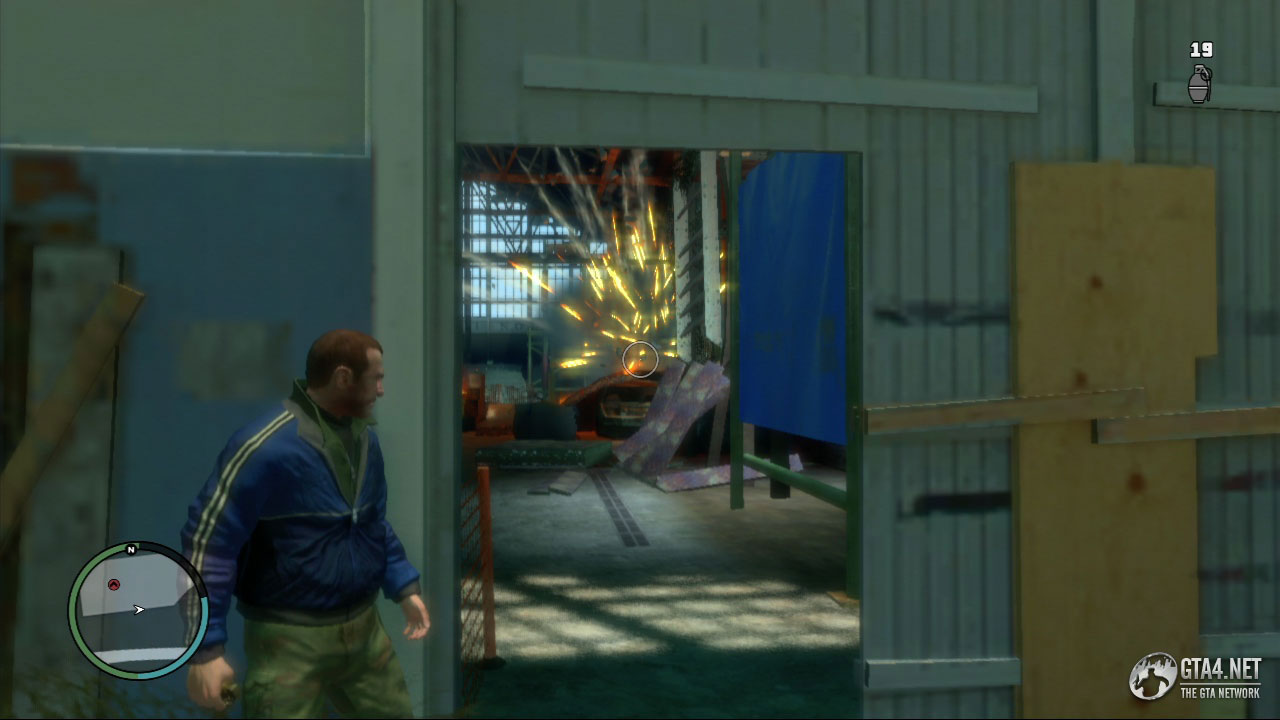
![]() Jacob has worked out an escape plan, and tells you to "keep your eyes open."
Jacob has worked out an escape plan, and tells you to "keep your eyes open."


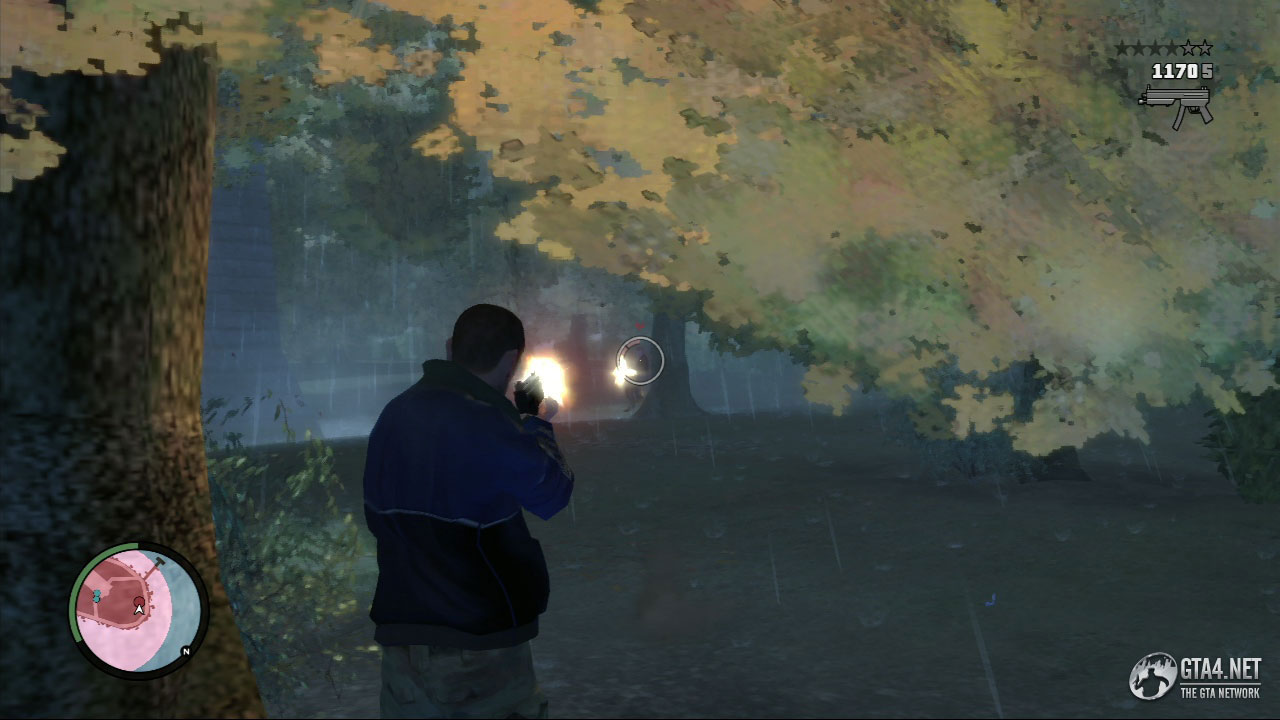
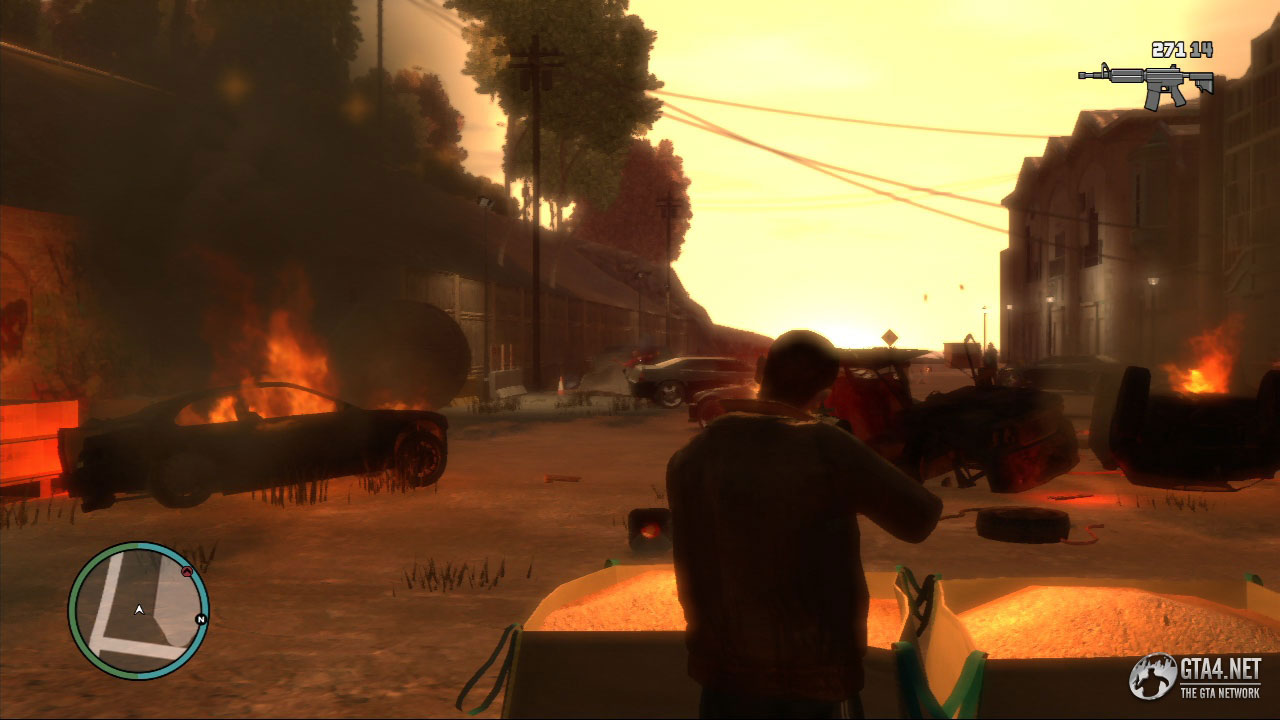
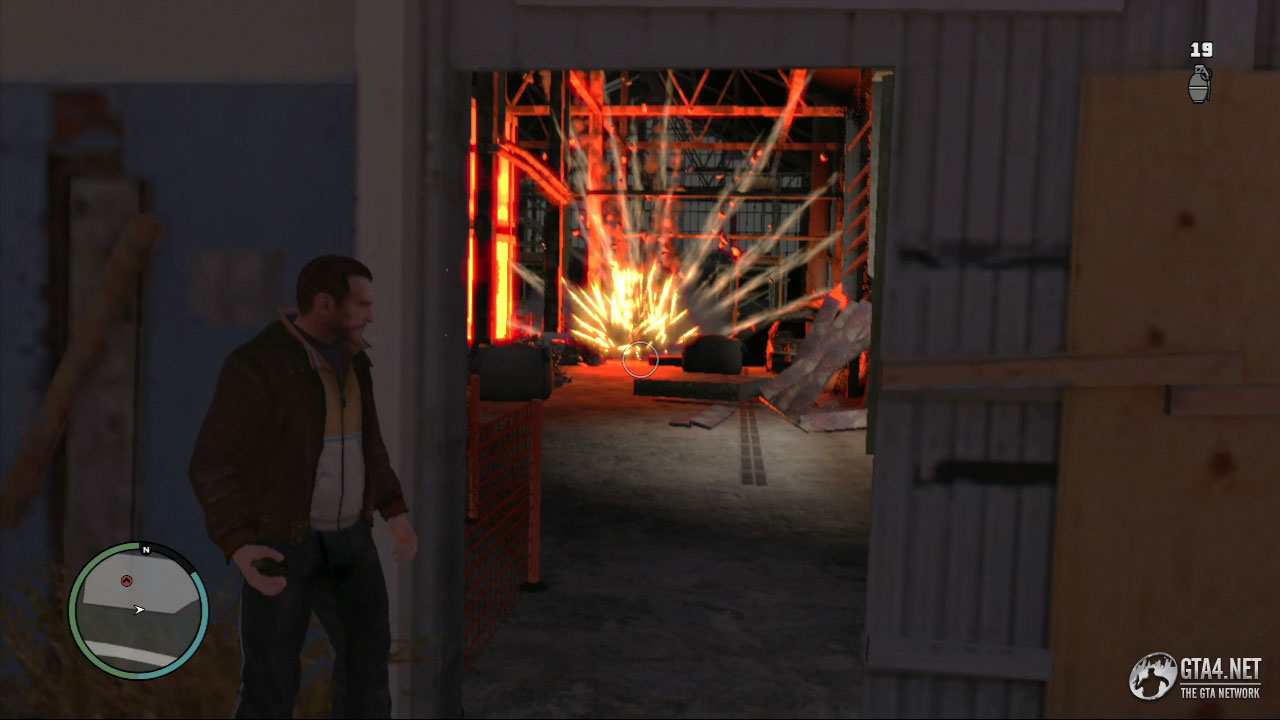
Launch some grenades into the casino, then move inside and eliminate the survivors. Some of the attackers are hard to get because they are using cover, and one option is to stand well away from the entrance, and fire some rockets using the RPG. Be sure to collect the health kit on the wall to your left as you go into the casino.

Thankfully, there aren't as many goons inside the casino as there were outside. Once everyone is dead, make your way towards the doorway at the end of the room, and a cutscene begins. Dimitri kills Pegorino, and attempts to escape via the roof, so chase him up the stairs (keep going left) and use the fire exit to get on to the roof. Follow Dimitri across the roof, killing his goons as you do so.
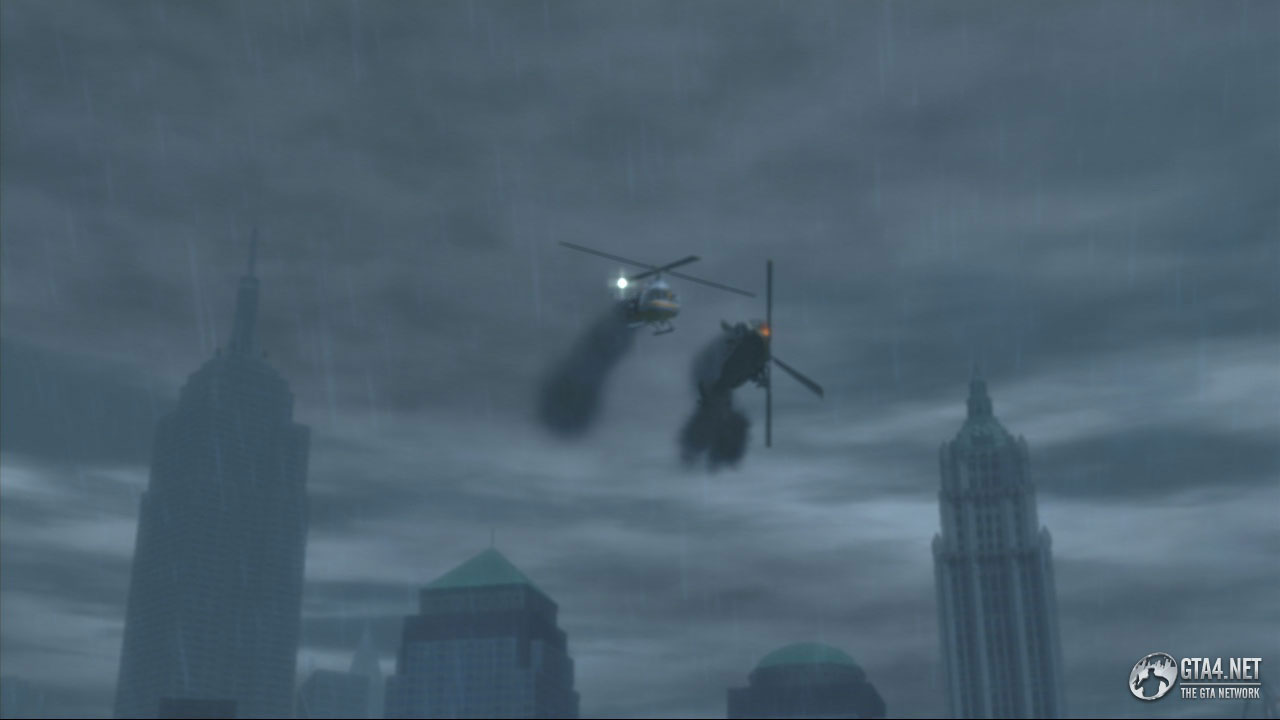
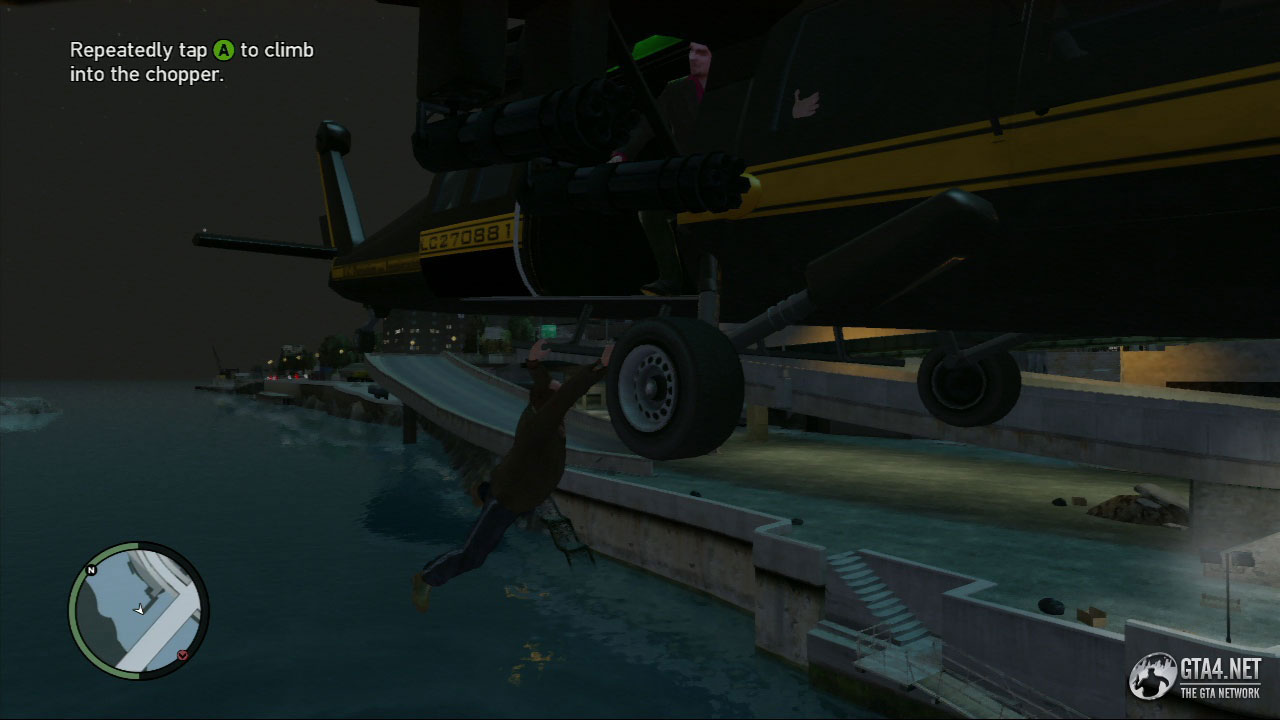
Dimitri gets into a waiting chopper, but Niko manages to grab onto it before it escapes. A few seconds later, however, Niko falls off and lands in the water. Get in the Squalo speedboat next to the jetty and begin chasing Dimitri.

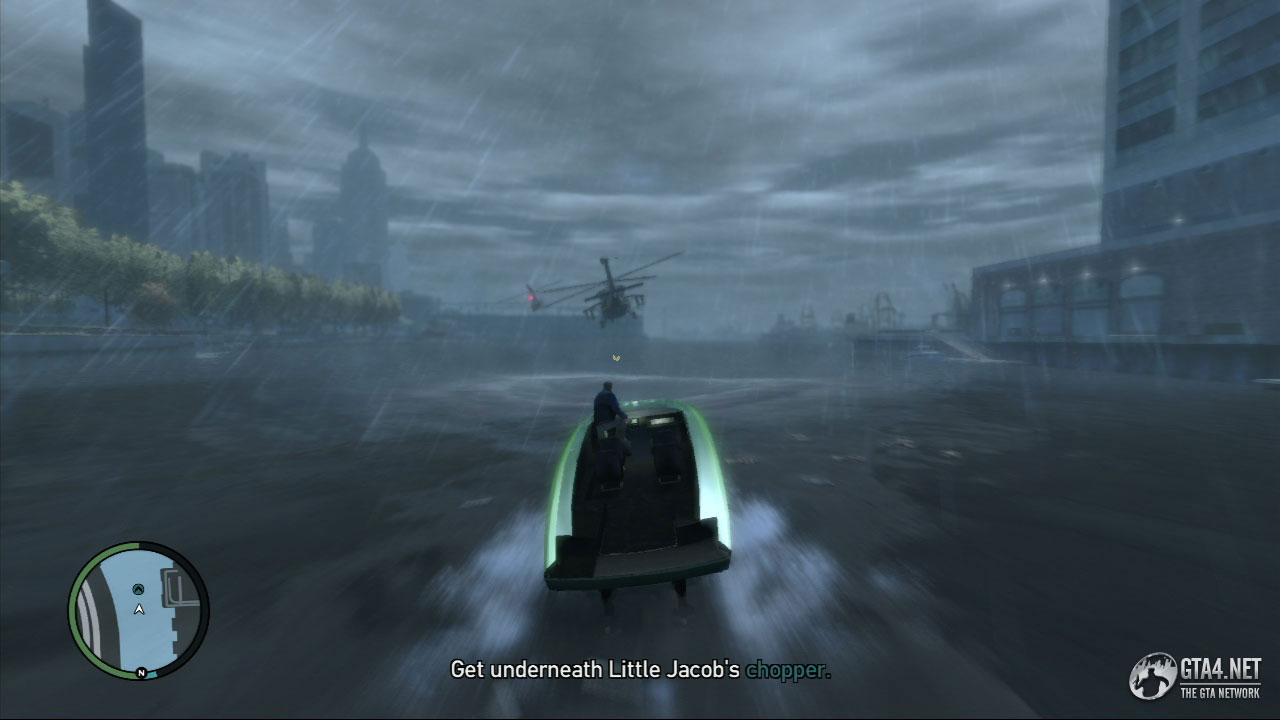
Dimitri's men fire rockets at your boat, so do your best to dodge them but continue focusing on the chase. Eventually a chopper arrives, carrying Little Jacob, and you need to get under the chopper and climb onto it. Once you have control of the chopper, begin firing miniguns at Dimitri's helicopter until it catches fire.

Eventually, Dimitri's chopper crashes at Happiness Island, but Niko's chopper also crashes. Begin chasing Dimitri across the island, and kill any cops who get in your way - if you're low on health at this point then it's better to shoot them than ignore them. Follow Dimitri onto the grass below the Statue of Happiness and finish him off. Watch the final cutscene as Niko gets his revenge.
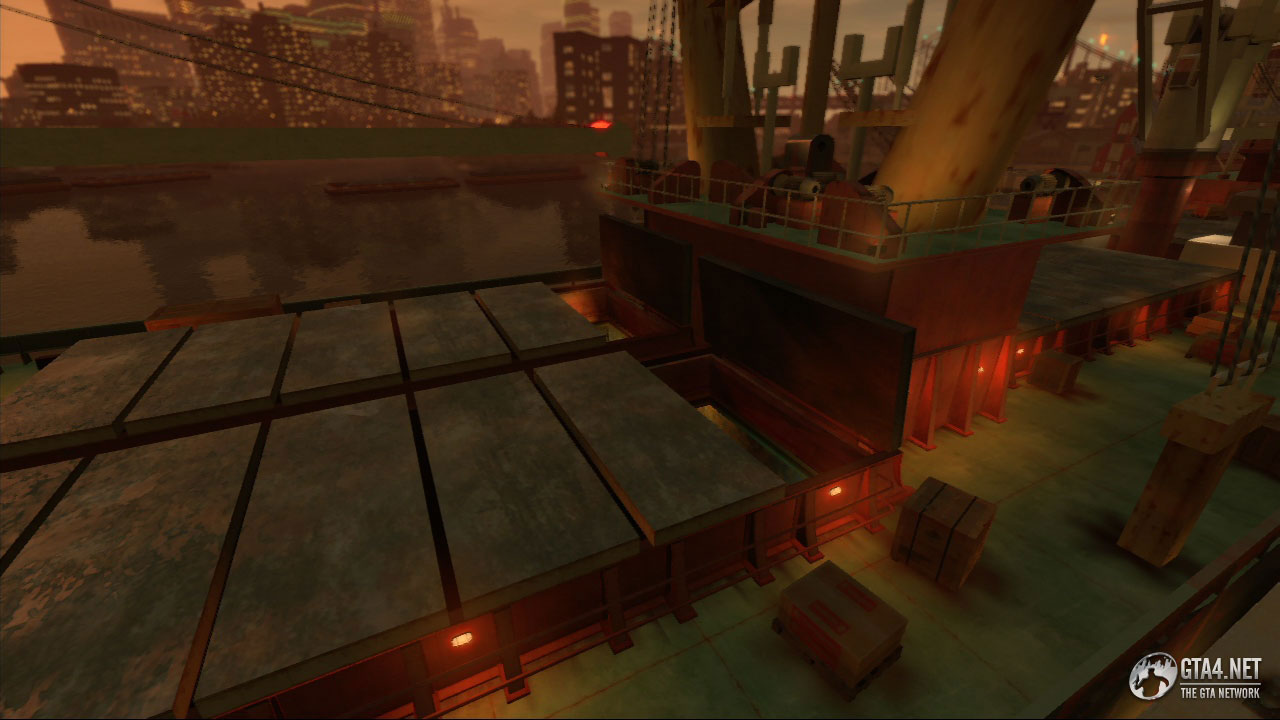
The Russians are loading heroin onto the cargo ship at the docks, and Dimitri is supervising the operation in the ship's hold. The doors to the cargo hold are controlled from the bridge (1) so this is the first place you need to go. Use the controls at the bridge to open the doors (2) in order to get your revenge on Dimitri.
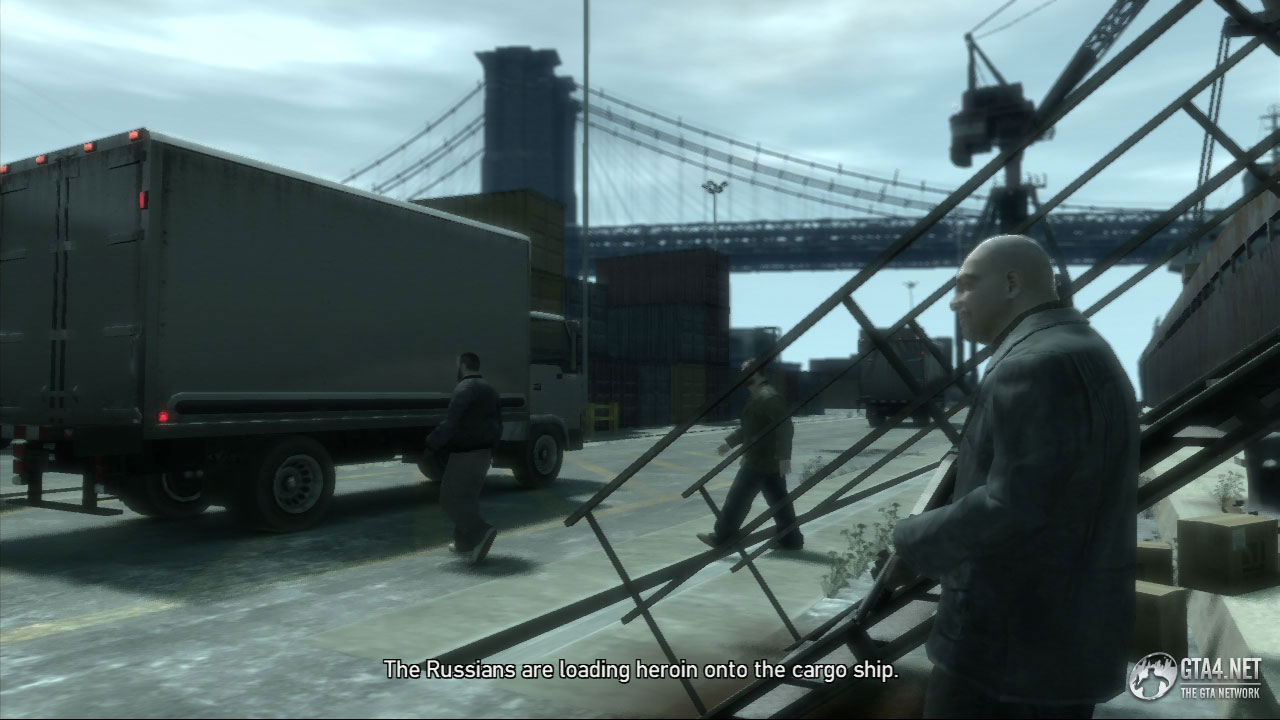

After the cutscene, a yellow blip on the radar indicates the bridge. The ship is very heavily guarded by Dimitri's men, so first you should find a vantage point and take out as many guards as possible before entering the ship. Go straight ahead and use the ladder to climb to the top of the crane (3) next to the ship. This provides a magnificient view of the ship, and you can use the sniper rifle to eliminate each of the guards.
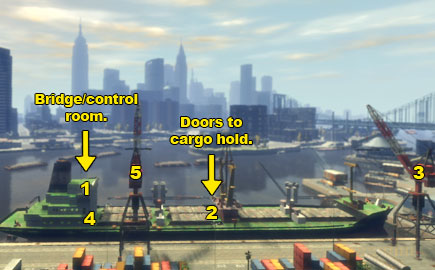
Before eliminating the guards on the ship, focus on the three guards standing at the foot of the crane next to the truck. Kill these guards using the sniper rifle, and then turn your attention to the guards on the ship. The guards are situated in all areas of the ship, but most of them are concentrated near the bridge at the Southern end.
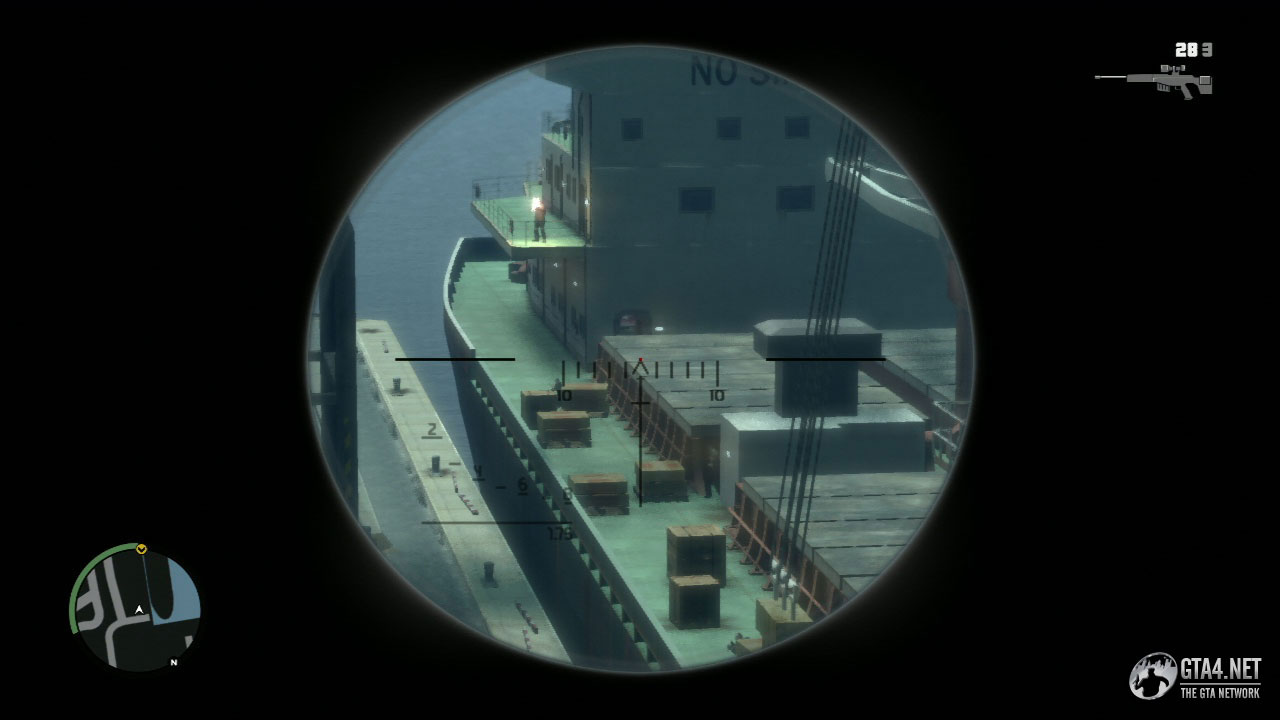
As mentioned already, there are a lot of guards on the ship, so it requires time and patience to eliminate all of them. Be sure to eliminate the guard standing inside the door (4) aswell, as this is the door you need to need to use in order to get to the bridge. Once you have sniped as many guards as possible, get off the crane and make your way to the second crane (5) and do exactly the same thing as before.
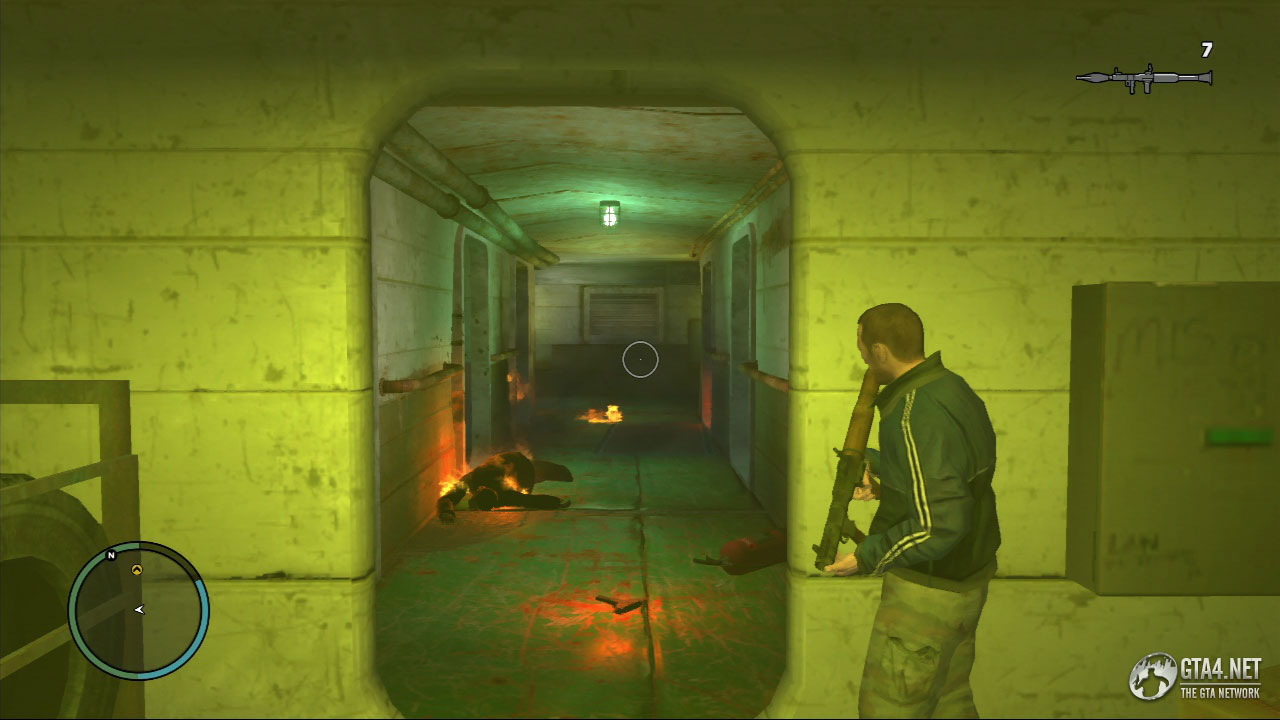
When you can hear no more gunshots, get off the crane and use the stairs to get on the ship. If you need health at any time during the mission, get off the ship, go to a road and call 911 for paramedics. When you get on the ship, enter the tower and eliminate the guards in the kitchen. You can use the entrance as cover and throw grenades inside to take out multiple enemies at once.

Collect the health in the kitchen if you require it, and then make your way towards the stairs. There is another guard waiting at the top of the stairs, so approach them with caution. When you reach the top, find cover and throw some grenades down the corridor to eliminate the guards. There is ammo in the first room to your left, and armour in the second room to the right.
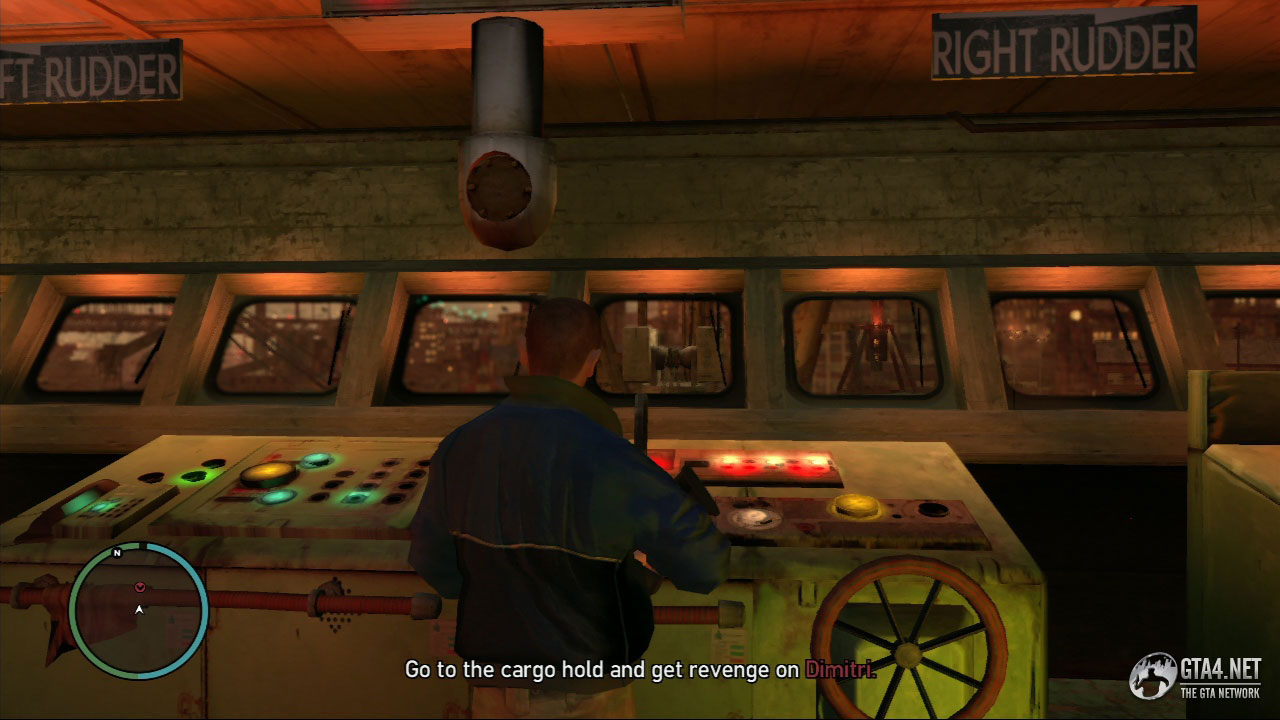
Continue making your way towards the bridge, eliminating anyone who gets in your way. When you reach the control room, take cover at the entrance, and kill the guard inside. Operate the controls to open the cargo hold, and collect the armour behind you if necessary. After the cutscene, some of the guards will respawn, so use the bridge as a vantage point to kill any attackers below you.

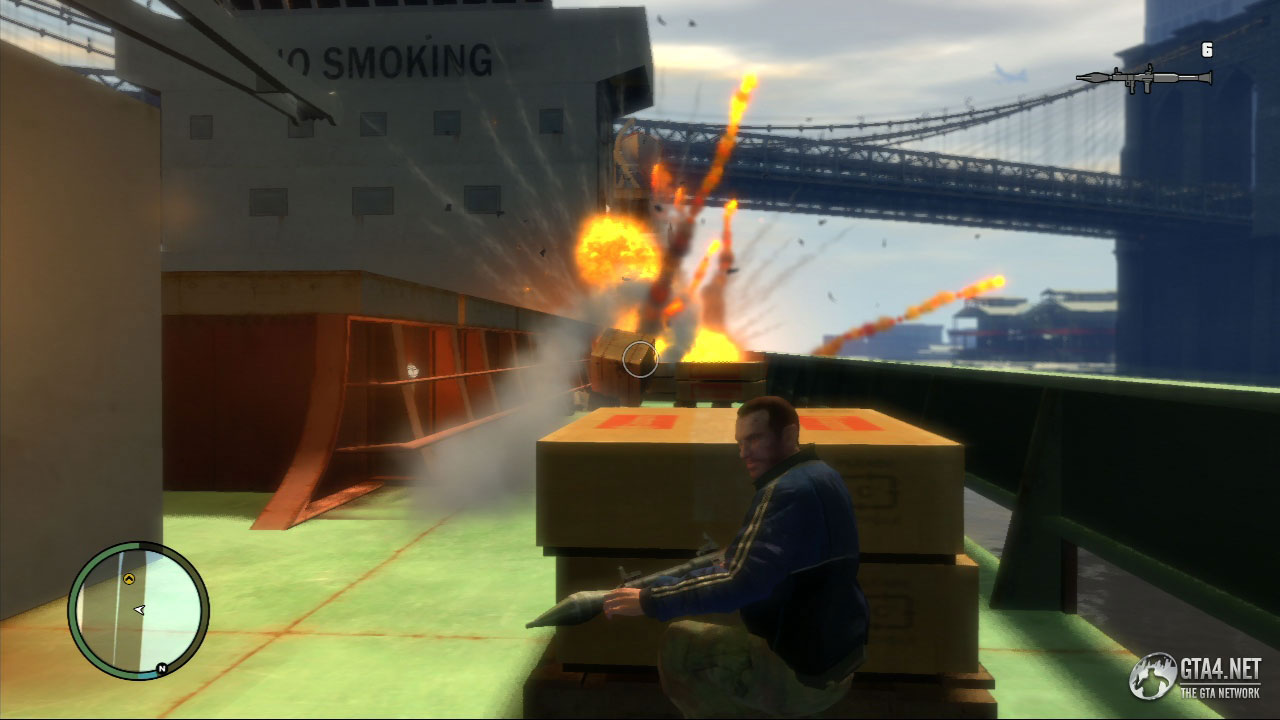
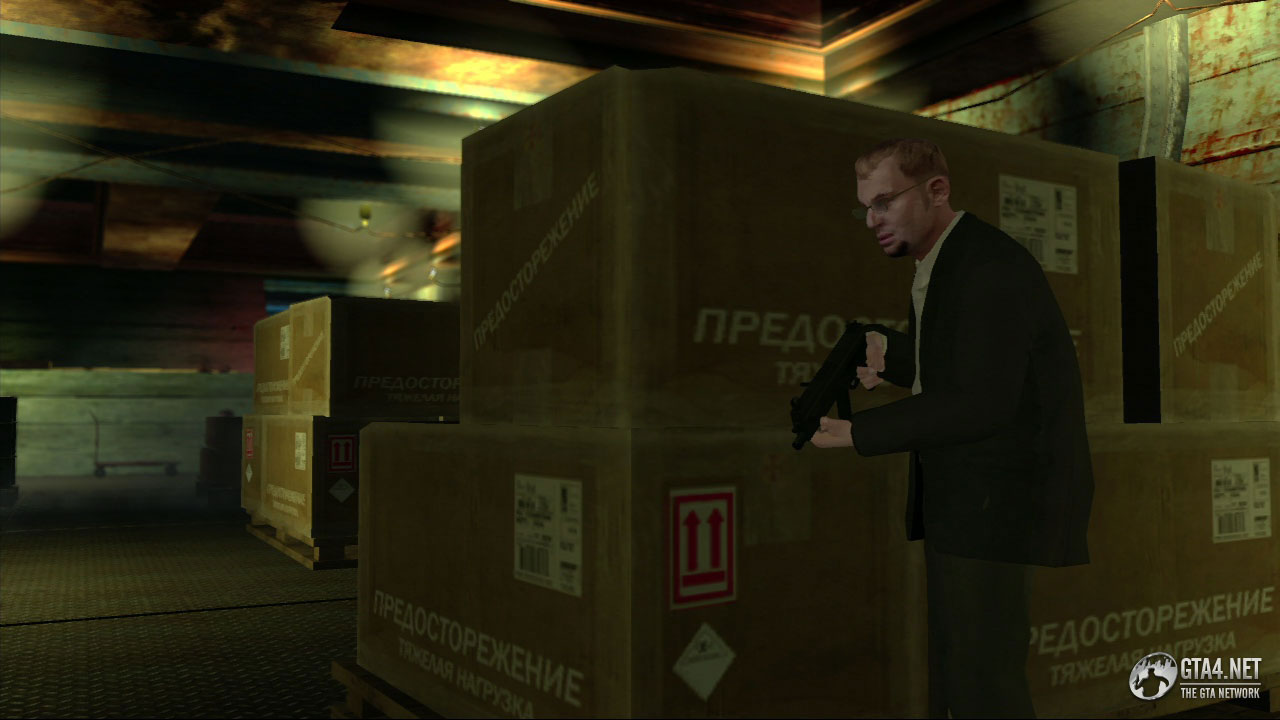
Note that the red blip on the radar represents Dimitri, it does not represent the entrance to the cargo hold (2). The entrance to the cargo hold is further along. Go down into the cargo hold, and use the crates as cover as you eliminate the guards. Approach Dimitri and watch the cutscene. Afterwards, Dimitri takes cover behind one of the crates, and more of his guards arrive to protect him.

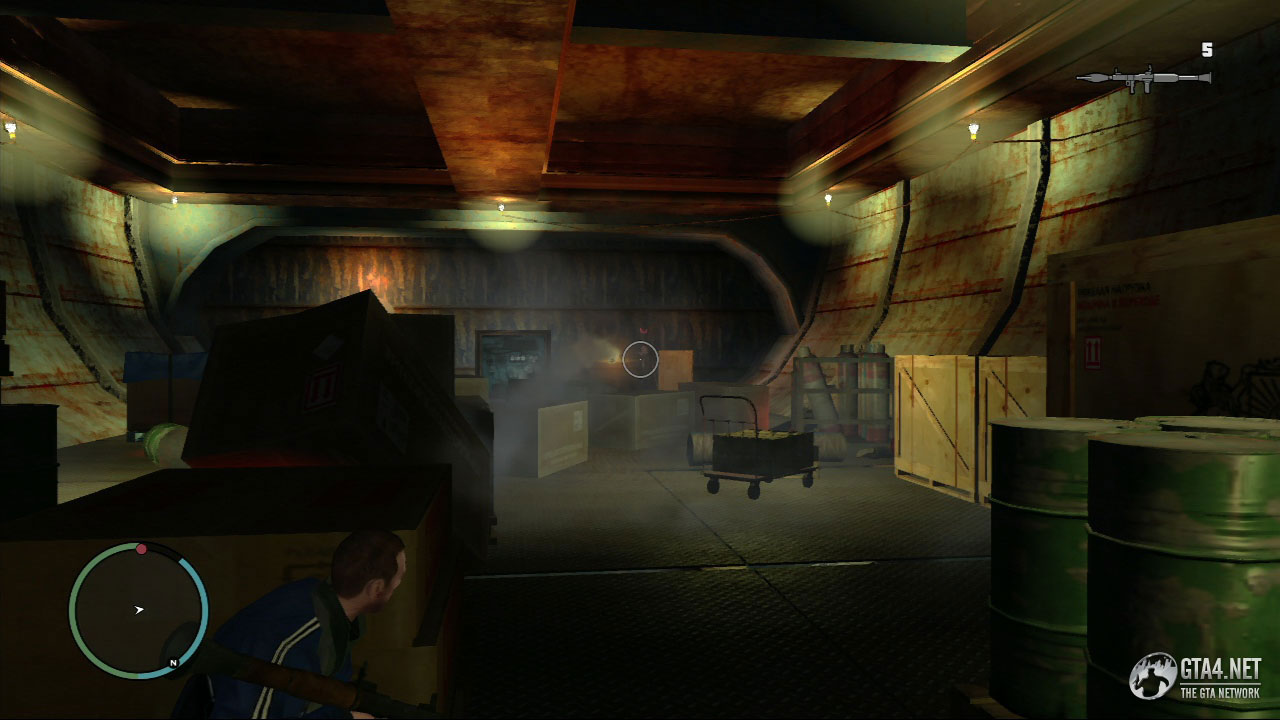
You don't need to kill Dimitri's guards at this point, but you can if you wish. All you have to do is kill Dimitri, so if you have a sniper rifle or RPG available, use them to kill Dimitri. A cutscene begins, and afterwards you are faced one-to-one with Dimitri. Use the pistol to perform an execution, and then get off of the ship. Niko calls Roman after the mission to tell him what happened, and although he is disappointed at losing out on the money, he respects your decision nevertheless.
![]() Phil calls after the mission to say that he understands why you made your decision. According to the Phil, the Pegorinos are "nothing no more," so he's getting out and doesn't want to talk to you again.
Phil calls after the mission to say that he understands why you made your decision. According to the Phil, the Pegorinos are "nothing no more," so he's getting out and doesn't want to talk to you again.
Mr. & Mrs. Bellic (Revenge)
After completing "A Dish Served Cold," Roman calls to remind you to be at the church by 10:00 AM. You need to look smart for the wedding, so get a suit from one of the safehouses, or purchase one at Perseus.

Before the wedding, go and pick up Kate and then sound the horn to attract her attention. Meet Roman at the church on Liberty Lane in Suffolk (indicated by the yellow blip on the radar) and watch the cutscene which follows.
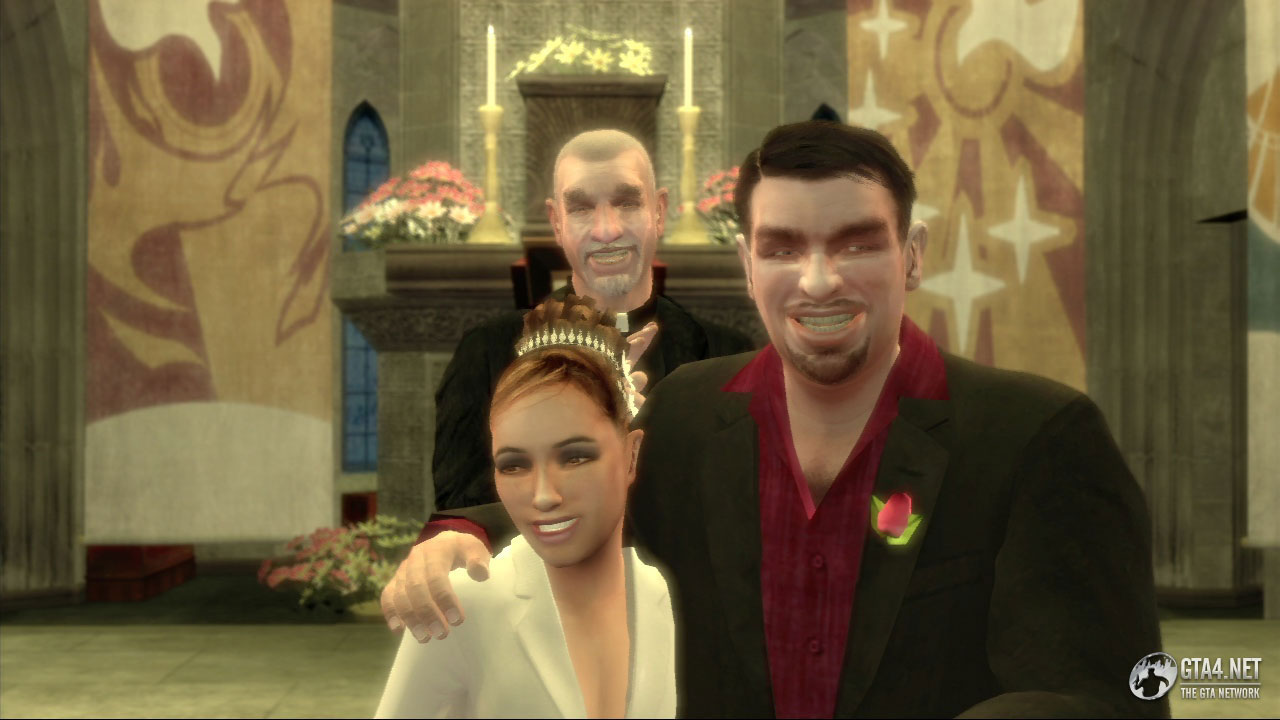
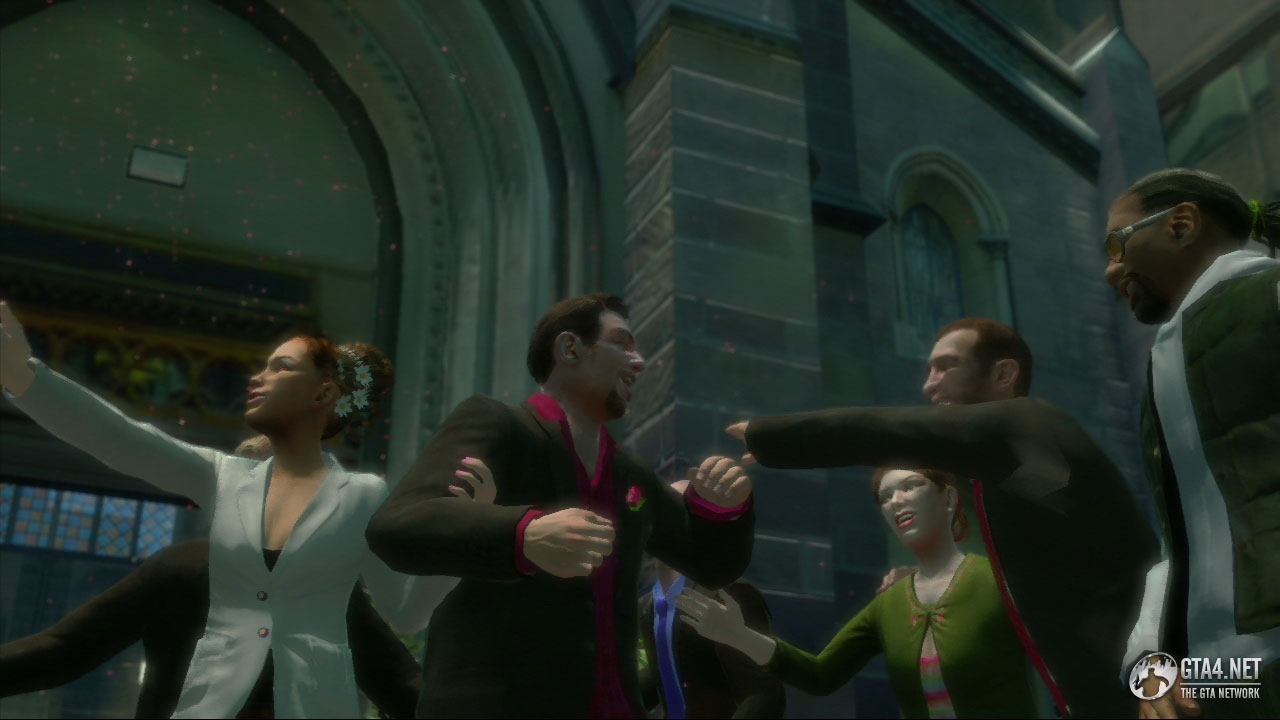
During the cutscene, Roman and Mallorie get married at the church, and guests at the wedding include Little Jacob, Badman, Brucie and Bernie. While the couple are celebrating outside, Pegorino arrives and attempts to eliminate Niko, but he accidently kills Kate instead.

After the cutscene, you wake up at the safehouse in Bohan, and you now need to start preparing for the final mission. It's time to get revenge on Pegorino.
Out of Commission (Revenge)
![]() After completing "Mr. & Mrs. Bellic," Jacob calls to say he has tracked some of Pegorino's goons, and is hoping they will lead him to Jimmy Pegorino.
After completing "Mr. & Mrs. Bellic," Jacob calls to say he has tracked some of Pegorino's goons, and is hoping they will lead him to Jimmy Pegorino.
Make sure you have full health, armour and plenty of weapons before starting the mission (plenty of grenades and an RPG would be useful). Meet Roman and Jacob at Koresh Square in Alderney City, and get inside Jacob's car.
After the cutscene, Pegorino's goons are seen leaving the building. Follow the goons, but don't shoot them because you need them to lead you to Jimmy Pegorino. The chase initially heads South before switching North, and it eventually leads to an old casino on Beaverhead Avenue. The chase goes on for about three minutes in total.

When you reach the casino, the car comes under heavy fire, and Jacob and Roman leave to work on an escape plan. Use the car as cover, and eliminate all of Pegorino's goons outside the casino. Focus on the ones on the roof of the casino first, and then take out the ones straight ahead. Use the RPG to blow up their cars (which they are using as cover) but be careful not to blow yourself up - stand well away from any cars etc.
Once you've taken out most of the goons, proceed forward towards the old casino, and use the bags of consutrction material (or one of the burned out vehicles) as cover. From this position, eliminate any remaining attackers using grenades, rockets, and anything else you have available. When you are sure that no more attackers are present, go towards the entrance of the casino and take cover.
![]() Jacob has worked out an escape plan, and tells you to "keep your eyes open."
Jacob has worked out an escape plan, and tells you to "keep your eyes open."
Launch some grenades into the casino, then move inside and eliminate the survivors. Some of the attackers are hard to get because they are using cover, and one option is to stand well away from the entrance, and fire some rockets using the RPG. Be sure to collect the health kit on the wall to your left as you go into the casino.
Thankfully, there aren't as many goons inside the casino as there were outside. Once everyone is dead, make your way towards the doorway at the end of the room, and a cutscene begins. Pegorino attempts to escape via the roof, so chase him up the stairs (keep going left) and use the fire exit to get on to the roof. Kill the two goons on the roof and then slide down the ladders.
Run forward and use the bags of construction material as cover. Eliminate Pegorino's goons, and keep moving forward using cover wherever possible. There is no time limit at this part, so you can take as long as you wish. When you reach the road at the end of the casino, more of Pegorino's goons arrive in a car. Try to eliminate them using the RPG before they can get out, otherwise just kill them individually.
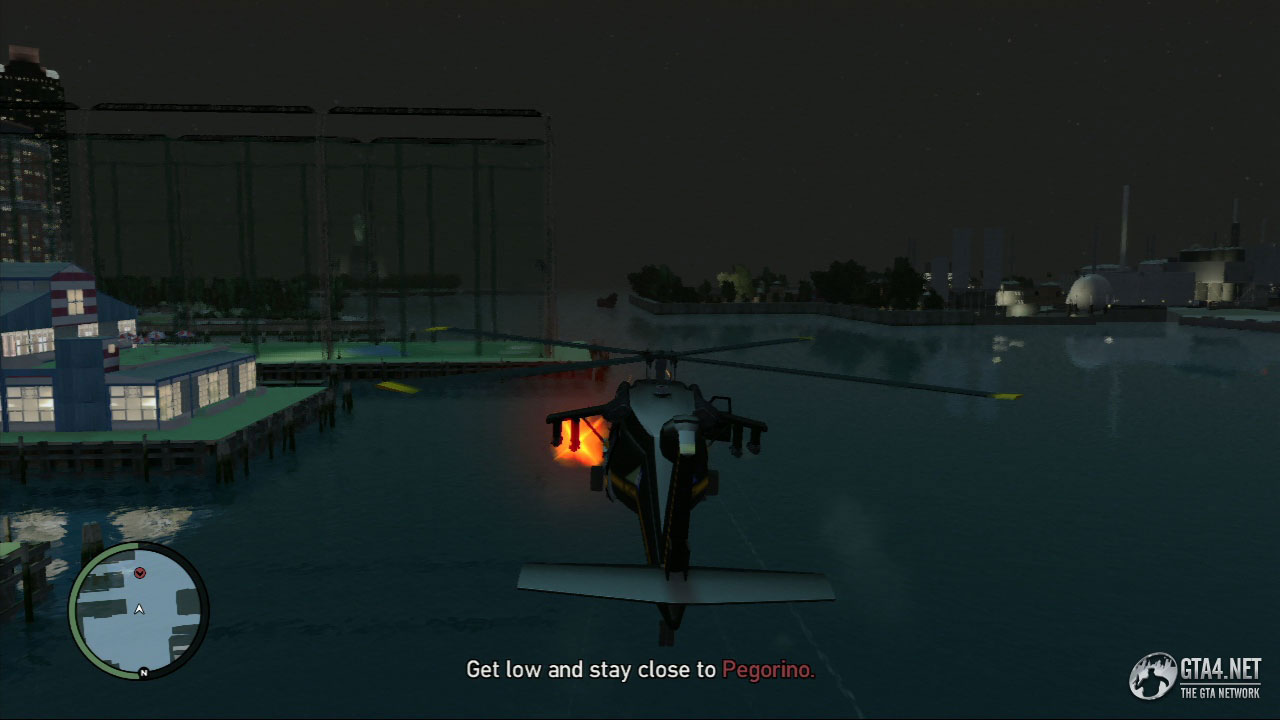

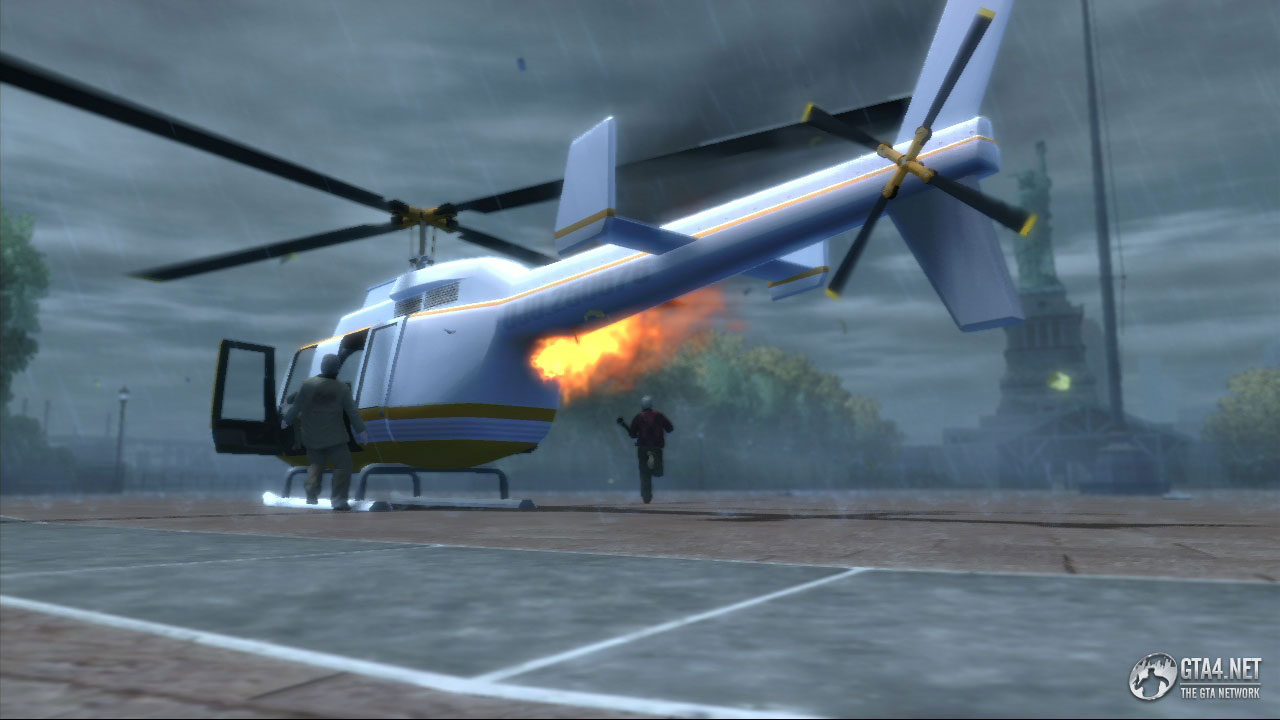
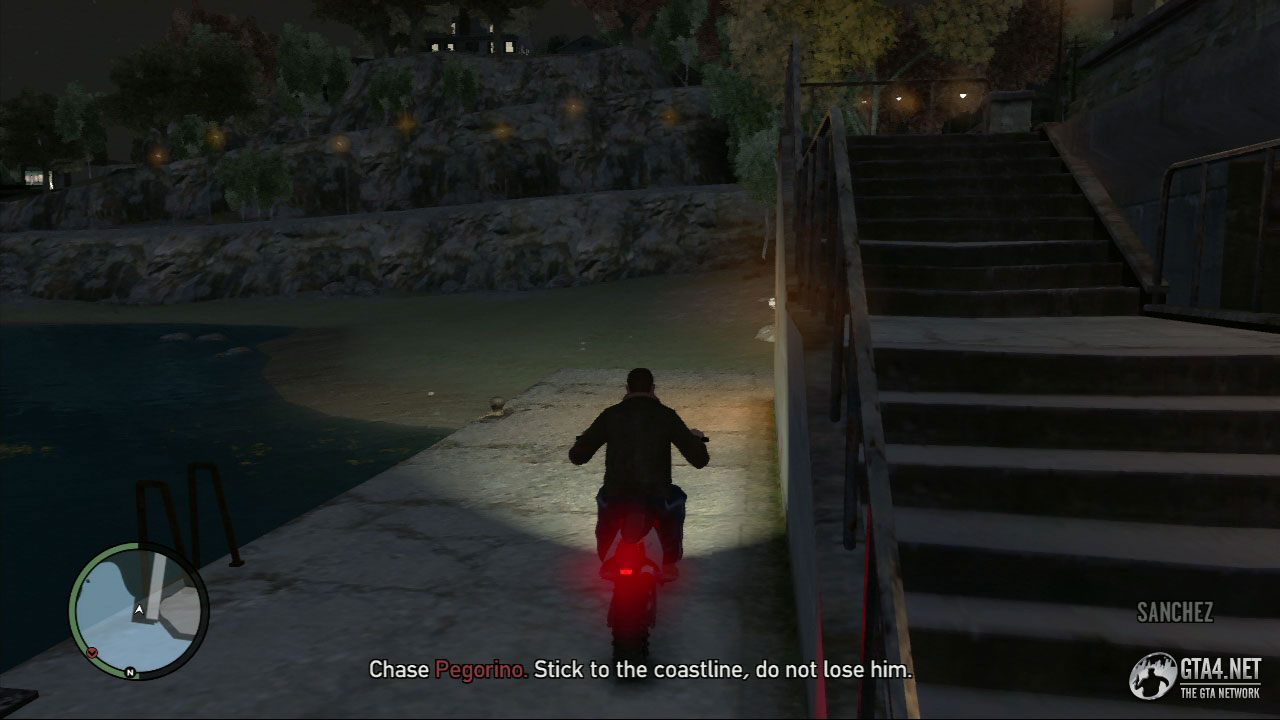
When you reach the jetty, Pegorino escapes in a speedboat. Get on the Sanchez, stick to the coastline and begin chasing Pegorino. You don't need to go at top speed, but don't go too slow either or Pegorino will get away. Eventually, a chopper arrives carrying Jacob and Roman, and you need to accelerate off the Jetty to get on to the chopper. Climb onto the chopper, stay close to Pegorino, and begin firing miniguns at his boat (don't descend the chopper too quickly or you'll end up in the water!).


Eventually, Pegorino's boat catches fire. One of his goons fires a rocket towards the chopper, which then also catches fire. Pegorino's boat and the chopper come to a stop on Happiness Island. Begin chasing Pegorino, and kill any cops who get in your way - if you're low on health at this point then it's better to shoot them than ignore them. Follow Pegorino onto the grass below the statue and finish him off. Watch the final cutscene as Niko gets his revenge.