![]()

In this chapter, Niko has an opportunity to work under mobsters Ray Boccino, Phil Bell and Jimmy Pegorino. The mafia agrees to help Niko look for the person that betrayed him in exchange for doing some work. This chapter also sees Niko get closer to the McReary family, both in working and social terms.
Mission Guide: Chapter One |
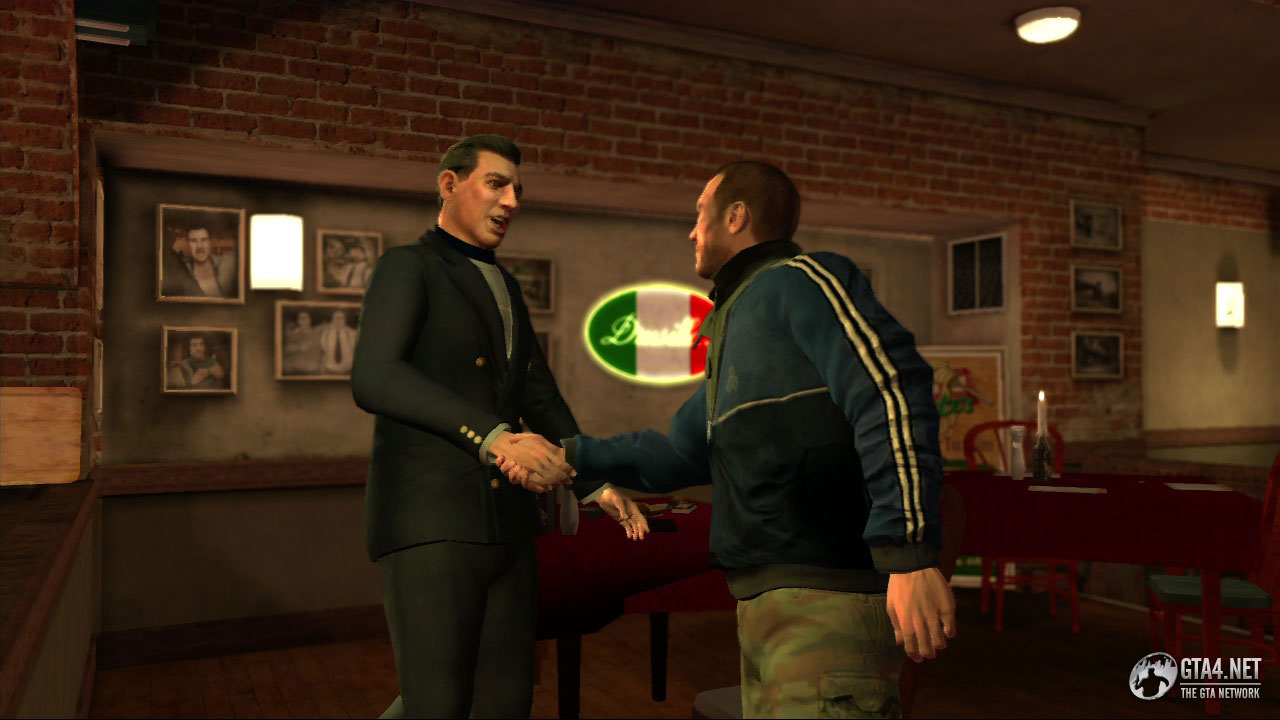
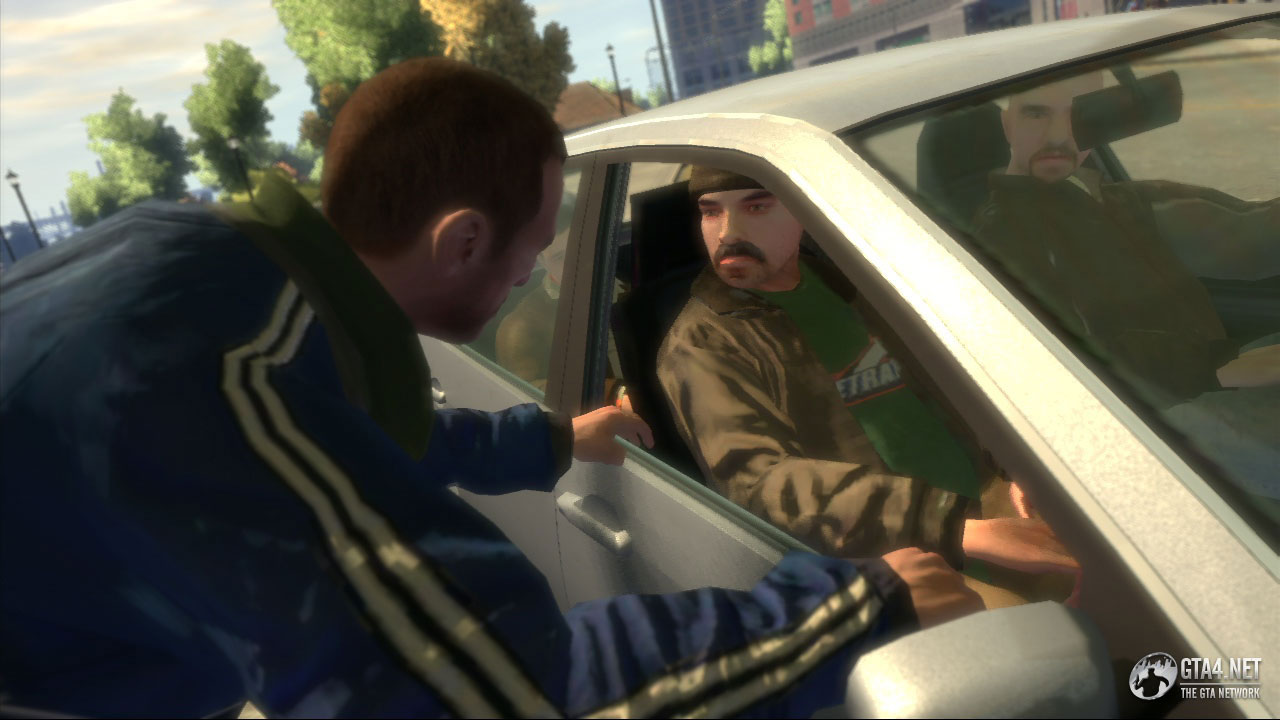
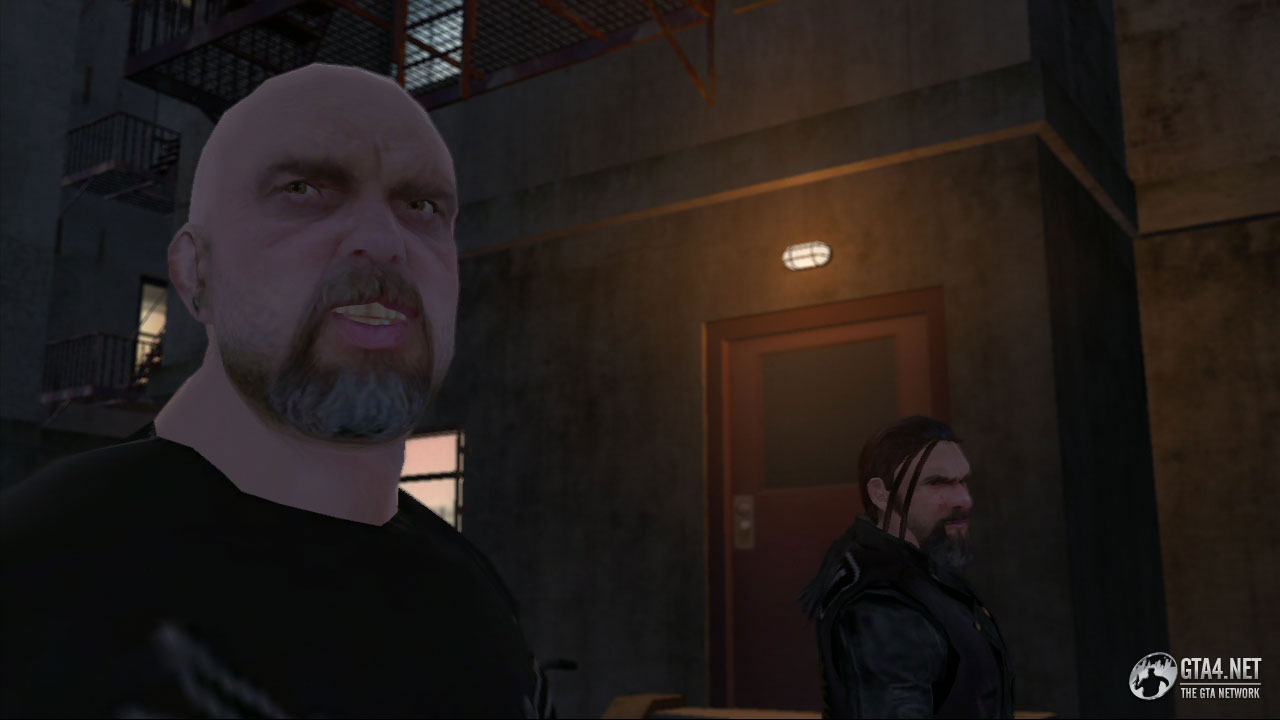
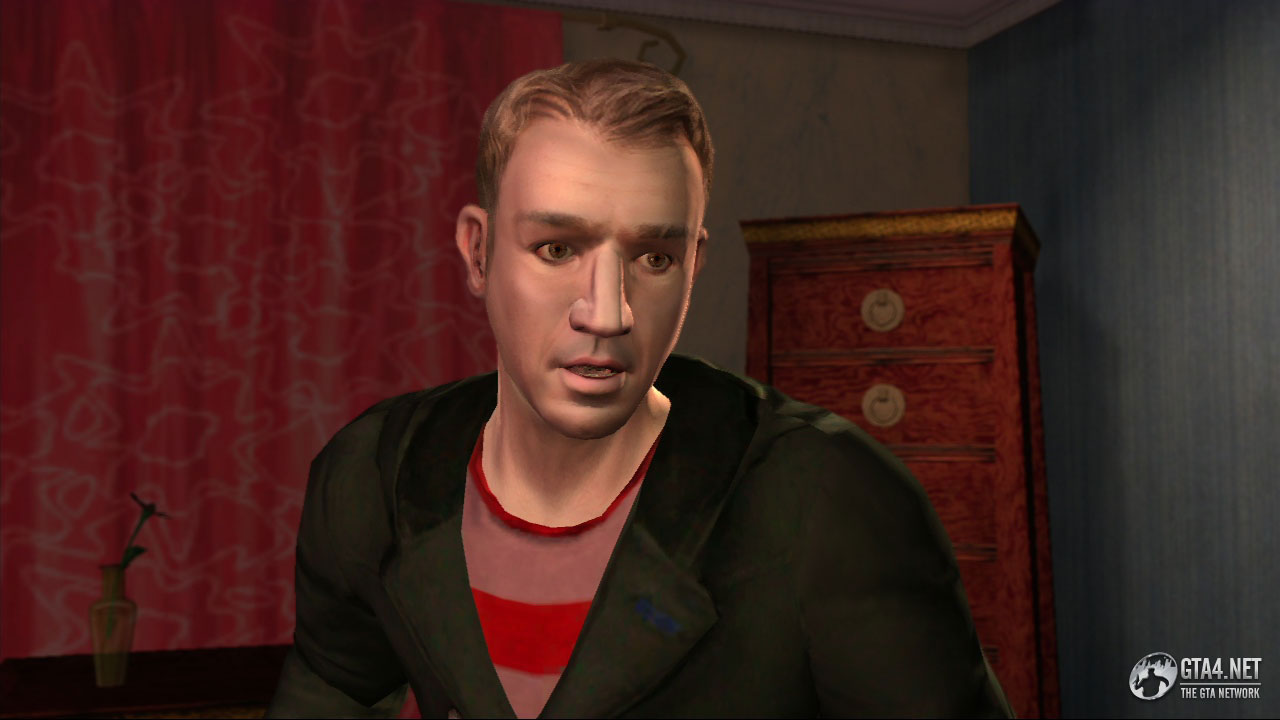
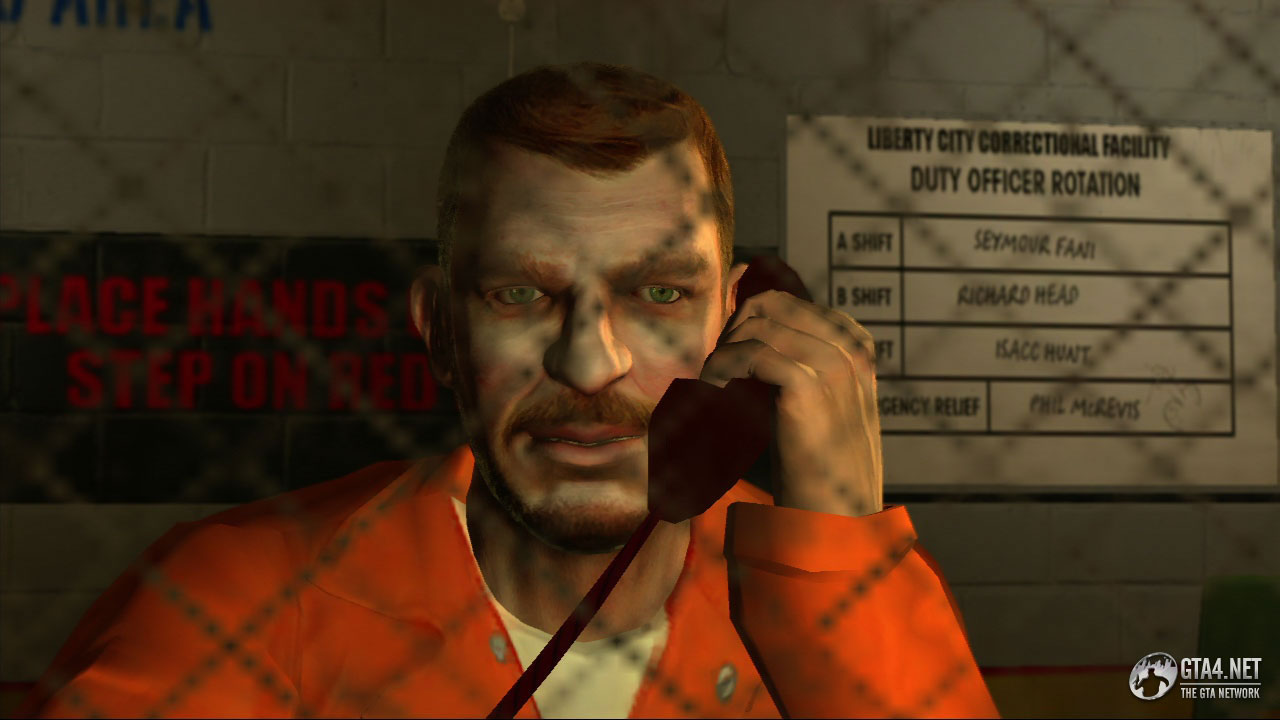
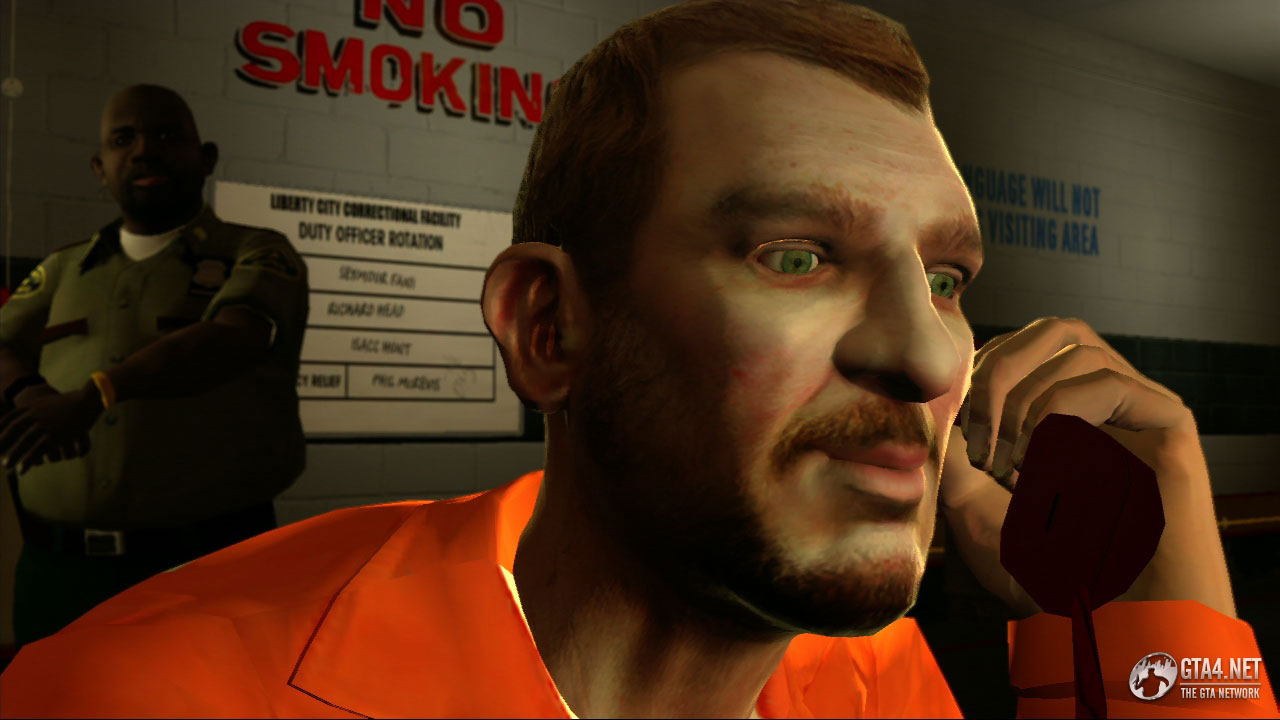
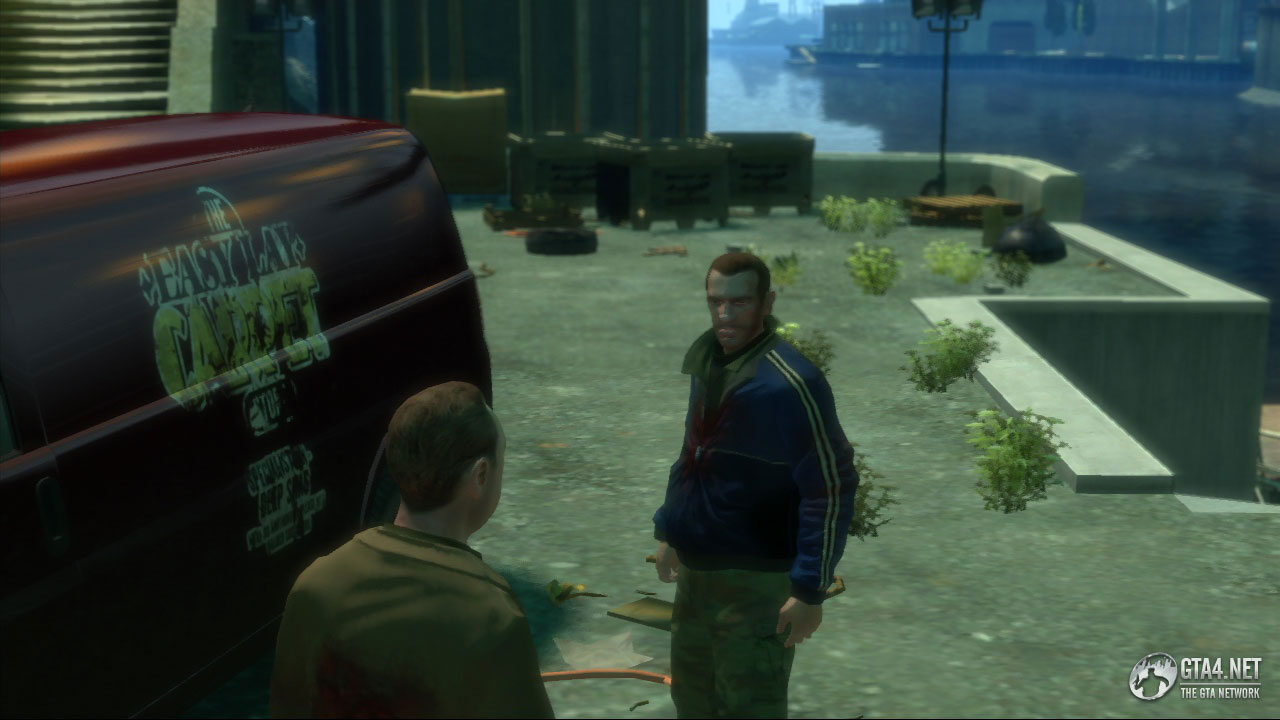
Ray wants Niko to take care of a friend "who is no longer a friend." He's called Teddy Benevides, and he can be found at the projects on Galveston.
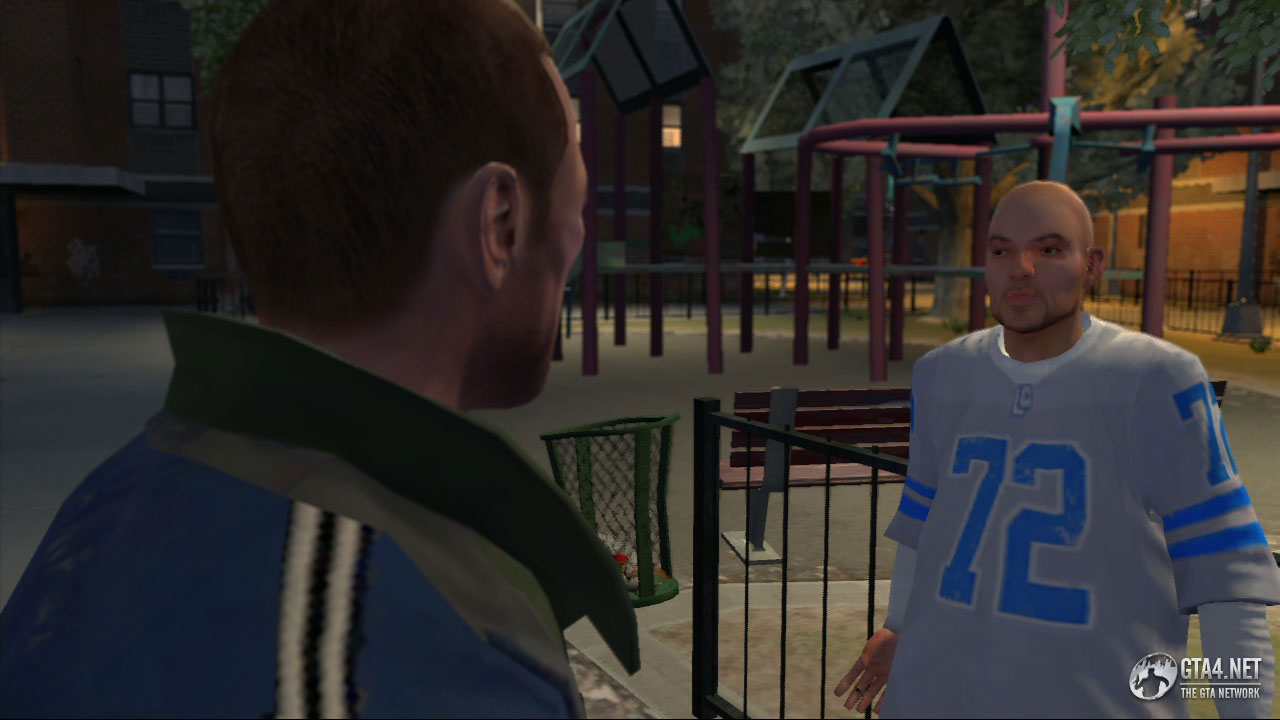
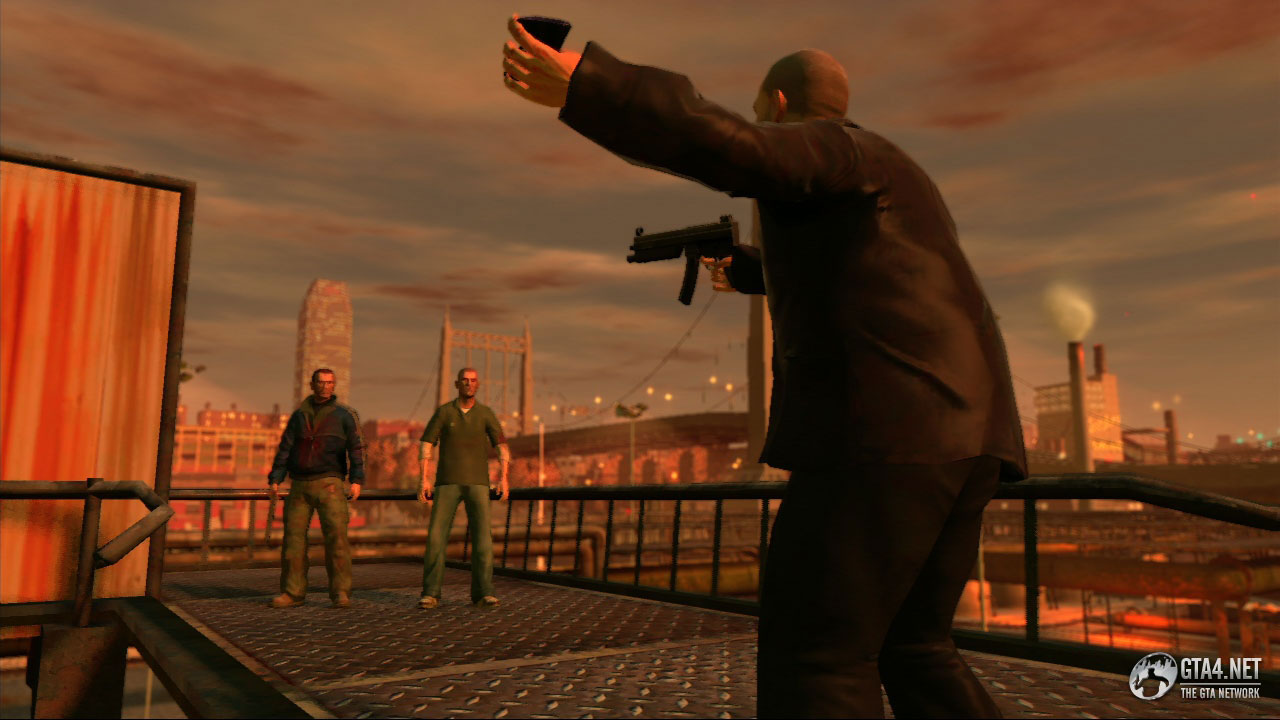
![]() When you reach the projects, Ray sends a text message containing a picture of somebody called Alonzo. Alonzo should have information on Teddy's whereabouts.
When you reach the projects, Ray sends a text message containing a picture of somebody called Alonzo. Alonzo should have information on Teddy's whereabouts.
Go to the projects, talk to Alonzo and ask if he knows which apartment Teddy is in. Alonzo is unwilling to cooperate, so target him to make him talk. Go inside the building and use the elevator to reach the 20th floor - you have to walk the last few floors due to work being carried out on the elevator. Meanwhile, Alonzo calls Teddy to inform him that you are on your way up, so be prepared for a shootout with Teddy's gang.
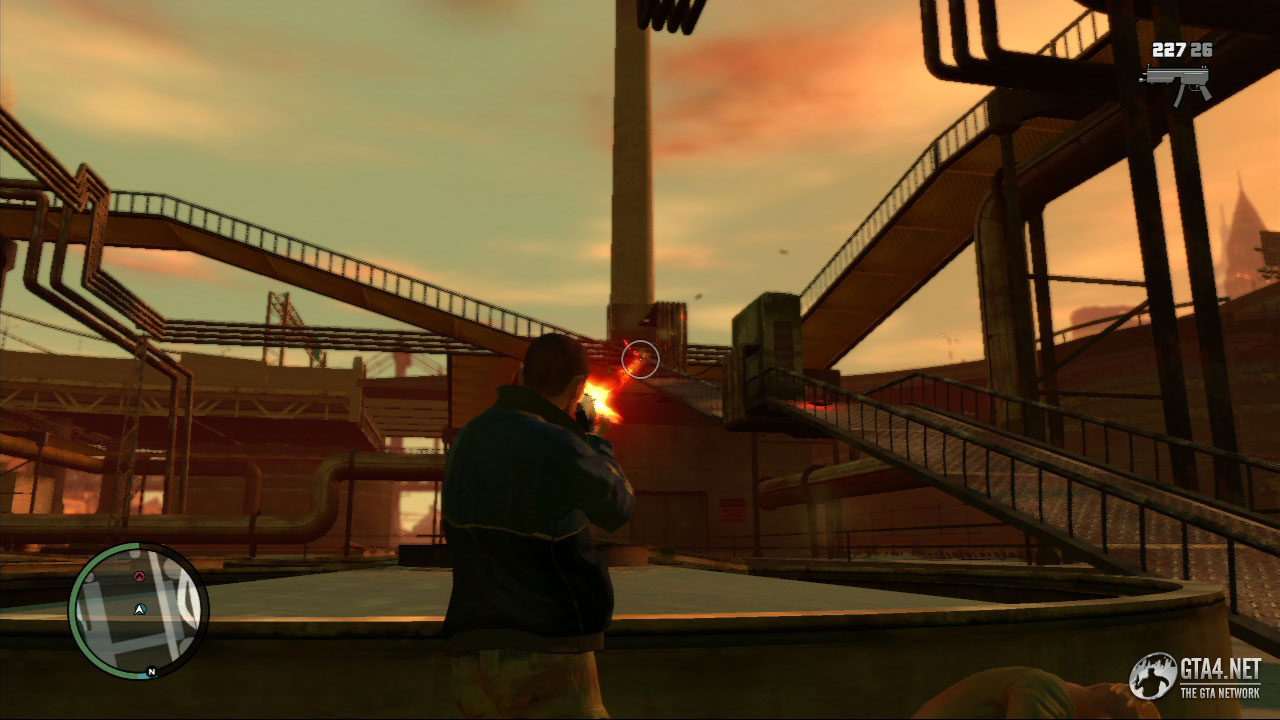
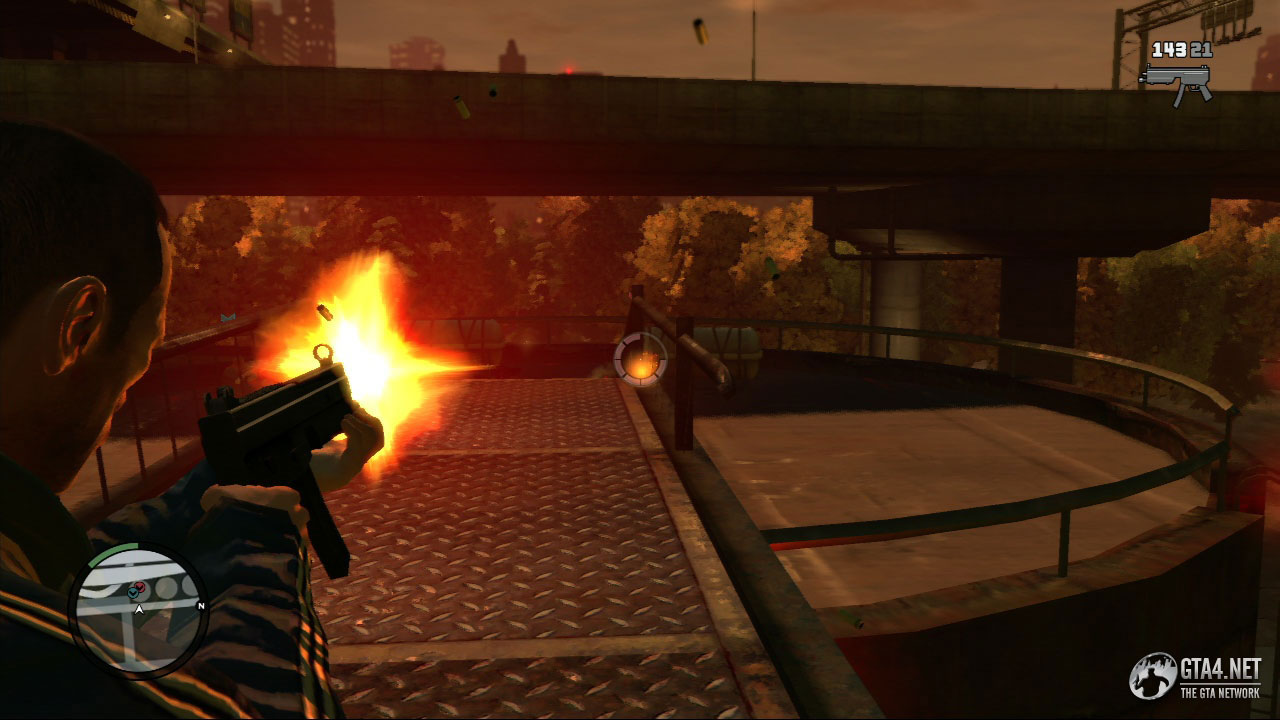
Take cover when you exit the elevator, and elimimate all of Teddy's goons. When you leave the elevator area, there are two goons to your left and one taking cover behind a wall on your right. Make your way towards the stairs, and fetch the first aid kit if you need health. There is one more goon on this floor, and one additional goon situated on the stairs which lead to the next floor.
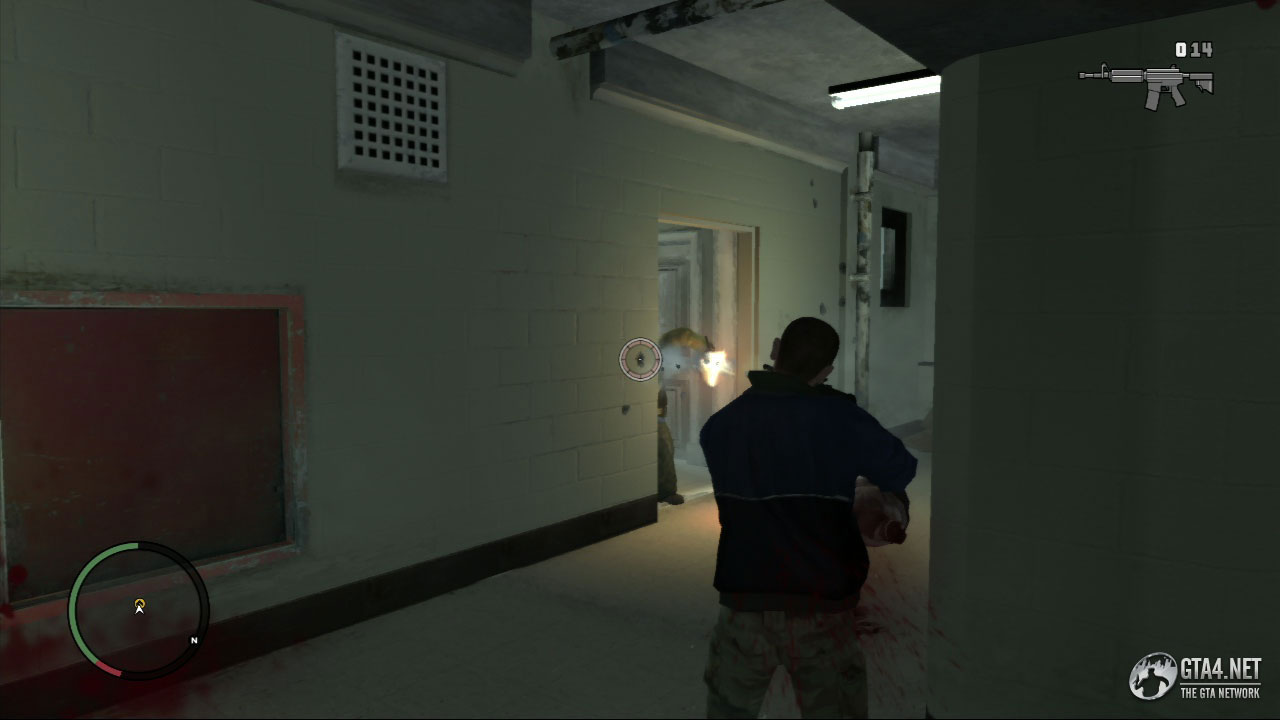
As soon as you reach the next floor, another goon will approach you, and later another one will approach from behind. There are more goons taking cover to your right, next to a room where another first aid kit can be found (grab it if you need it). Approach the stairs leading to the next floor, and remain cautious at all times. A yellow marker on the next floor indicates where Teddy's apartment is.

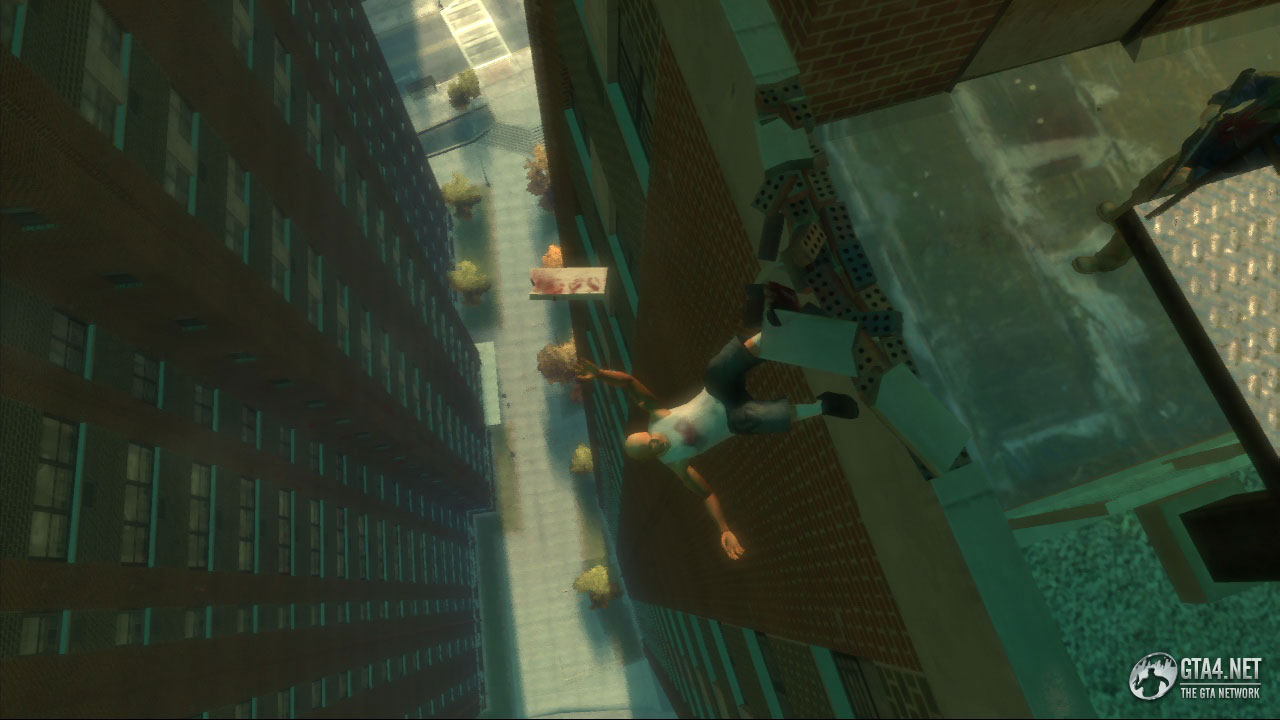
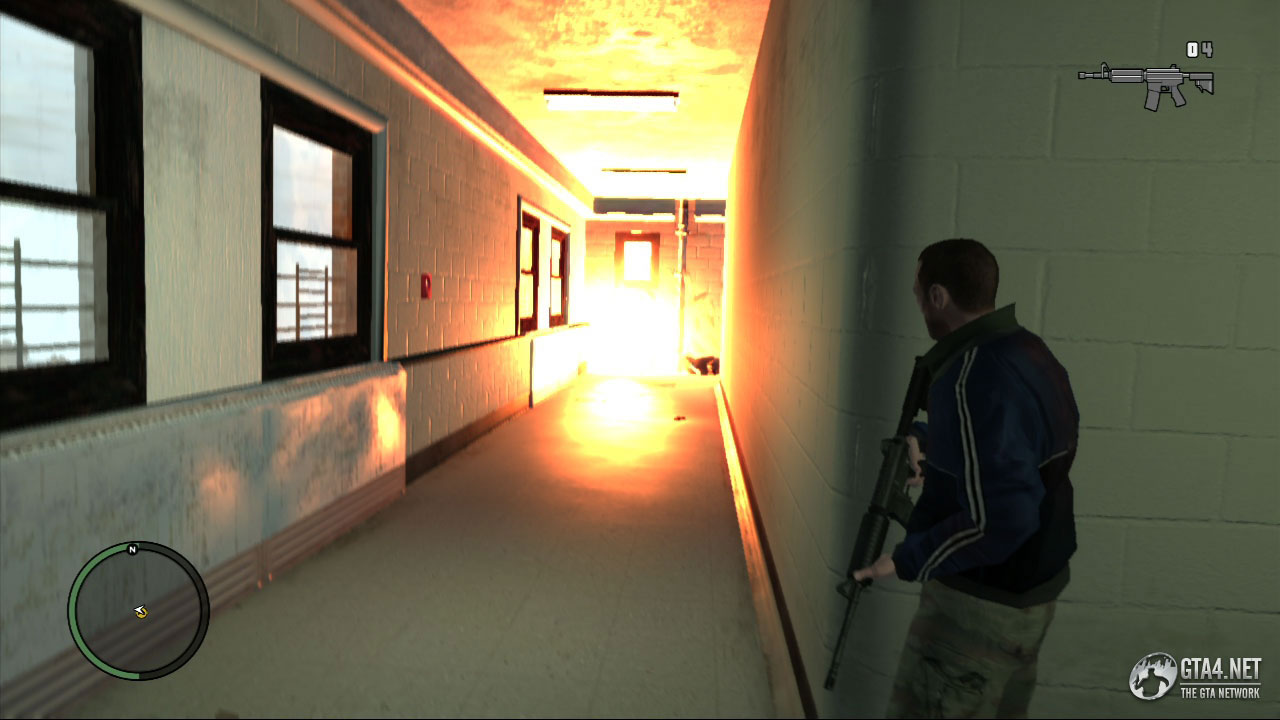
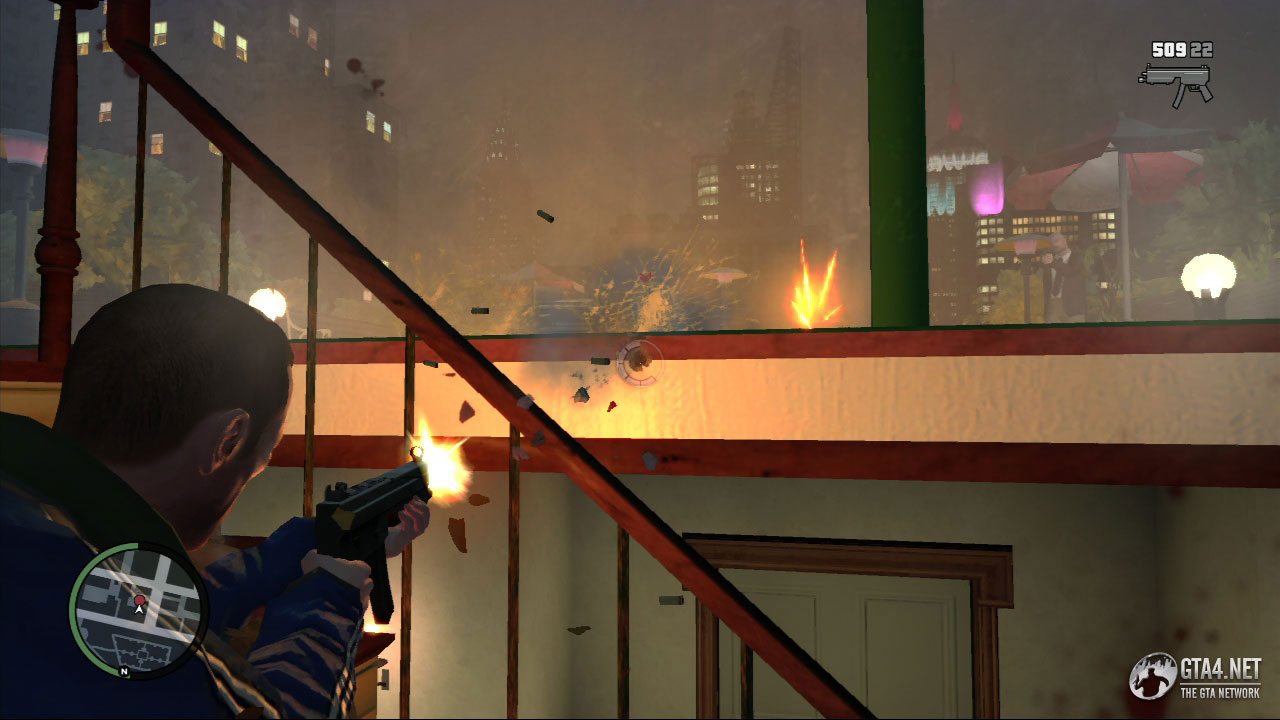
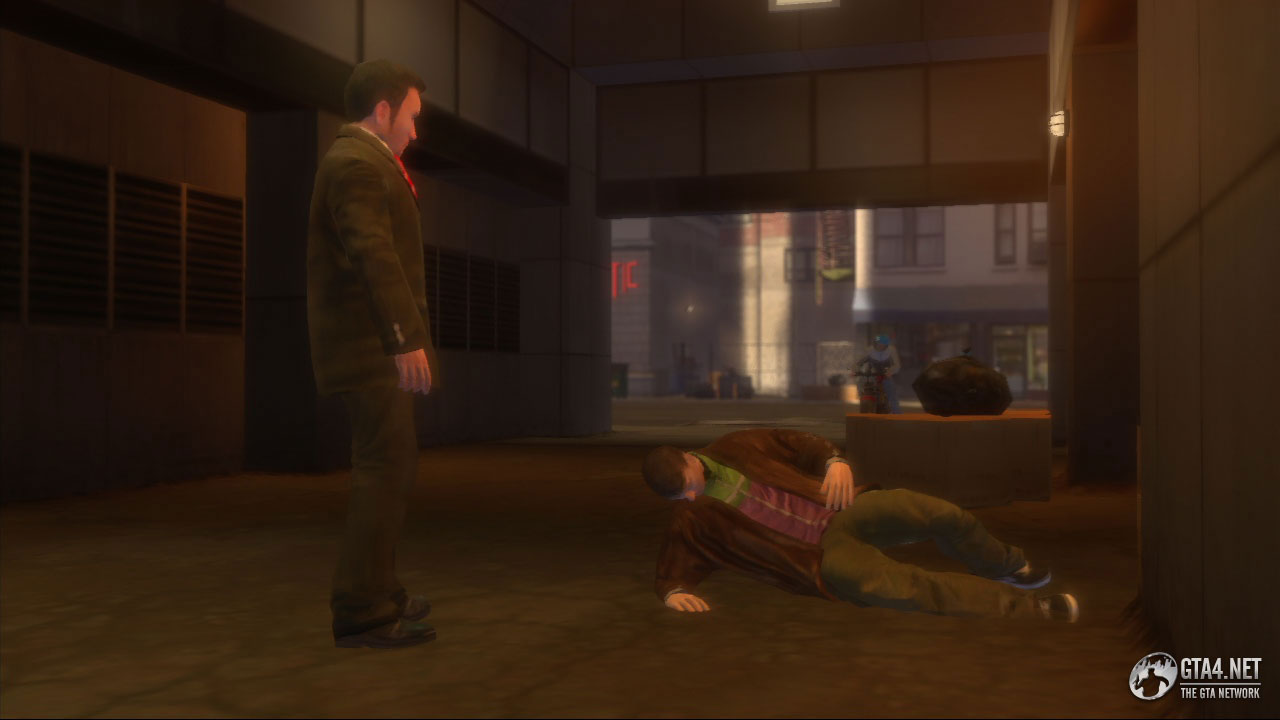
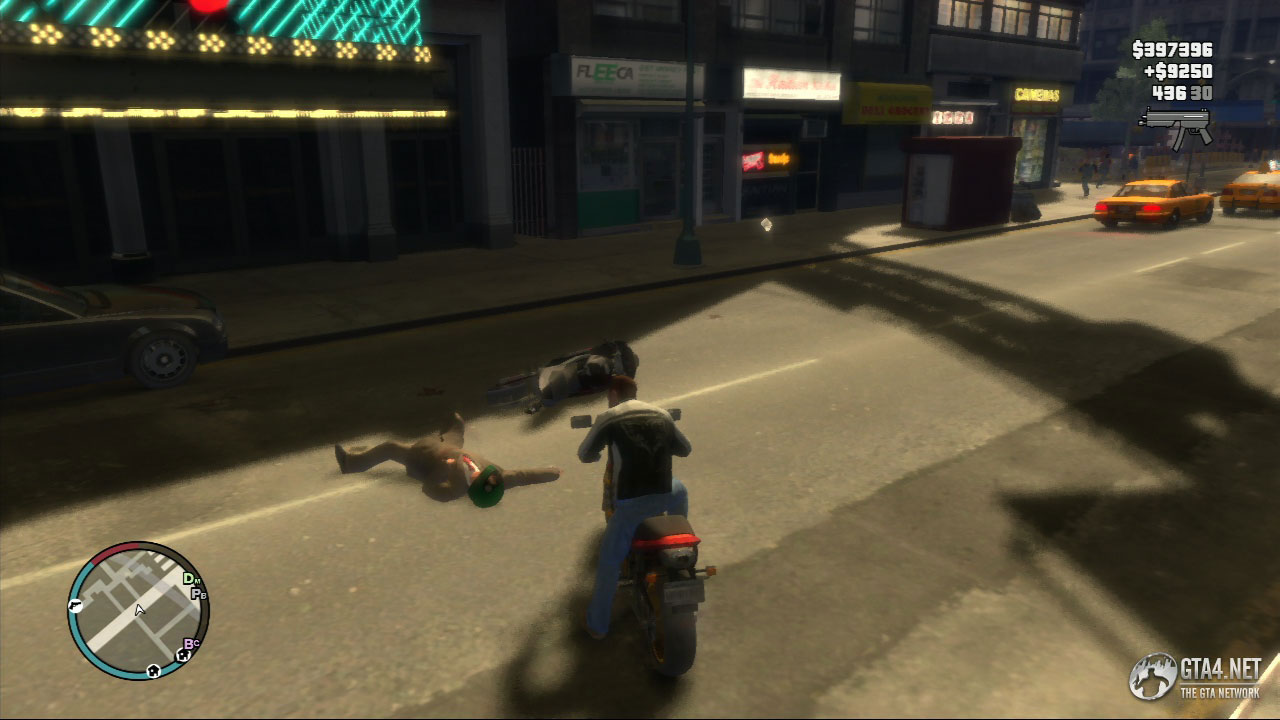
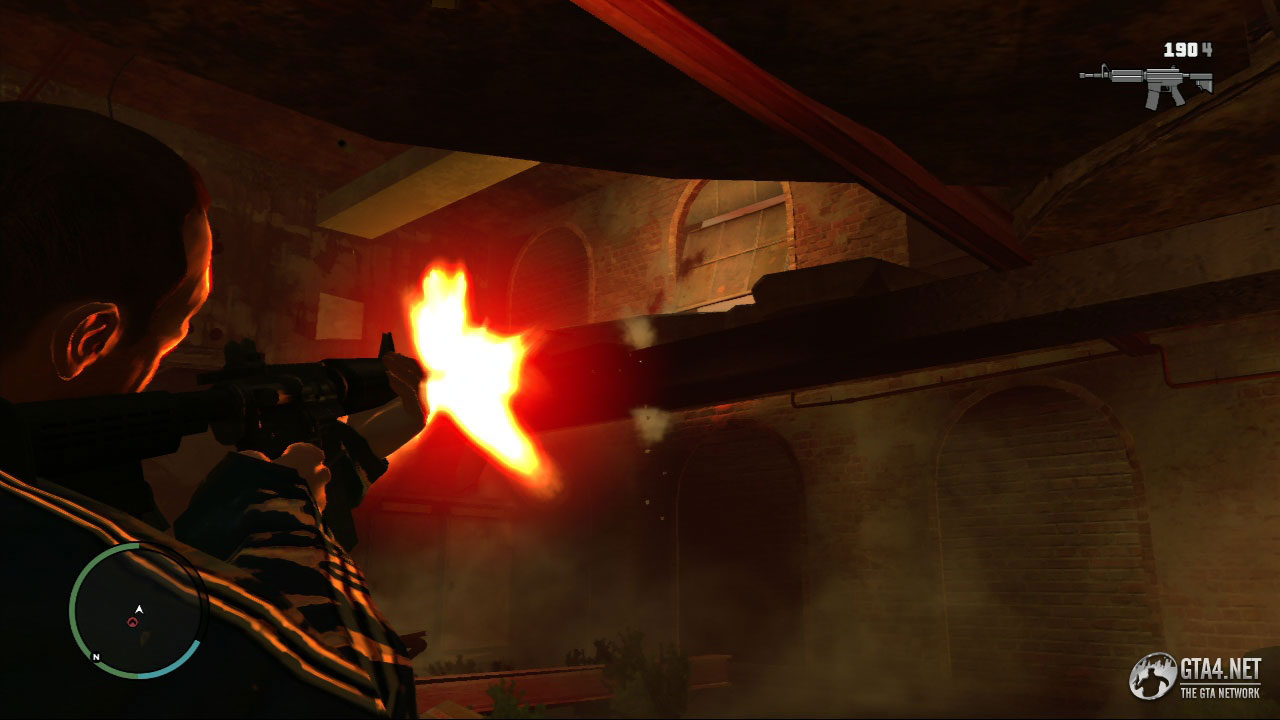
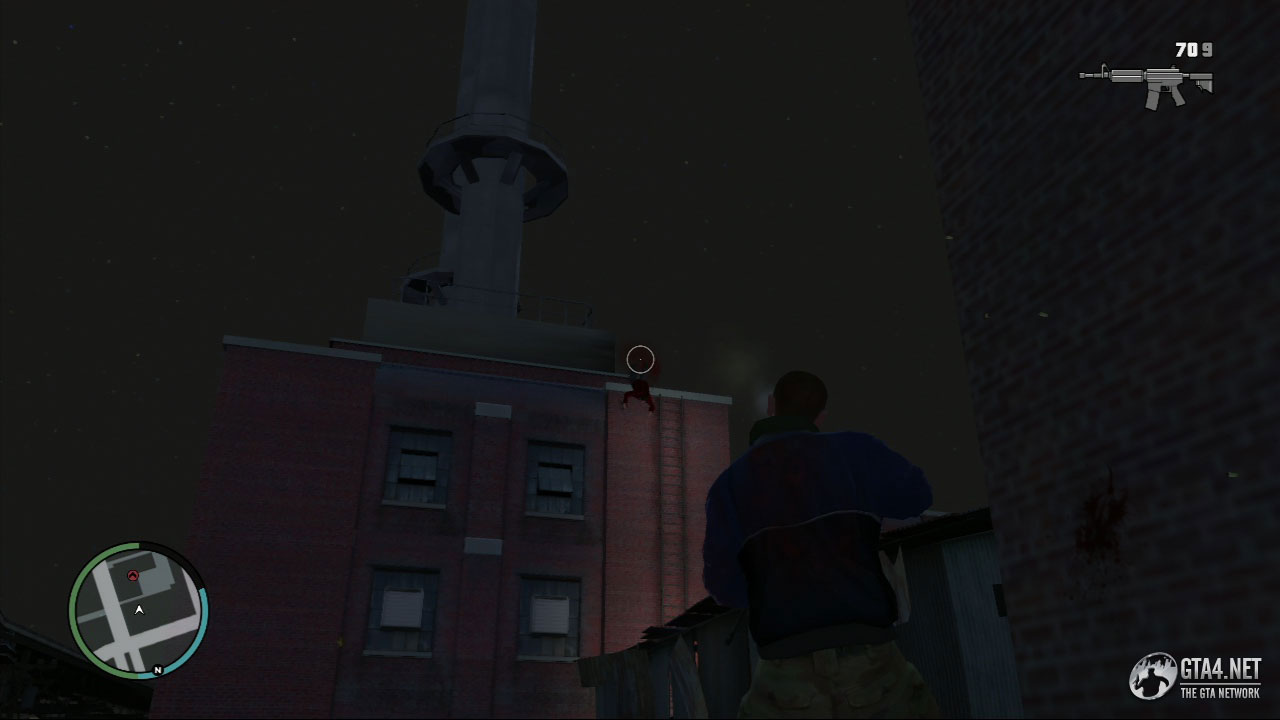
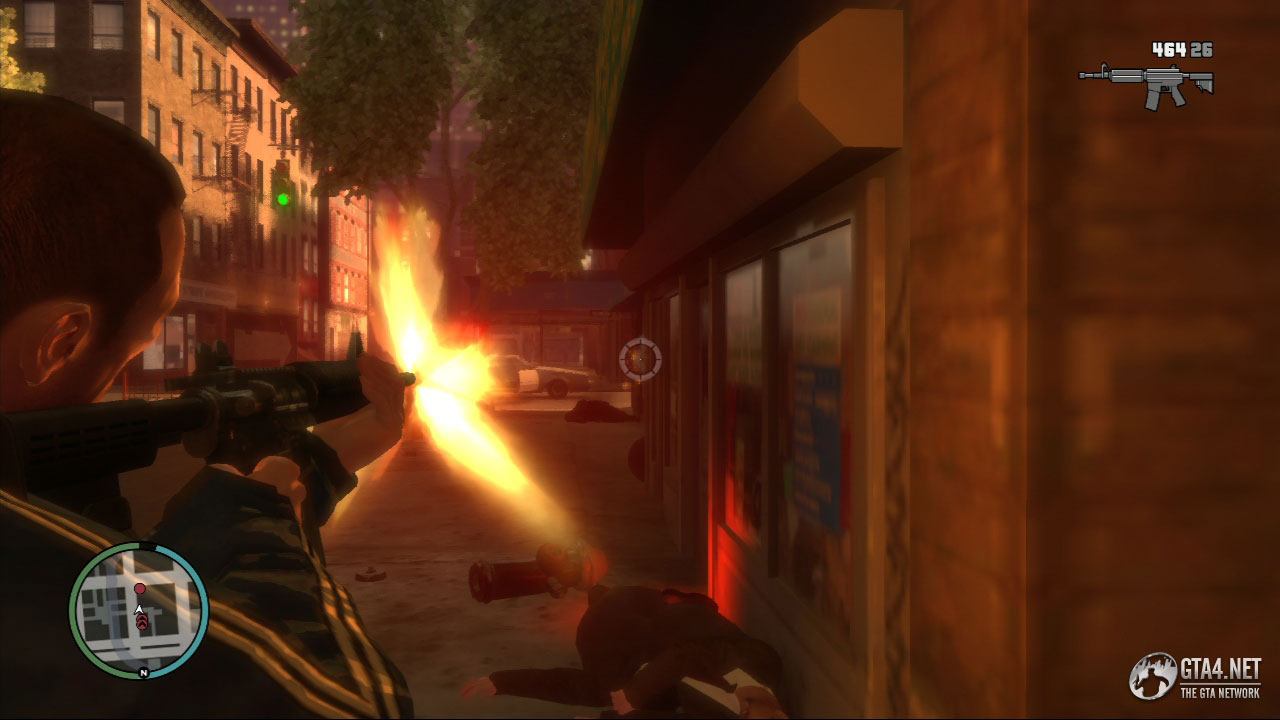
Enter Teddy's apartment and eliminate the three goons inside. Teddy emerges and attempts to escape via the roof. There are two more goons situated on the stairs, and the final goon is waiting on the roof. Once all the goons have been eliminated, Teddy reaches a dead end (he tries to use the fire exit but it's locked) and he doesn't put up much of a fight. Shoot Teddy and watch him fall over the building.
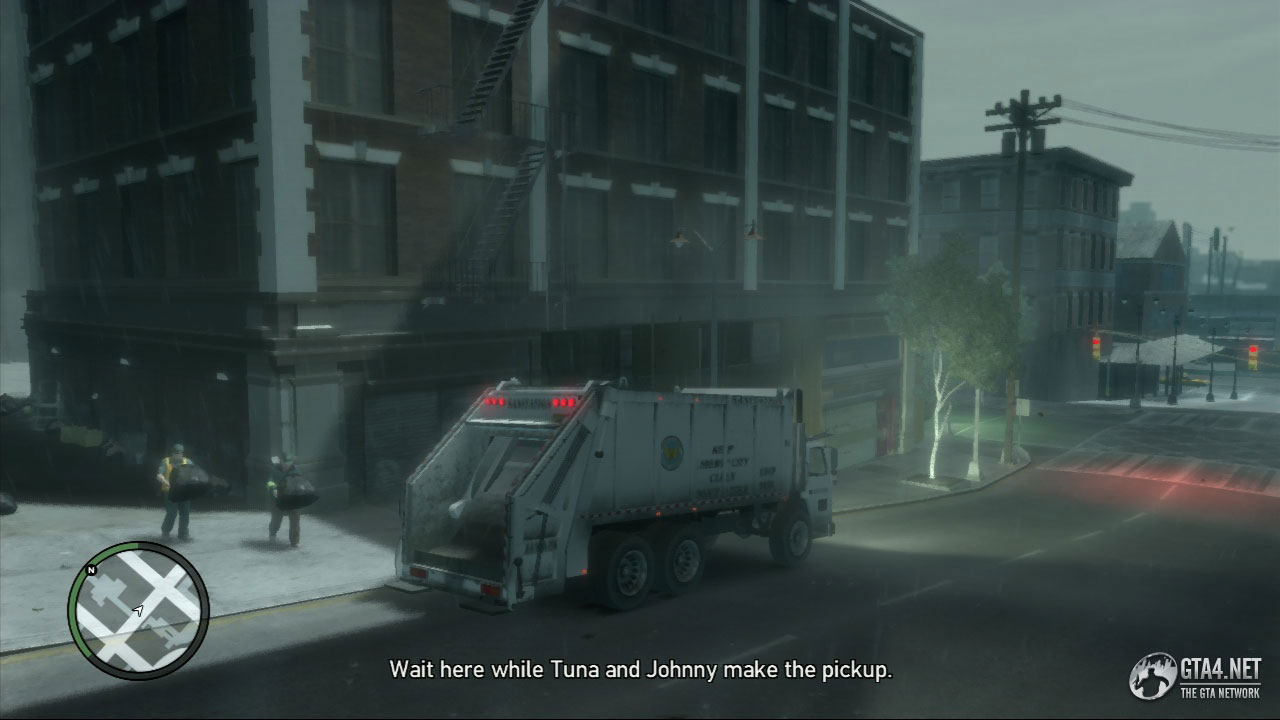
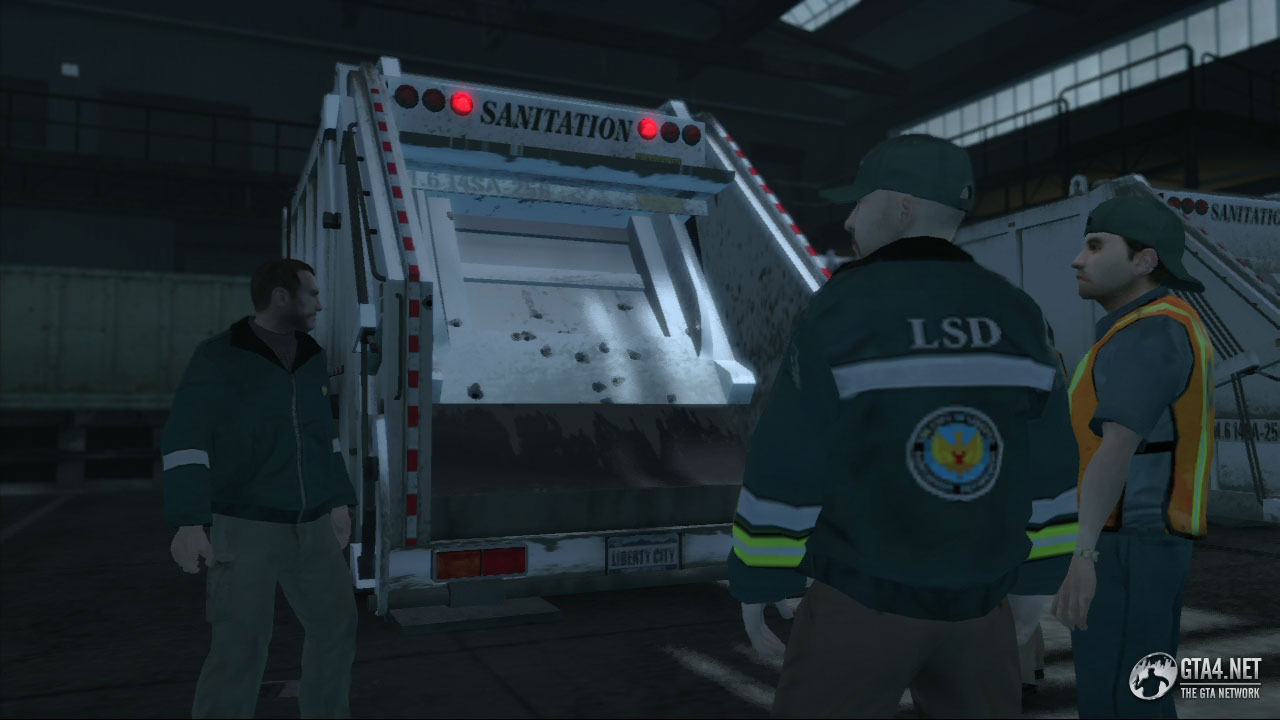
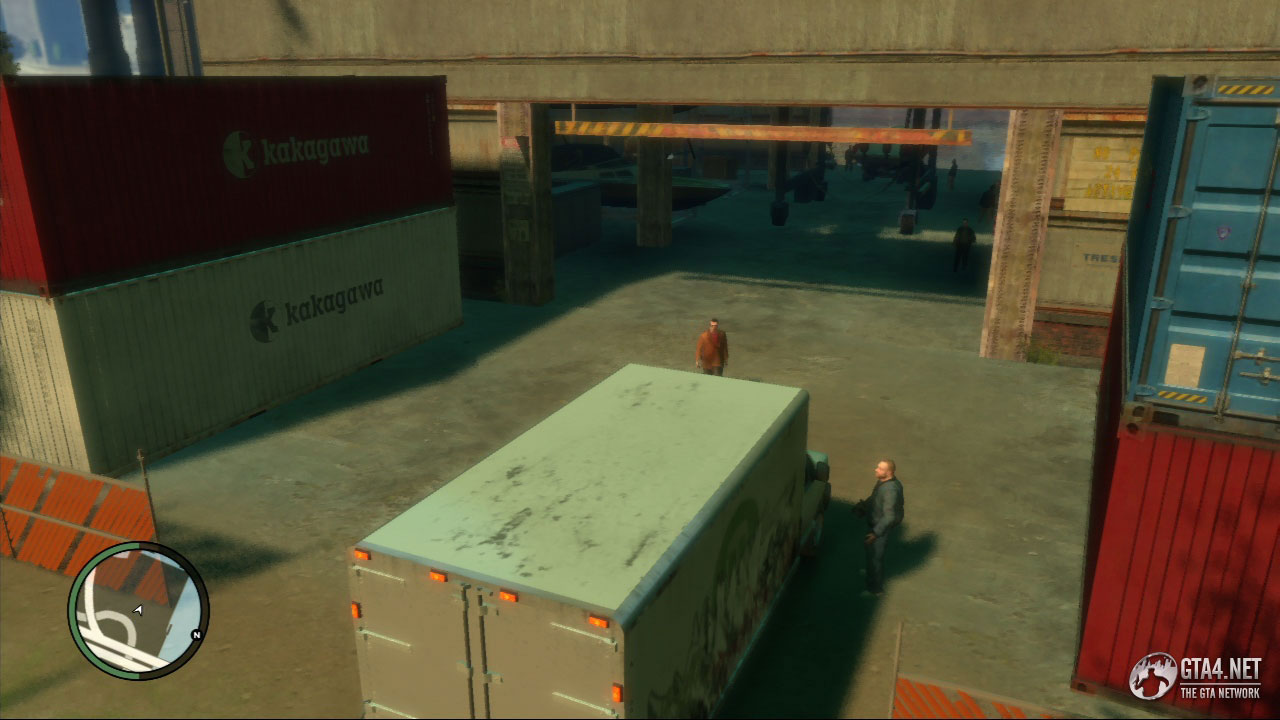
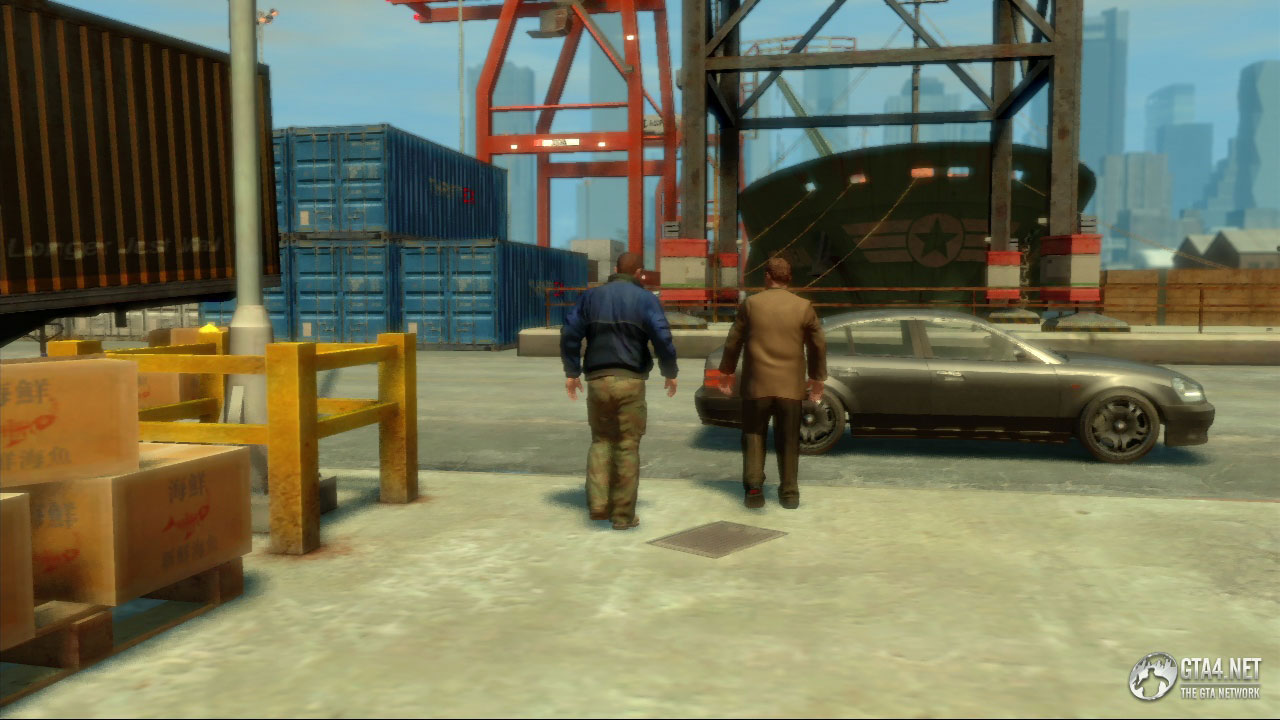
Ray wants Niko to meet some friends of his and collect some diamonds which are hidden in garbage. After the cutscene, Niko is automatically disguised as a trash collector for the task which lies ahead.
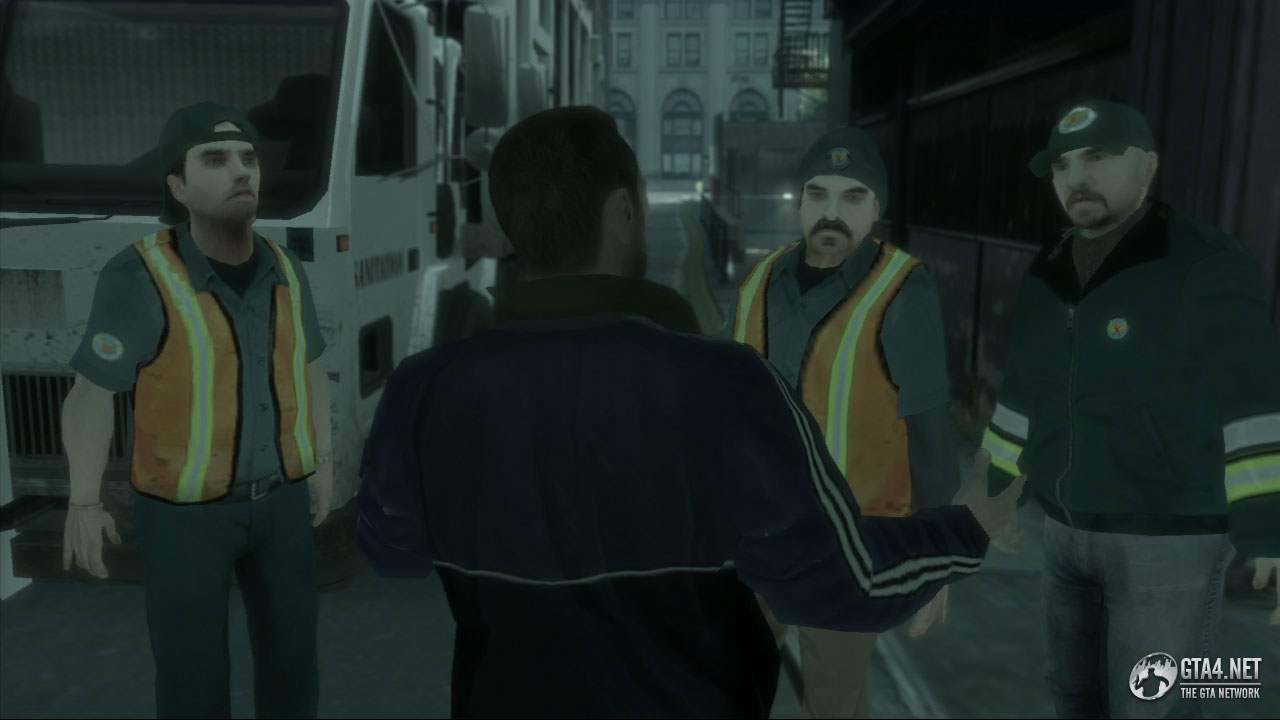
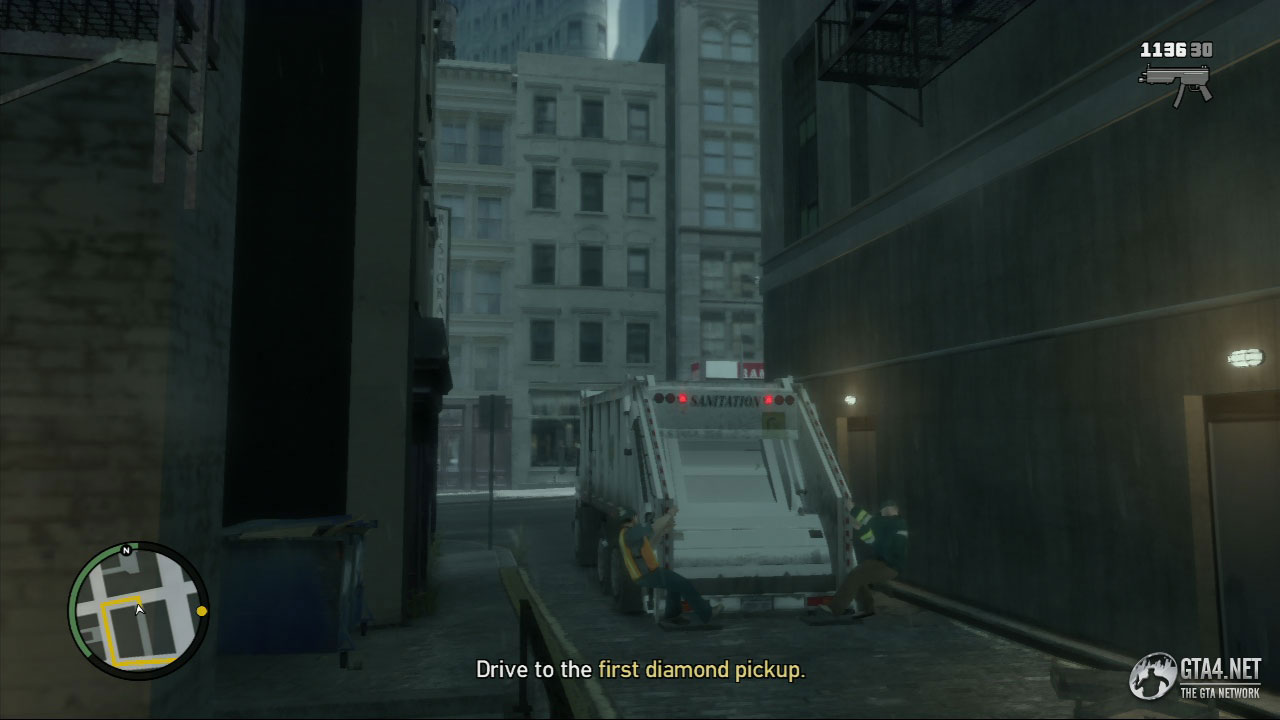
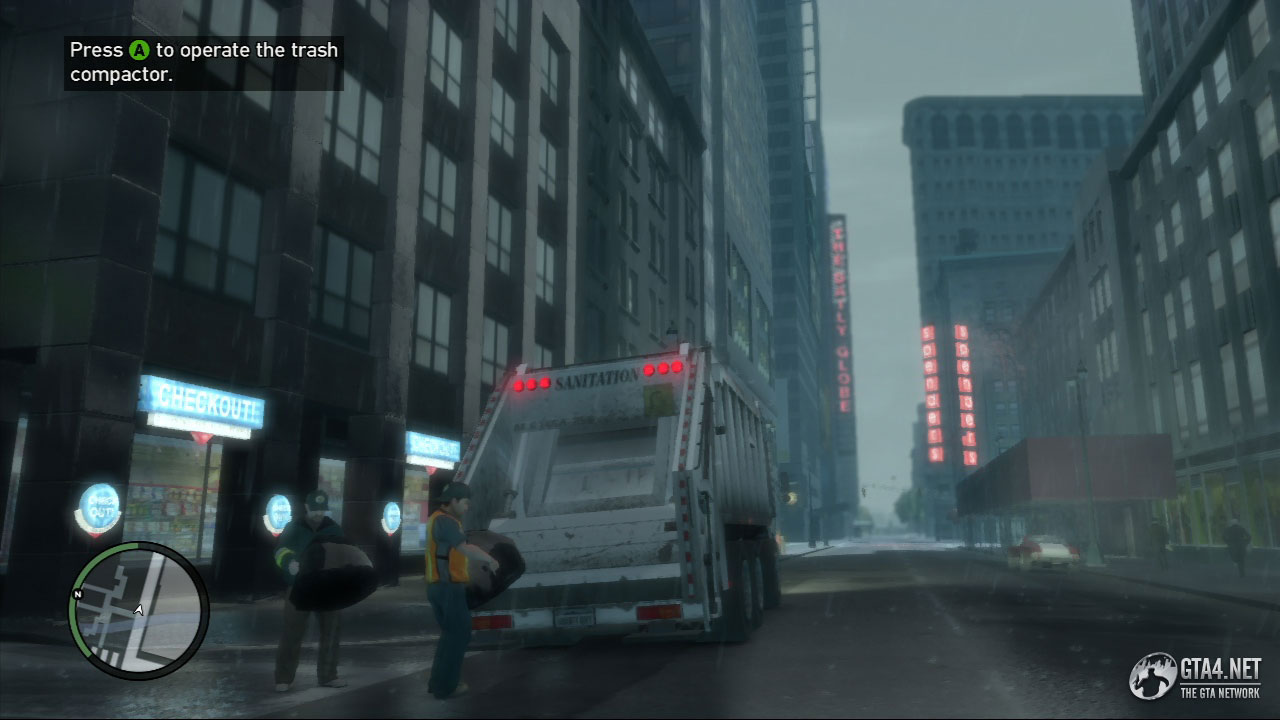
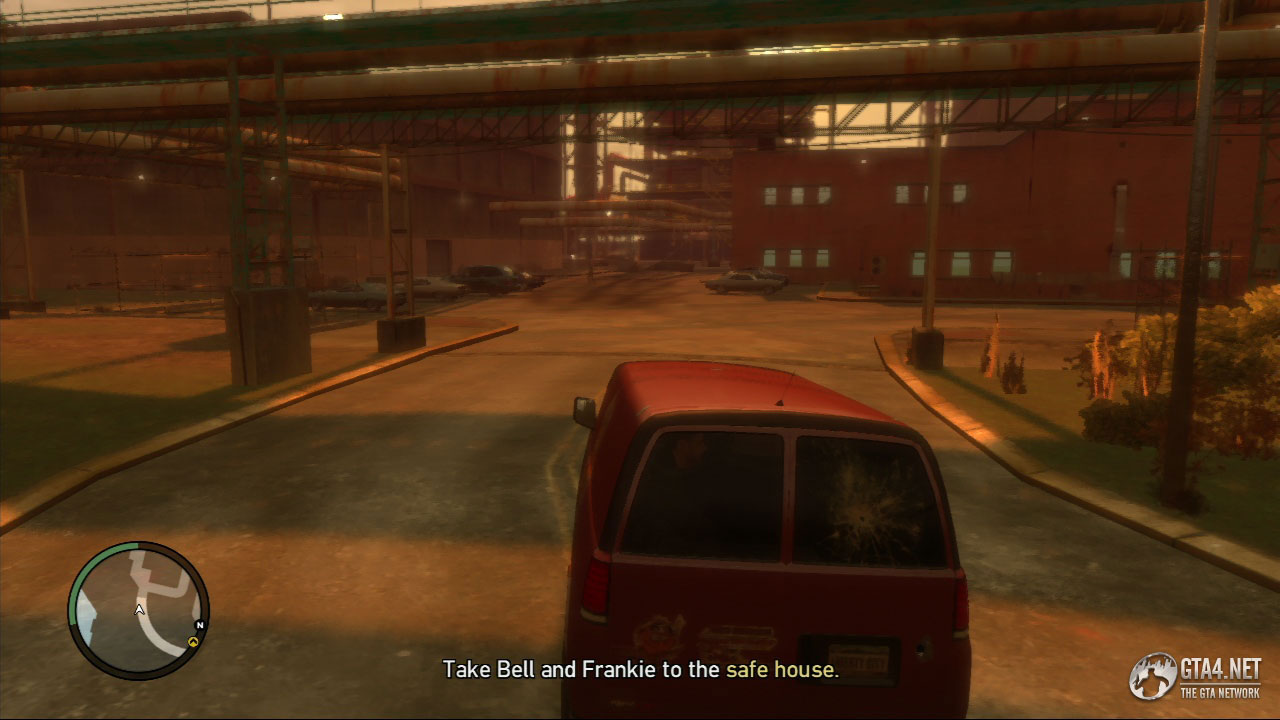
Get in the Trashmaster (indicated by the green blip on the radar) and meet Ray's friends. Drive to the first diamond pickup, which is indicated by the yellow blip. When you get there, stop in the yellow marker and wait for Tuna and Johnny to make the pickup. Once both men are back on the Trashmaster, make your way to the second diamond pickup on Hematite Street.
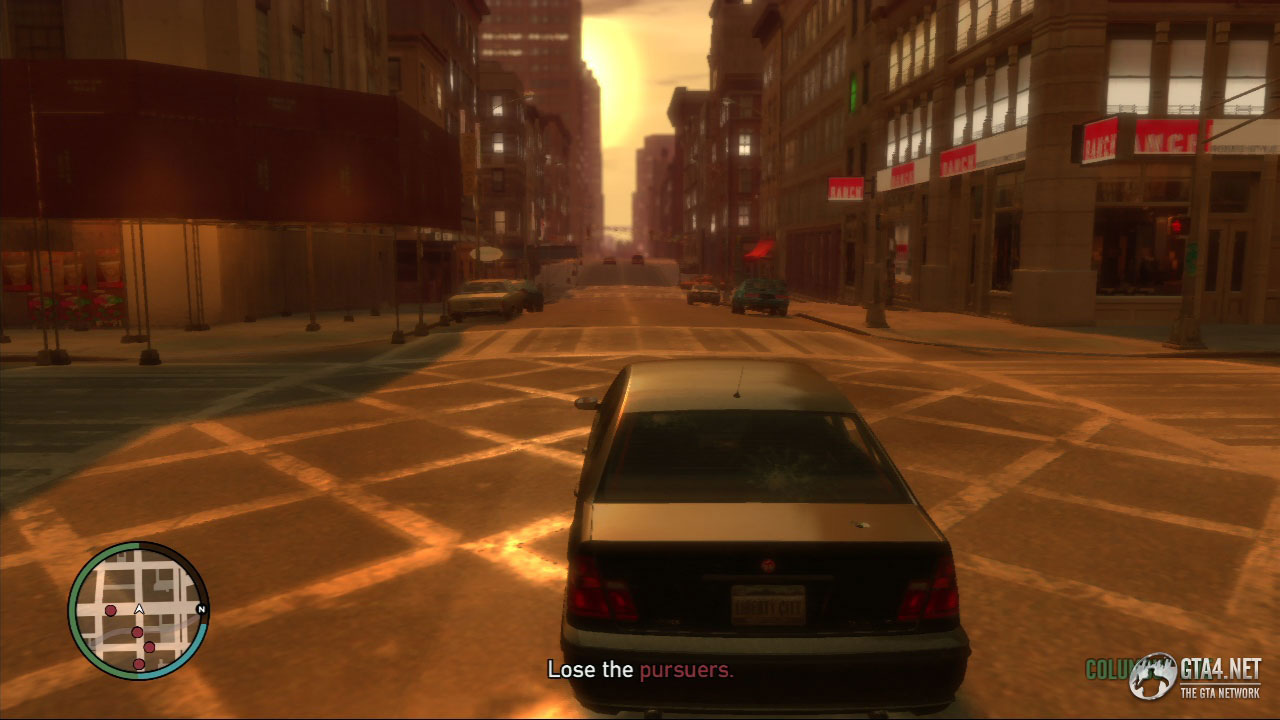
Once the second pickup is made, ambushers arrive and the truck comes under heavy fire. Take the diamonds to the dropoff point in Fishmarket South to complete the mission. It's a short drive, so all you have to do is be careful, take it easy at corners and make sure you don't crash. The chasers will stop once you reach Union Drive East.
It becomes apparent that Luca and his buddies have ripped off Niko and Ray. Ray wants Niko to go to Luca's hangout in Castle Gardens and get the diamonds back so that everyone can get paid. After the cutscene, find a vehicle and go to Castle Garden City, and stop in the yellow marker.
Niko approaches the vehicle holding Luca and his gang, but they deny stealing the diamonds before driving off. Get in the car and begin chasing the gang, but don't kill Luca - you'll need him alive in order to get the diamonds.
It's a long chase which requires concentration and a bit of patience. Eventually, the gang crash their vehicle next to the fountain in Middle Park. Take down each of the gang members using cover where necessary. Once the first three have been eliminated, head down to the toilets where Luca is hiding.
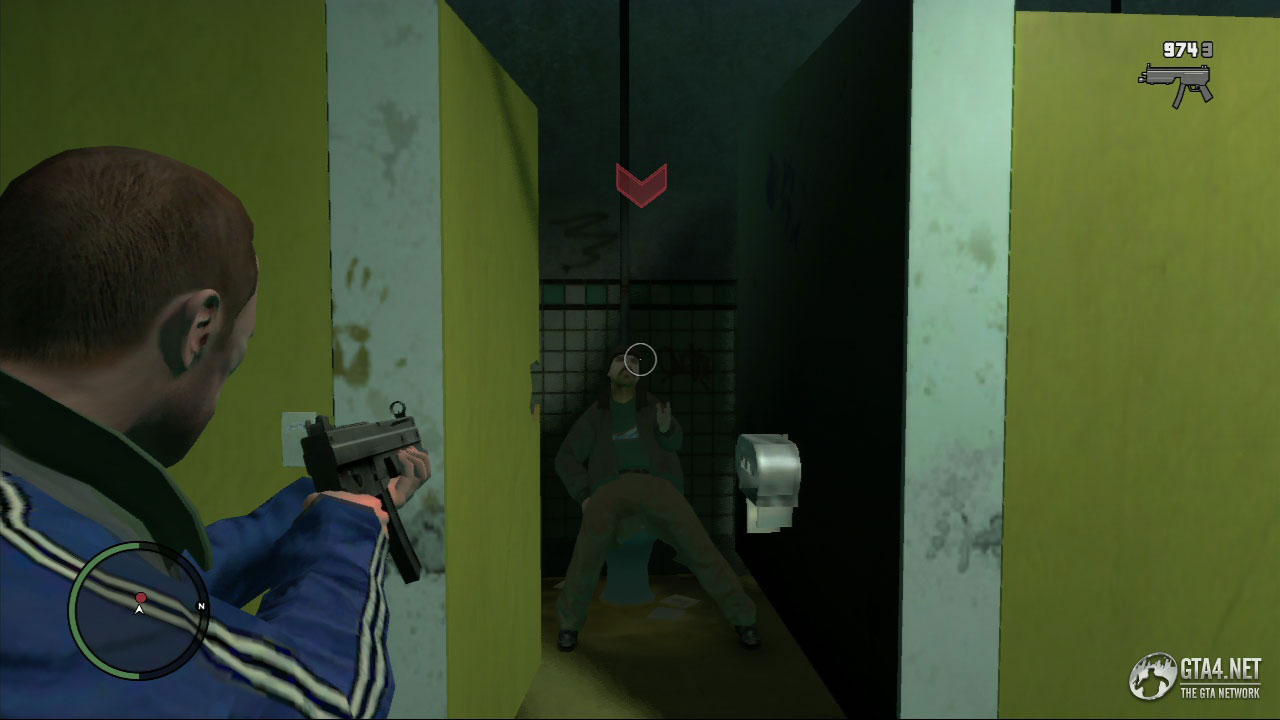
Shoot each of the doors to find where Luca is hiding, and then finish him off and collect the diamonds. Niko calls Ray to update him on what's happened, and tells him to meet him at the bridge in Middle Park. Meet Ray and hand over the diamonds to complete the mission.
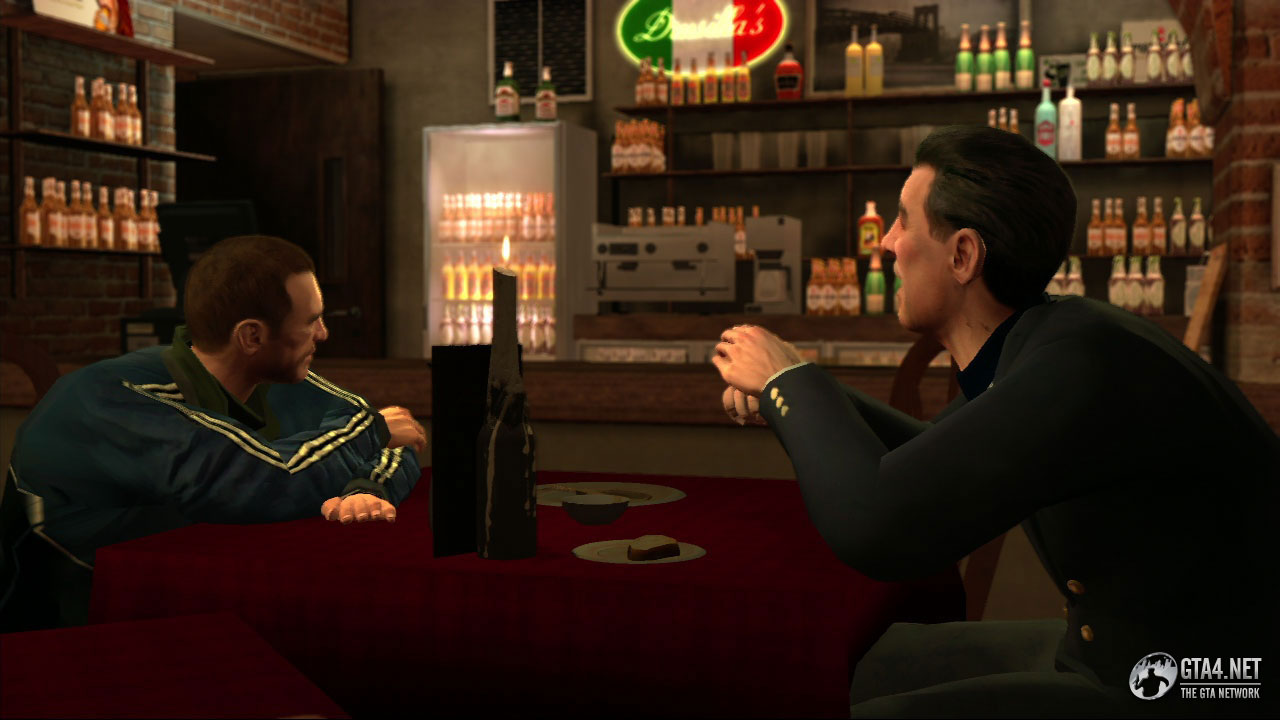
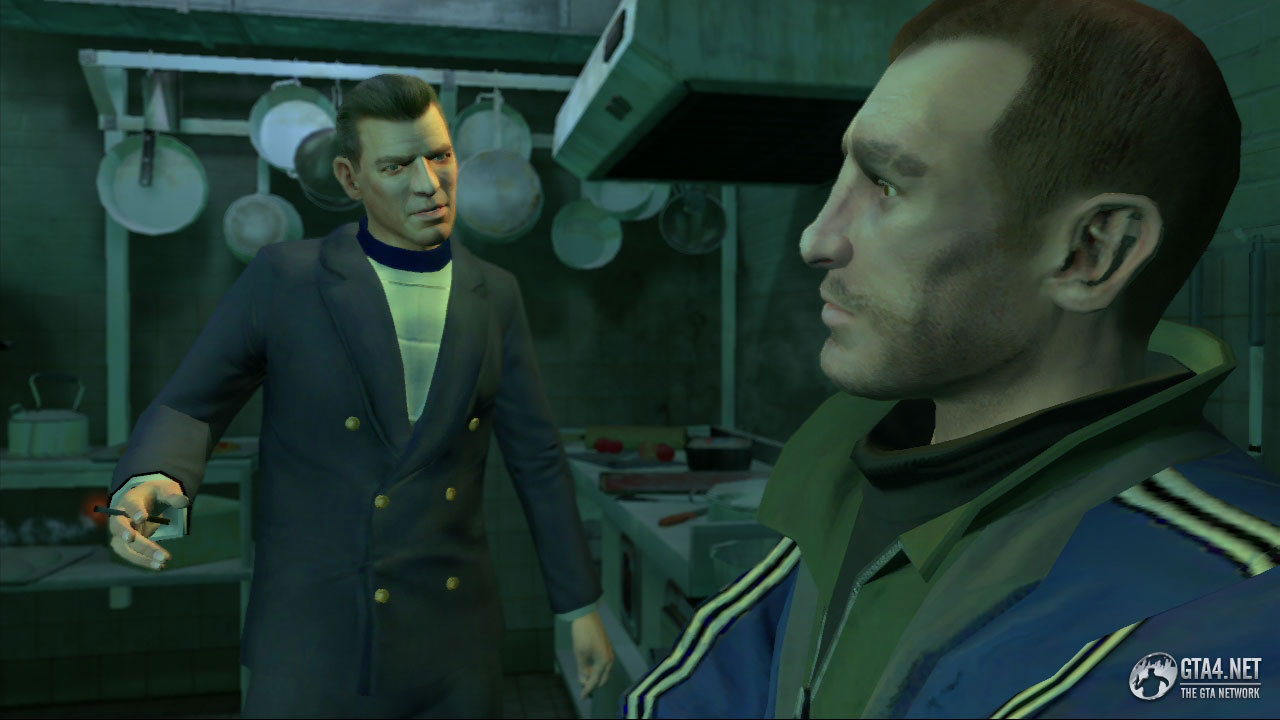
Ray needs Niko to offload the diamonds that he retrieved in the last mission, but Niko demands a favour in return. Niko wants Ray to locate a man called Florian Cravic - the man that he believes betrayed him many years ago - and Ray promises to use his connections to find him. Meanwhile, Ray wants you to head over to the Libertonian and meet Johnny (who you last met in the mission "Blow Your Cover") so that the two of you can exchange the diamonds with a guy called Isaac.
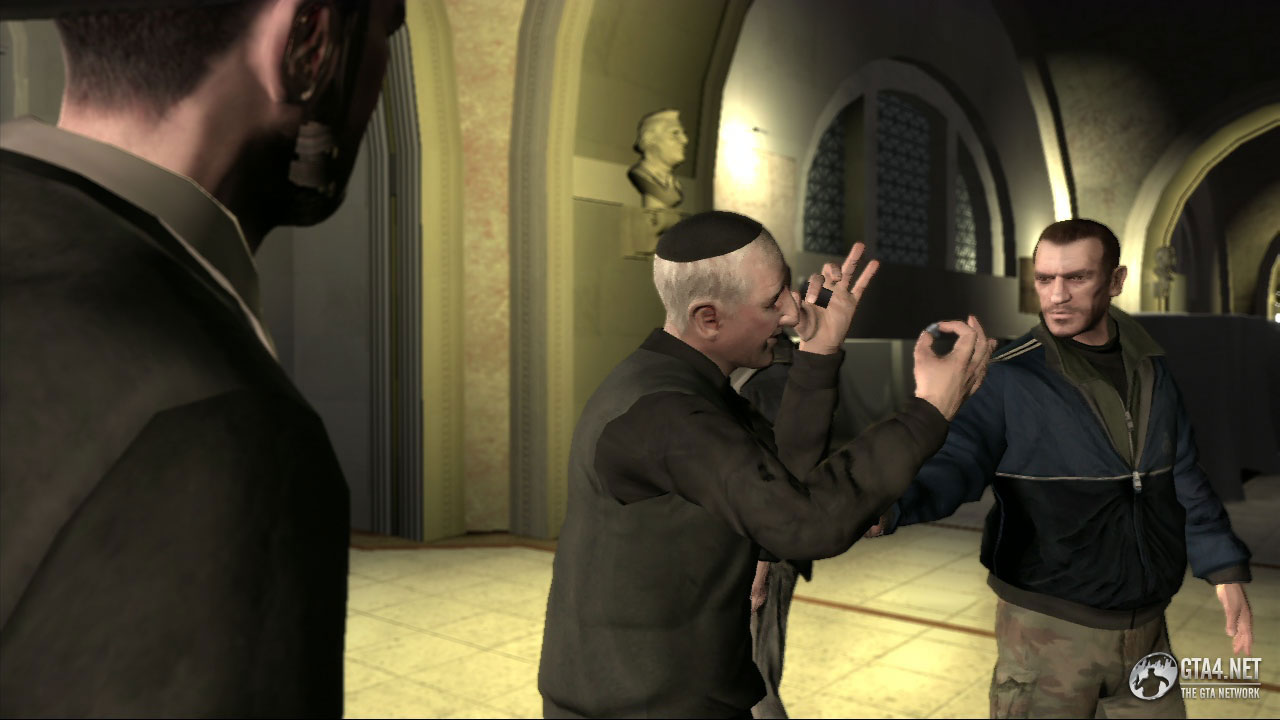
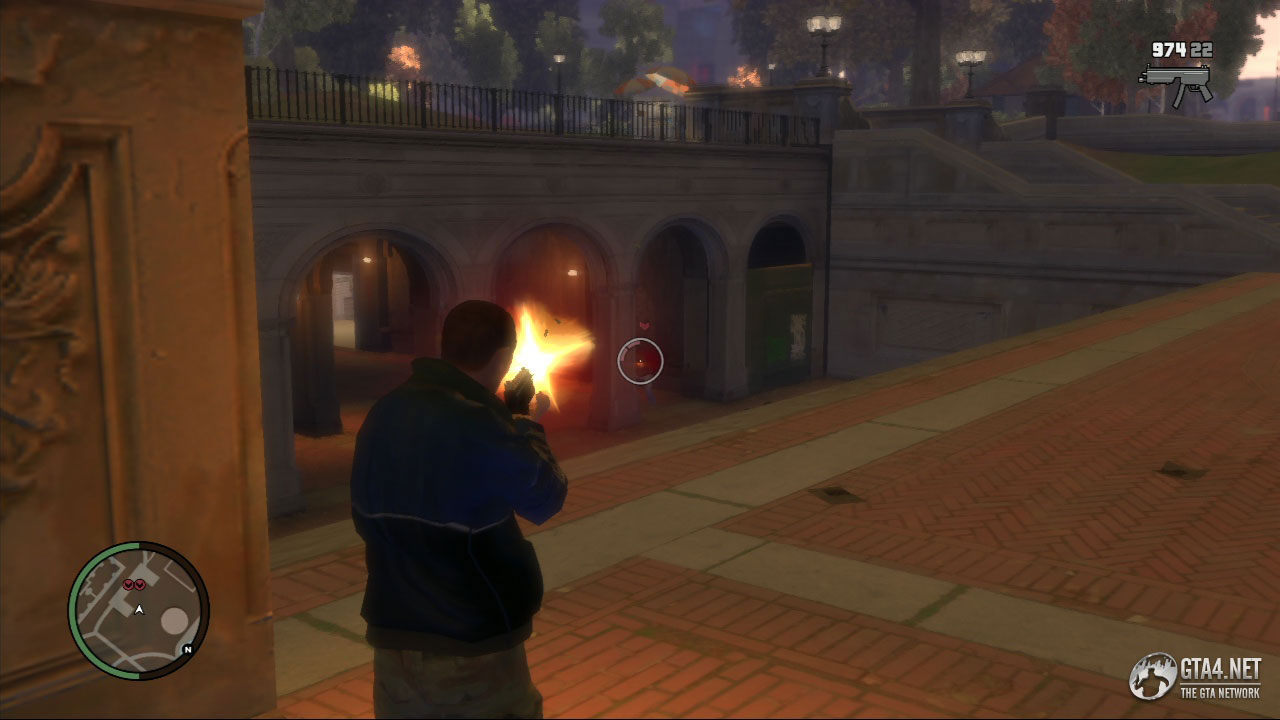
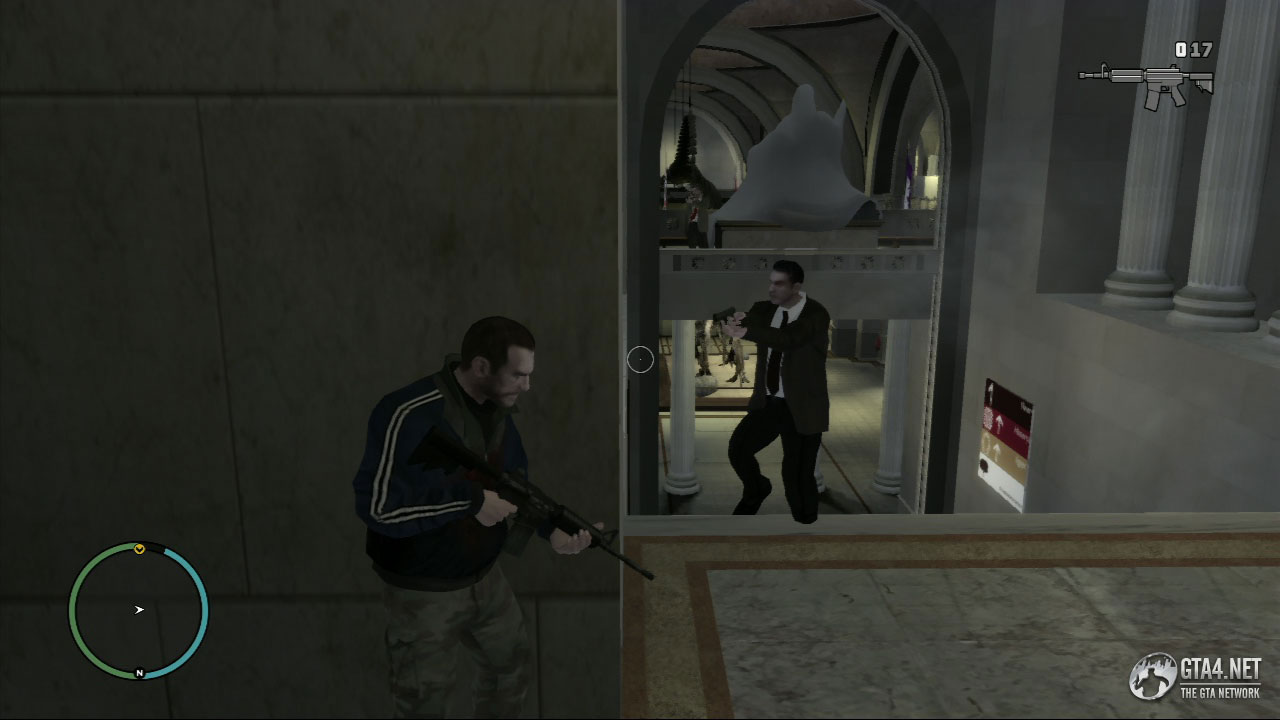
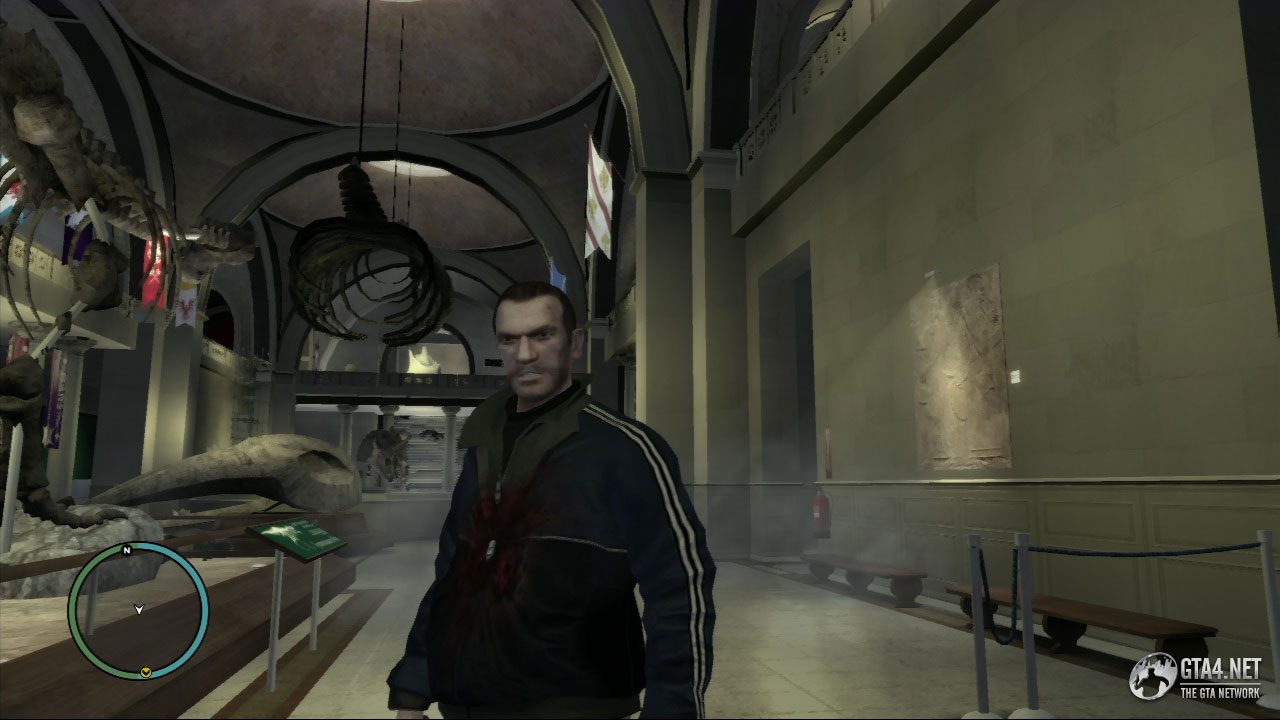
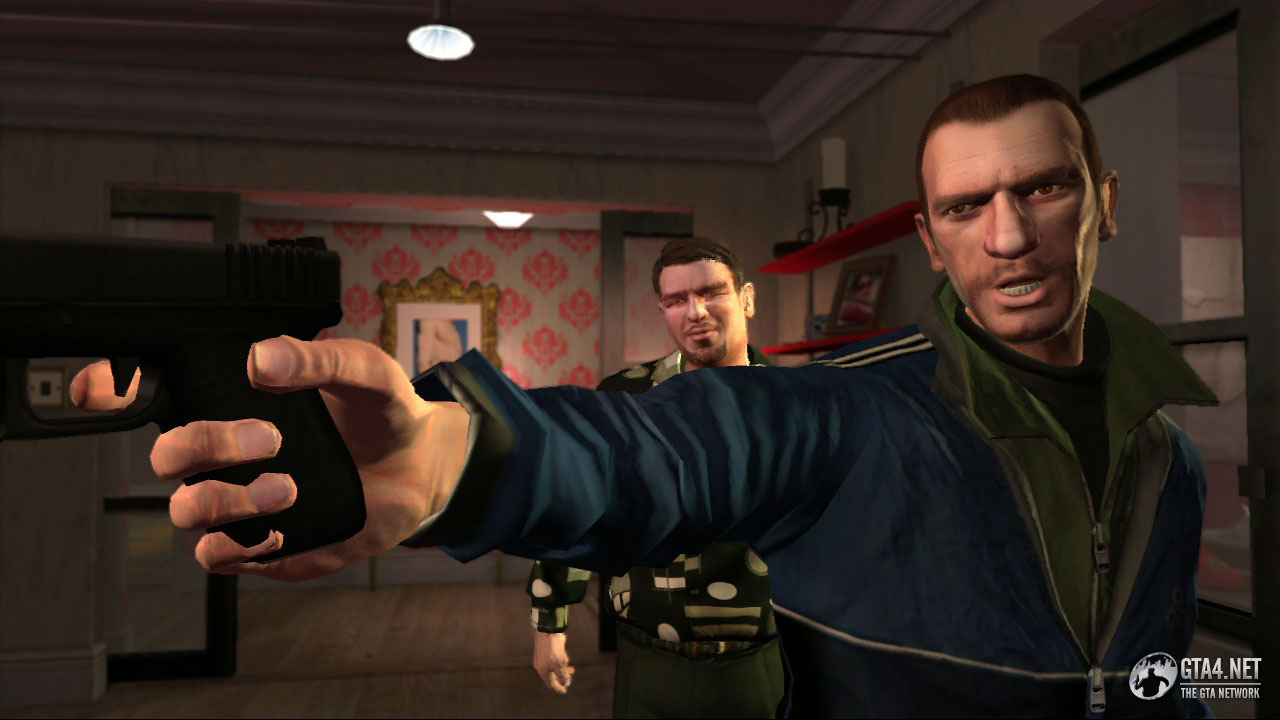
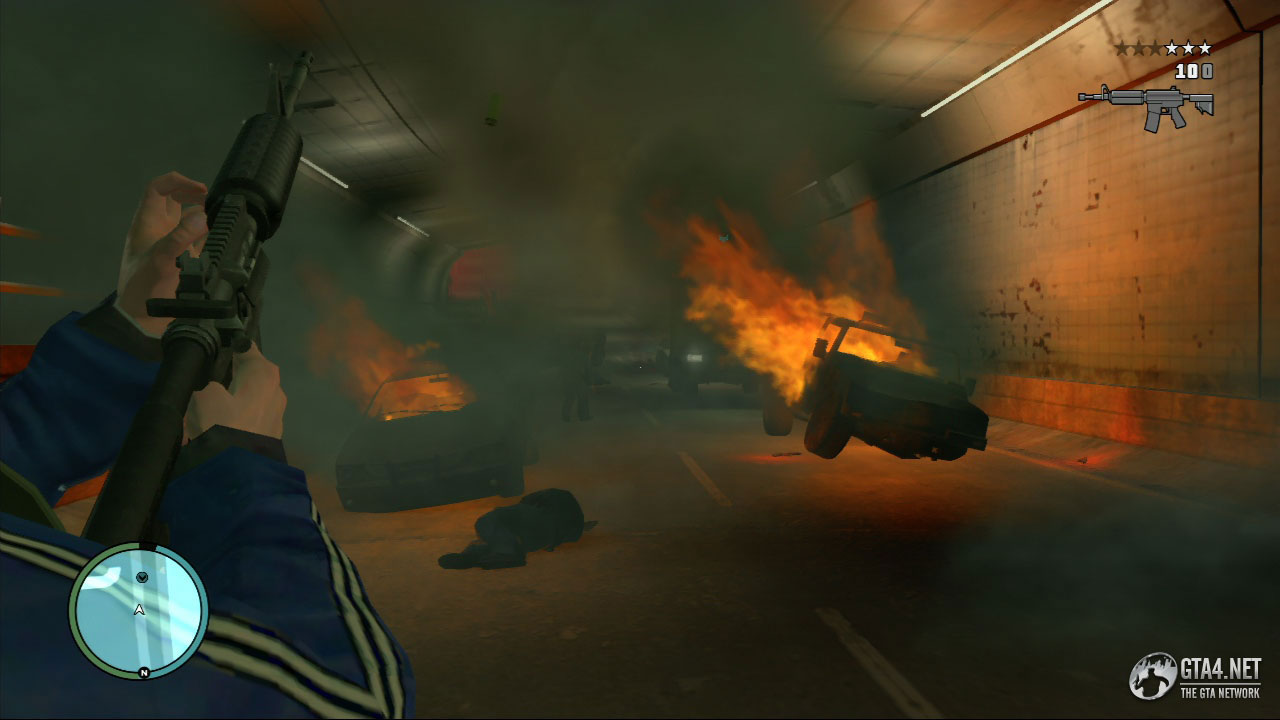
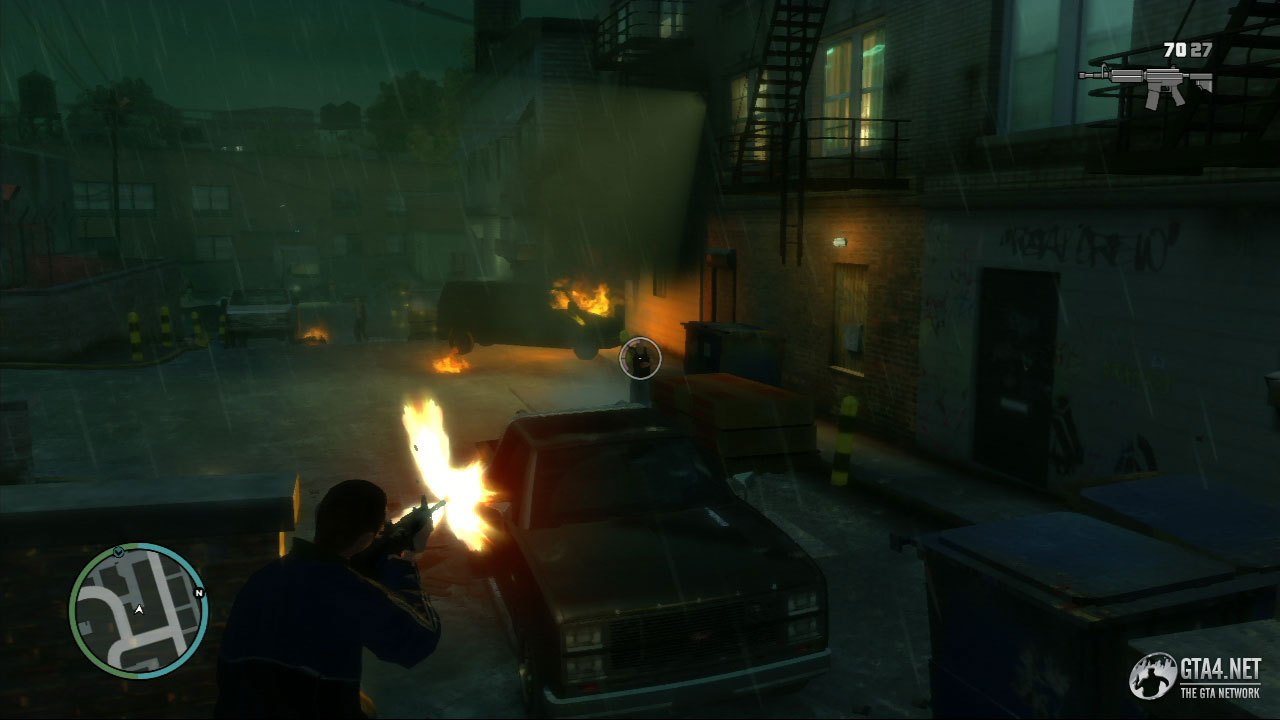
Meet Johnny at the side entrance of the Libertonian and watch the cutscene. The deal is ambushed, and two of the dealers are killed. Your objective is to escape from the Libertonian and eliminate the ambushers. Use cover and take out the guy to your left, before taking out the people straight ahead. Don't move out of cover until you can hear no more gunshots. Use grenades to take out several at a time, and be sure to collect as much ammo as possible (from the people you have killed) as you make your way across the museum.
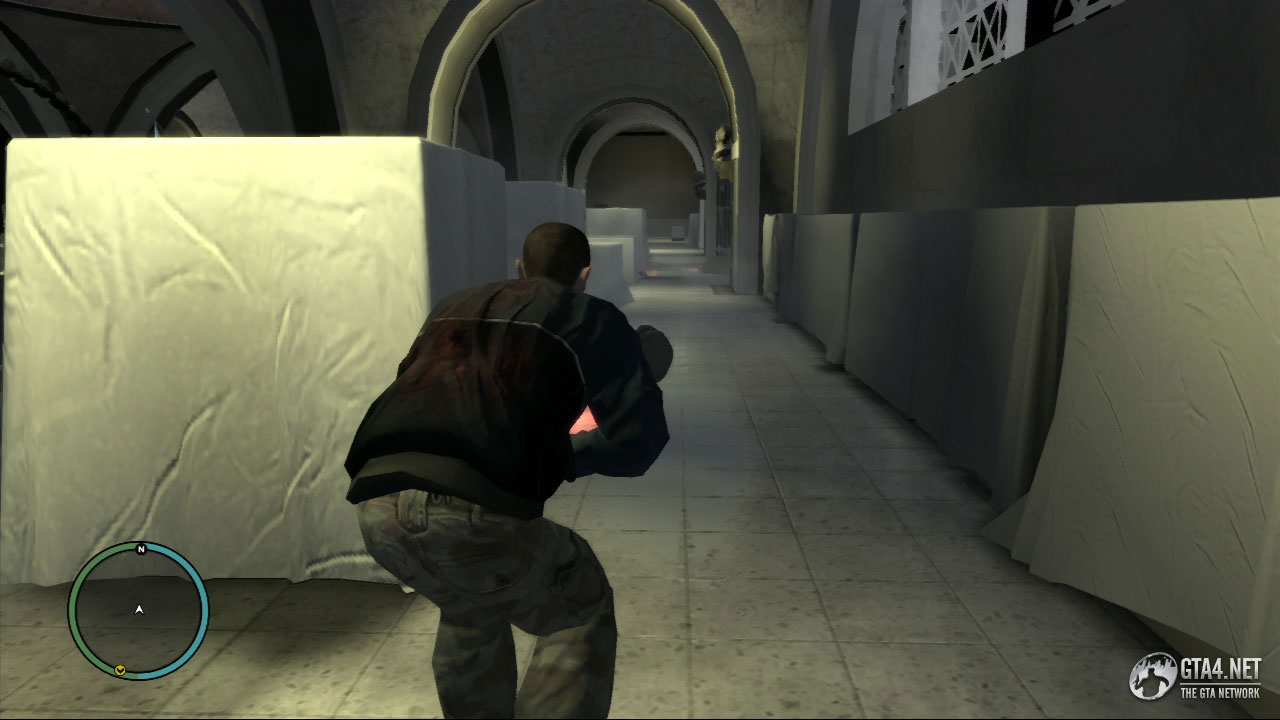
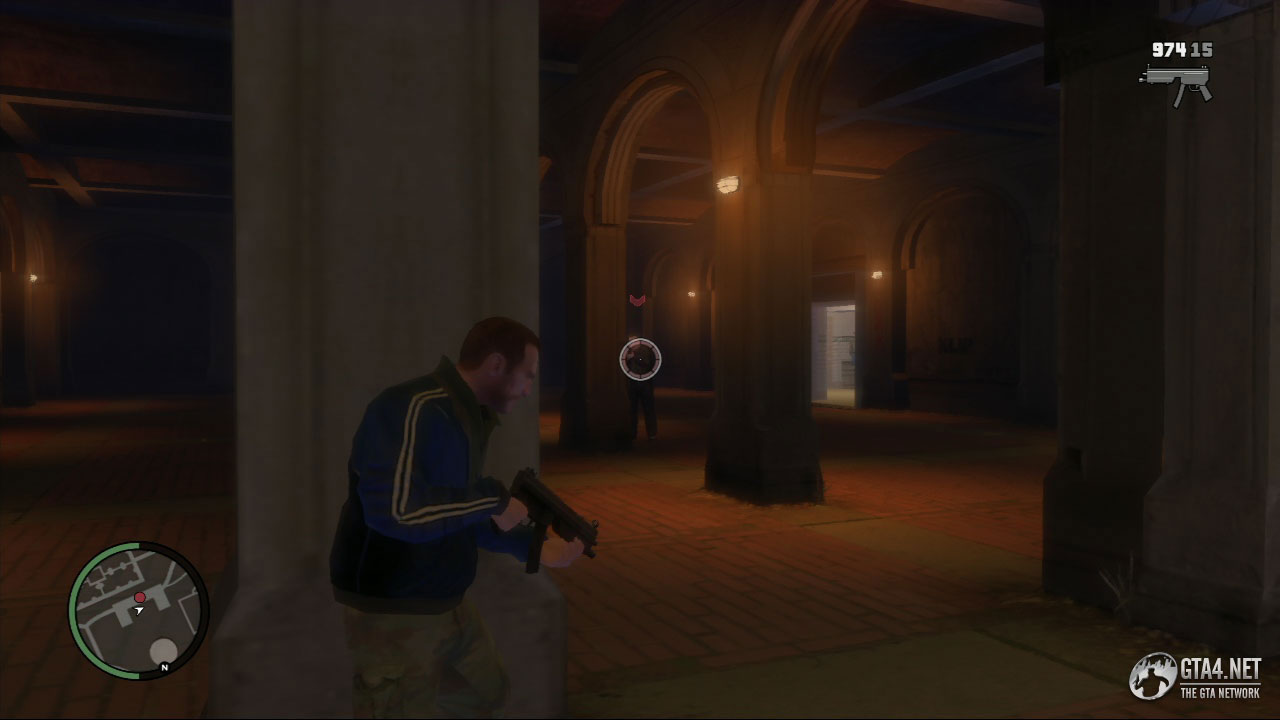
The exit is downstairs and is shown by the yellow blip on the radar. To get to the ground foor, go straight ahead (as far as you can possibly go) and then turn left where the exit sign is. There's a first aid kit on the wall just before you make this turn, so collect it if you need it. More ambushers are waiting at the bottom of the stairs, and the easiest solution is simply to launch a grenade or two at them. When there are no more attackers in sight, make your way to the bottom of the stairs, and use one of the pillars as cover. When the coast is clear, collect the armour situated on the desk straight ahead. Again, take out anyone in your way as you make your way towards the exit, and beware of any attackers on the upper floor shooting down at you.
When you reach the exit (the double doors at the end) immediately turn left and kill the attacker. There are two more attackers in the next bit, and there's a health kit on the wall near the exit. Steal one of the cars outside, and lose Isaac's crew to complete the mission. Escape Isaac's crew the same way you would evade a police wanted level - use small roads and alleyways to lose them quicker. After the mission, Niko calls Ray to inform him of the situation.
![]() Achievement unlocked: 10G - Impossible Trinity
Achievement unlocked: 10G - Impossible Trinity
During the cutscene, Ray introduces Niko to his associate Phil Bell. Phil says they have a problem with some bikers (one of which is Johnny, the guy who betrayed you in the previous mission) and he wants Niko to go to an alleyway on Vauxite Street to deal with them.

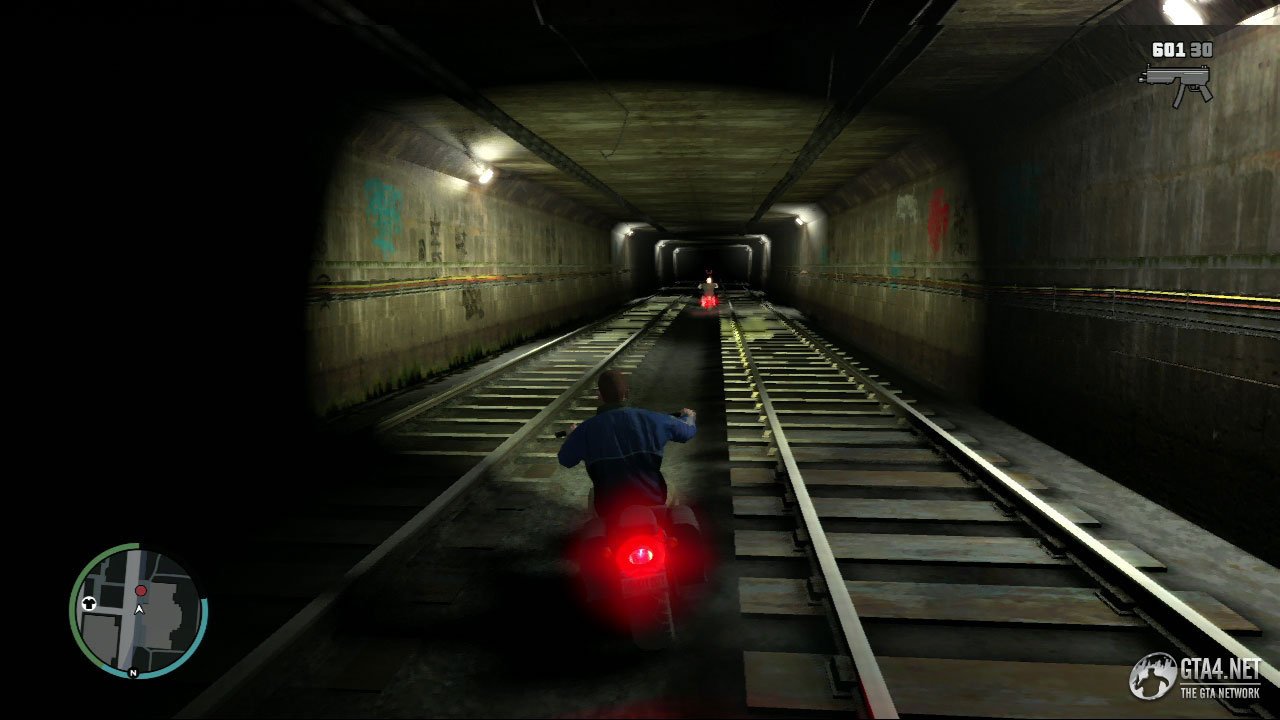
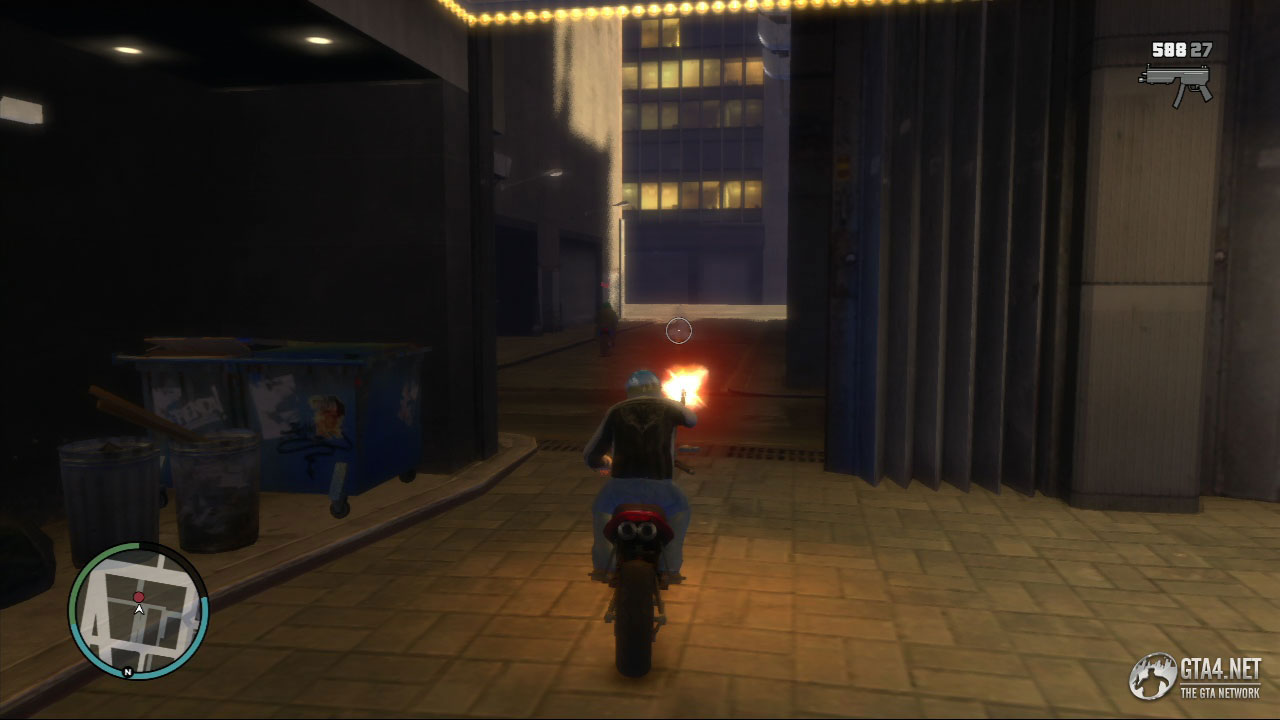
Get on the bike after the cutscene, and chase the two bikers. Aim for the biker closest to you first, but make sure you're aiming at him and not at the actual bike itself. You should be able to take out the nearest biker before reaching the subway at Frankfort Avenue, but the second biker will take a bit longer to eliminate. Follow him into the subway and watch out for oncoming trains as you pursue him. Forget about shooting him for the moment, and instead focus on trying to catch up with him. Only shoot him once you are close enough, and once you feel you can get an accurate shot at him, because otherwise you are just wasting bullets.
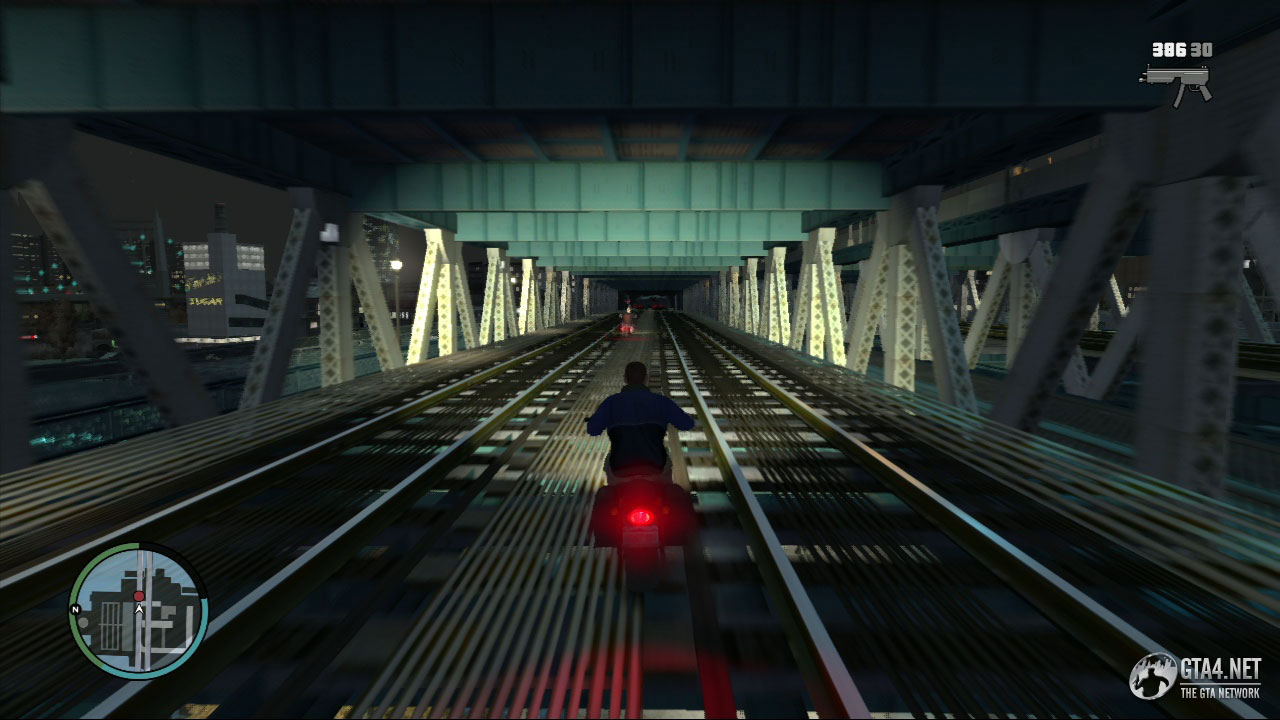
The chase eventually leads to the Algonquin Bridge, where a train has been derailed and is hence blocking the route, which forces the chase on to the streets of Dukes. At this point, the biker should begin to slow down, and you should be able to get a more accurate shot in. Waste the biker (or bikers, if you didn't manage to kill one earlier) to finish the mission. Still no sign of those diamonds though...
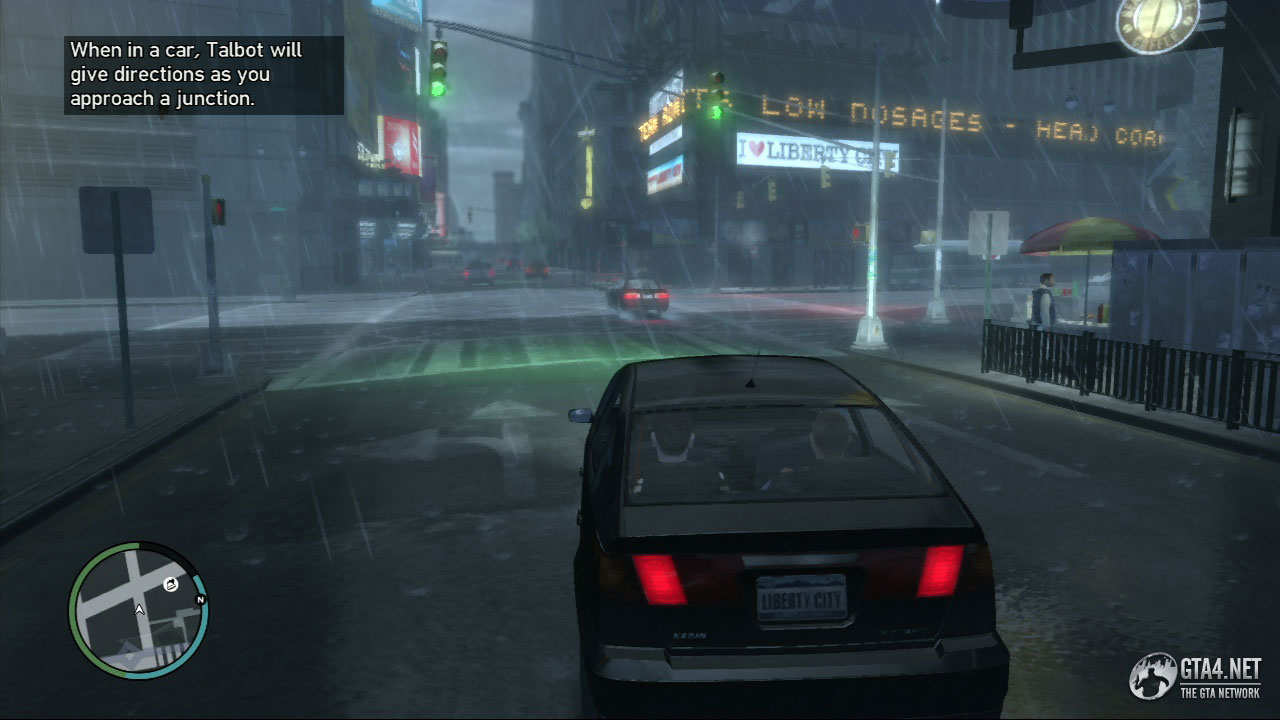
![]() After the mission "No Way on the Subway," Ray calls Niko to thank him for his help, and tells him to meet a guy called "Talbot Daniels" who has information on Florian Cravic. Talbot is at The Triangle, in Algonquin.
After the mission "No Way on the Subway," Ray calls Niko to thank him for his help, and tells him to meet a guy called "Talbot Daniels" who has information on Florian Cravic. Talbot is at The Triangle, in Algonquin.
Pick up Roman at the apartment in Algonquin, and take him to The Triangle to meet Talbot Daniels. Roman says he has met Talbot before when they were playing cards together. Approach Talbot in The Triangle, and Niko will ask if he knows Florian Cravic. Initially, Talbot says he's never heard of him, but he soon changes his story and says there is a guy who lives uptown that likes to be called Florian Cravic "at certain moments."
Get in a four-door car with Roman and Talbot, and let him lead you to Florian Cravic's apartment in Algonquin. Talbot will give you directions every time you approach a junction, so pay close attention and go where he says. Don't go too fast or Talbot won't be able to give you directions. Florian's apartment is on Pyrite Street.
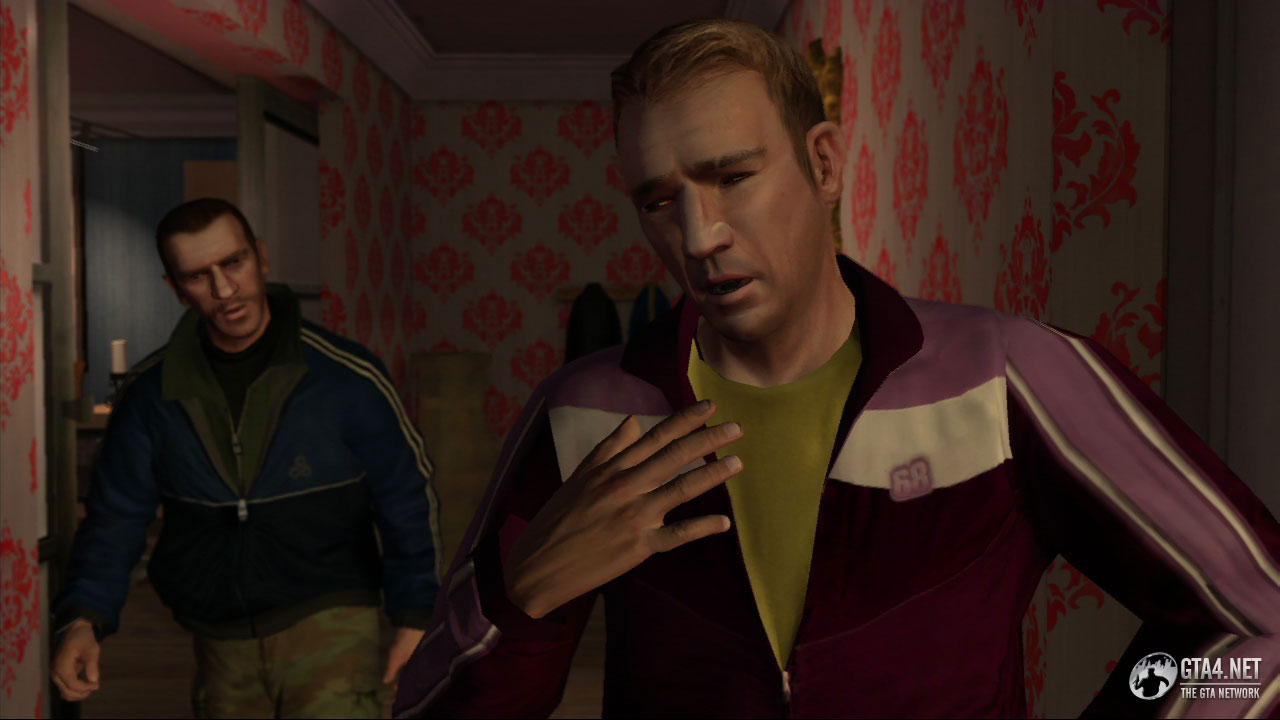
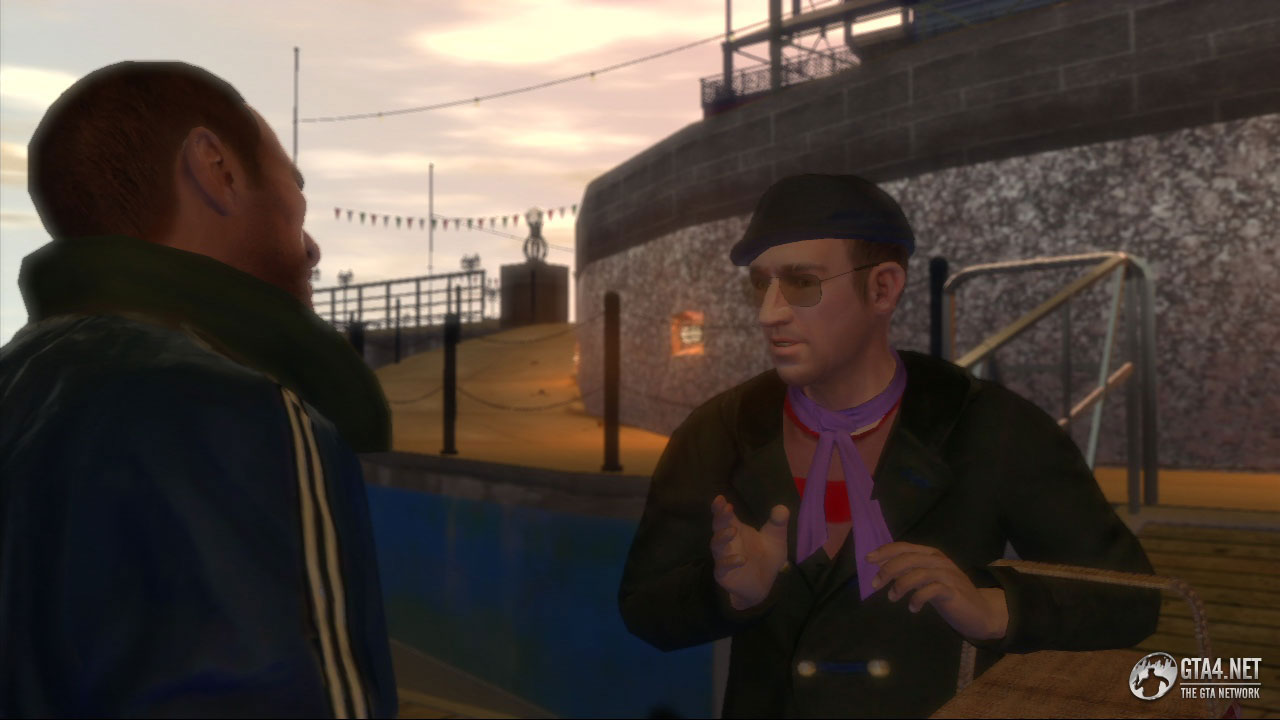
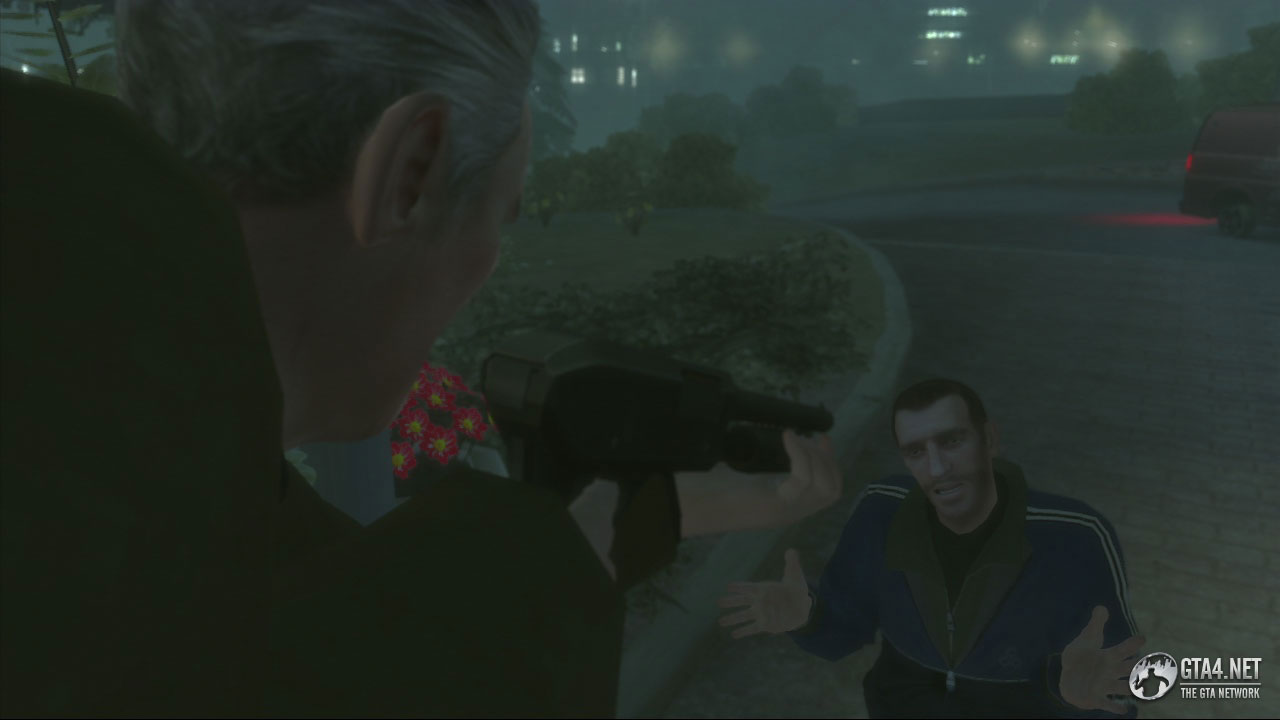
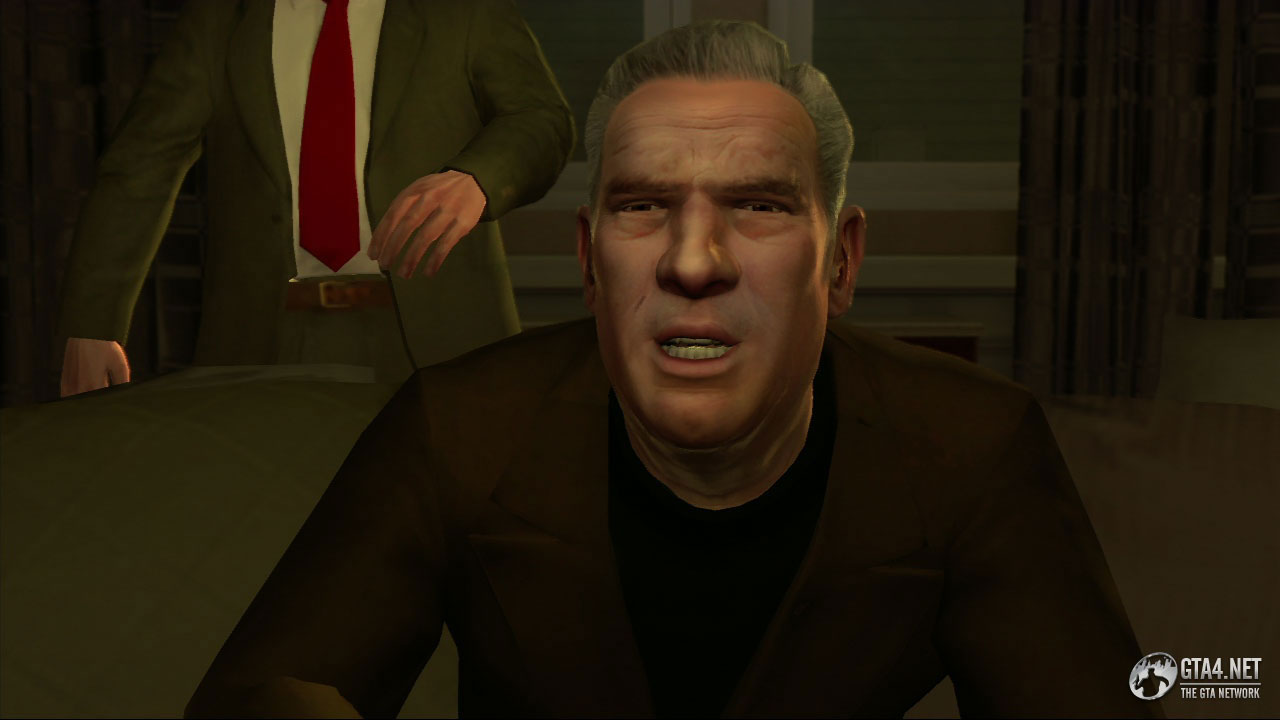
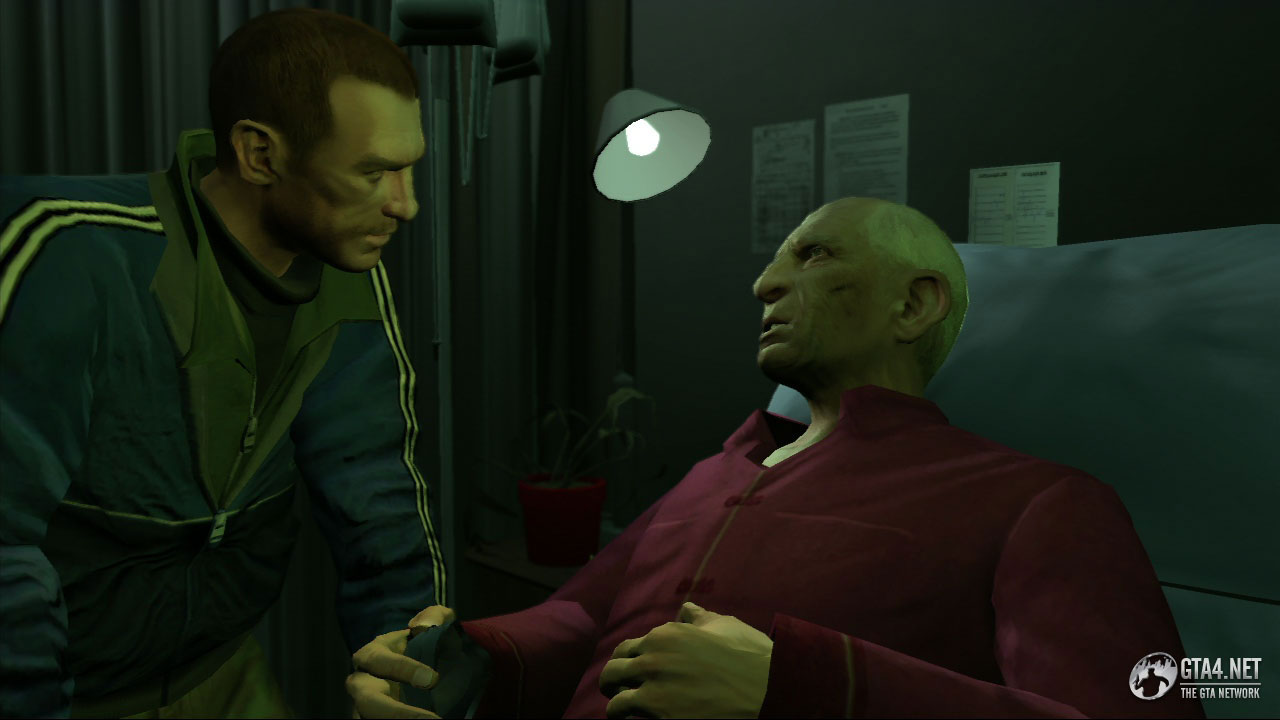
Stop in the yellow marker when you reach his apartment, and watch the cutscene that follows. You learn that Florian Cravic has changed his name to Bernie Crane since moving to Liberty City, and he firmly denies being the person that betrayed you many years ago. Instead he believes it was Darko Brevic - the last remaining member of the group - who is believed to be in Switzerland somewhere. Niko is naturally pissed off, but remains determined to find the person that betrayed him.
![]() After the mission, Bernie/Florian calls and asks Niko to meet him at the apartment.
After the mission, Bernie/Florian calls and asks Niko to meet him at the apartment.
Isaac - the dealer you met in "Museum Piece" - is blaming Ray for everything that went wrong with the deal, and now he is threatening to kill him. After a heated telephone exchange between the two, Ray reveals that he wants Niko to kill Isaac and all of his fellow dealers. Isaac is over at the Majestic Hotel near Middle Park in Algonquin, so head over there just now.
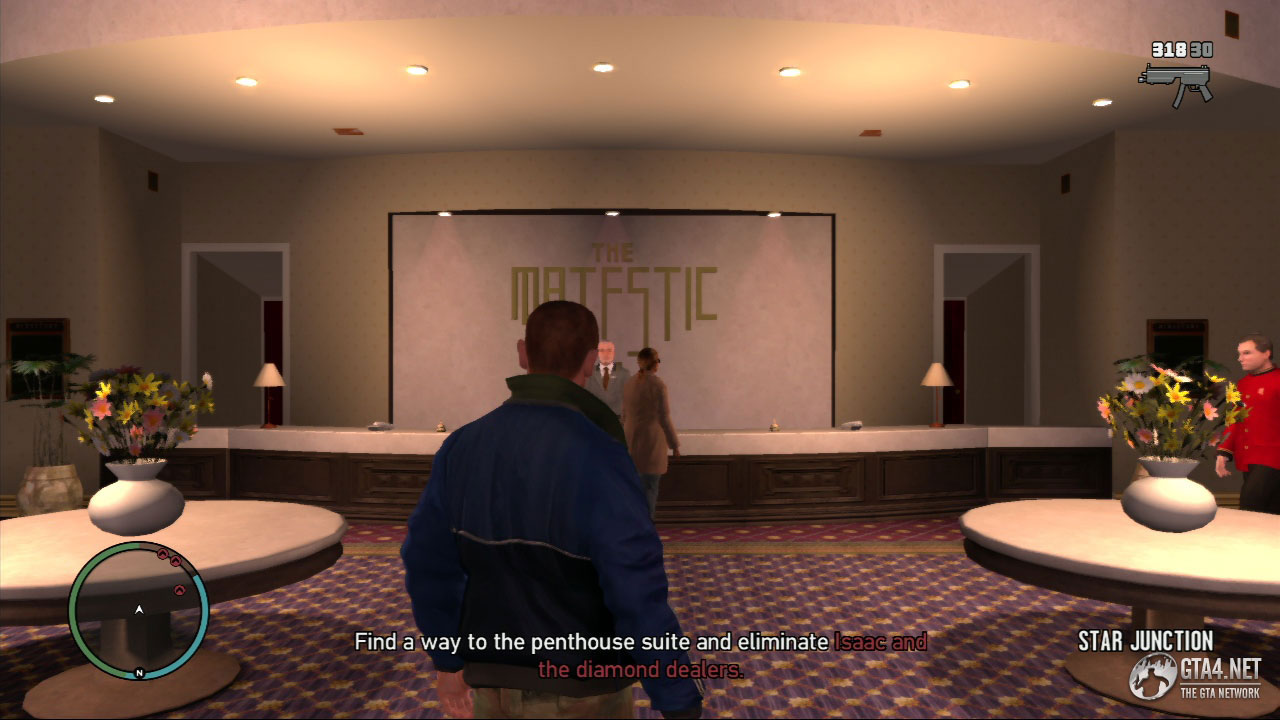
The mission tells you to use the elevator to reach the penthouse (where Isaac and the diamond dealers are situated) but a far simpler strategy is to take a helicopter and land it on the roof of the hotel, so that you're essentially working your way down instead of working your way up. That way, you won't have to face any bodyguards in the hotel corridors once you exit the elevator on the 30th floor, so it allows you to skip an unecessary shootout. Kill the first diamond dealer on the roof, and then make your way down into the penthouse.
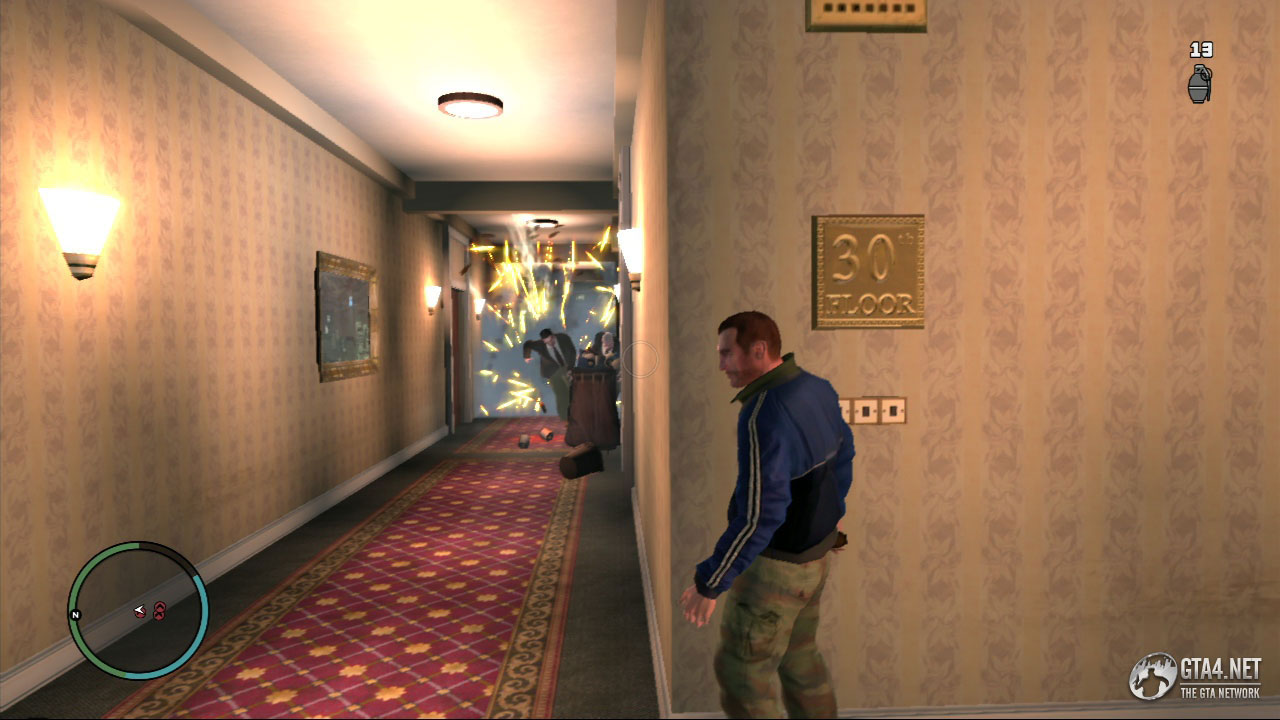
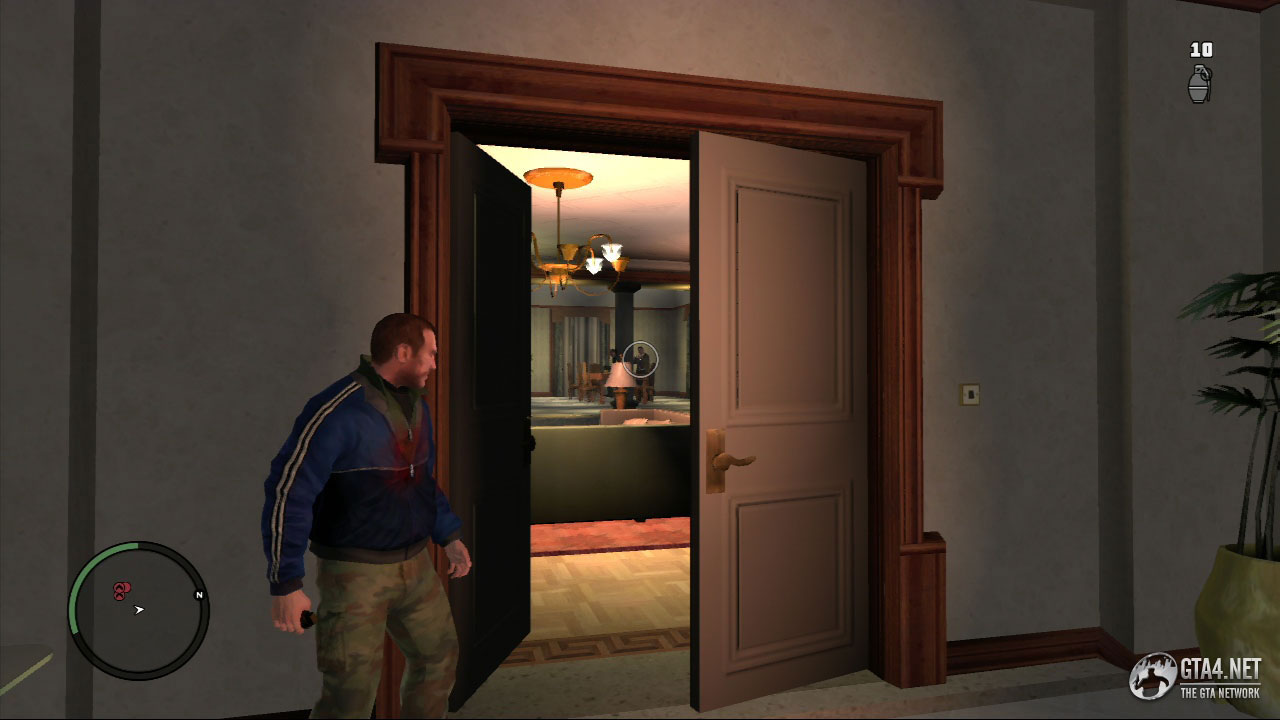
The penthouse is heavily guarded, so beware. The second dealer is situated in the bedroom half-way down the stairs, and the last dealer is situated in the kitchen below the stairs. There is also a health kit in the kitchen should you need it.
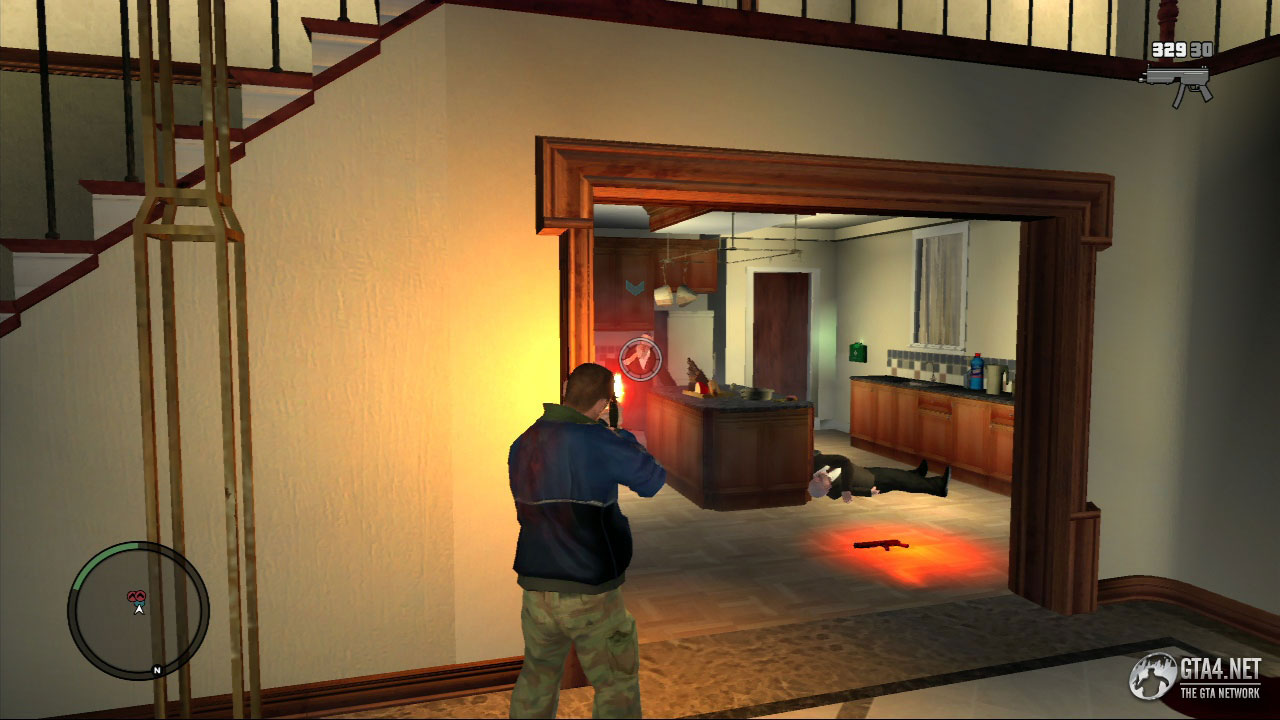
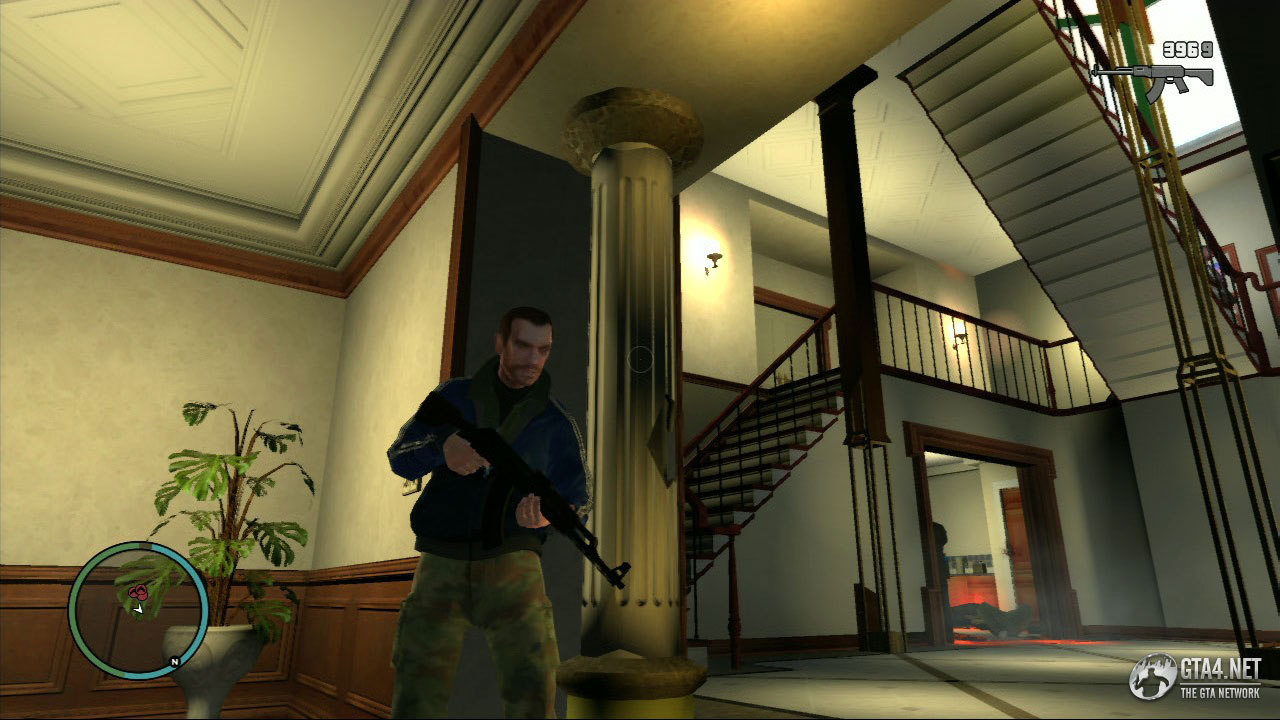
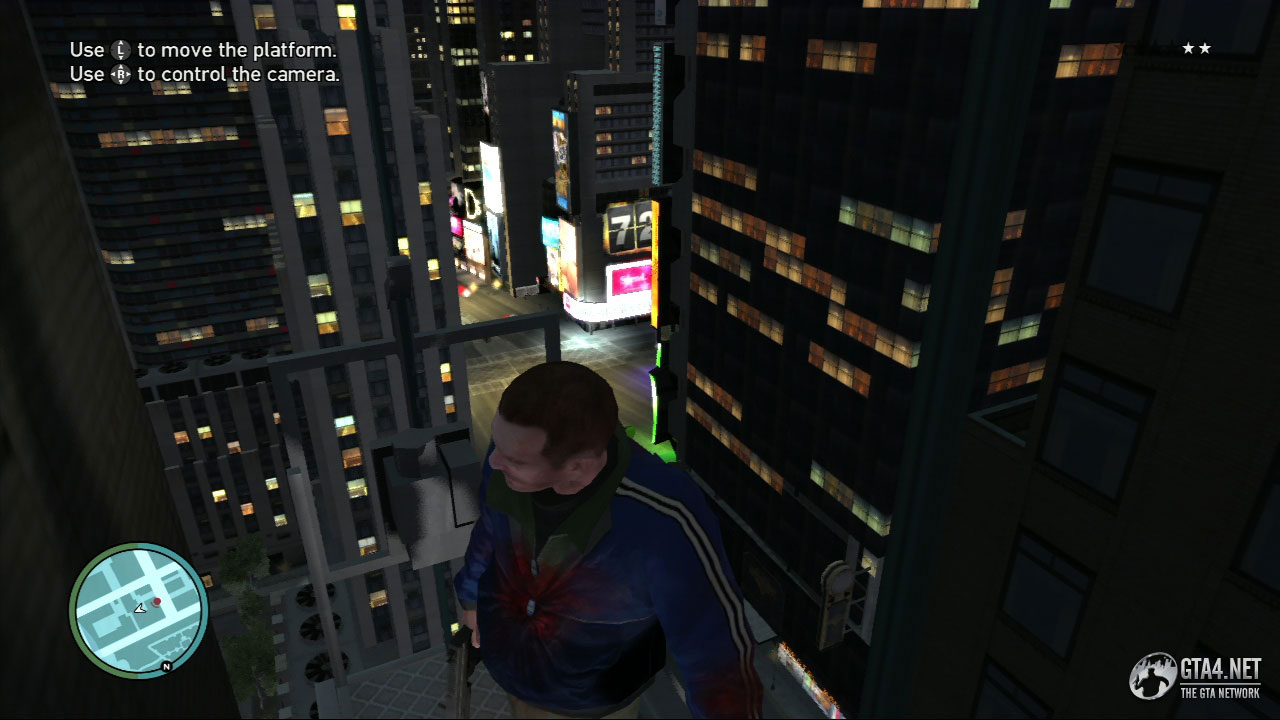
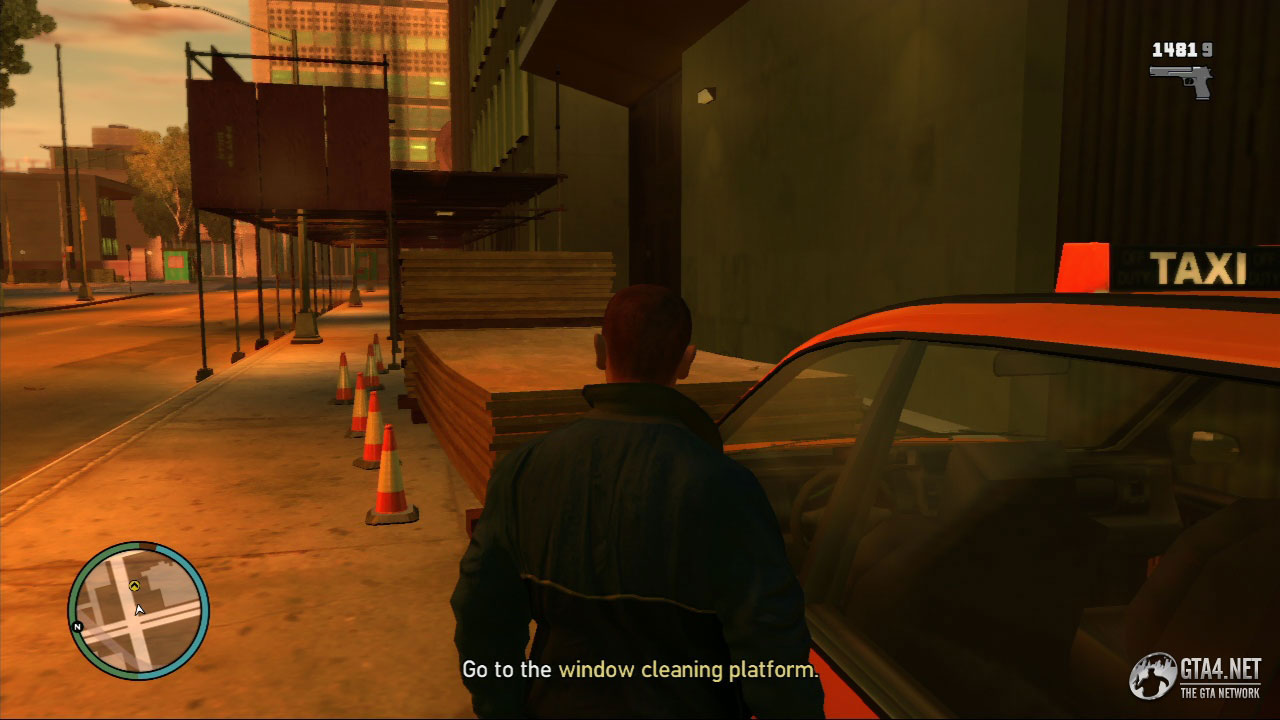
Once everyone is eliminated, you need to escape from the hotel. Go back up to the roof above the penthouse, and use the helicopter you arrived in to escape. If your helictoper is no longer there, make your way across to the window cleaner's platform and use that to escape instead.
![]() Ray wants Niko to meet him and Phil at the depot in Normandy.
Ray wants Niko to meet him and Phil at the depot in Normandy.
![]() Roman calls to announce that he is engaged to Mallorie. The wedding is due to take place soon.
Roman calls to announce that he is engaged to Mallorie. The wedding is due to take place soon.
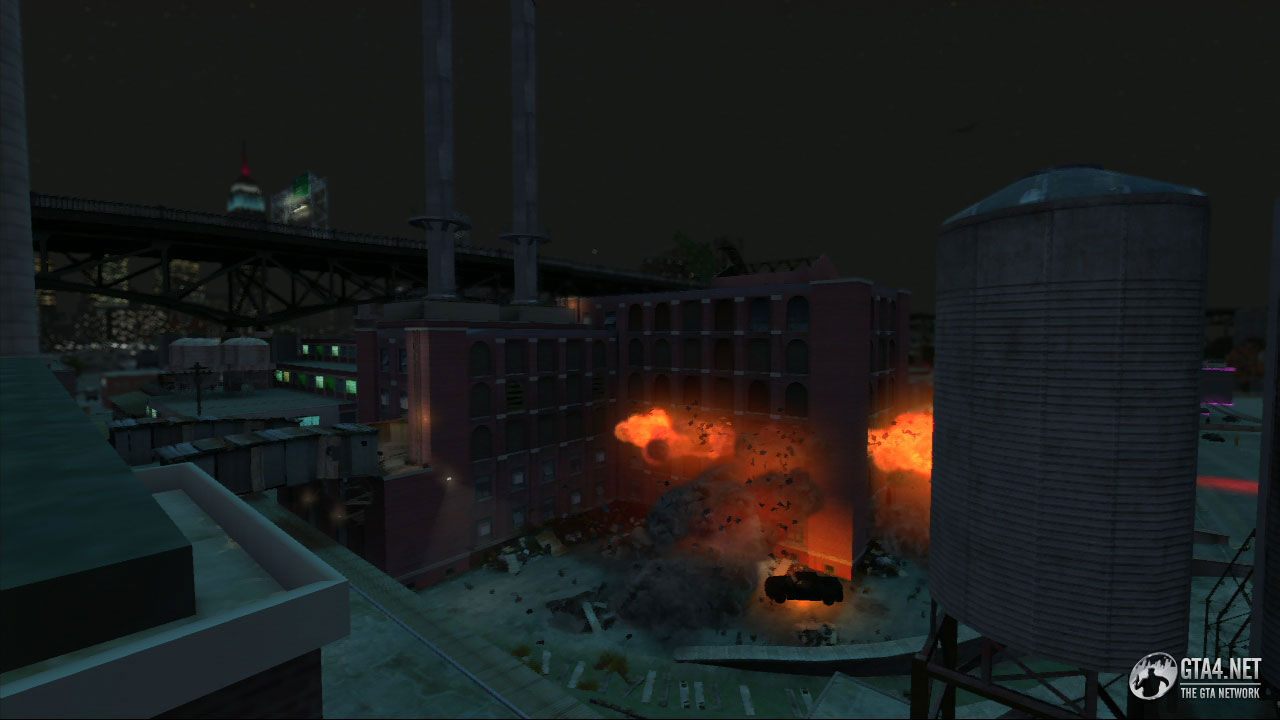
During the cutscene, Gerry explains that he needs Niko to create a rift between the Ancelottis and the Albanians, as a favour to Jimmy Pegorino. You need to plant a bomb in Tony Black's car, which is rigged to a phone, and it needs to blow when they get back from a meeting so that the Ancelottis think the Albanians did it.
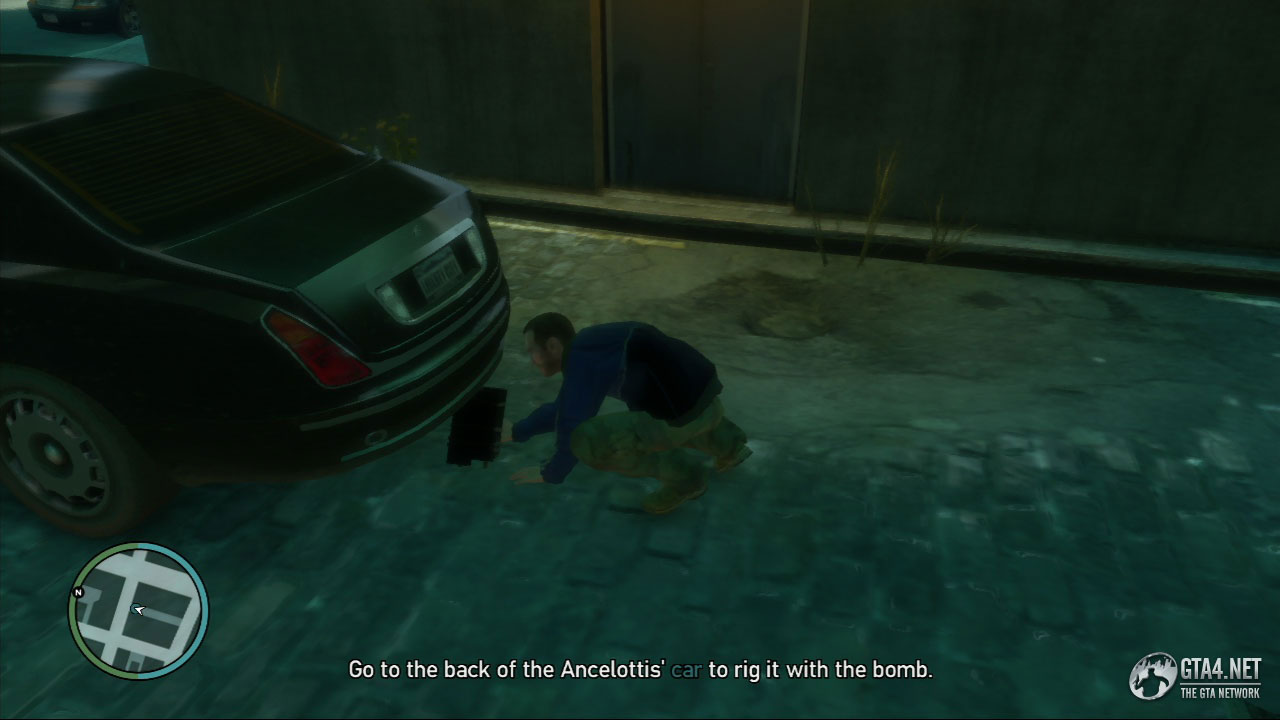
Collect the bomb on Inchon Avenue, represented by a green blip on the radar, and then head over to Little Italy in Algonquin. Walk up behind the vehicle and rig it with the bomb, then go to the 'safe area' across the street. A cutscene shows the Ancelottis leaving to attend the meeting, and you must now follow them to that location. The pursuit lasts about three minutes, and ends at Grummer Road in North Algonquin.
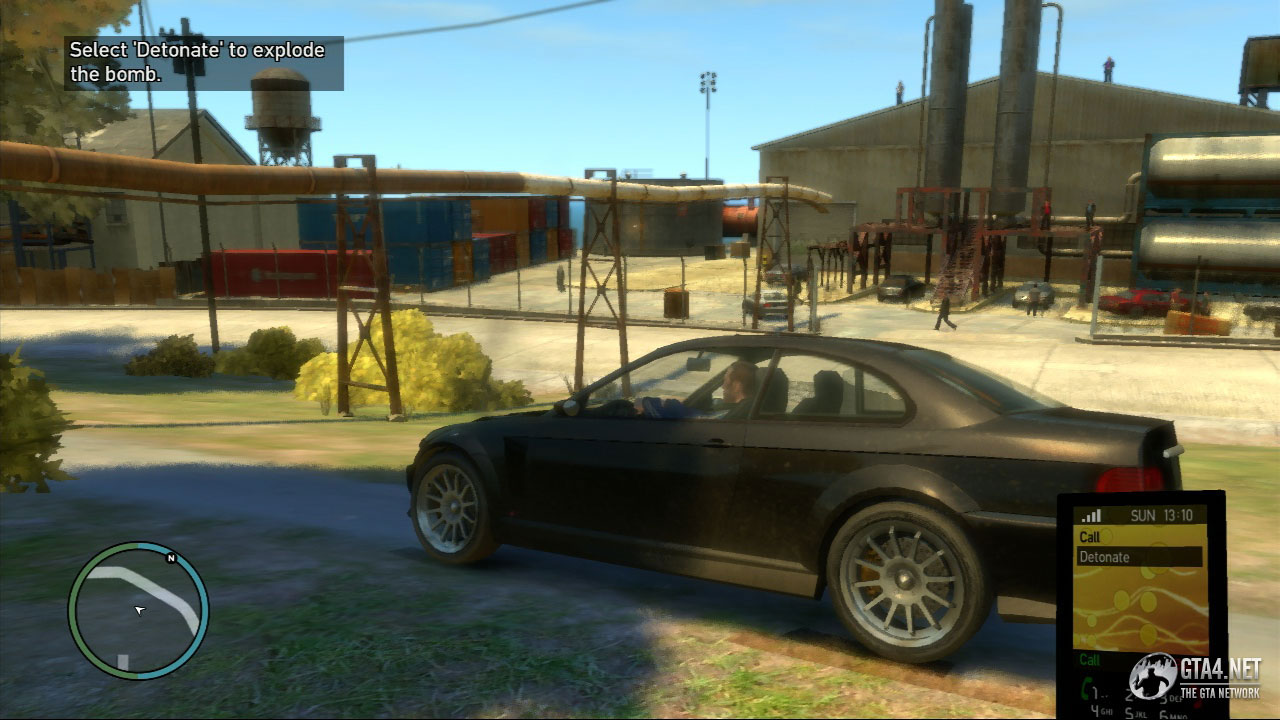
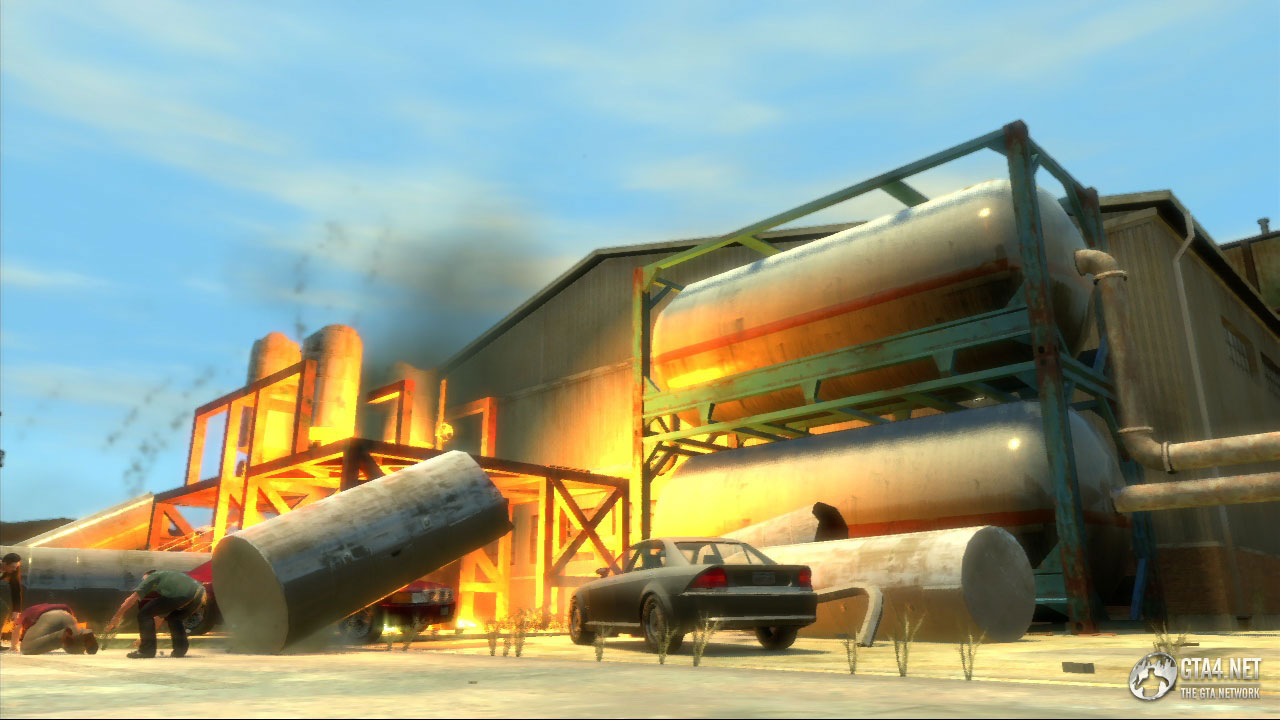
Go to the safe point on the hill, then access your phonebook and select 'Gerry' followed by 'Detonate' to trigger the car bomb. Watch the cutscene as the factory explodes, and most of the Ancelottis are eliminated in the process. Four remain however, so take them out (you can use the sniper rifle from the hill to get the majority of them) and then evade the two-star wanted level to finish the mission. 'Step 1' of Gerry's plan is now complete, and he wants you to go back and see him for details of 'Step 2'.

Gerry owes a favour to the Pegorinos, but he needs Niko to do it because he fears he is being watched by the cops. Jimmy wants to stir up some trouble between the Ancelottis and the Albanians, who presently have an uneasy relationship together due to the Ancelottis using them as thugs, hitmen etc., much like the Pegorinos are using the McRearys.
Gerry opens his freezer to reveal the body of one of the Albanians, and he wants you to use the outfit to disguse yourself, in order to carry out a hit on long-time Ancelotti member Frankie Garone.
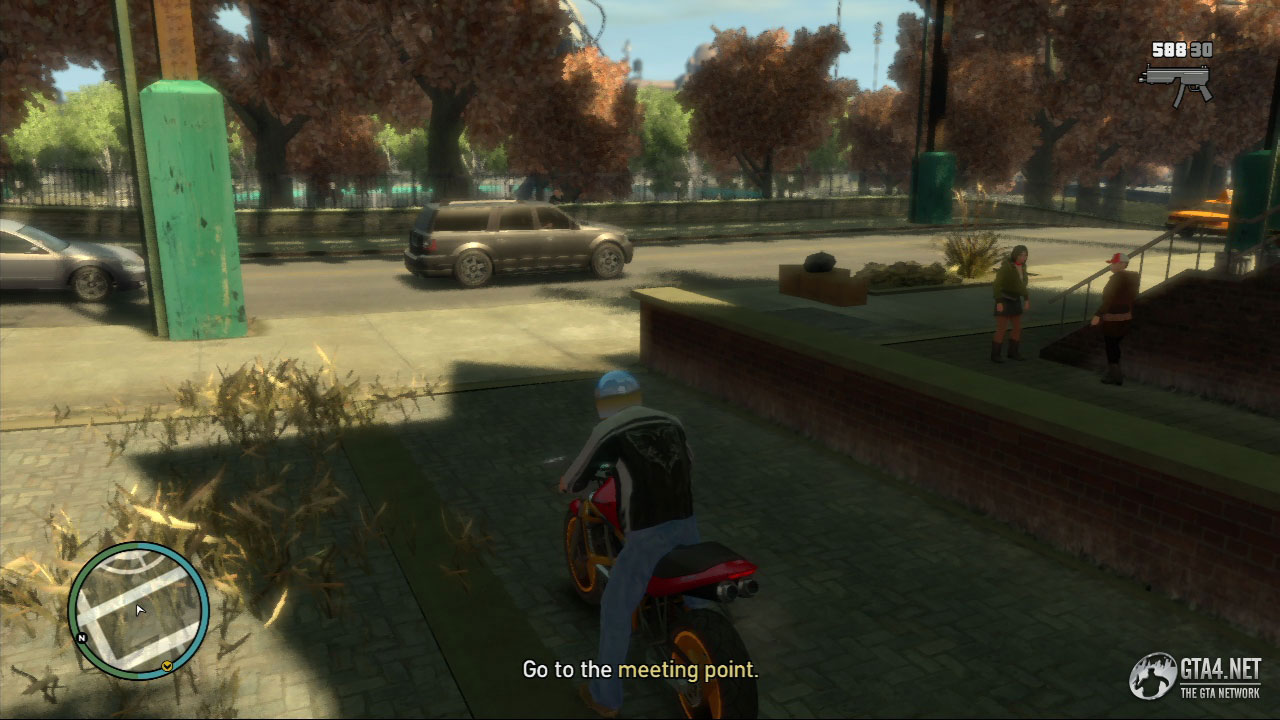
Get on the motorbike and go to the meeting point on Denver-Exeter Avenue in Algonquin. The task is fairly simple - after the cutscene, chase Frankie and kill him. It might help to aim for the tires first, and then aim for Frankie (it's a lot quicker/easier simply to shoot Frankie off the bike rather than shooting at the bike itself).
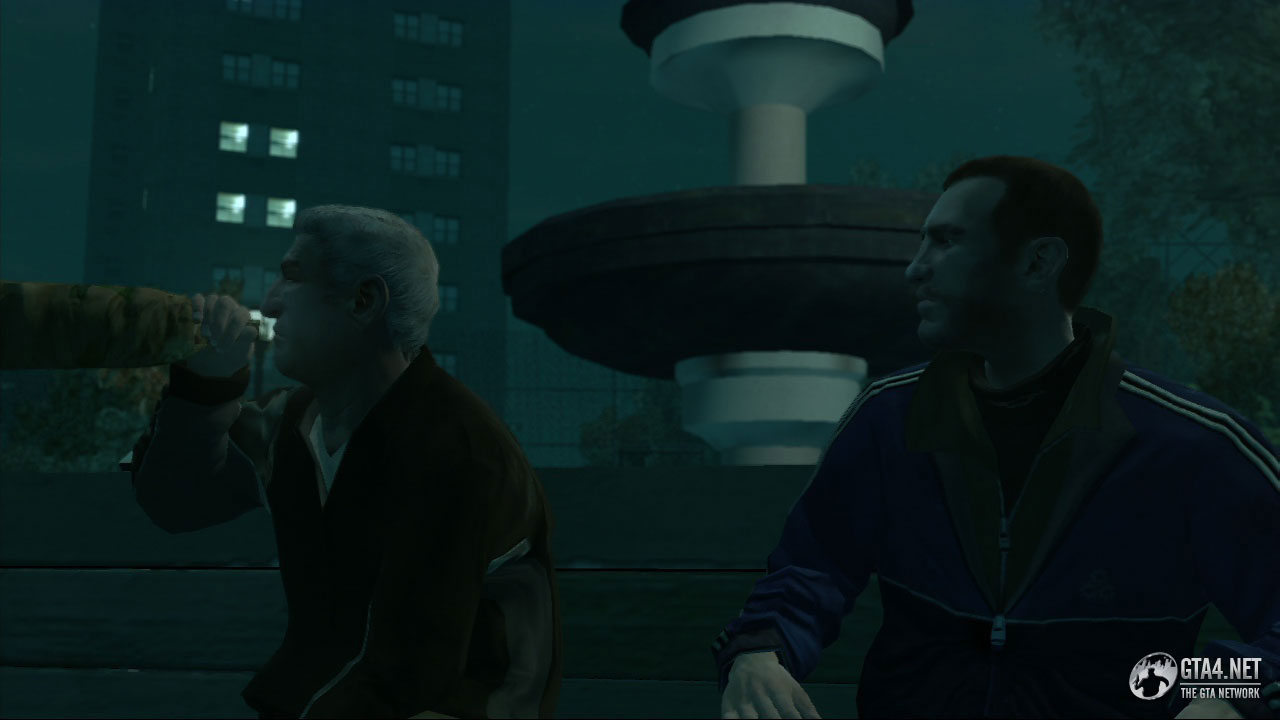
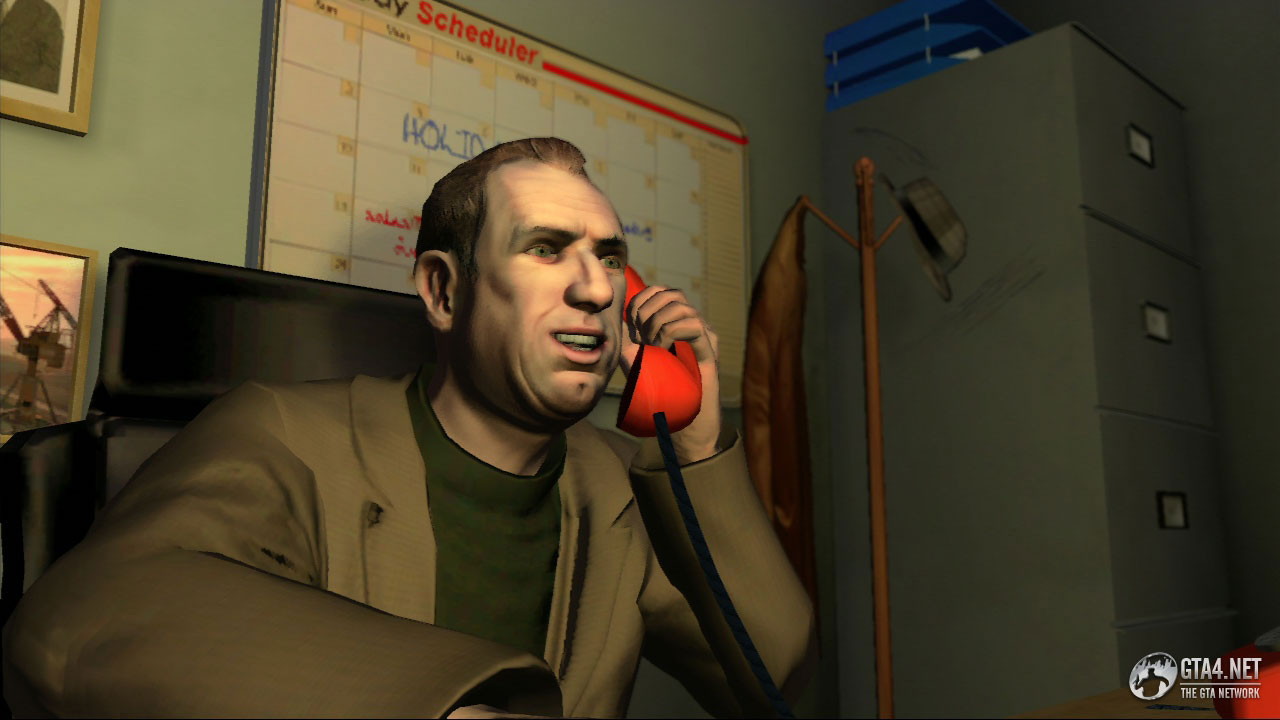
Derrick needs help "taking care of old business," but he's been on the drink so he takes a while to explain the problem. Basically he made a mistake many years ago, and he wants to get back at some guy (Bucky Sligo) who still hasn't forgiven him and who is threatening to kill Derrick and his family.
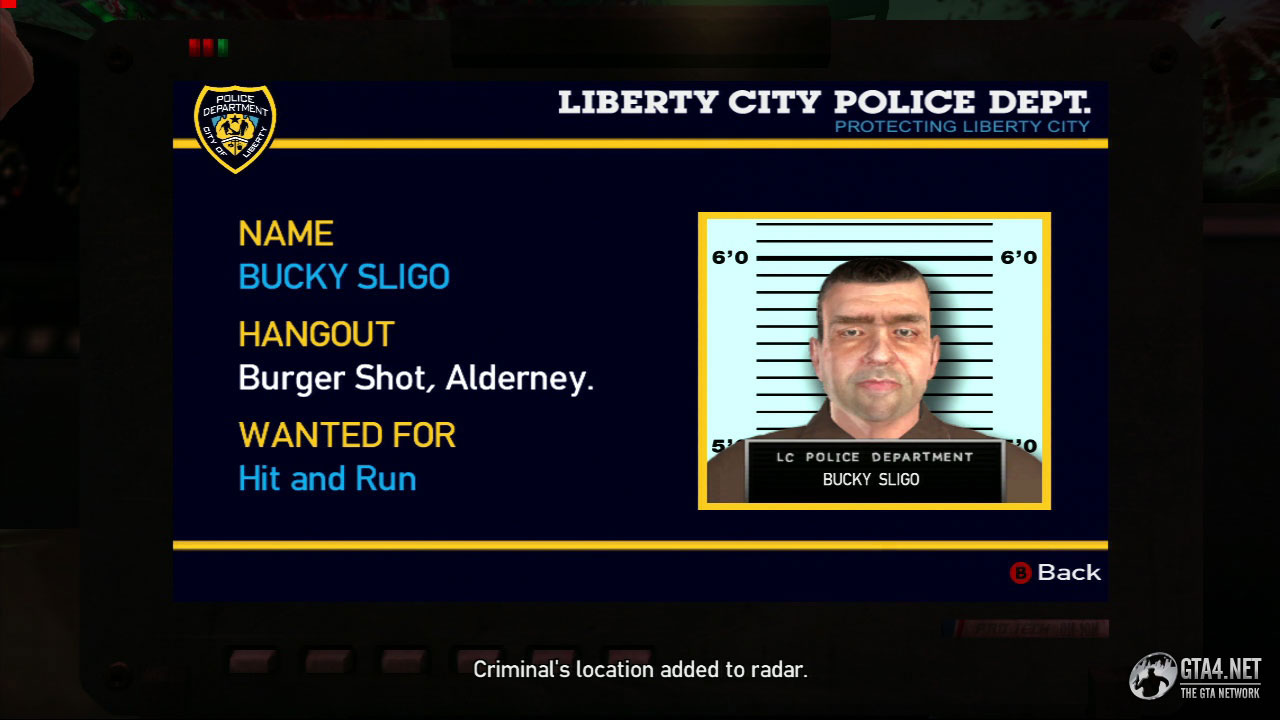
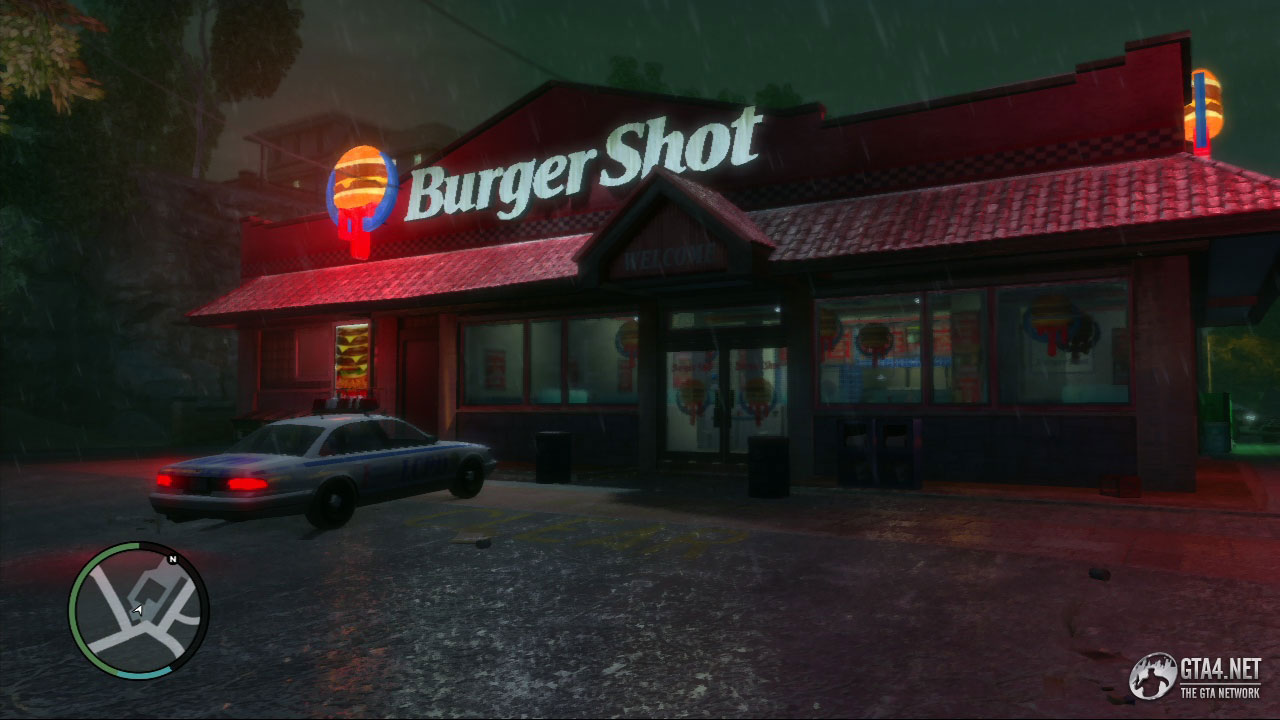
Find a police car (there is one parked across the road) and access the on-board computer. Select 'Search Police Records' followed by 'Search by Name' and then enter the name 'BUCKY SLIGO'. The police records reveal that Bucky is at the Burger Shot in Alderney, so mark his location on the radar and make your way there. Once the location has been added, Niko automatically calls Derrick to inform him of Bucky's whereabouts. Derrick wants you to follow Bucky back to his hideout and "kill all of them."
Bucky will attempt to escape as soon as he spots the police car. Chase him through the various streets and alleyways back to his hideout on Caribo Avenue. When you reach the hideout, get out of the car and use it as cover. Eliminate Bucky and the member of his crew who is standing by the door. There are about three or four of Bucky's gang inside the house, and the easiest strategy is to shoot the door open and launch a grenade or two inside - that should eliminate a majority of Bucky's crew. The last member of Bucky's crew is situated at the top of the stairs to your left, so be prepared to shoot when you start climbing the stairs. Once all of Bucky's crew have been eliminated, lose the two-star wanted level to complete the mission.
![]() Ray has setup a new safehouse for you in Alderney. You can now save your progress there.
Ray has setup a new safehouse for you in Alderney. You can now save your progress there.
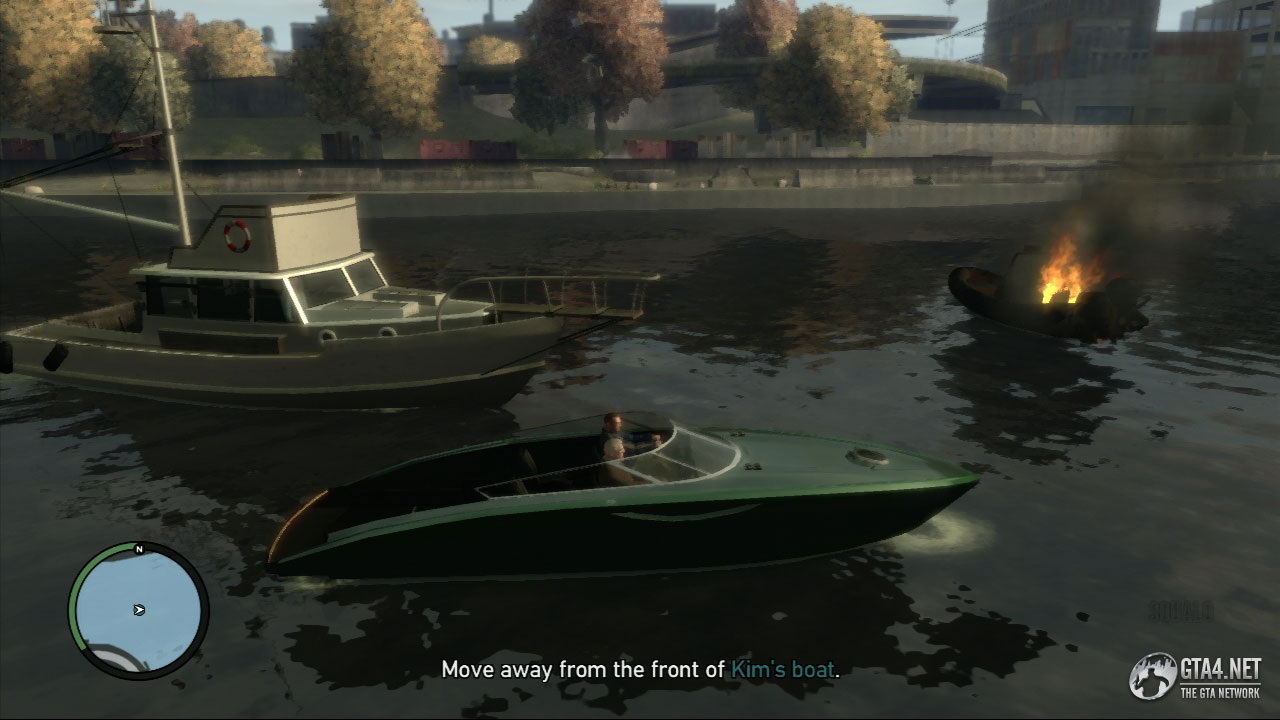
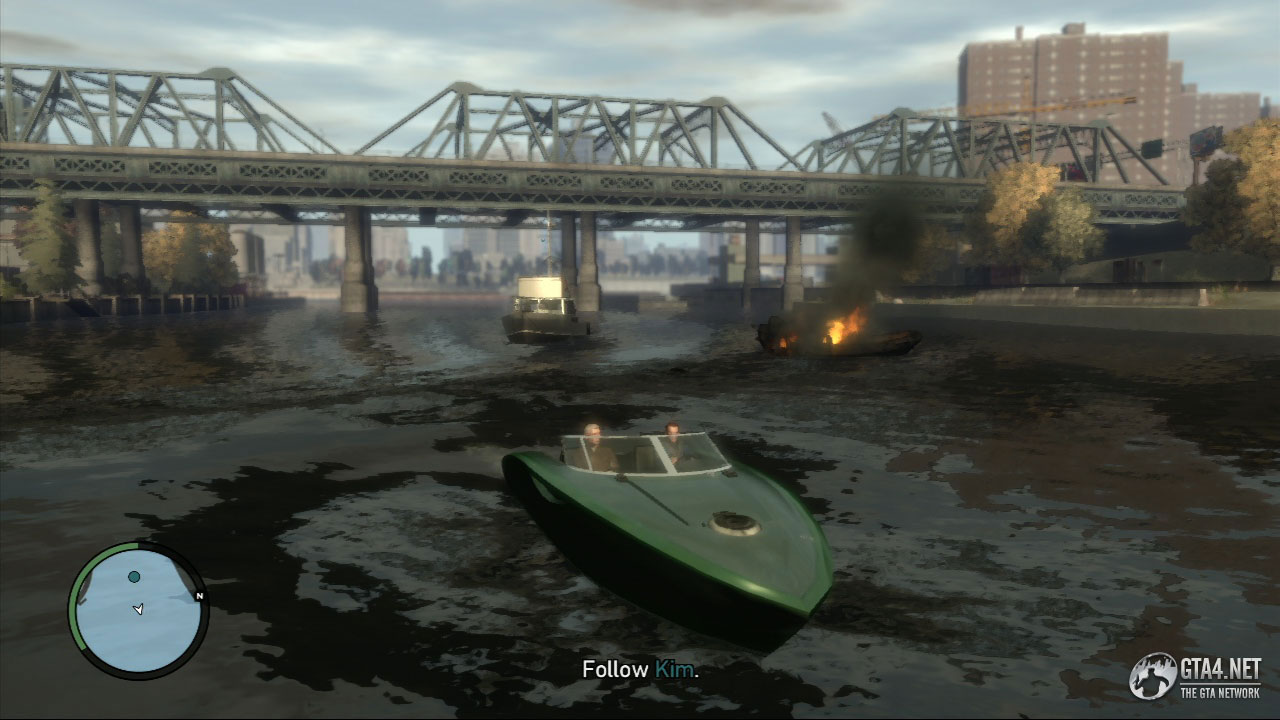
Go to Kim's boat with Derrick. Kim is a friend of some Korean guy that Derrick knows, and Derrick has agreed to escort him into the country with some fake cash. During the ride, Derrick tells Niko about one of his other enemies, "Aiden." Derrick, Aiden and Bucky (who you killed in the previous mission) apparently used to work together, but Aiden got locked up, and he and Bucky suspected Derrick of talking to the police.
Follow Kim, and ensure that the boat reaches Bohan safely. Attackers soon appear and begin spraying Kim's boat with bullets, so waste them and then watch out for another boat which approaches as you reach South Bohan. Be sure to aim for the shootists on the boat rather than aiming for the boat itself. It takes longer to blow up the boats than it does to kill the shootists on the boats, so doing this will reduce the amount of damage that Kim's boat receives.
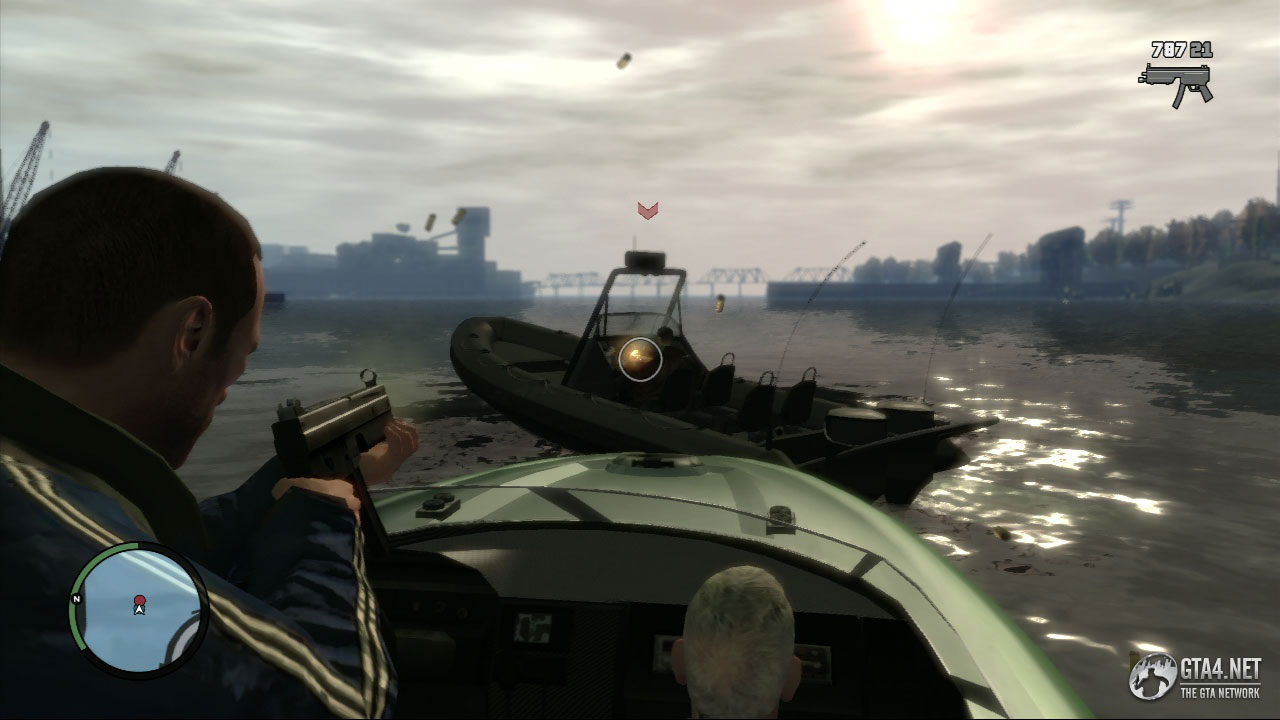
When you reach the East Borough Bridge, stop the boat and kill off any remaining attackers in the boats (try not to use the rocket launcher for this, or you risk killing Kim). Then use the rocket launcher to eliminate the chopper, and follow Kim towards the pier in Bohan to finish the mission.
Derrick is all drugged up while he explains his next problem. He wants you to kill Aiden O'Malley, the guy he told you about in the previous mission. After the cutscene, Packie calls to explain the plan: Aiden is in government custody, and he's being moved across town in a truck by police. The truck will pass through the Booth tunnel, and Packie needs you to block one end of it with a truck while he blocks the other. The plan is to make it look like a prison break, because if you just go in and kill the guy, Derrick is the first person they'll question, since he is the one that ratted him out and got him jailed in the first place.

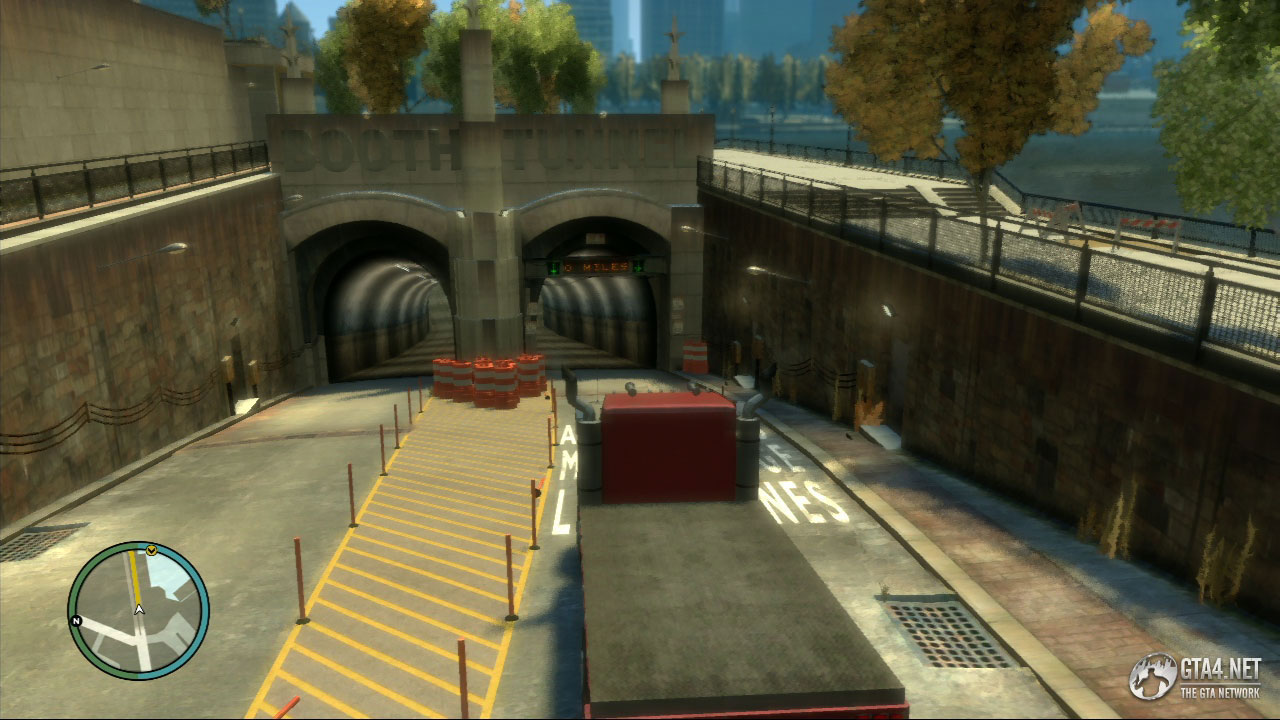
Packie has left a truck with a rocket launcher on Mahesh Avenue in Alderney, so go and collect it. When you enter the truck, Niko will call Packie and a cutscene shows O'Malley leaving the cop station with lots of protection. Take the truck that Packie left to the Booth Tunnel, and park it between the two yellow markers to block it. The police truck arrives with three police cars accompanying it, and then Packie blocks the area behind them. Use the truck as cover, and take out as many cops as you can. If you're going to use the rocket launcher, be careful not to aim too close to the police truck or Aiden will die and the mission is failed.
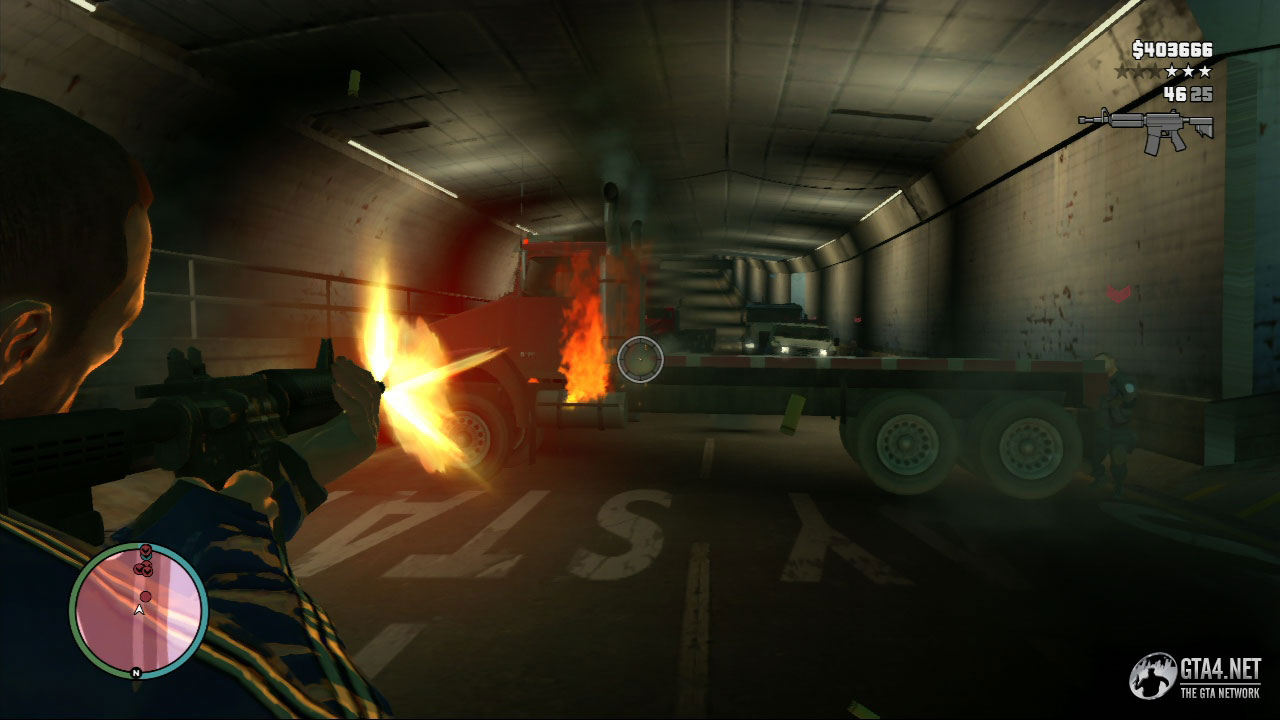
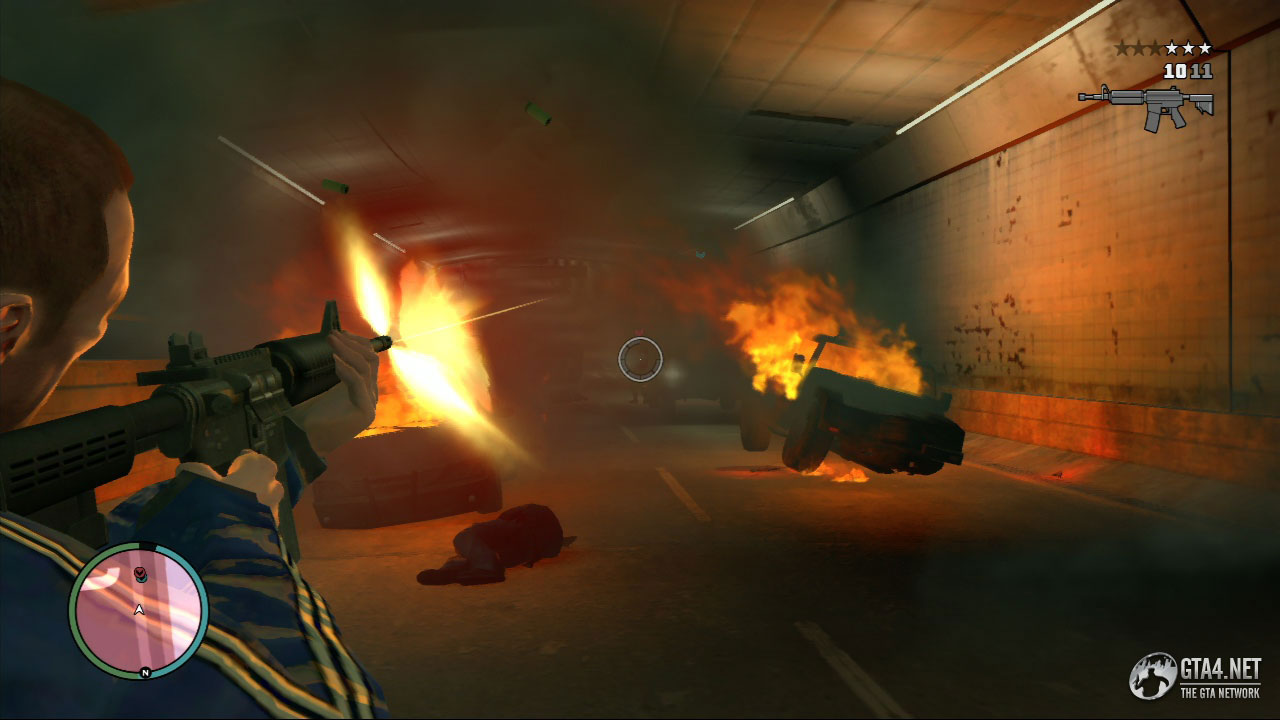
Once all the cops have been eliminated, steal the stockade with Packie and lose the three-star wanted level. Keep driving in the direction you are facing (towards Algonquin) and then use lots of small streets and alleyways to evade the cops quicker. Afterwards, ditch the truck in the quiet location (indicated by the yellow blip on the radar) and then take O'Malley to the cliffs in Leftwood. When you reach the destination, Packie reveals to Aiden that it was Derrick who broke him out, and then he orders Niko to kill him. Kill Aiden after the cutscene to complete the mission.
![]() Francis McReary wants you to meet him at Castle Drive. This will trigger the mission "Blood Brothers."
Francis McReary wants you to meet him at Castle Drive. This will trigger the mission "Blood Brothers."
Francis becomes aware that Derrick is back in town, and he is furious to say the least. Francis and Derrick despise each other, and Derrick is threatening to talk to a journalist about Francis' activities, which will jeopardize his chance of becoming police commissioner. Francis blackmails Niko, and threatens to lock him up unless he kills his brother Derrick.
Go to the courtyard park in Lancet, where Francis is due to meet with Derrick.
![]() Derrick calls shortly after the cutscene with Francis. He believes that Francis is going to try and kill him, and he wants Niko to kill Francis first!
Derrick calls shortly after the cutscene with Francis. He believes that Francis is going to try and kill him, and he wants Niko to kill Francis first!
When you reach the park, Niko will automatically call Francis for further instructions on the hit, and Francis tells him to use the window cleaning platform to assassinate Derrick from the roof. Before hanging up, Francis reminds Niko of the dirt he has on him, and demands that he carries out the hit. Niko promises to "kill who he's aiming at."
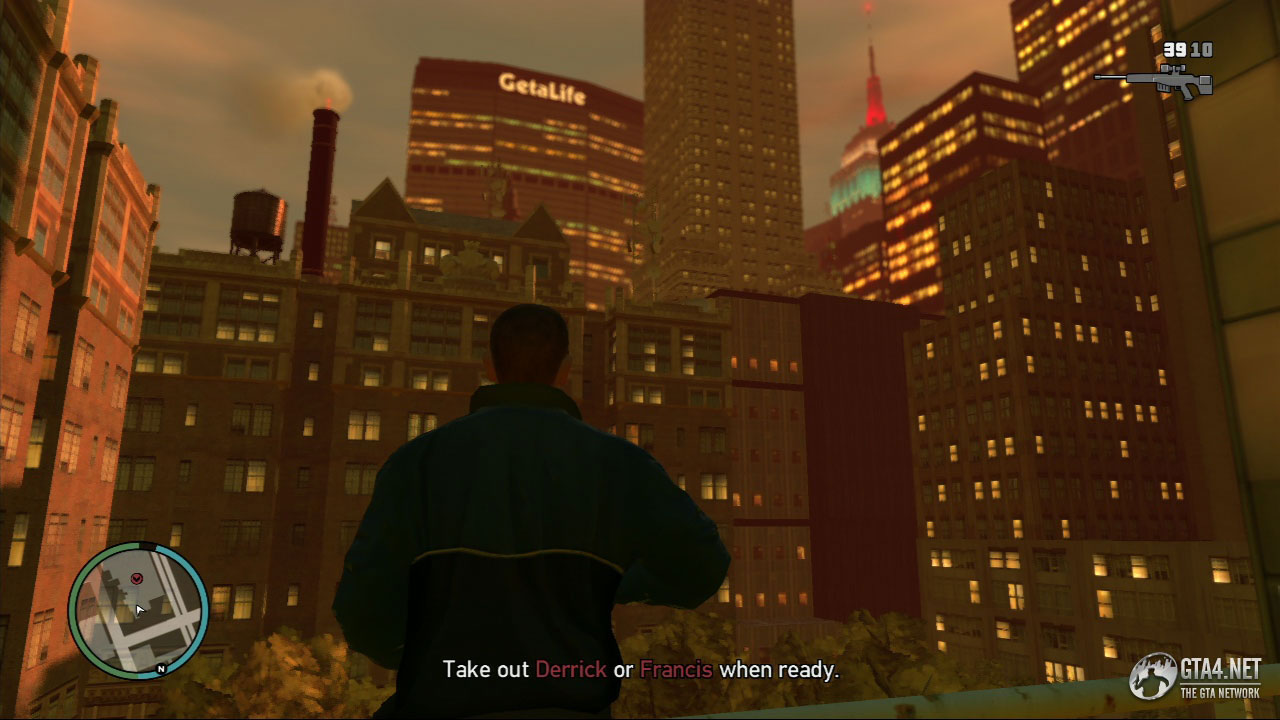
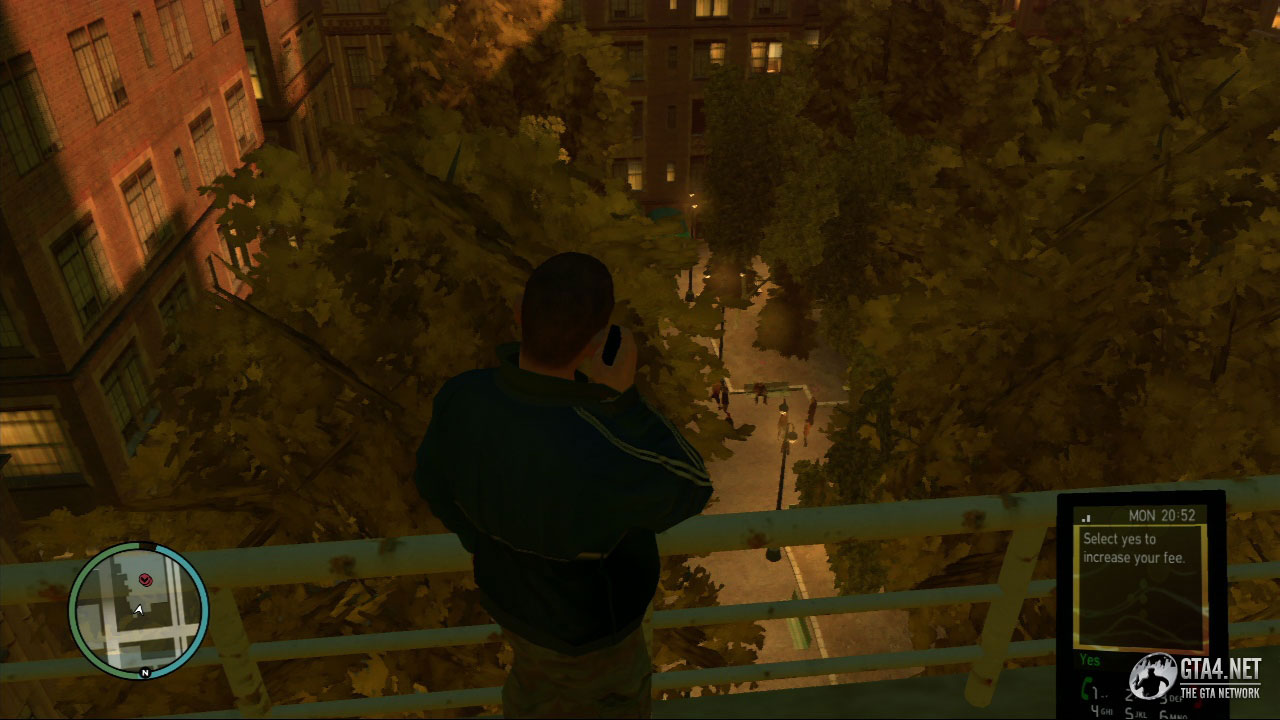
Climb on top of the scaffolding at Lorimar Street, and use the window cleaning platform to reach the roof. You now need to make a decision - kill Francis or Derrick. If you kill Derrick, you can get Francis to lower your wanted level (once) but this ability is removed once the main storyline is complete, and besides it's nullified by Kiki's special ability (one of the girlfriends on love-meet.net). Francis will also give you cash for carrying out the hit. If you call him while you are on the roof, and he will offer to increase his payment to $20,000.
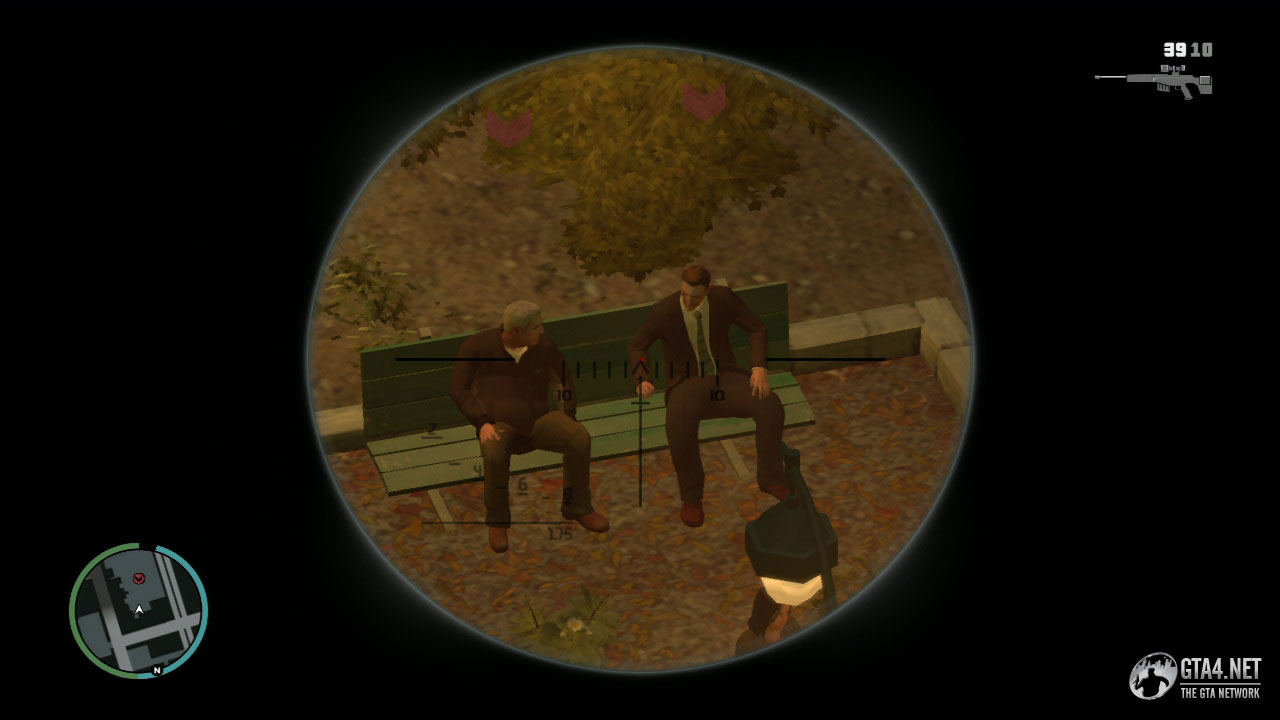
Killing Francis on the other hand provides no rewards or special abilities whatsoever, but it might be satisfying to kill him after all that blackmailing he did? Who you kill is entirely your choice, and it only has a slight effect on the next mission "Undertaker" (killing Francis makes this mission slightly easier, but not by much). Once you've made the hit, leave the rooftop and escape from the area to complete the mission.
![]() Packie calls and asks Niko to attend the funeral of his dead brother. He also reveals that Gerry was taken into custody, so it appears his suspicions of "being watched" were correct.
Packie calls and asks Niko to attend the funeral of his dead brother. He also reveals that Gerry was taken into custody, so it appears his suspicions of "being watched" were correct.
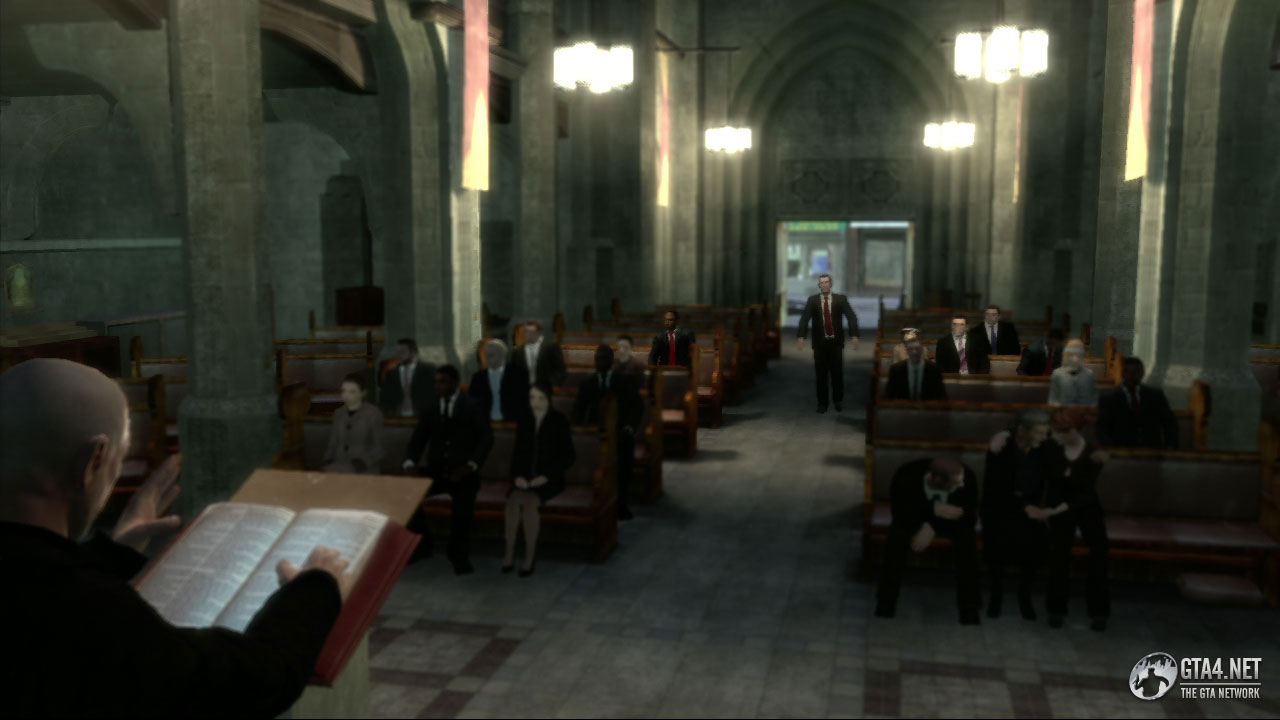
This mission begins right after you receive the call from Packie following the last mission. Change into a smart suit and tie, and then head over to the funeral in Suffolk. The cutscene will differ slightly depending on who you killed (Derrick or Francis) in the previous mission. After the service, a group of Albanians arrive and perform a drive-by shooting on the McRearys. Packie needs you to help him eliminate them.
Another car arrives soon after the first lot have been taken out. At this point, grenades or a rocket launcher would be very useful. If you aim for the car and blow it up before the Albanians manage to get out, you can get rid of them all at once and save yourself a lot of work. Another car arrives from the south shortly after, and then more Albanians come out of the alleyway straight ahead. Eliminate all of them, and if you're using grenades or an RPG, be sure to keep them well away from the hearse which contains the dead brother's body.
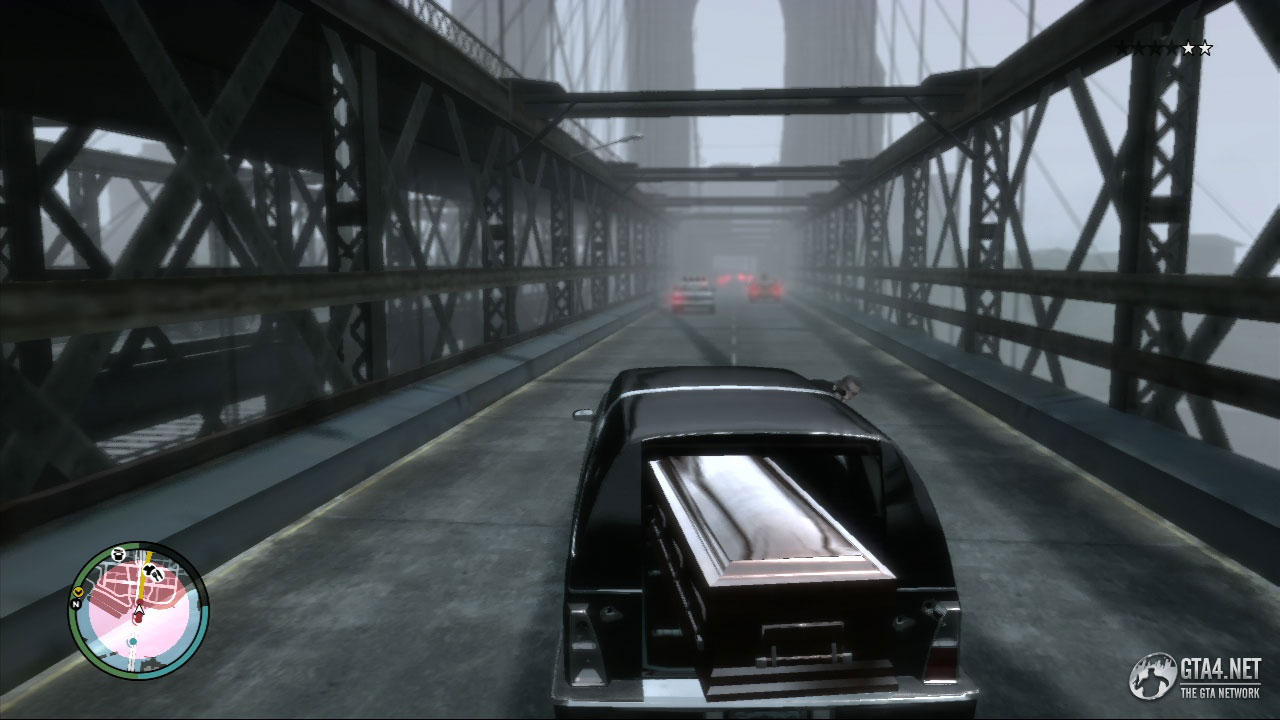
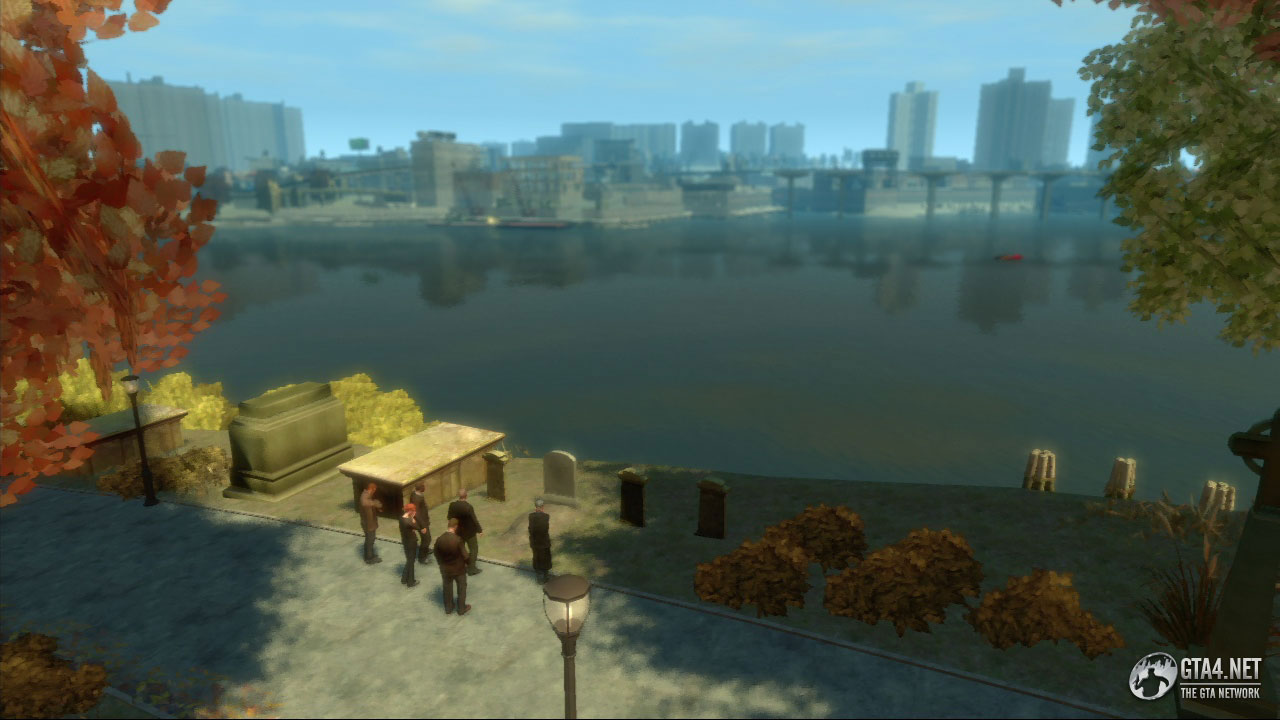
Once all the Abanians are gone, get in the hearse with Packie and take the body to the cemetary. If you killed Derrick in the previous mission, you'll need to take him to the cemetary in Dukes, and if you killed Francis you'll need to take him to Colony Island, which is a much shorter distance. More Albanians will chase and attack the hearse, so get to the cemetary as quickly as you can and make sure the coffin doesn't fall out the back! When you reach the cemetary, watch the cutscene as the family mourns. Kate thanks Niko for coming along.
![]() Gerry calls from the Alderney State Correctional Facility, and he wants Niko to go and meet him for some work.
Gerry calls from the Alderney State Correctional Facility, and he wants Niko to go and meet him for some work.
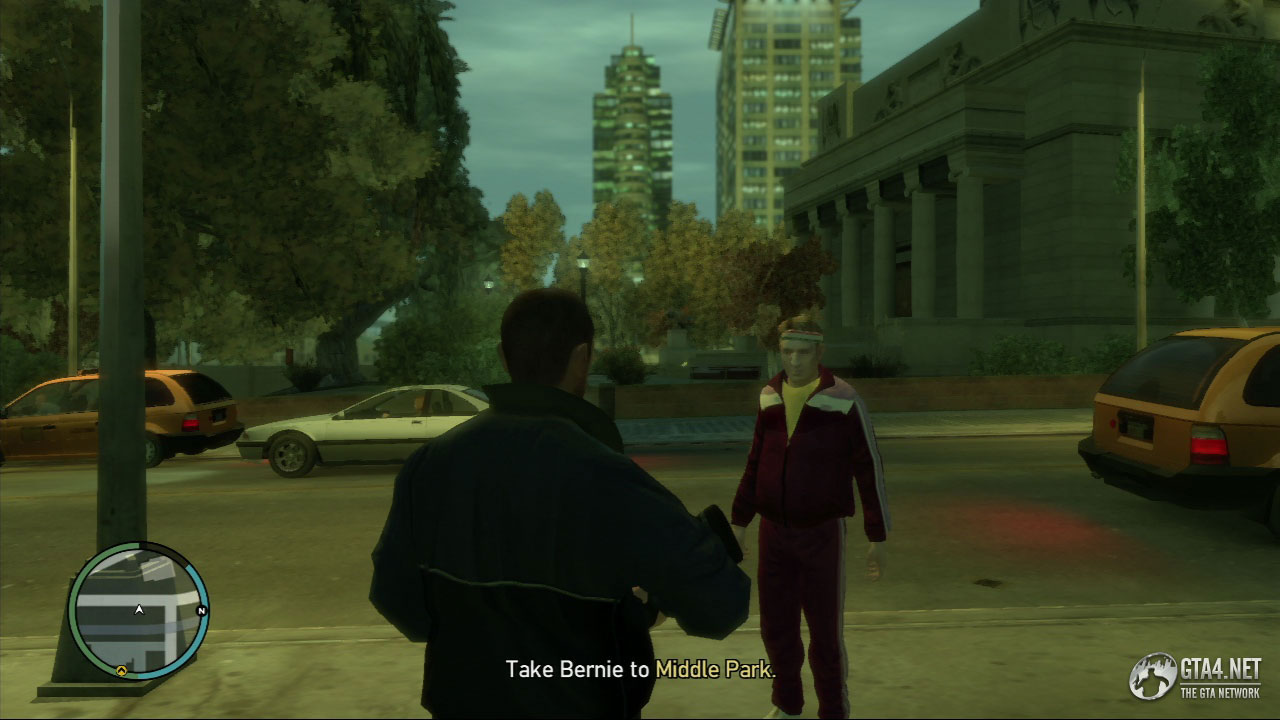
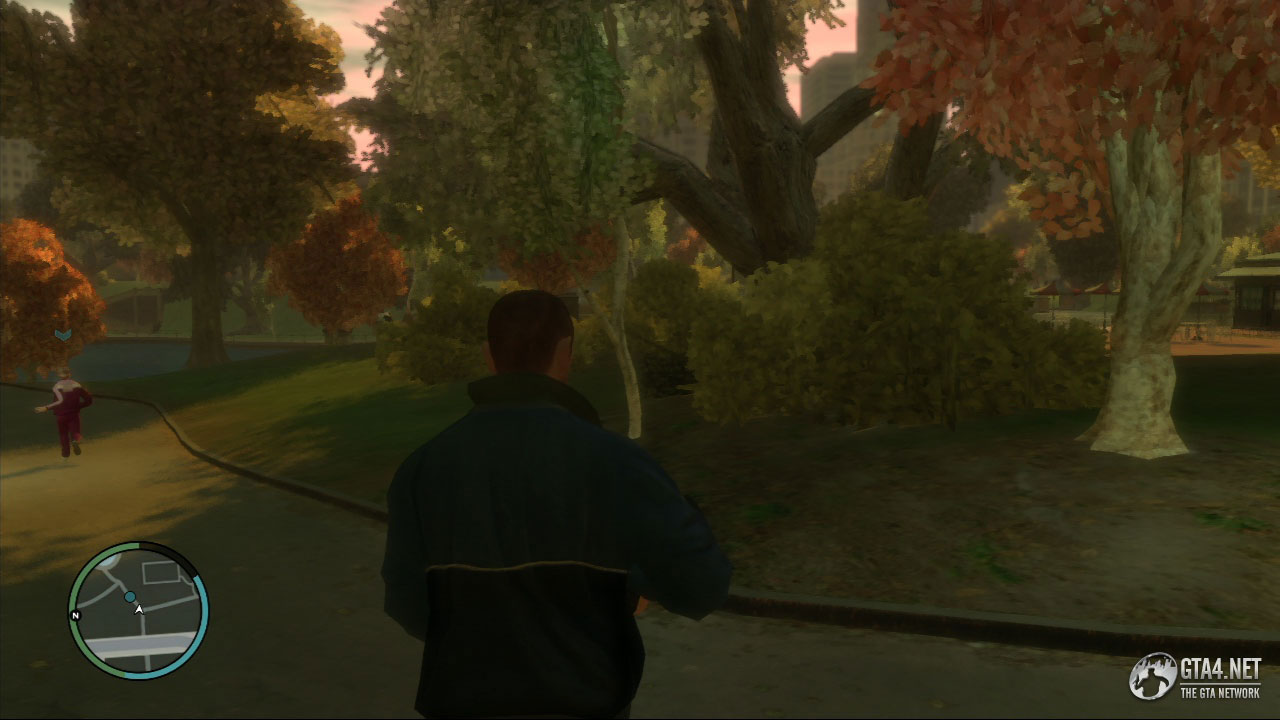
Bernie has a problem, which he explains to Niko during the cutscene. Bernie keeps getting attacked by "haters" in Middle Park, so Niko agrees to go and sort them out. Get in a car with Bernie, and make your way to the yellow marker at Middle Park. Follow Bernie as he jogs through the park, but don't get too close to him, because the hater will only attack him if he thinks he is alone.
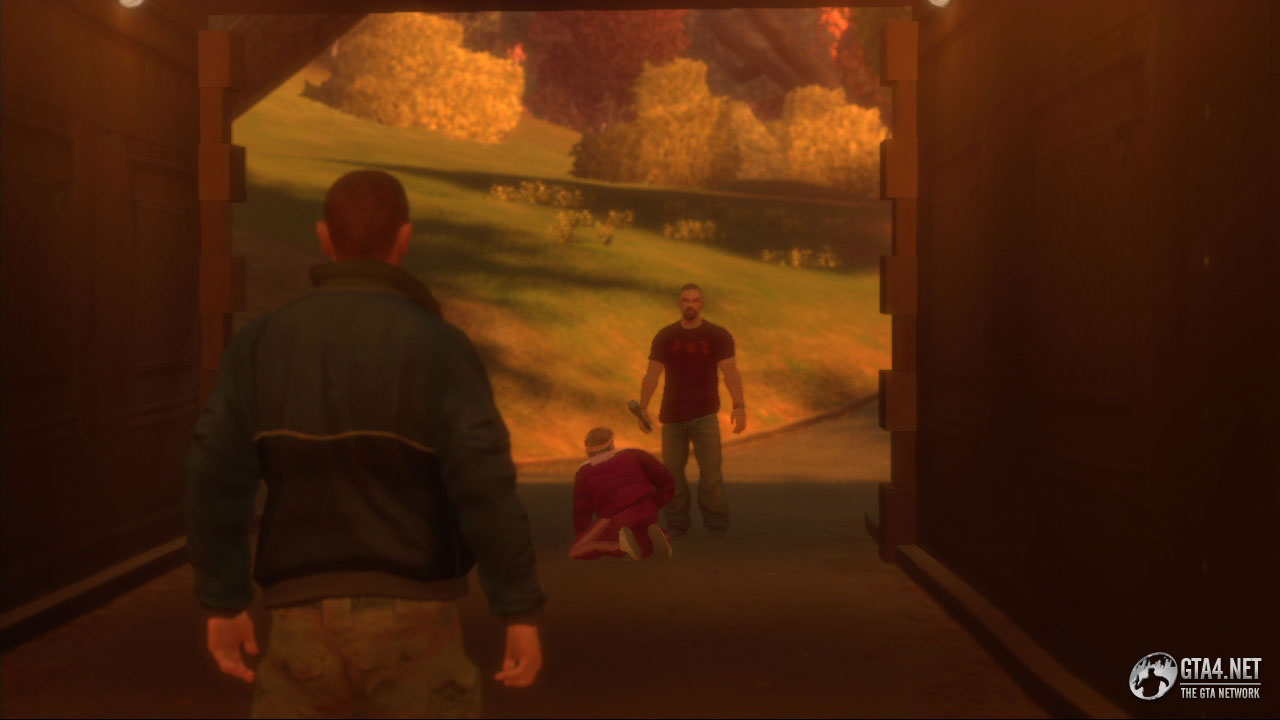
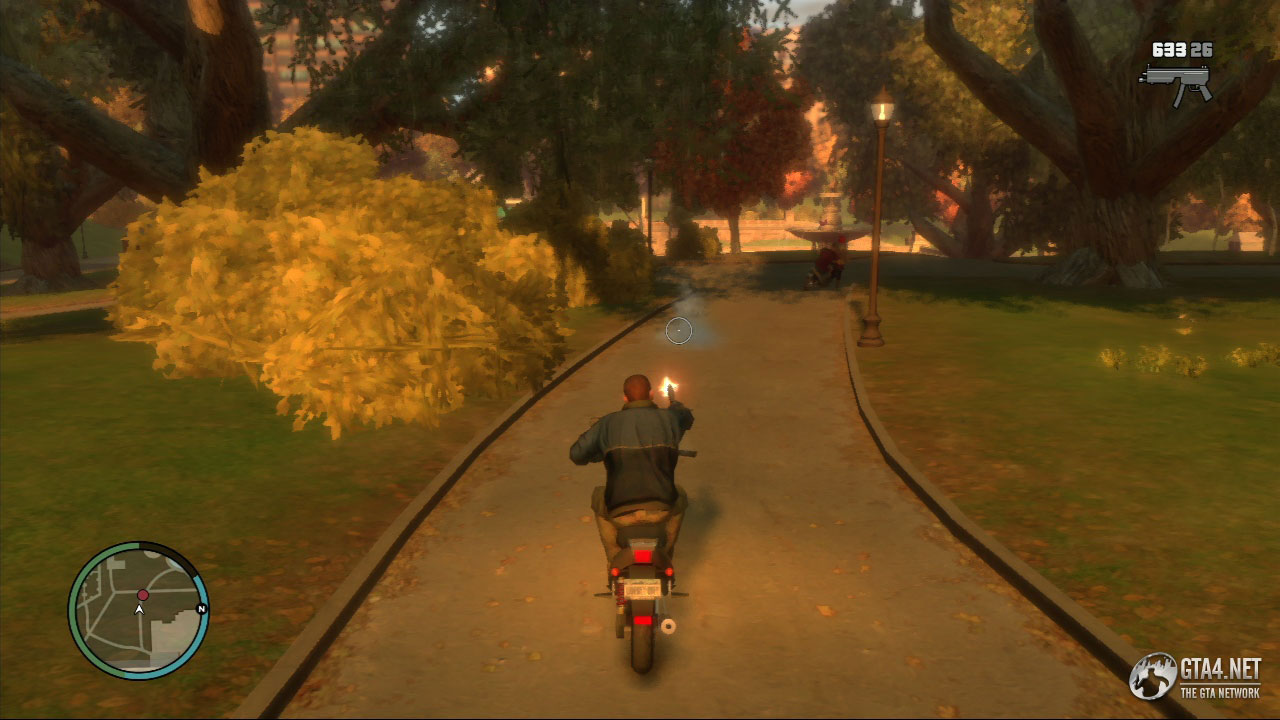
When you reach the tunnel in the park, the hater is waiting to attack Bernie (with a baseball bat) at the other end. After the cutscene (and after some amusing accusations of Niko being a "fag lover") follow the homophobe to the bridge at the top of the stairs. Chase the hater through Middle Park on one of the Faggios parked on the bridge, and perform a drive-by shooting to kill him.
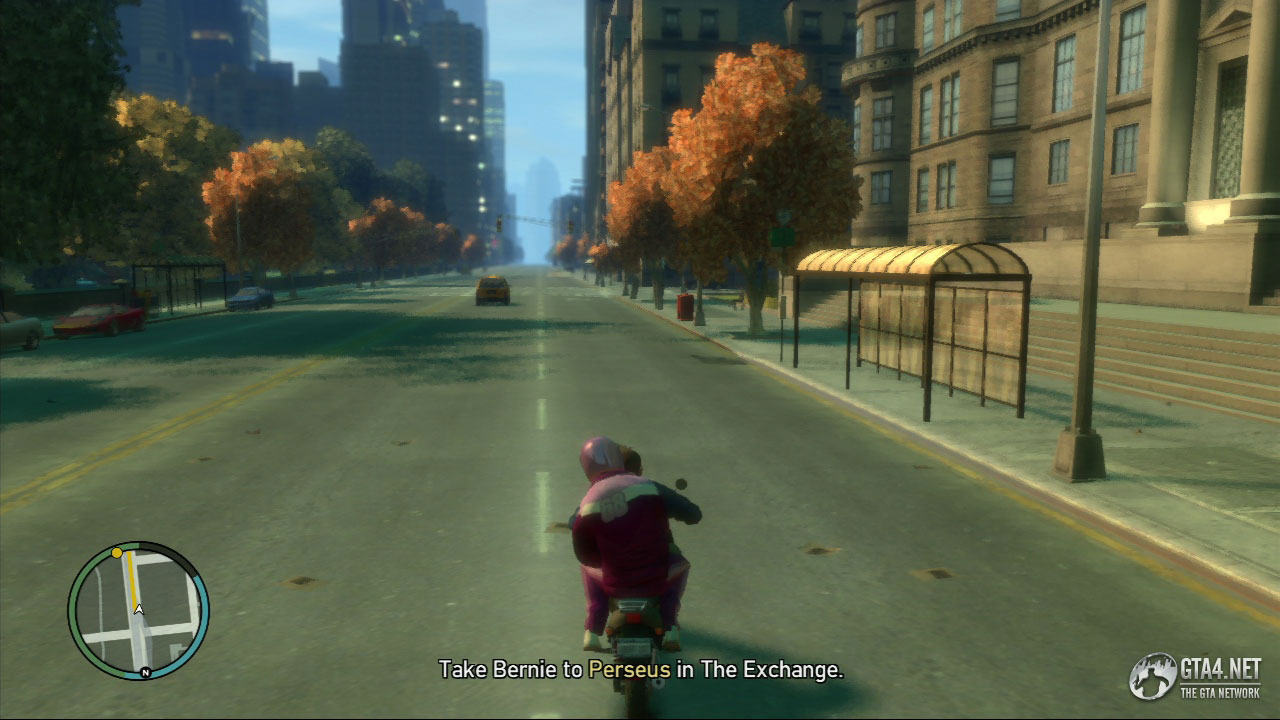
If you're having trouble catching up with the hater, leave a faster bike (such as the NRG 900 or PCJ 600) on the bridge where the Faggios are situated before the cutscene begins. Go and pick up Bernie once the hater is dead, and take him to Perseus in The Exchange to conclude the mission.
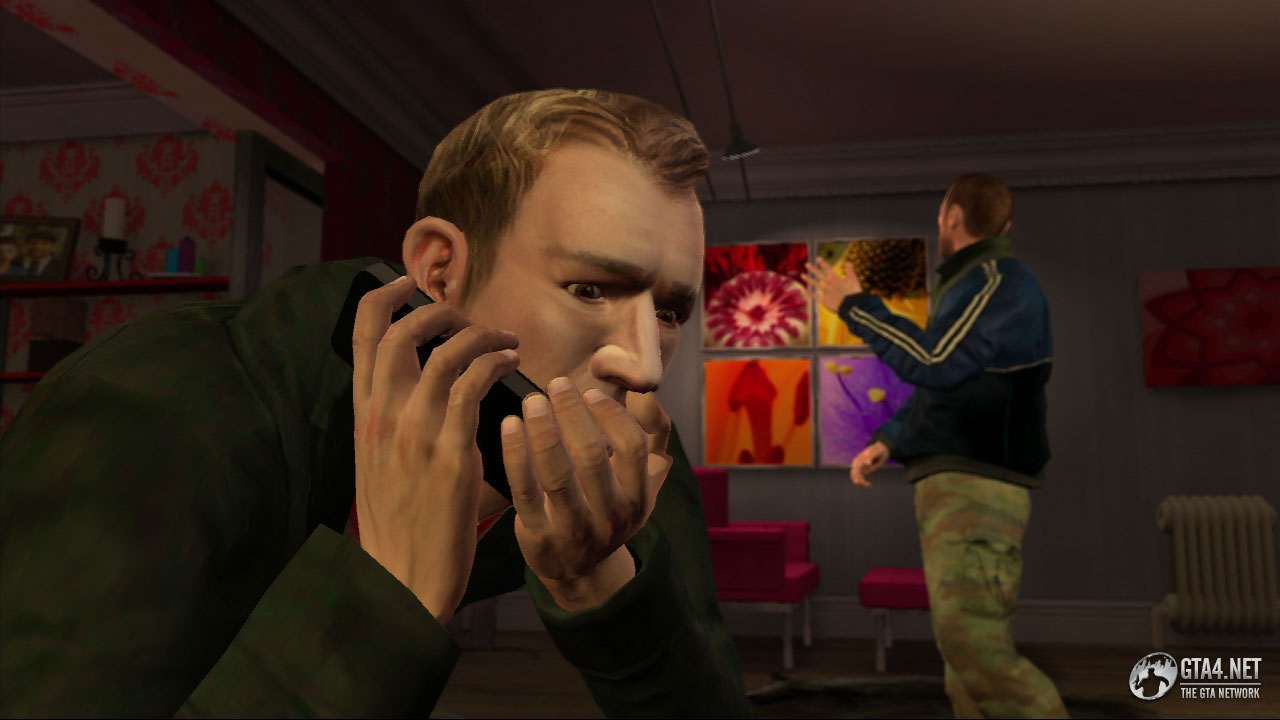
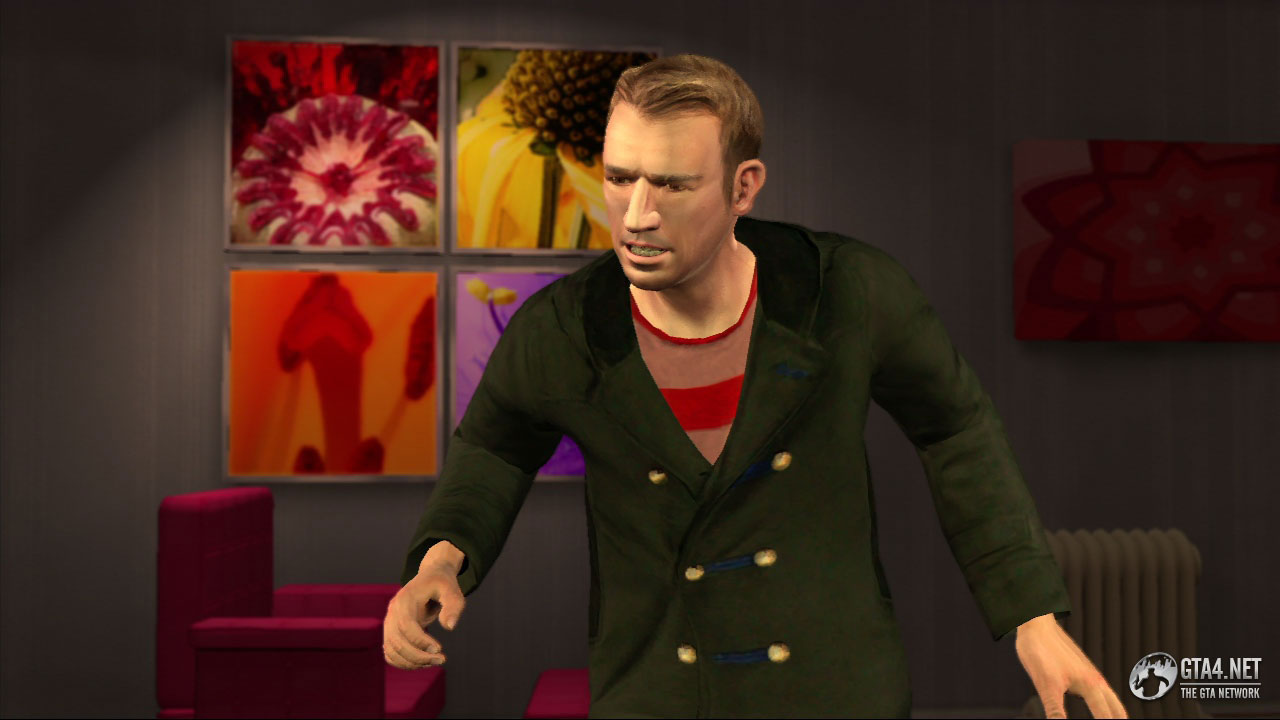
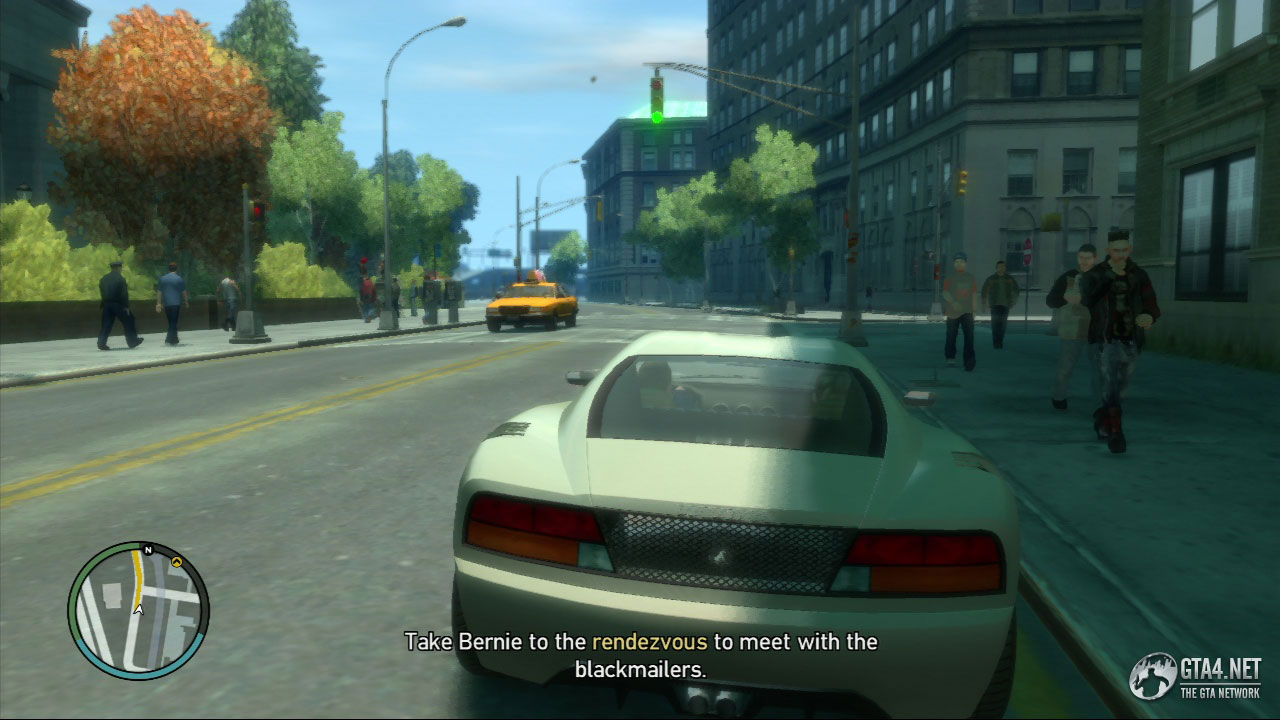
Some thugs found out about Bernie's relationship with Mayor Bryce Dawkins, and Bryce is now being blackmailed. Find a fast car and take Bernie to the rendezvous to meet with the blackmailers. The meet is at Grummer Road, and Bernie explains that the identity of the blackmailers is currently unknown - the people you are meeting with are only representatives of the blackmailers.
The representatives arrive, and Niko and Bernie make their position very clear: they will not negotiate with the blackmailers. It becomes apparent that the two thugs are representing Dimitri Rascalov, and after the cutscene they attempt to escape. Follow the blackmailers, but don't shoot at them - it's a lot easier just to chase until they reach a dead end, and that way you can focus fully on the road.
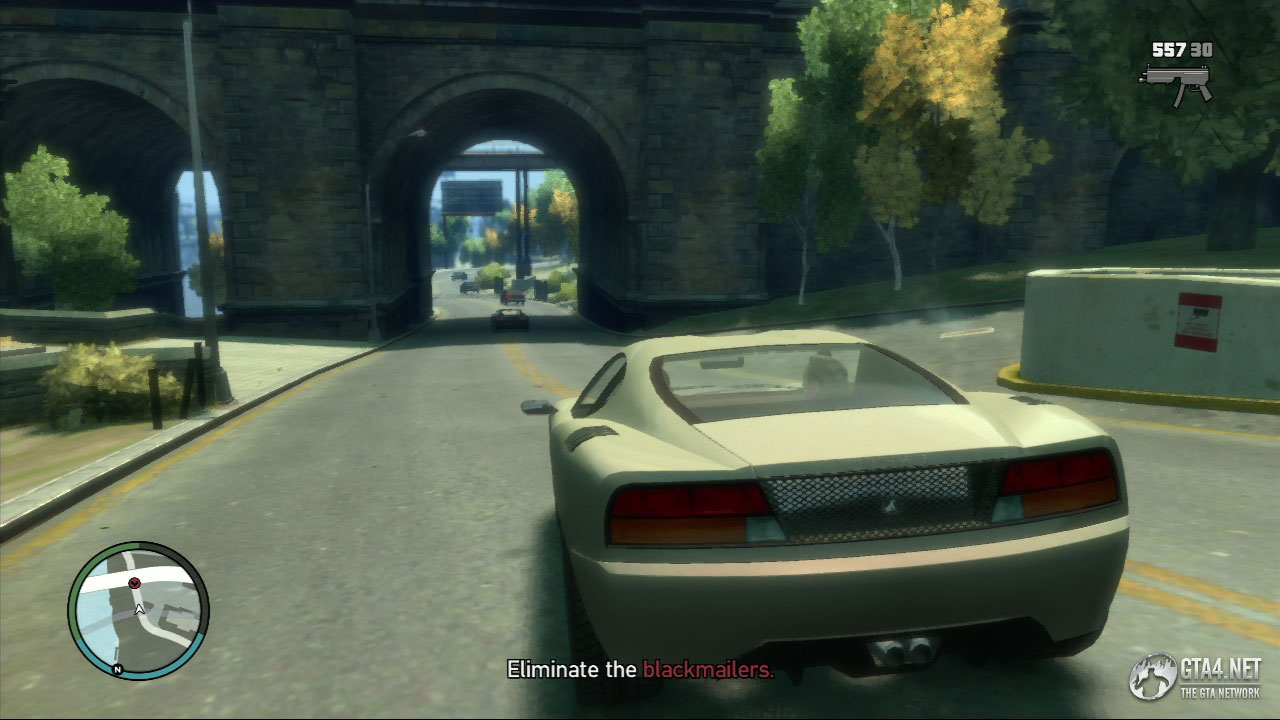
Stay close to the blackmailers, and watch out for buses/trucks/flipped cars and various other obstacles which are designed specifically in this mission to disrupt your route. On two ocassions, the thugs switch over to the opposite side of the road, which is another attempt to disrupt your chase, but stay on the correct side and they will eventually switch back over.

The chase lasts about three minutes, and ends at Galveston Street in Castle Garden City, Algonquin. Kill the two thugs, and then take Bernie back to his apartment to complete the mission.
![]() Bernie is having more problems, and he wants you to meet him at Pier 45.
Bernie is having more problems, and he wants you to meet him at Pier 45.
![]() Dimitri calls and offers to "cut you in" on the deal with Bryce Dawkins and Bernie, but Niko flatly refuses.
Dimitri calls and offers to "cut you in" on the deal with Bryce Dawkins and Bernie, but Niko flatly refuses.
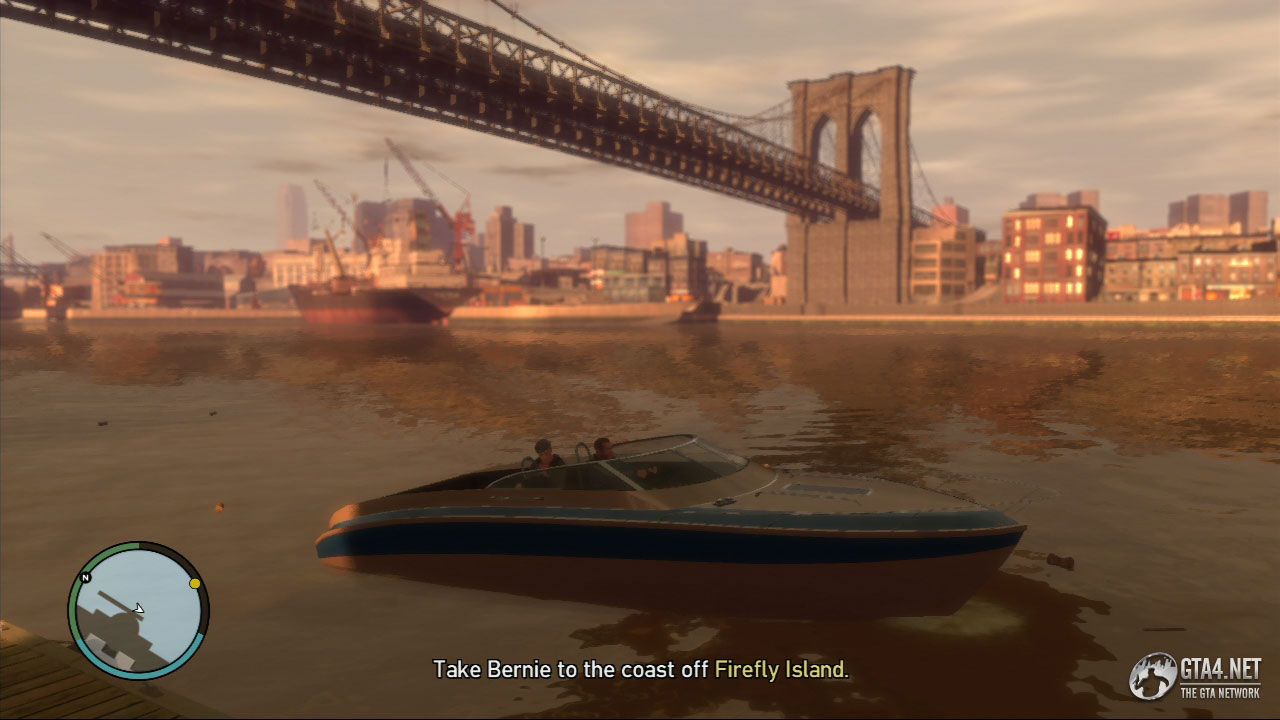
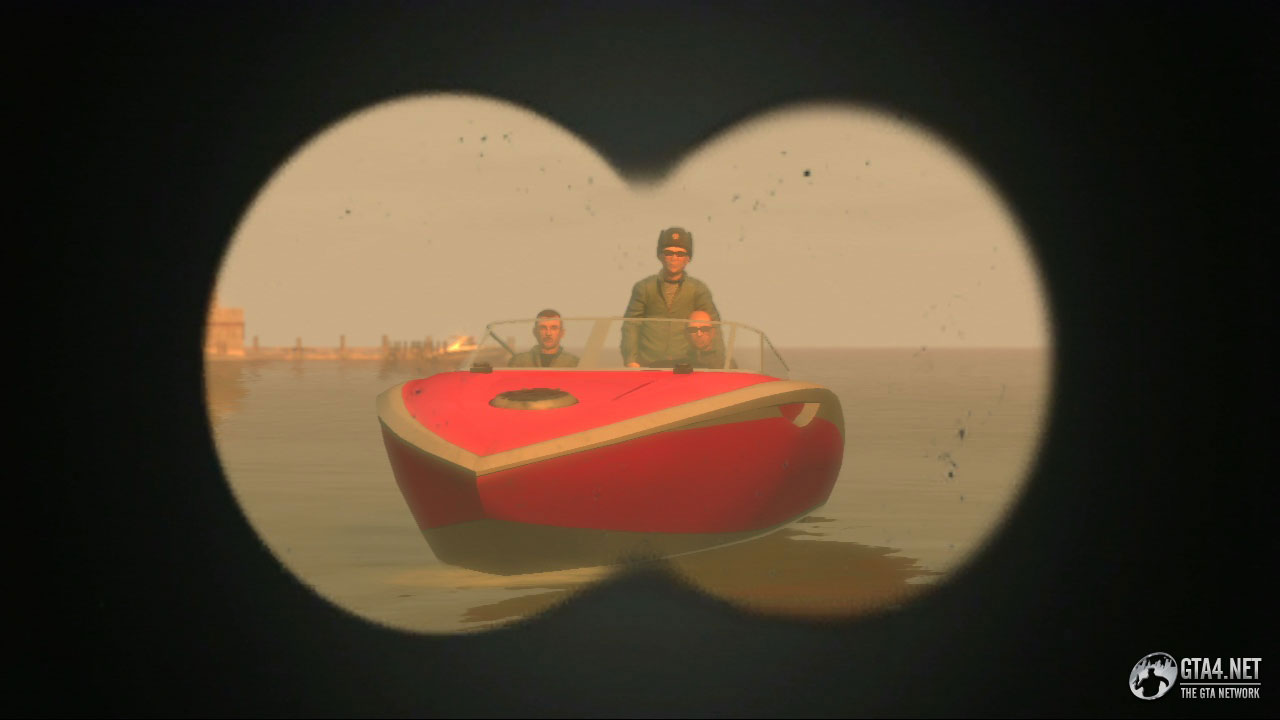
Bernie wants to have some "fun," so get on the boat and take him to the coast off Firefly Island. Bernie spots three guys on a boat nearby who soon begin attacking you. These are Dimitri's men, and you must now eliminate them.
Chase Dimitri's men, and watch out for the large boats (particularly the ones near the Algonquin Bridge) which will attempt to block your route. If you manage to kill all of Dimitri's men in the water then the mission is over, however a more likely scenario is that at least one of them will reach land at Dukes, forcing you to get off the boat and kill them/him.

Once the three men have been eliminated, go back and see Bernie to complete the mission. Try to kill as many of Dimitri's men as possible before reaching land, to make your task easier.


In the cutscene, Gerry is surrounded by security men at Alderney State Correctional Facility, so he orders Niko to call Packie for details of the next job. Packie explains that Gerry wants you to kidnap Grace, the daughter of old man Ancelotti, so they can hold her for ransom.
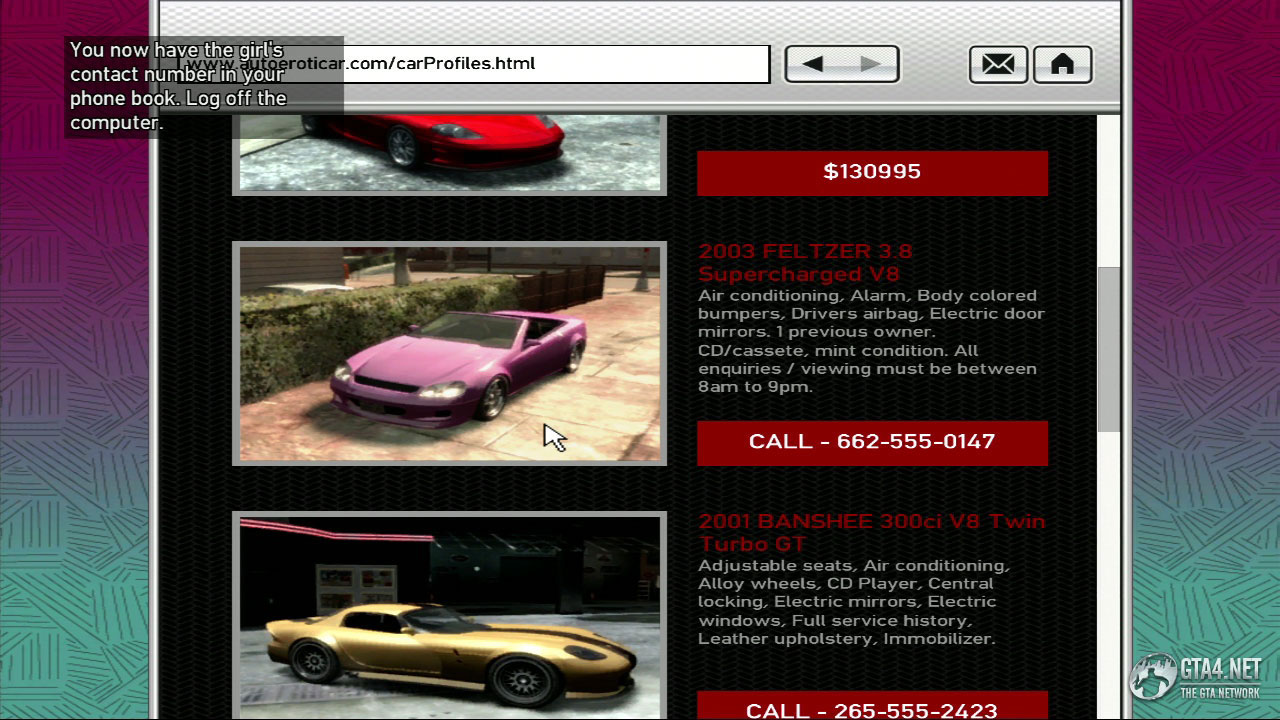
Gracie is selling a pink Feltzer on AutoEroticar.com, so go to the nearest computer terminal (at one of the internet cafes or at either of the Algonquin safehouses) and click on the advert for AutoEroticar. Click on the 'View Cars' link, and then scroll down to Gracie's pink Feltzer. Gracie's number is then automatically added to the phonebook. Log off, and call Gracie at any time between 08:00 and 21:00 to arrange a viewing.
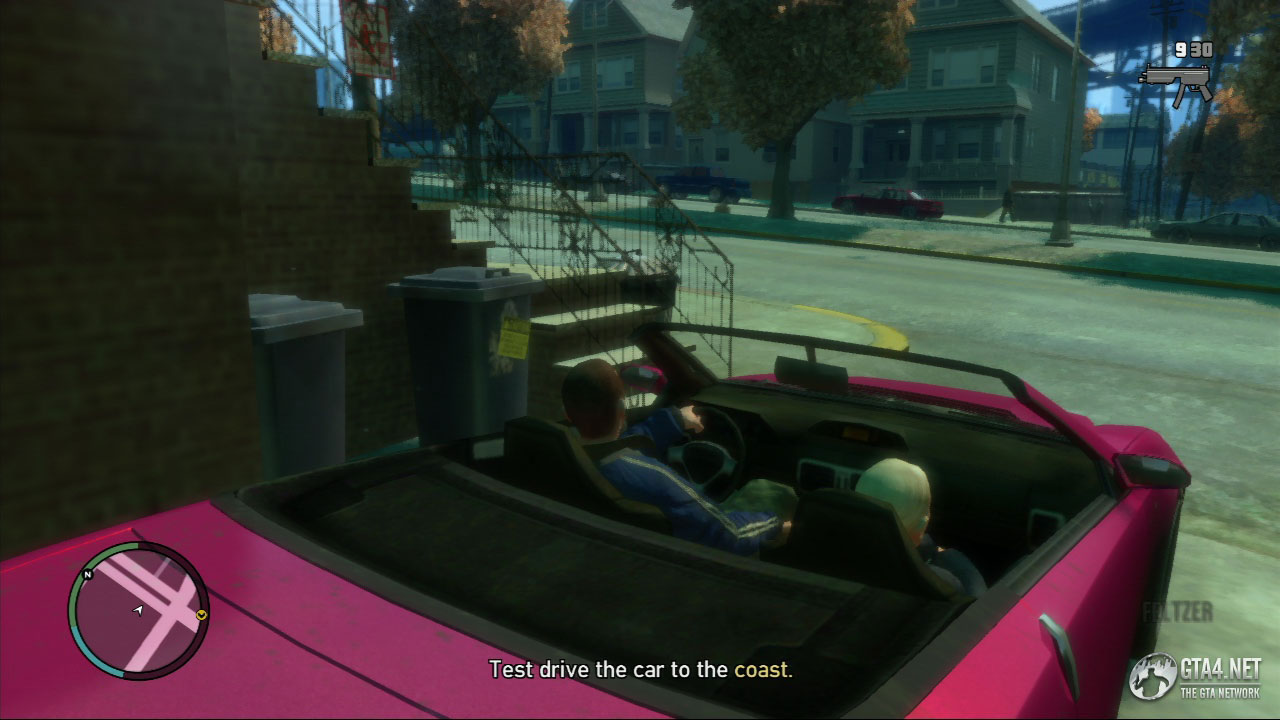
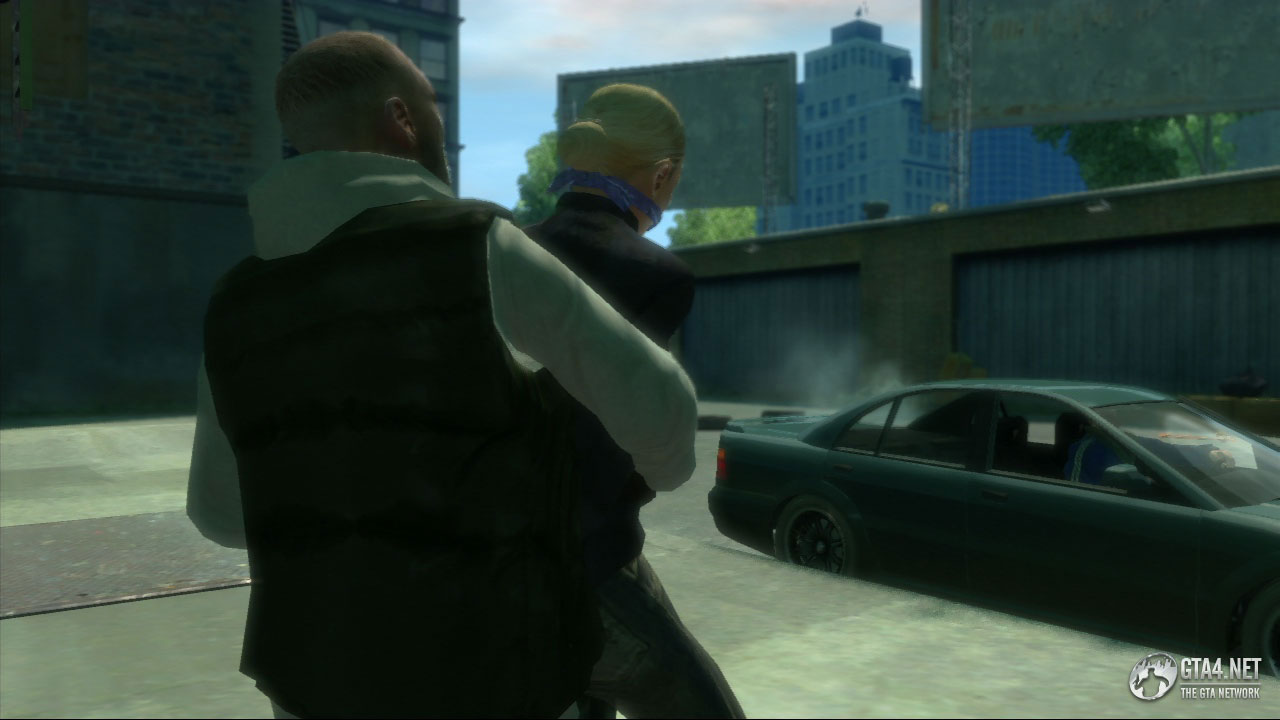
After you've called Gracie, meet her at her house on Schneider Avenue. The house is heavily guarded by Ancelotti goons, so you need to get Gracie away from the house before initiating the kidnap. She agrees to let you test drive the car. When you reach the coast, perform a u-turn and kidnap her. Gracie attempts to call her dad, but Niko grabs her phone and throws it onto the road.
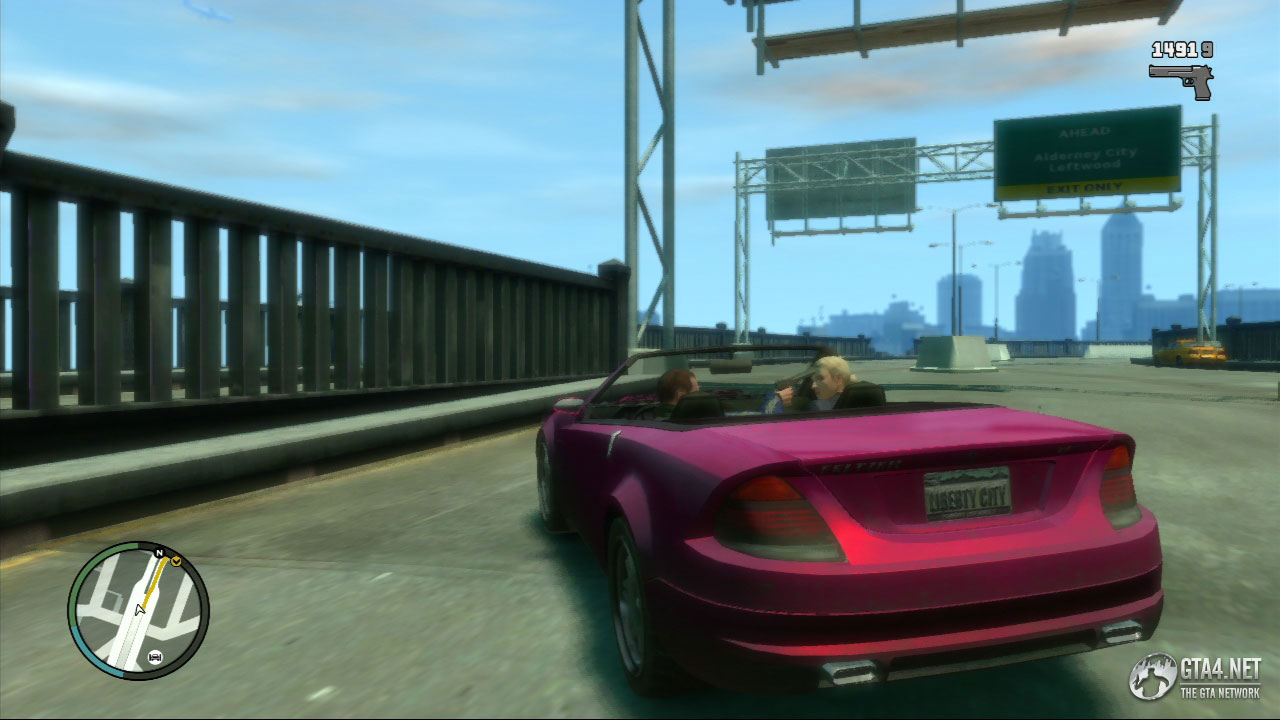
On several occasions, Gracie attempts to grab the steering wheel and throw you off the road, so drive very slowly or the car will flip, which means the mission is failed. Eventually Niko knocks her out, and from there on it's a smooth journey back to the safehouse in Alderney. Gordon is waiting there to take Gracie into the safehouse.
![]() Achievement unlocked: 10G - Gracefully Taken
Achievement unlocked: 10G - Gracefully Taken
![]() Packie calls to announce there's a problem. Ancelotti doesn't believe his daughter has been kidnapped, and instead he thinks she's with some guy, so Packie needs you to take a photo of her so they can send it as proof to Gracie's father.
Packie calls to announce there's a problem. Ancelotti doesn't believe his daughter has been kidnapped, and instead he thinks she's with some guy, so Packie needs you to take a photo of her so they can send it as proof to Gracie's father.
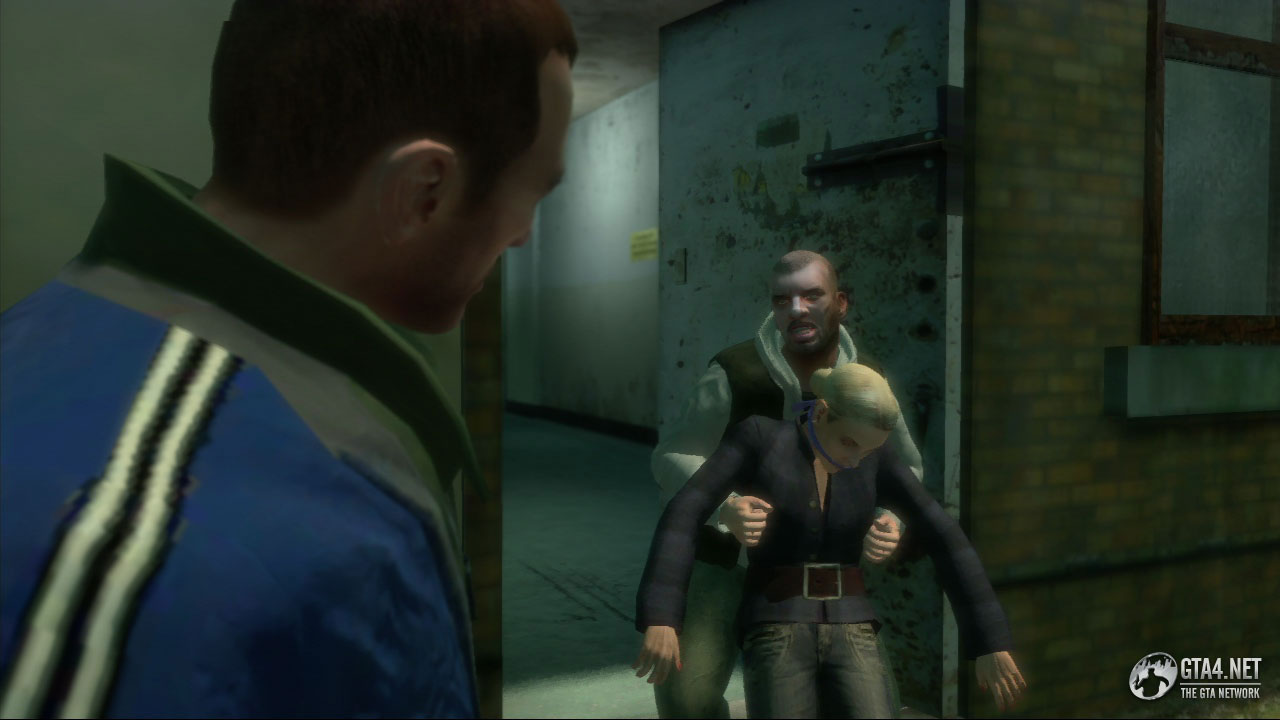
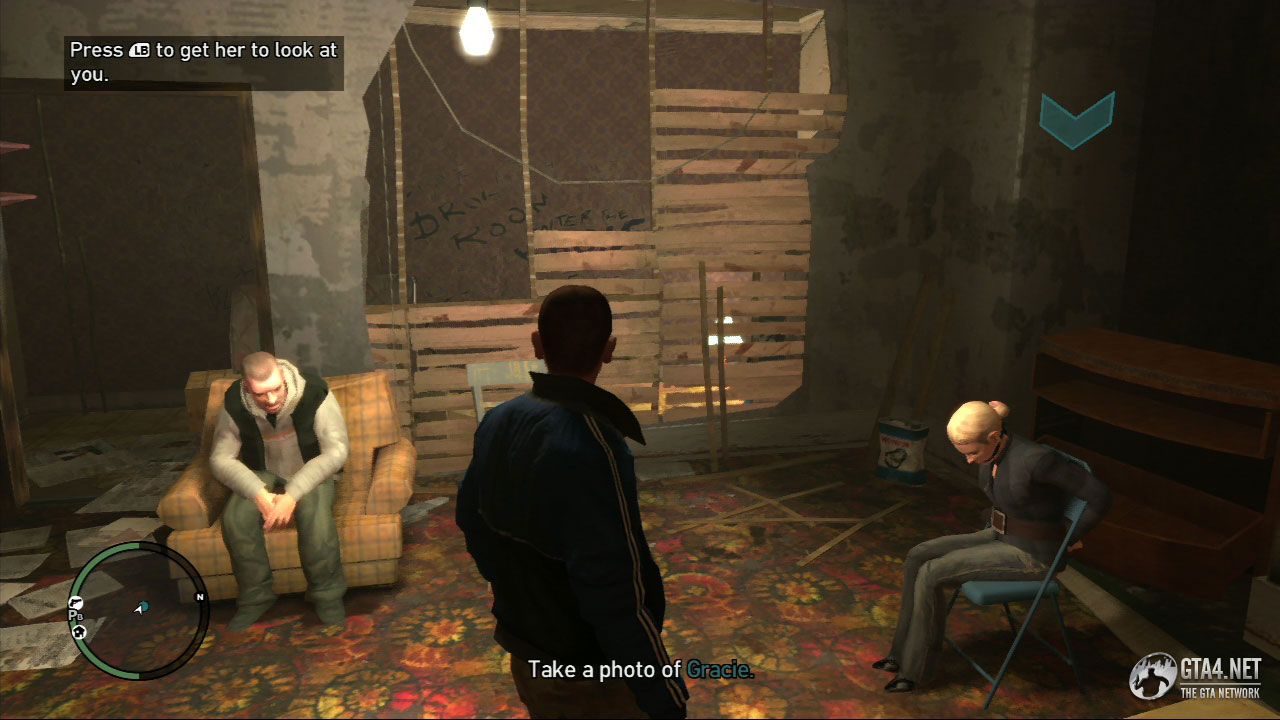
This is a very short task which begins after Packie calls you following the mission "I'll Take Her." Go to the safehouse in Alderney, and go upstairs to the first floor where Gracie is being held.
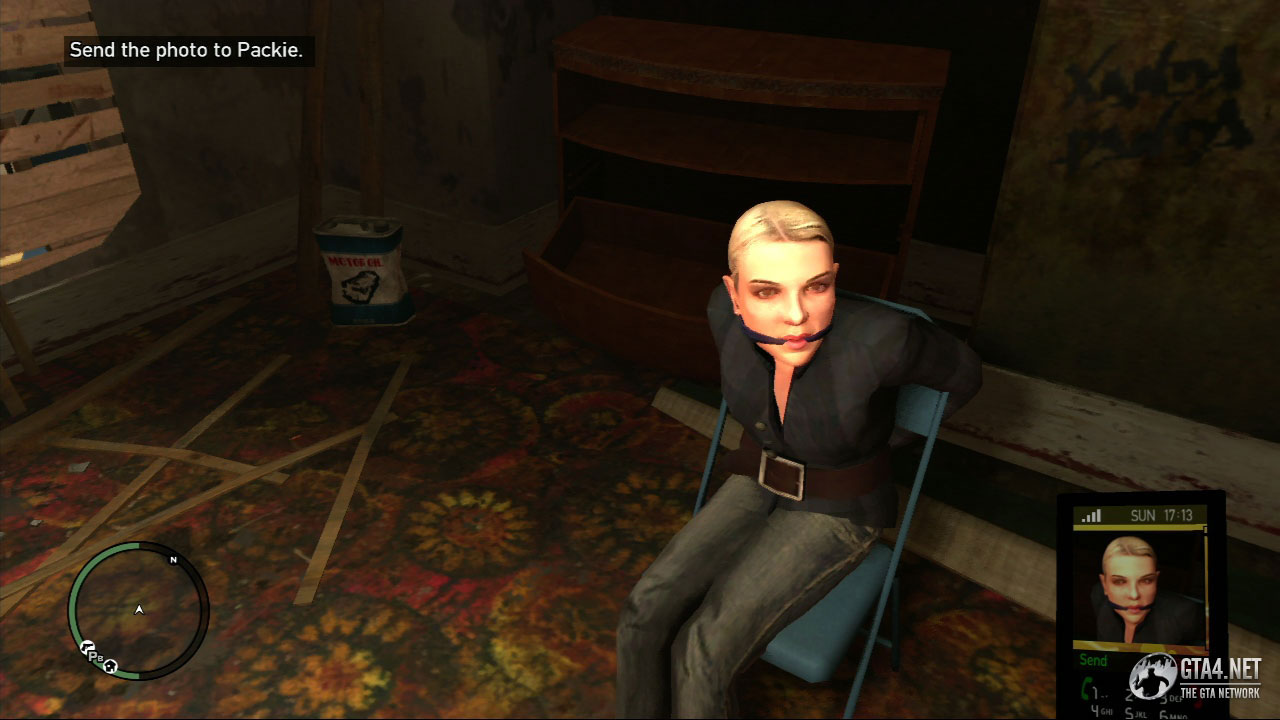
Gracie is tied to a chair in a room which is being guarded by Gordon. Follow the on-screen instructions to slap her and make her look up at you, and then pull out your cellphone and select the Camera option. Capture a photograph of Gracie, send it to Packie, and then leave the building to complete the mission.
Gerry - who is talking in code so that the prison guards don't catch on - instructs Niko to take Gracie to a new safehouse in Algonquin, because the Ancelottis have finally tracked her. After the cutscene, go to the safehouse in Alderney where Gracie is being held, and watch the cutscene as Gordon loads her into the trunk.
After the cutscene, perform a u-turn and drive down the stairs (at the end of the alleyway) onto the freeway. There are three Ancelotti cars in total trying to intercept you, but only two if you use this route.
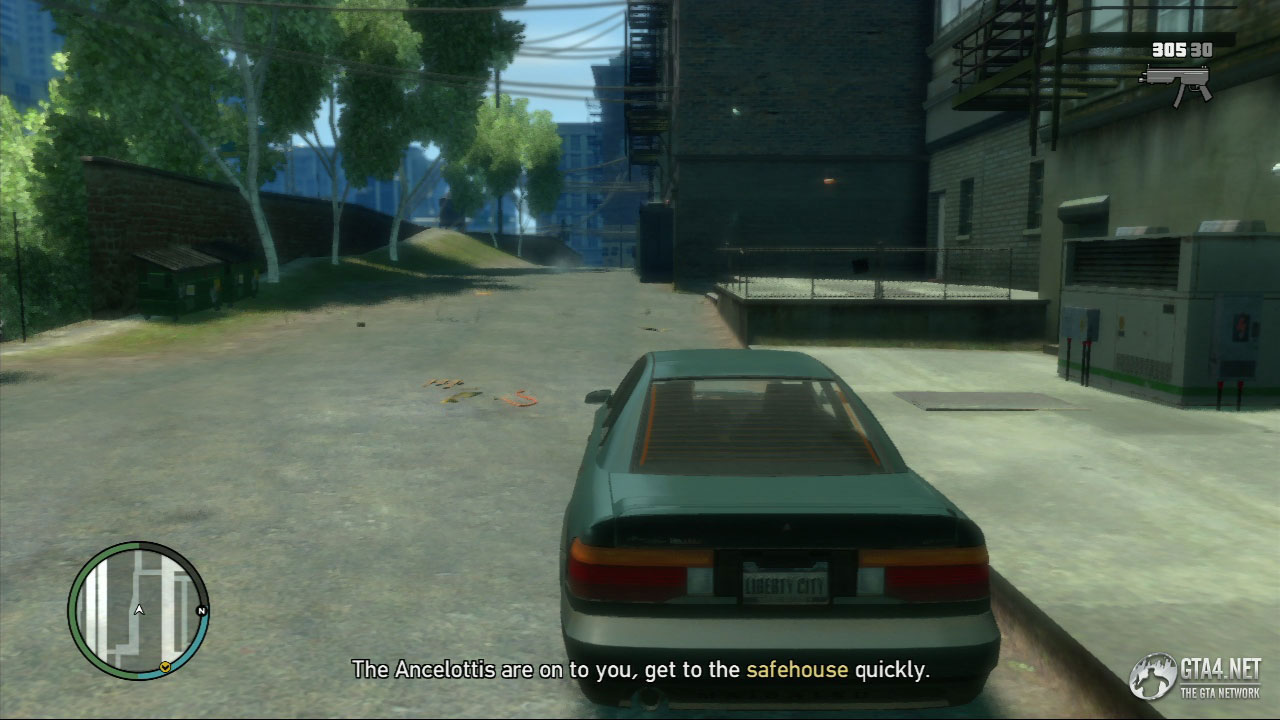
Travel across the bridge and make your way to Exeter Avenue in Algonquin, where the new safehouse is situated. Be careful when you are driving Gracie, and try not to damage the car too much - if the car gets too damaged, Gracie will die in the trunk, and you won't find out until you reach the safehouse in Algonquin. Complete the mission by getting Gracie to the safehouse in one piece.
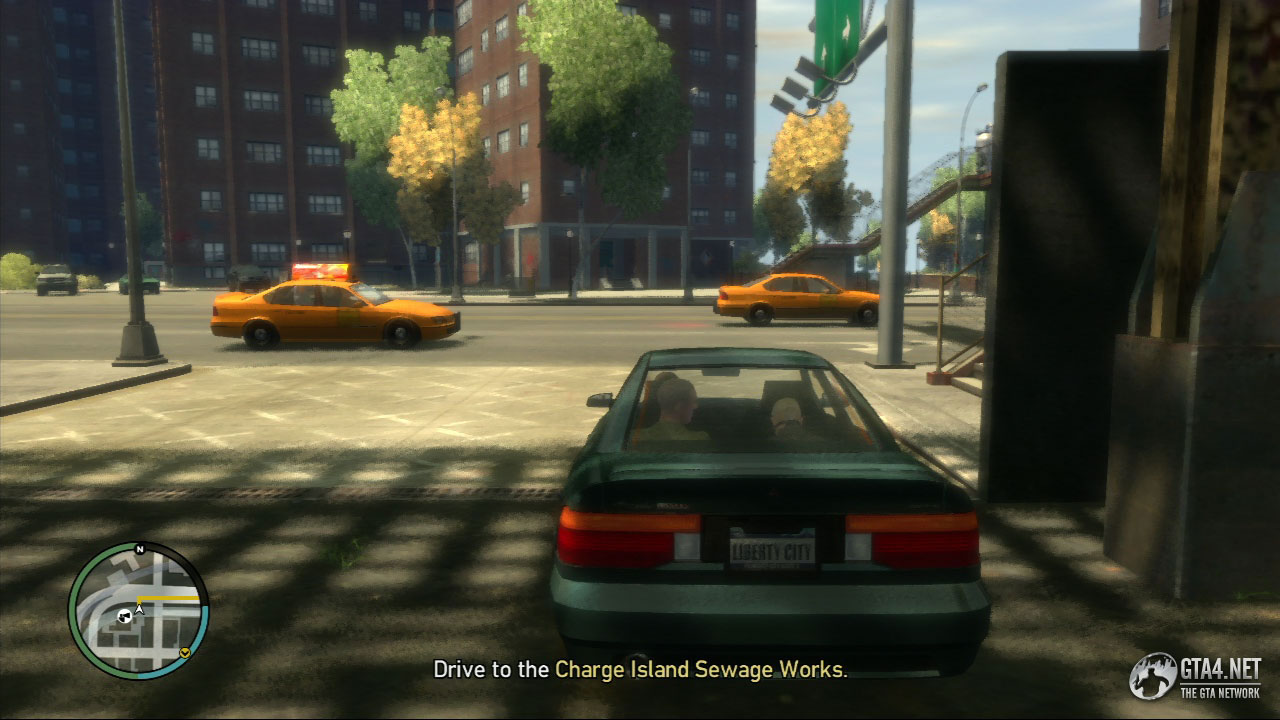
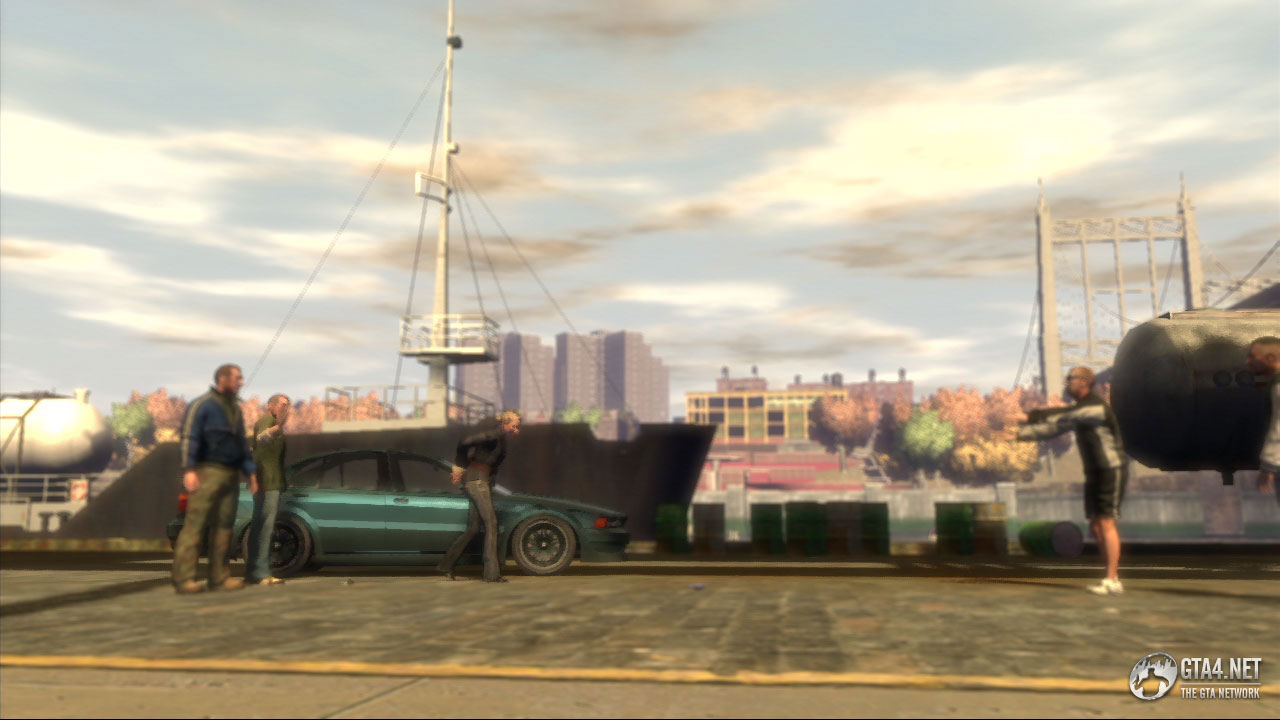
Gerry reveals that the Ancelottis have agreed to the terms of the ransom. After the cutscene, Niko calls Packie, who has more details. The Ancelottis are going to give you diamonds in exchange for Gracie - these are the same diamonds, incidently, that Ray Boccino wanted earlier. Meet Packie and Gracie at the safehouse in Algonquin, and take them to the Charge Island Sewage Works where the exchange is due to take place.
The Ancelottis get Gracie back, but the exchange is interrupted by Ray Bulgarin, one of Niko's old Russian enemies that you came across in the first chapter. Bulgarin is now claiming ownership of the diamonds, and one of his men manages to steal them before a massive shootout takes place.
Use the car as cover, and throw some grenades to eliminate Bulgarin's men. There are at least half a dozen, so don't run out into open areas until most of them are gone. When all of Bulgarin's men on the ground have been eliminated, follow Packie towards the stairs and eliminate the men at the top - if you have a rocket launcher, now would be a good time to use it.
More attackers spawn behind you, so use the railing as cover and again make use of the rocket launcher if you have one available. Otherwise, take each of them out individually and again follow Packie, taking out anyone in your path.
When you reach the walkway, reinforcements will arrive in three separate vehicles below you. Use the rocket launcher if you have one, or alternatively throw some some grenades. There is one last wave of attackers up ahead, so get rid of them and then approach the man who stole the diamonds. The man accepts that he is going to die either way, so instead of handing over the diamonds, he throws them onto moving traffic below the bridge. Kill the last two attackers, and then take Packie back to his Ma's house in Dukes to finish the mission. So that's it - no diamonds, no girl, no money!
![]() After the mission, Dimitri makes a threatening phone call and expresses his disappointment at not finding Niko's body amongst those dead at the sewage works.
After the mission, Dimitri makes a threatening phone call and expresses his disappointment at not finding Niko's body amongst those dead at the sewage works.
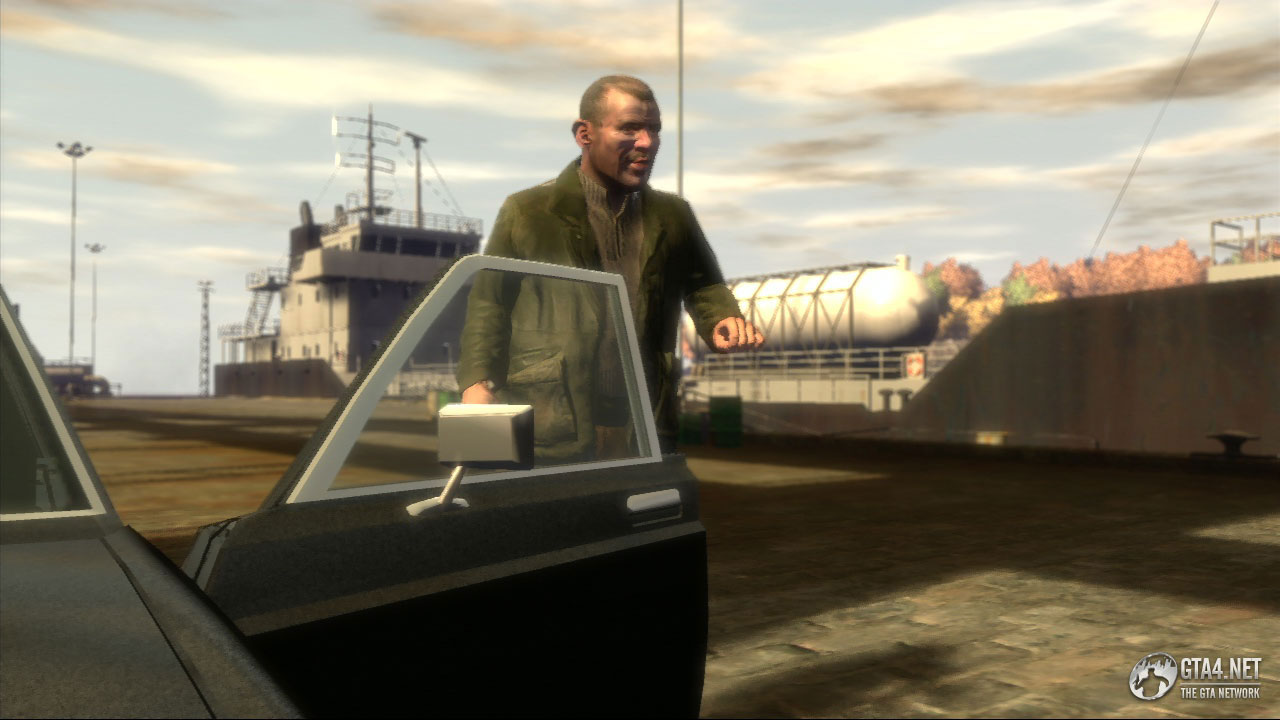
Phil Bell and Ray Boccino have been working together for a long time, and Phil needs Ray to do him a favour. Ray refuses, and recommends that Niko does it instead. Phil explains that the Triads are moving a lot of drugs around town in a truck, and they are desperate to sell it because they believe it is cursed. Phil wants you to steal the truck and then give him a call once you've got it.
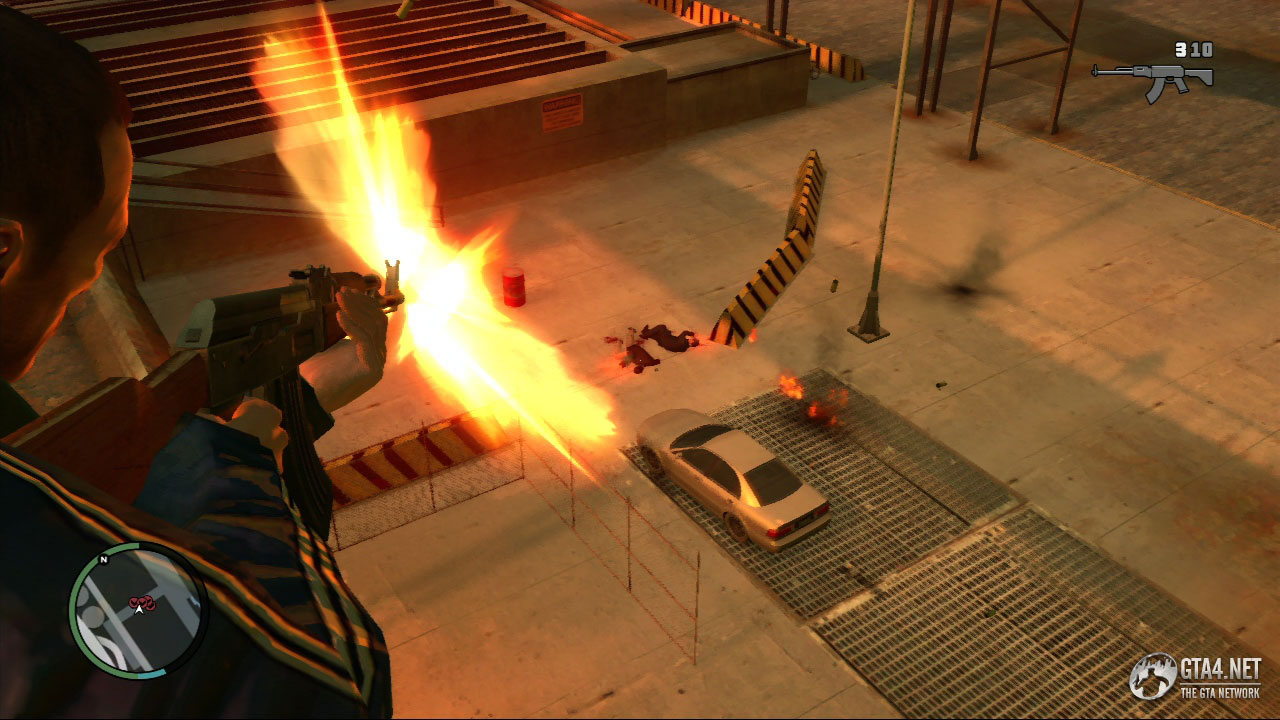
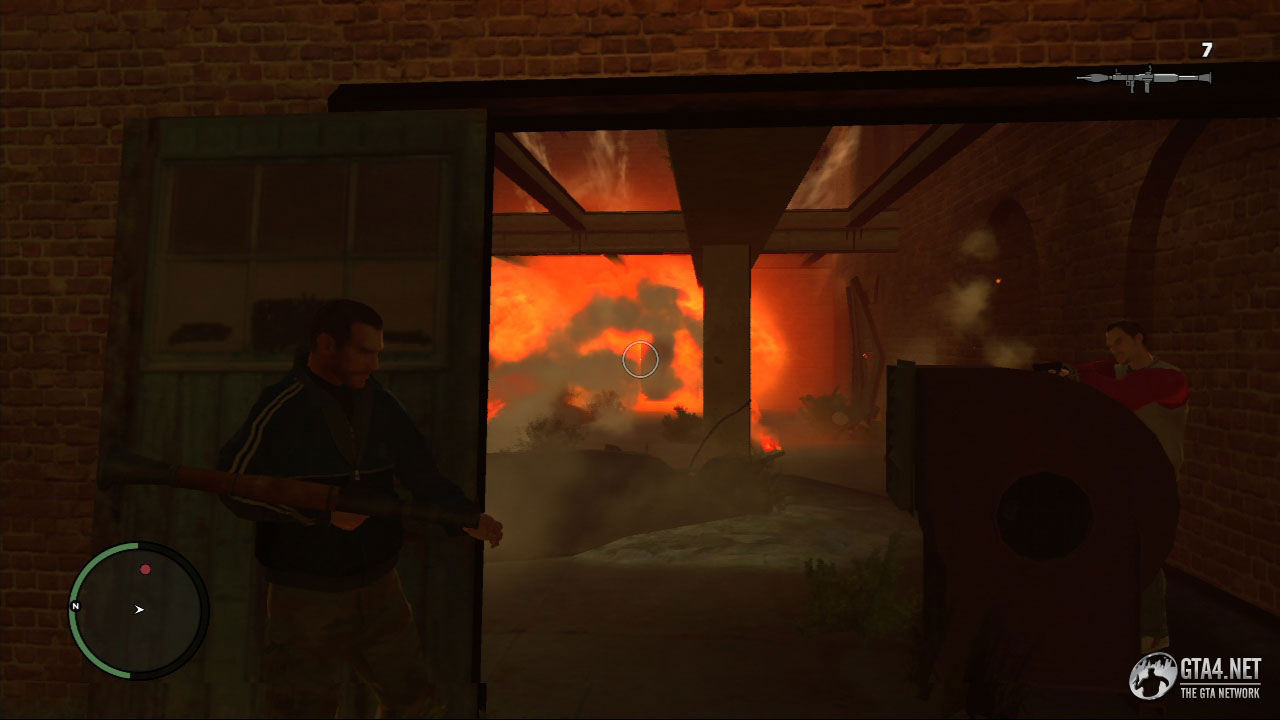
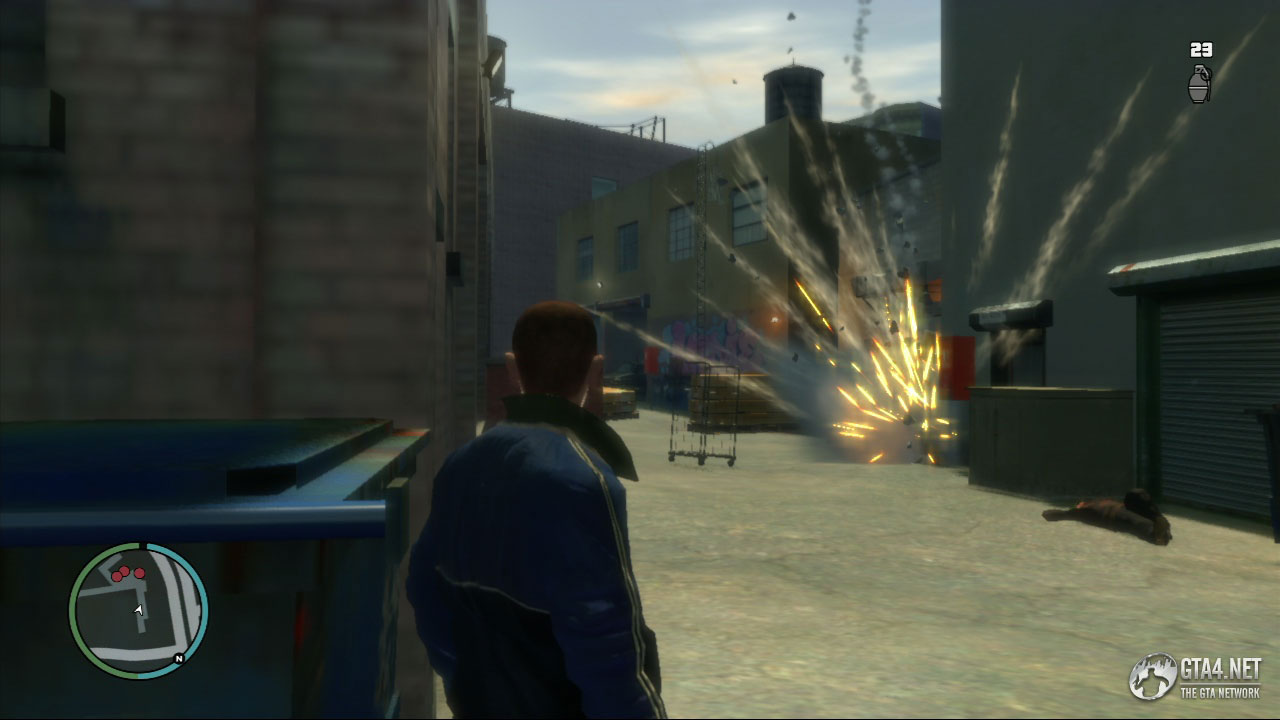
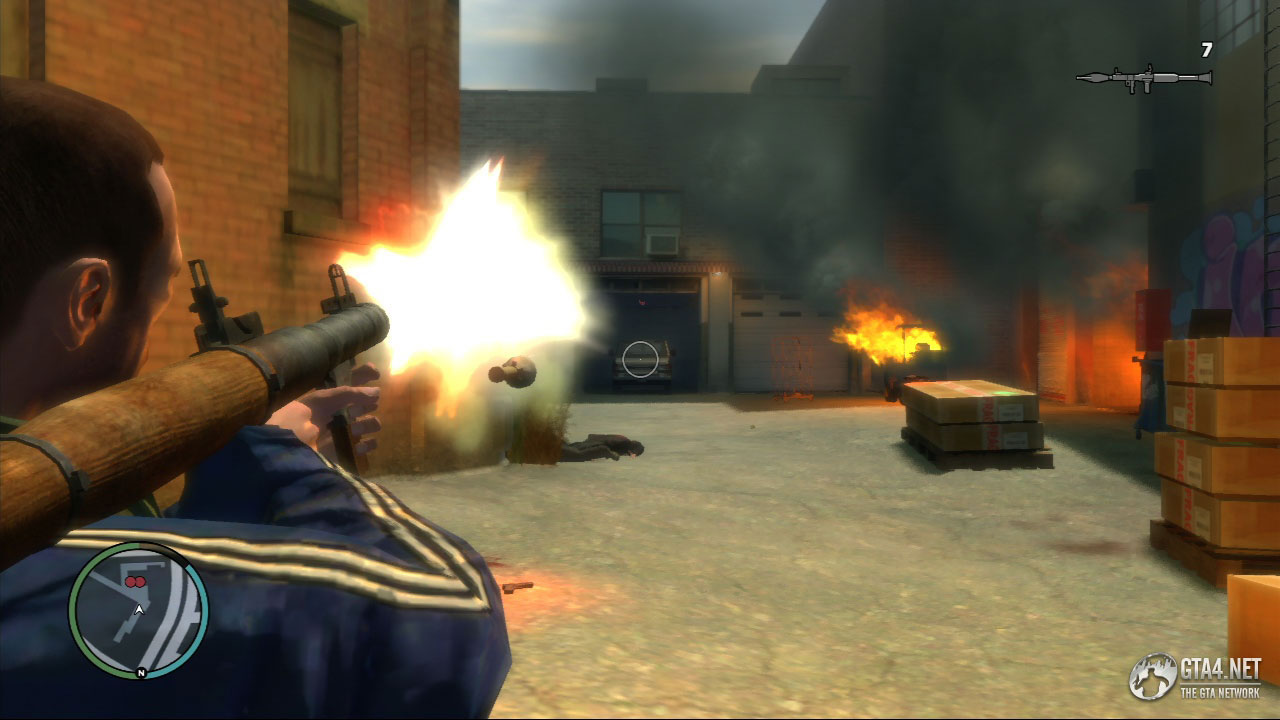
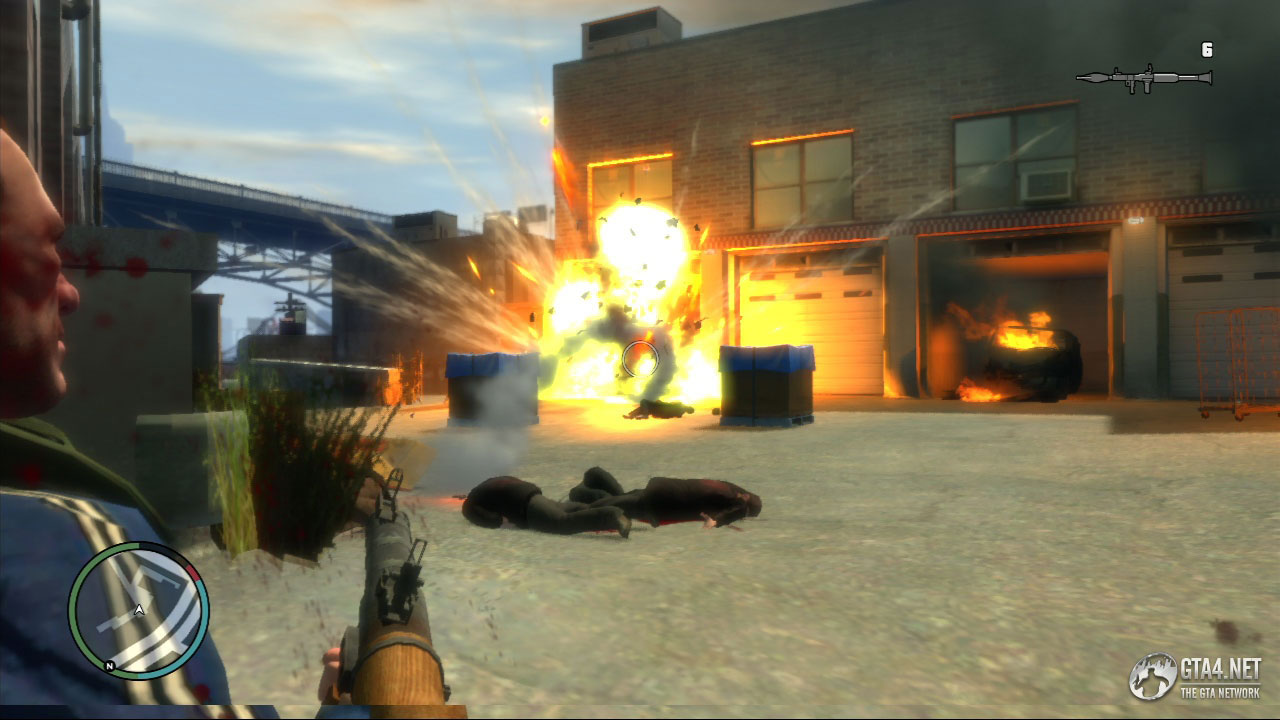
Go to the alley at Franklin Street where the truck is due to arrive. A cutscene shows the van arriving with two Triads inside, and it is followed closely by a car and two Triad vans. You need to eliminate all of the Triads and steal the truck for Phil. Begin by launching a few grenades towards where the two vans are situated (or use a rocket launcher if you have one available) and then take out the two remaining attackers that are closest to you. More attackers arrive in a four-door vehicle, and again the best solution is to launch a grenade or two. If you're using the grenade/rocket launcher approach, the alley should be looking pretty chaotic by now!
Proceed towards the van which has the goods inside, and use the burned-out vehicles as cover. There are about four or five Triads up ahead, most of whom are taking cover behind walls, and you can "throw" them out of cover by launching grenades at these walls, which then enables you to get a clear shot at them.
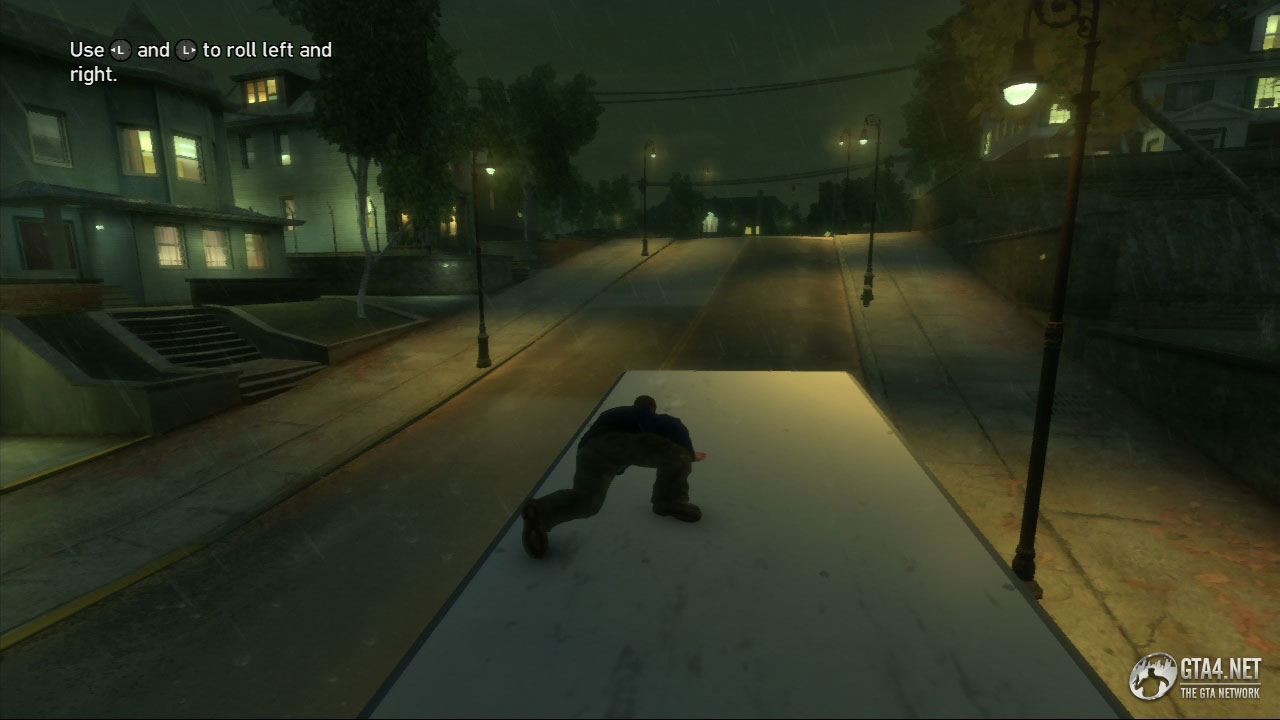

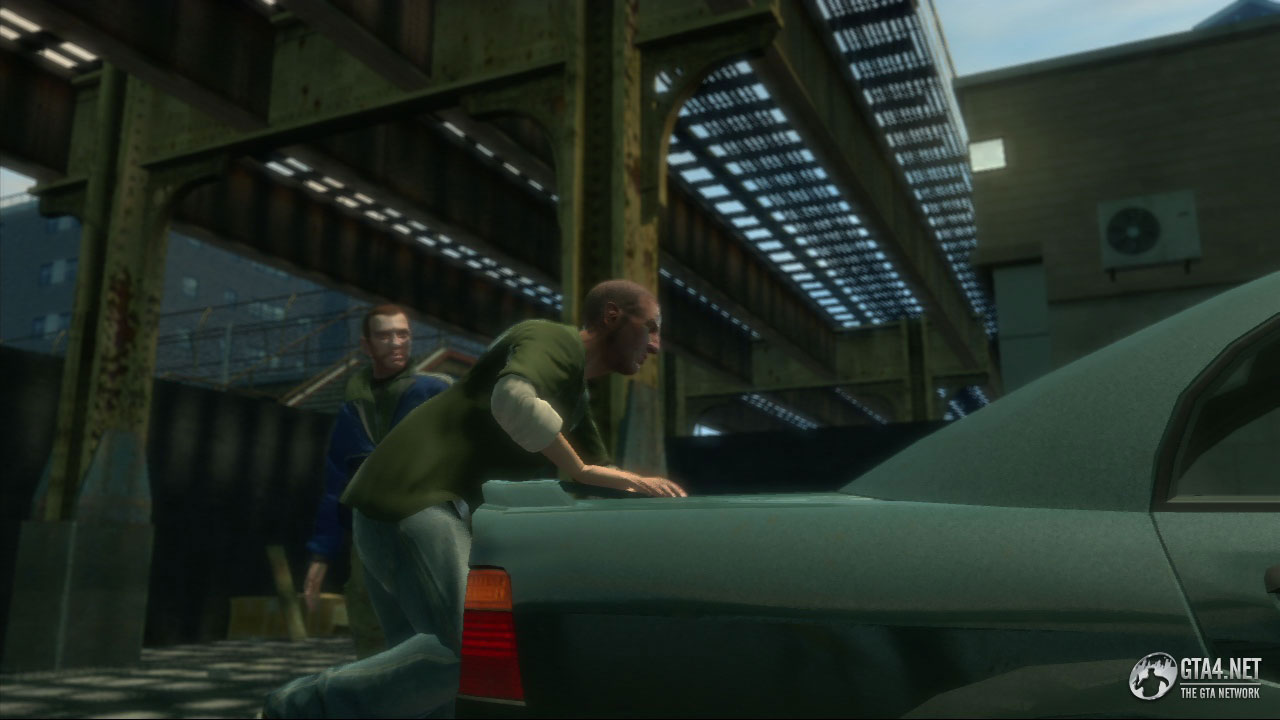
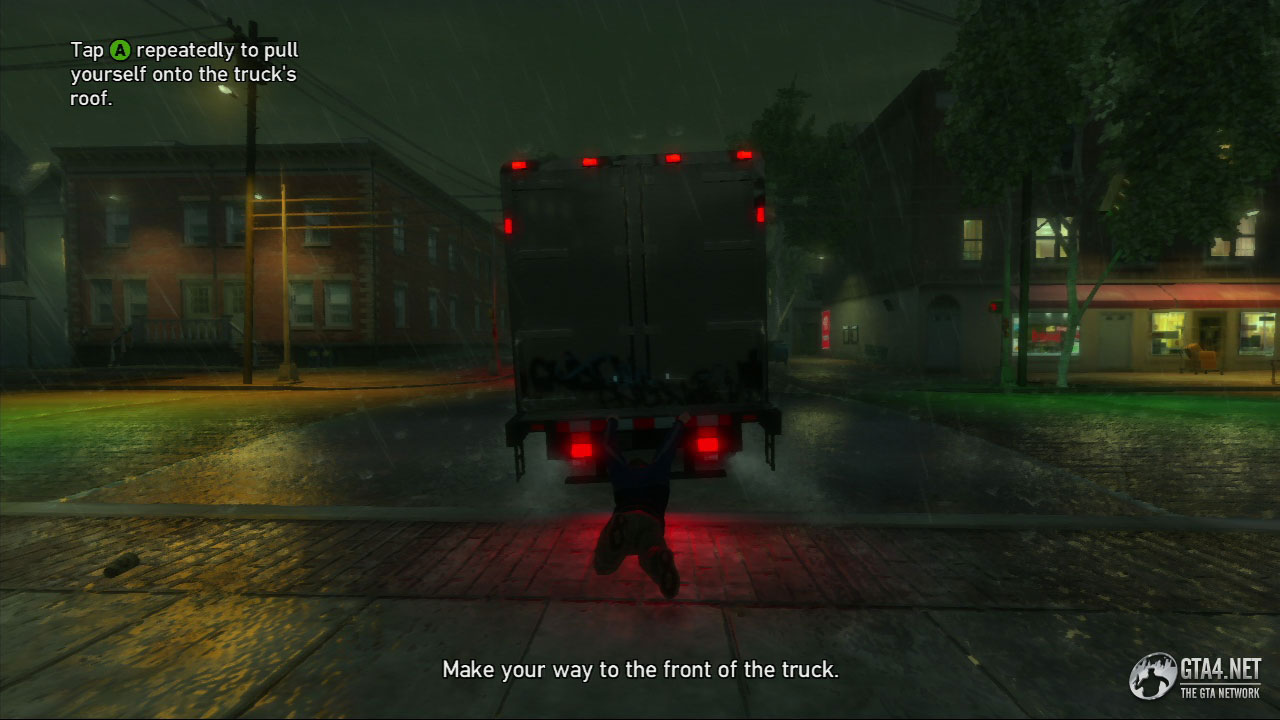
When you get close to the truck, the Triads attempt to escape with it, so quickly run up behind it and touch the yellow marker. Niko will hang onto the back of the truck, and you then need to follow the on-screen instructions to pull yourself onto the roof. Once you are on the roof, advance to the front of the cab, and hang on carefully while the truck goes around corners to avoid getting thrown off. When you reach the front of the cab, Niko will smash the passenger window and kick out the driver. Niko calls Phil, who tells him to take the heroin to the old mansion on Sacramento Avenue. Phil's nephew, Frankie, will meet you there and take the goods off your hands, until Phil decides what to do with it.
![]() Phil Bell recommends you to Jimmy Pegorino, his boss, and you can now do missions for Jimmy by following the "J" icon on the radar.
Phil Bell recommends you to Jimmy Pegorino, his boss, and you can now do missions for Jimmy by following the "J" icon on the radar.
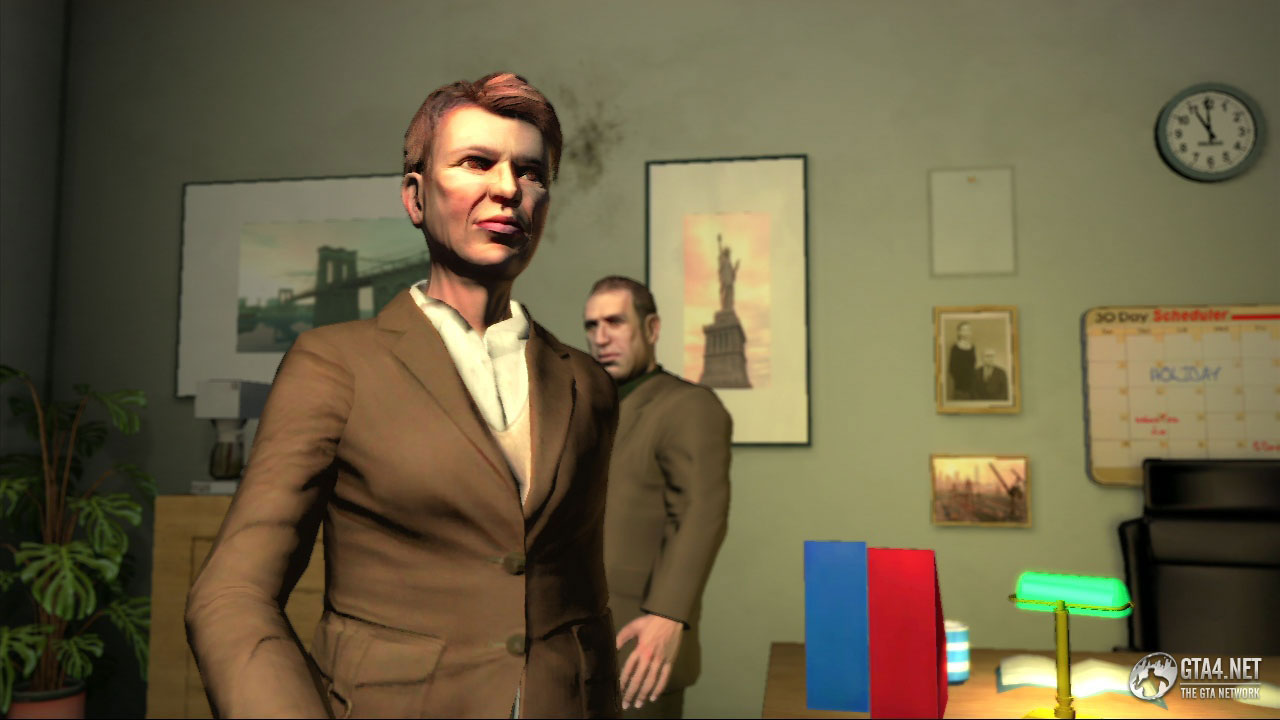
This mission begins at Jimmy Pegorino's mansion in Alderney, where a less-than-happy Mrs. Pegorino greets you at the door. She doesn't seem particularly pleased by the activites of her husband, or the type of people that he's involved with. Jimmy's bodyguard, Anthony, takes you to meet Jimmy in his office, and Jimmy then explains what the problem is. The Pegorinos are doing a deal with the Pavano family, but Jimmy doesn't trust them, so he wants Niko to watch over the deal and act as his security.
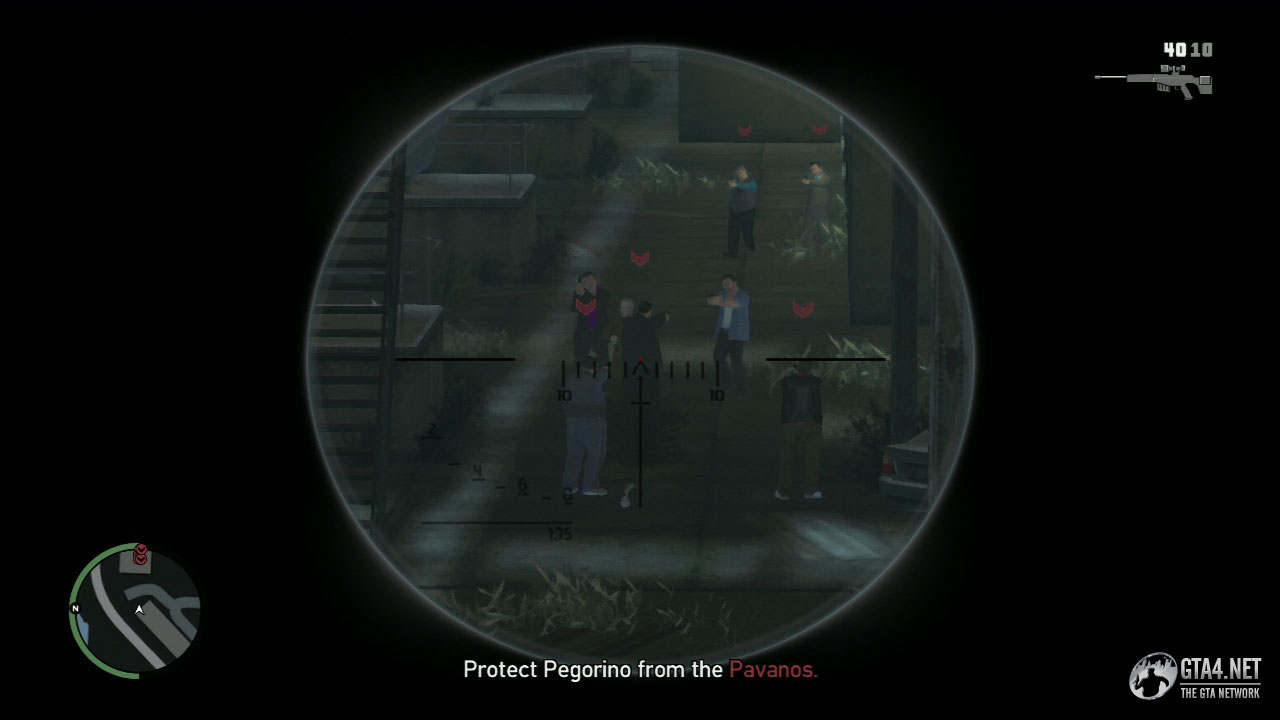
After the cutscene, get in Jimmy's car, and wait for Jimmy and his two men (Marco and Pete) to get in. Take them to the deal in Acter Industrial Park, and stop in the yellow marker. Take the sniper rifle to the vantage point inside the building, and watch over the meet. The entrance to the building is right infront of you after the cutscene, and it's very easy to miss, so look carefully for it! Keep a close eye on Pegorino as the Pavanos approach him. The deal [not surprisingly] goes wrong and red target arrows soon appear above the enemies. Pegorino's men are outnumbered (5 to 2) so they get taken out rather quickly, which means you will be left to do most of the work. Once all of the attackers have been eliminated, exit the building and rescue Jimmy!
Take cover and eliminate all of the attackers outside the warehouse. Jimmy is at the opposite end of the warehouse, so go around the outside of the warehouse and approach him from the other end - there are several routes you can take to reach Jimmy, but this is the best route since there are several Pavanos inside the warehouse, and had you taken the 'obvious' route you would have had to confront them.
Approach Jimmy, who is wounded and unable to fight, and then watch the cutscene which follows. The Pavanos are seen escaping with Jimmy's offering, and Jimmy wants it back. Chase the Pavanos, but don't damage their vehicle too much or you risk destroying Jimmy's offering. You can eliminate some of the Pavanos by shooting through the back window of the vehicle, and this will make your task easier when they eventually crash at Red Wing Avenue. When the car stops, eliminate any remaining Pavanos and collect Jimmy's offering. Park the vehicle well away from the Pavanos before getting out to kill them. This will ensure that Jimmy is safe. Take him back to the mansion afterwards to complete the mission.
![]() Jimmy Pegorino is impressed by Niko's efficieny, and he wants him to go back and see him for some more work.
Jimmy Pegorino is impressed by Niko's efficieny, and he wants him to go back and see him for some more work.
Jimmy is pissed off at the way the Pavanos conducted themselves during the deal, and now he has revenge on his mind. Jimmy has learned that the Pavanos are due to make a cash pickup in Alderney soon, and he wants Niko to interrupt it and kill all the Pavanos.

Drive to the diner on Mueri Street in Acter, and stop in the yellow marker. Ensure you are facing north/east when you drive into the marker, because you're going to chase the Pavanos, and this is the direction that the chase begins. During the cutscene, the Pavanos recognize that you are representing the Pegorinos, so they attempt to lose you on the way to the meet.
Chase the Pavanos through the various streets and alleyways, but don't shoot them, because you need them to lead you to the meet. Beware of the buses/vans/fences/scaffolding etc. which are designed specifically in this mission to disrupt your route.

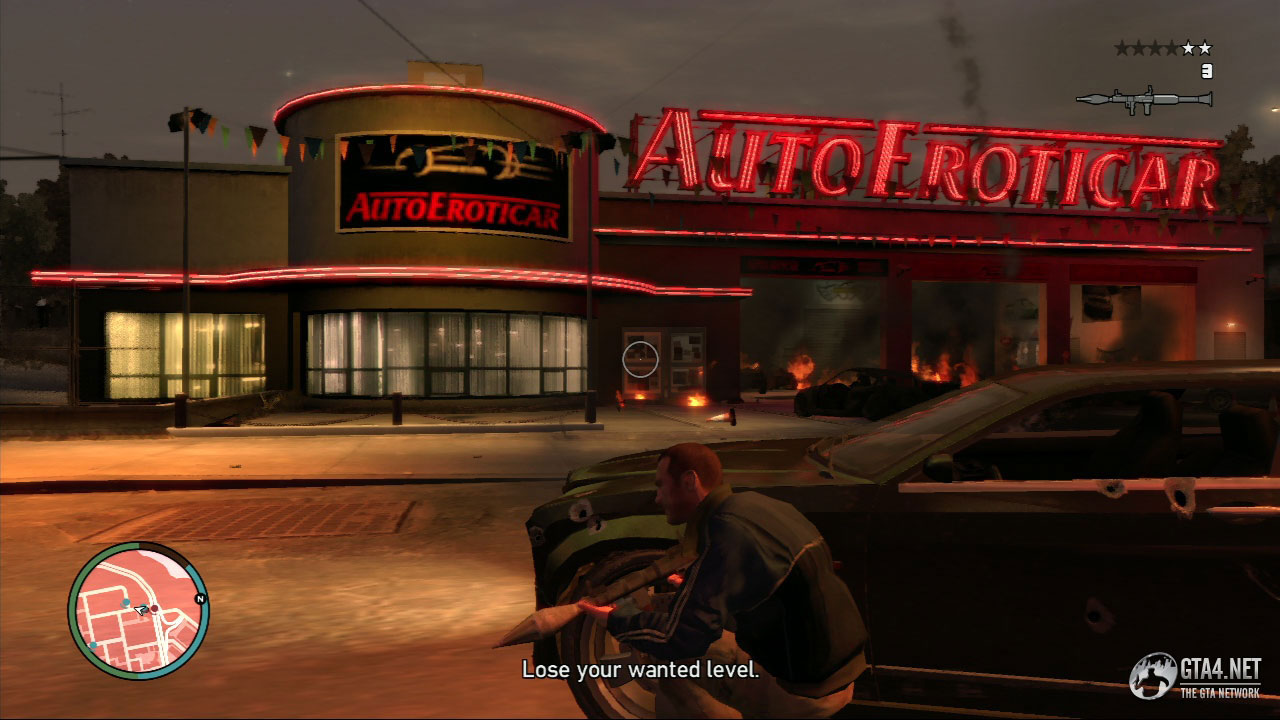
The chase ends at the AutoEroticar showroom in Leftwood. Use your vehicle as cover, and wipe out the Pavanos by launching grenades into the showroom, or alternatively use a rocket launcher. Lose your wanted level to complete the mission.
![]() Kate says that Roman has invited her to the wedding, and she is "looking forward" to seeing you there.
Kate says that Roman has invited her to the wedding, and she is "looking forward" to seeing you there.
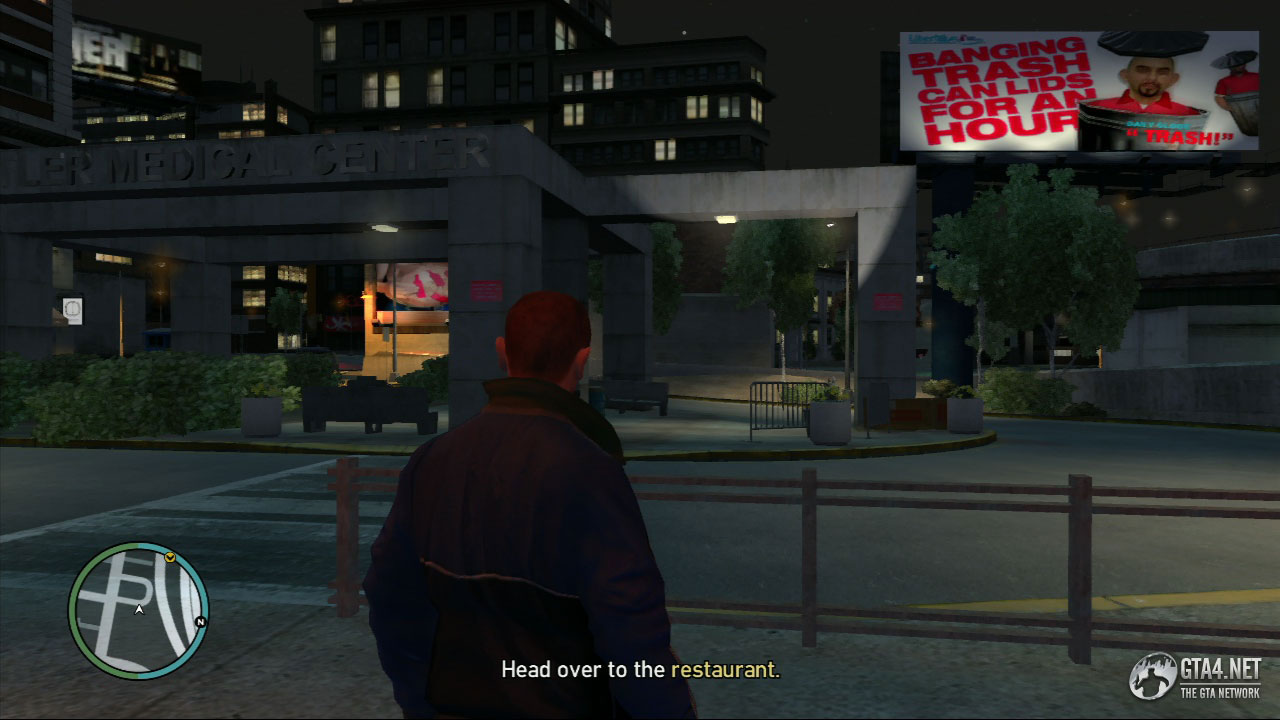
![]() The guy from U.L. Paper calls and reveals he has recommended you to Jon Gravelli, head of the Gambetti Crime Family. He's over at the Schottler Medical Center in Dukes.
The guy from U.L. Paper calls and reveals he has recommended you to Jon Gravelli, head of the Gambetti Crime Family. He's over at the Schottler Medical Center in Dukes.
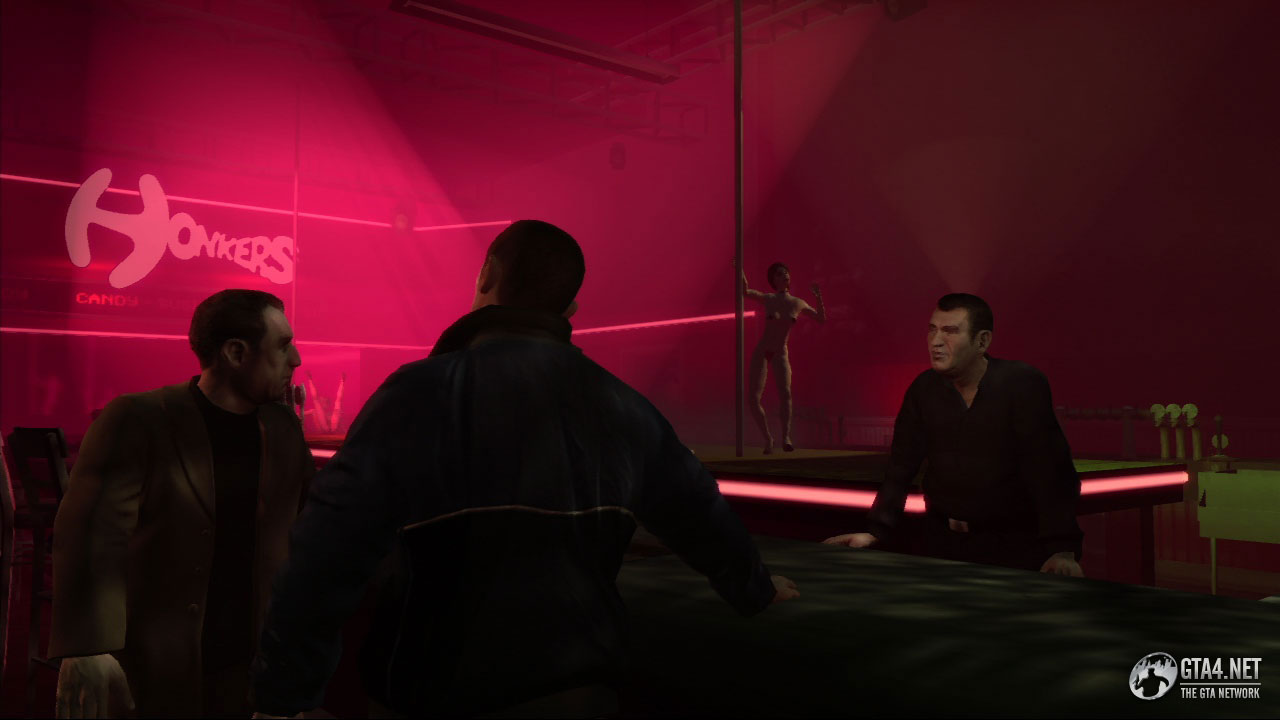
This mission begins at the Honkers Club on Phalanx Road in Alderney. Phil's assistant, Tommy, receives a phonecall from Jimmy informing him of an emergency situation at the docks. The Ancelottis are dealing with some Russians, and Phil wants to steal a shipment of cocaine before they can deliver it to the Ancelottis. The drugs are being brought into the city on speedboats from Vice City.
Take Phil to the truck in Leftwood, which was stolen earlier by one of his associates from the Ancelottis. This is the truck that the Russians expect to pick up the shipment, so the plan is to use the truck and let the Russians assume that you and Phil are representing the Ancelottis. This is Jimmy P's "Plan A" according to Phil, but he doesn't expect it to work, so prepare yourself for Plan B...
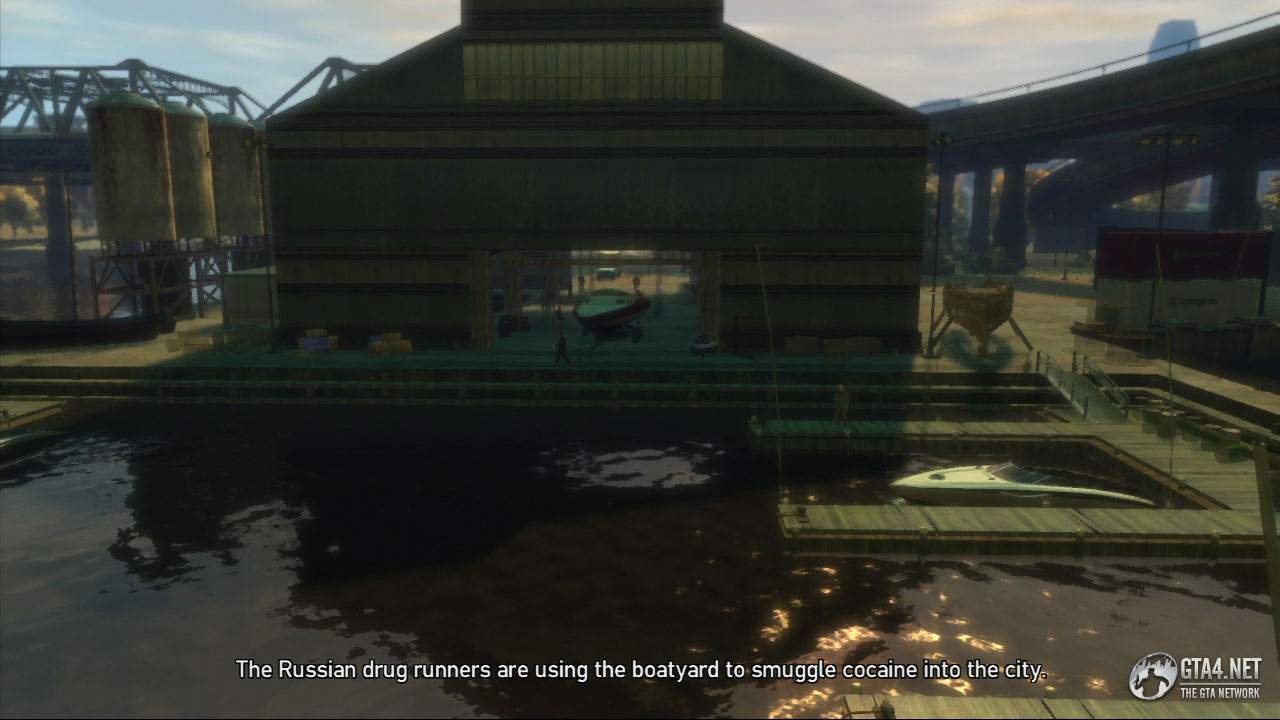
Drive the truck to the boatyard on Charge Island, where the shipment is due to be collected. Plan A, not surprisingly, fails almost instantly when the Russians refuse to talk to Phil. After the cutscene, back up slightly, get out of the truck, and use the entrance to the boatyard as cover. You need to make your way to the opposite side of the boatyard, which is being heavily guarded by Russians, so Phil will take the right side and you can take the left. Use cover at all times, and eliminate any Russians in your path.

Be sure to keep an eye Phil, and protect him whenever he is attacked. It's probably a good idea to avoid using grenades at this point, because if you accidently kill Phil the mission is failed. There is a health kit beside one of the boats on the left side of the boatyard, so collect it if you need it. When the coast is clear, follow Phil towards the boats outside, which contains the shipment of cocaine.
Find cover immediately when you exit the boatyard, and take out the gunmen on the piers. Phil takes the coke boat on the right, so you need to take the one on the left. Protect Phil from the attacking boats, and follow him to the drop-off point in North Holland. Walk into the yellow marker on the jetty to finish the mission.

Phil seems anxious, and he doesn't have much time to explain. Get in the car and travel to the old Sprunk factory near Port Tudor. Someone told Charlie Matteo (a top Ancelotti capo) that it was the Pegorinos who stole the cocaine from the Russians, and Phil needs you to eliminate Charlie before he can share his knowledge with the Commission. He is due to leave the Sprunk factory in a chopper very soon.
There are two ways you can enter the old Sprunk factory:
- Enter via the front door, and hit the Ancelottis with everything you've got.
- Slip around the back, sneak through the basement and catch the Ancelottis by surprise.
Option 2 is the sensible option since it gives you time to consider your first move, whereas Option 1 doesn't. Option 1 is the "all guns blazing" approach, and you'll have to start shooting immediately when you enter.
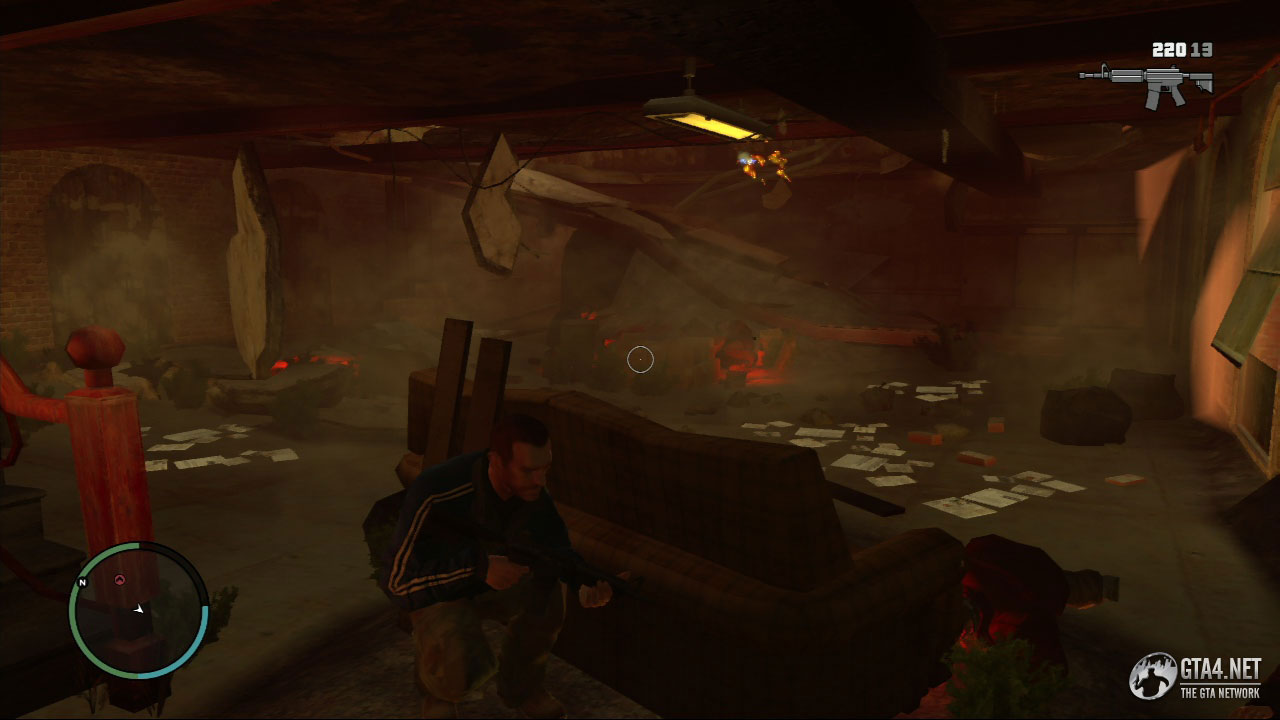
Go through the basement and head towards the hole in the wall. Eliminate the gunmen on the stairs, and then make your way up towards the ground floor. Use the couch as cover when you reach the first floor, and eliminate the attackers up ahead (watch out for the one on your left!). There isn't much cover available on the next floor, so approach it with caution and eliminate the attackers as you do so.
Proceed to the next floor, and this time use the door as cover. Launch some grenades, take out any attackers and then move forward. There are more attackers waiting in the next room, so use the entrance as cover and once again throw grenades.
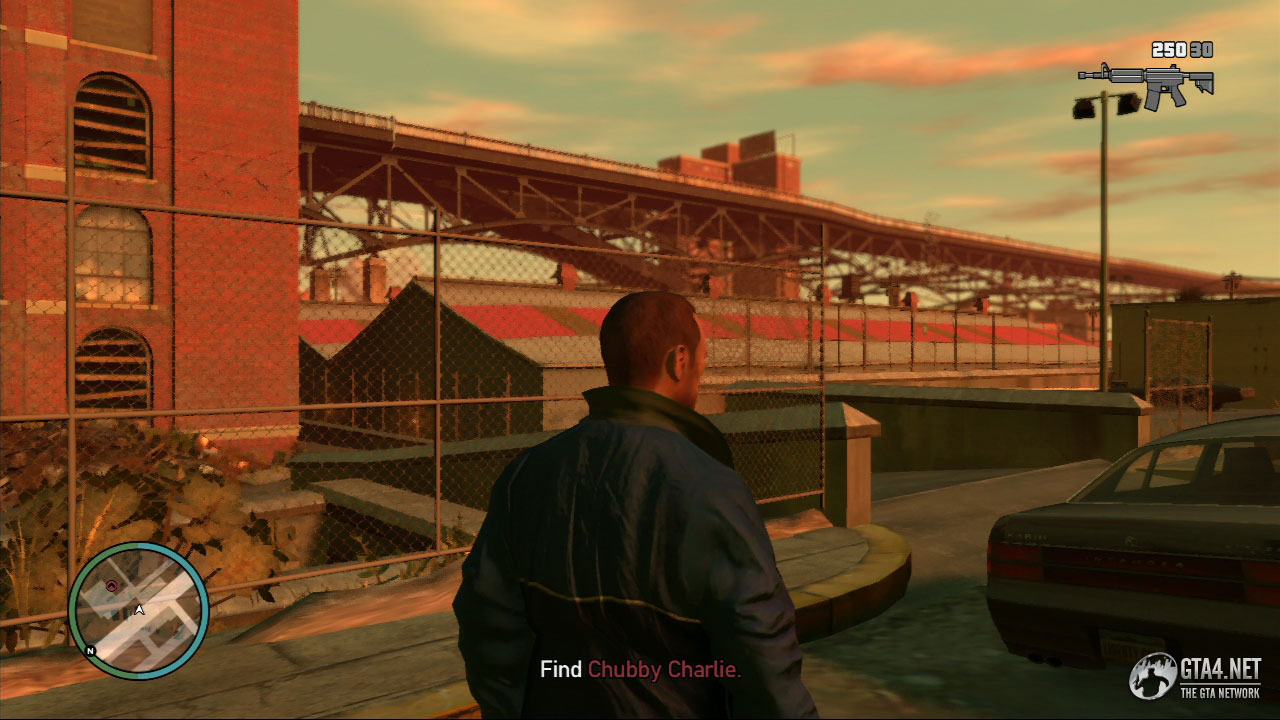
Once the attackers are dead, jump through the window onto the roof below, and immediately take cover. Go after Chubby Charlie (you can take as long as you like, there is no time limit) and eliminate anyone in your way. Kill the attackers on the roof, and then make your way towards the ladders.
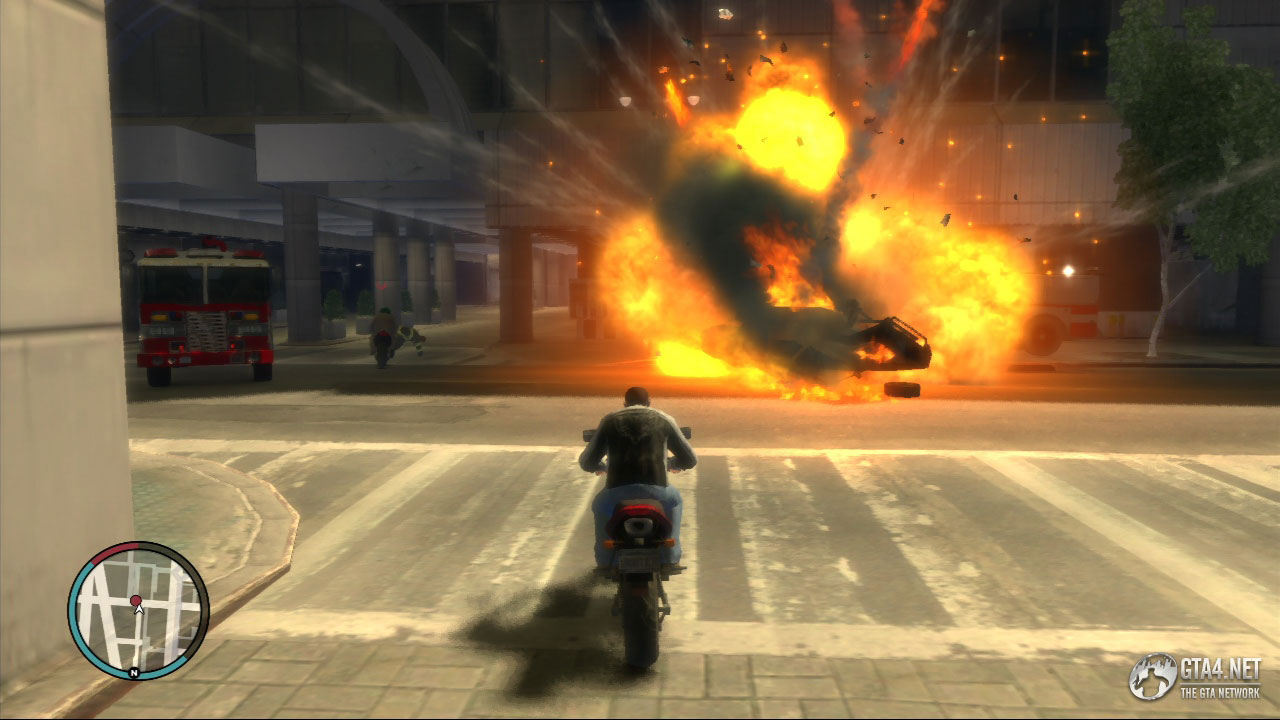
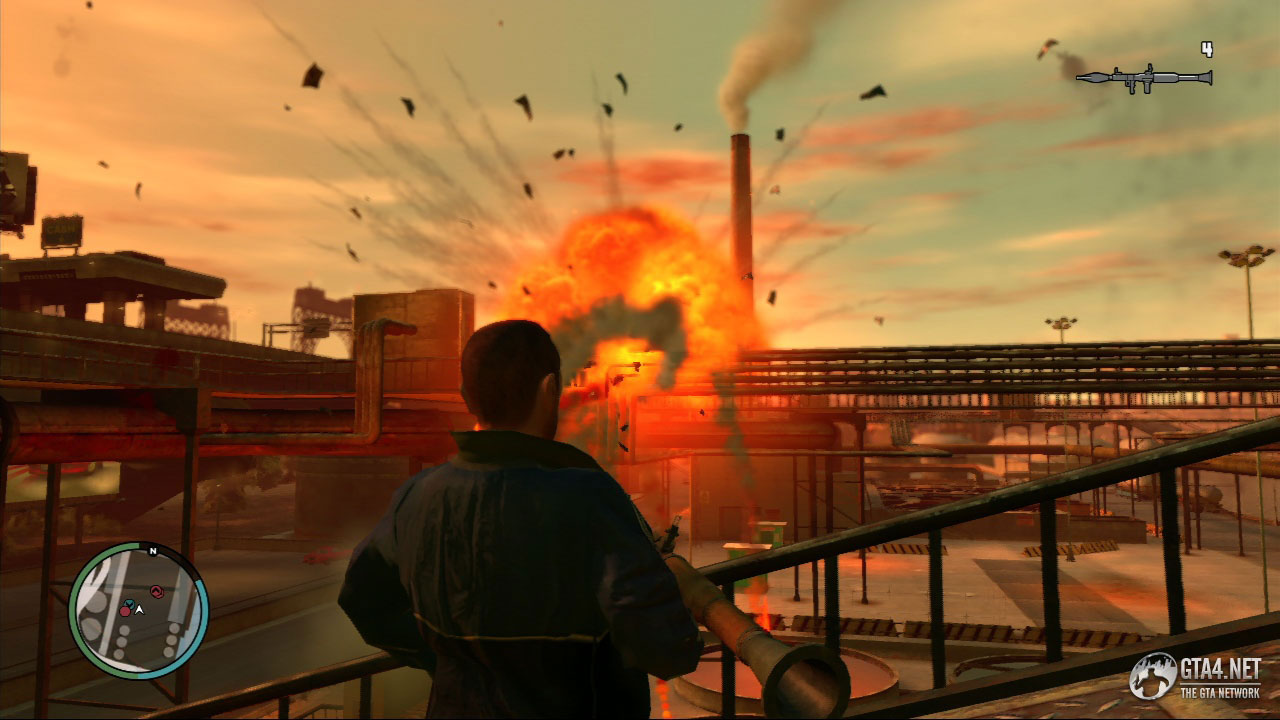
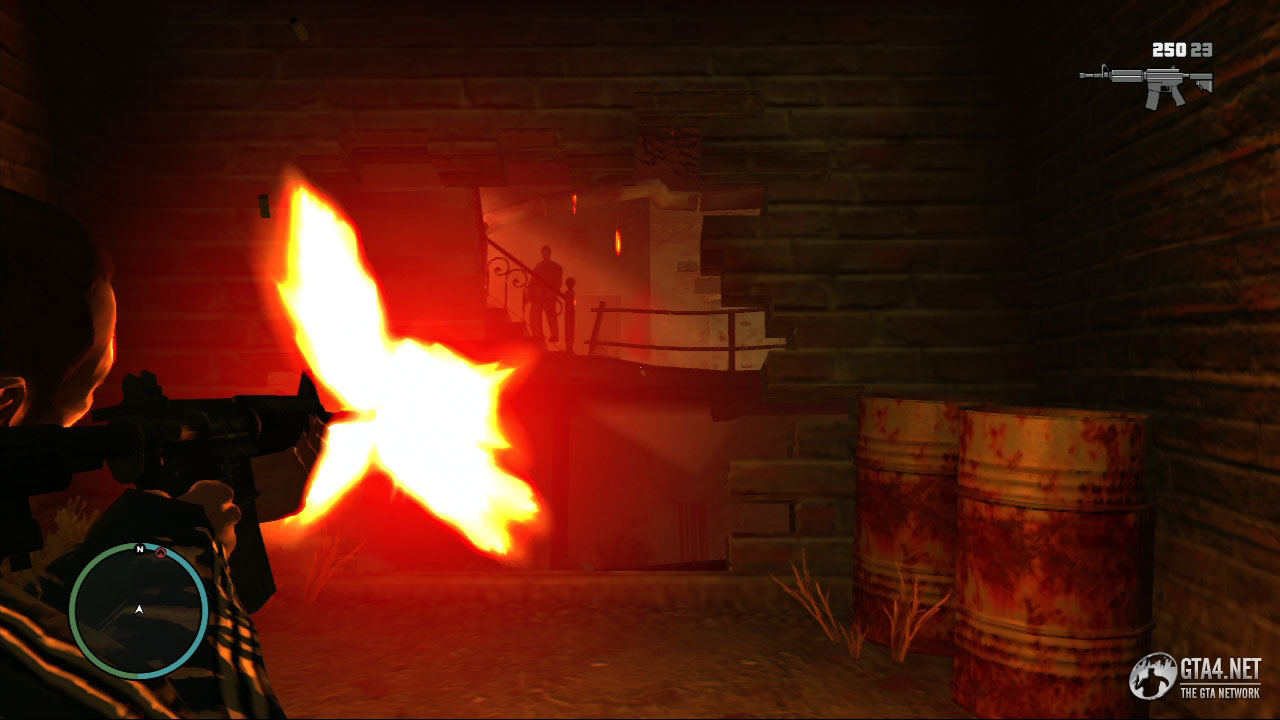
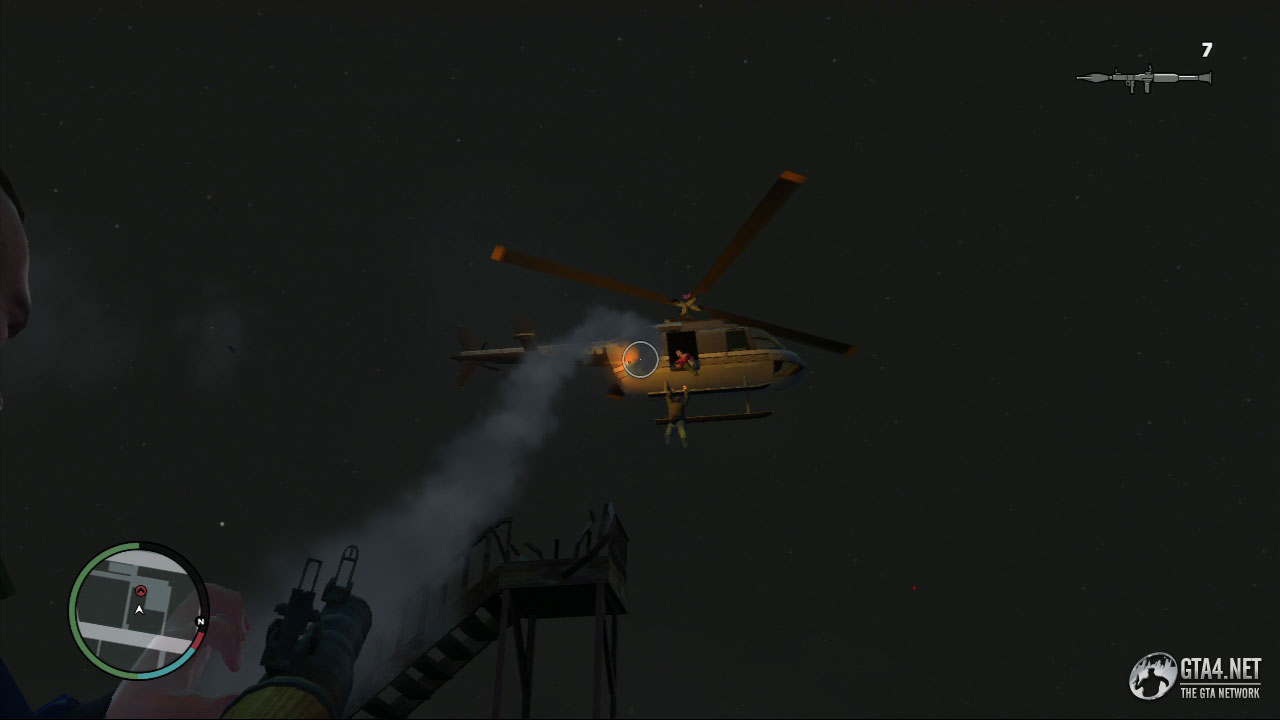
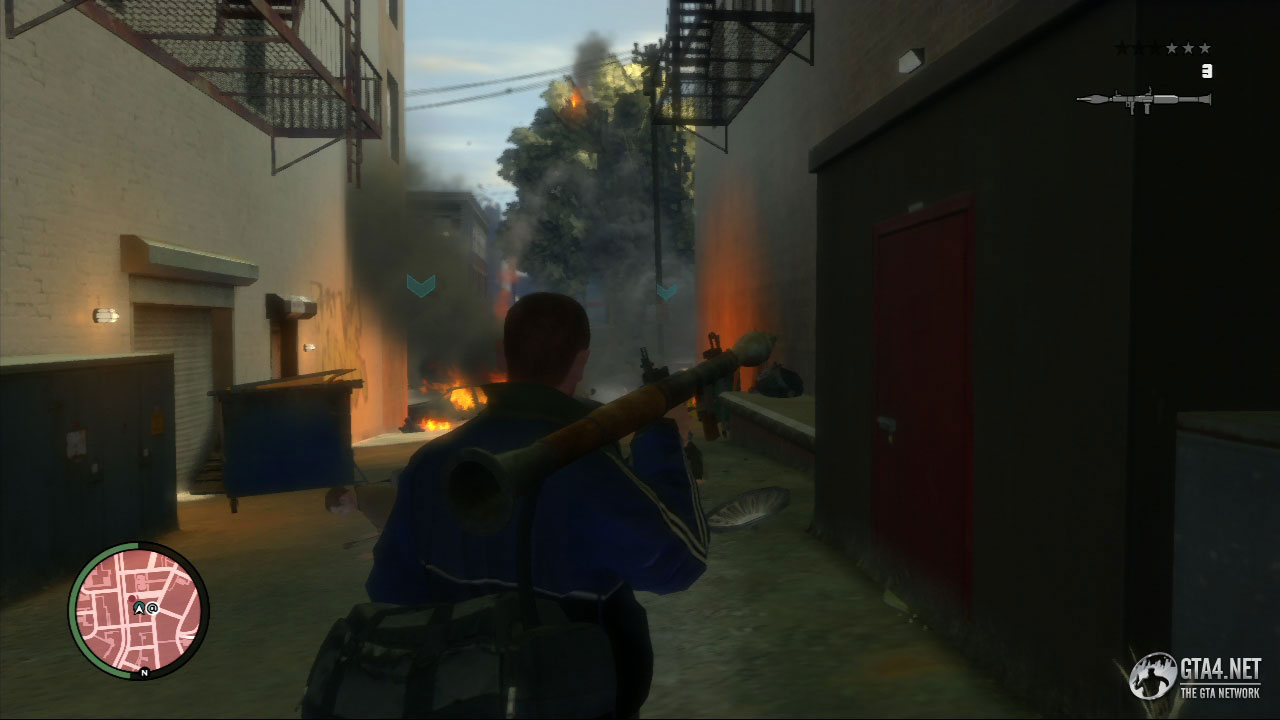
When you reach Chubby Charlie on the roof, a cutscene begins, and a chopper arrives to collect him. Switch to the RPG and eliminate the chopper, and then watch the dramatic explosion which follows.
Angie Pegorino (Jimmy's wife) is seen leaving the office as Niko arrives. It becomes fairly apparent afterwards (judging from Niko's reaction) that the two are having an affair together, but Phil is quick to try and deny this. Phil wants to go and deal with that heroin that he made you steal earlier in the mission "Truck Hustle." It's still being held by his nephew Frankie at the old mansion in Westdyke.
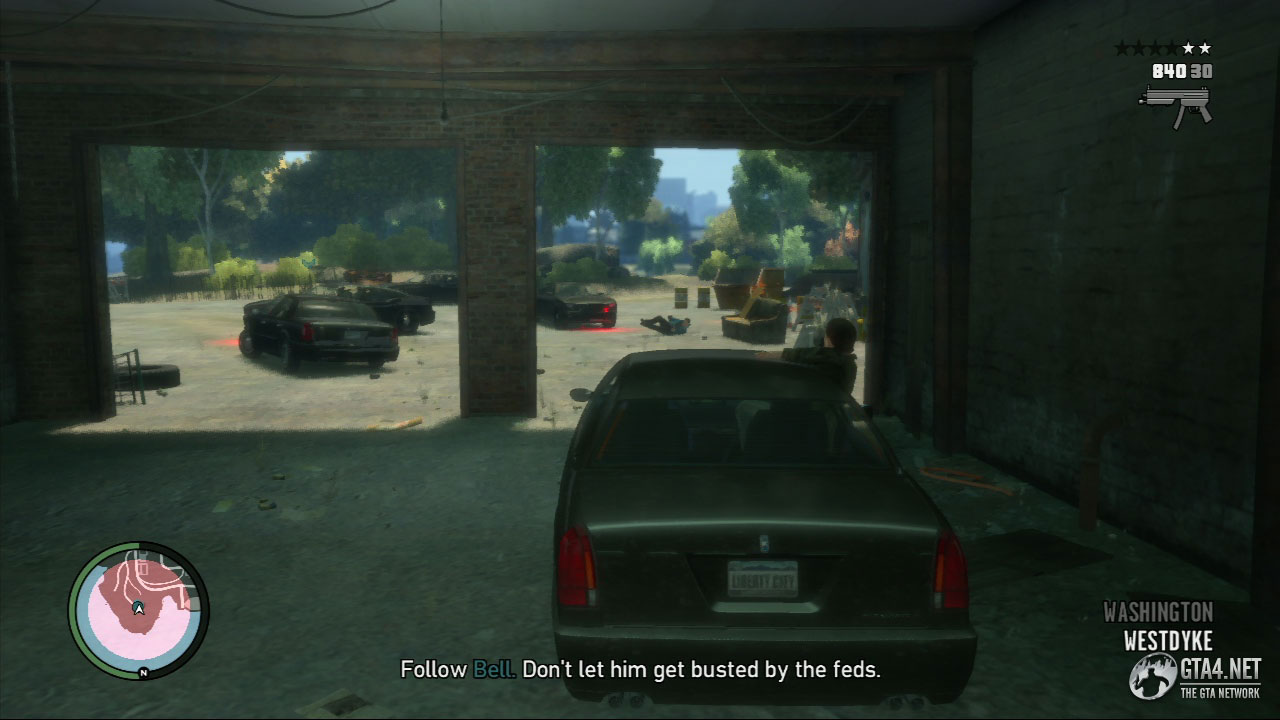
Take Phil to the old mansion in Westdyke and meet up with Frankie. Frankie has loaded the drugs into two separate cars, but during the cutscene some feds show up and attempt to bust Phil. Follow Phil with Frankie and don't let him get busted by the feds. Get close to the car that is pursuing Phil, and shoot the feds through the back window. As the chase progresses, more cops join in, so stay close to Phil and protect him from any attacks. Phil will call you when you reach Fleming Street in Acter - he decides to ditch the vehicles and escape on foot.
Phil stops in an alleyway on Farnsworth Road, and each of you take a bag of heroin each. A cop car approaches the alley from the north, so eliminate them and then quickly face south. Three cop cars arrive, followed by a large police van, so take them all and then clear the path for Phil. Use grenades or an RPG if you have one.
Once the path is clear, follow Bell to the escape van on Edison Avenue, and wait for Phil and Frankie to get in. Lose the three-star wanted level, and take the van to restaurant on Tenmile Street to finish the mission. Use small roads and alleyways to lose the cops quicker (Note: you don't have to take out the police chopper, just ignore it and focus on escaping).
Pegorino is paranoid, and he no longer trusts anybody. He recently learned that Anthony (his bodyguard) was wearing a wire, and when Anthony was confronted he suffered a heart attack. Anthony is now recovering in the Leftwood Hospital, and Pegorino wants him dead.
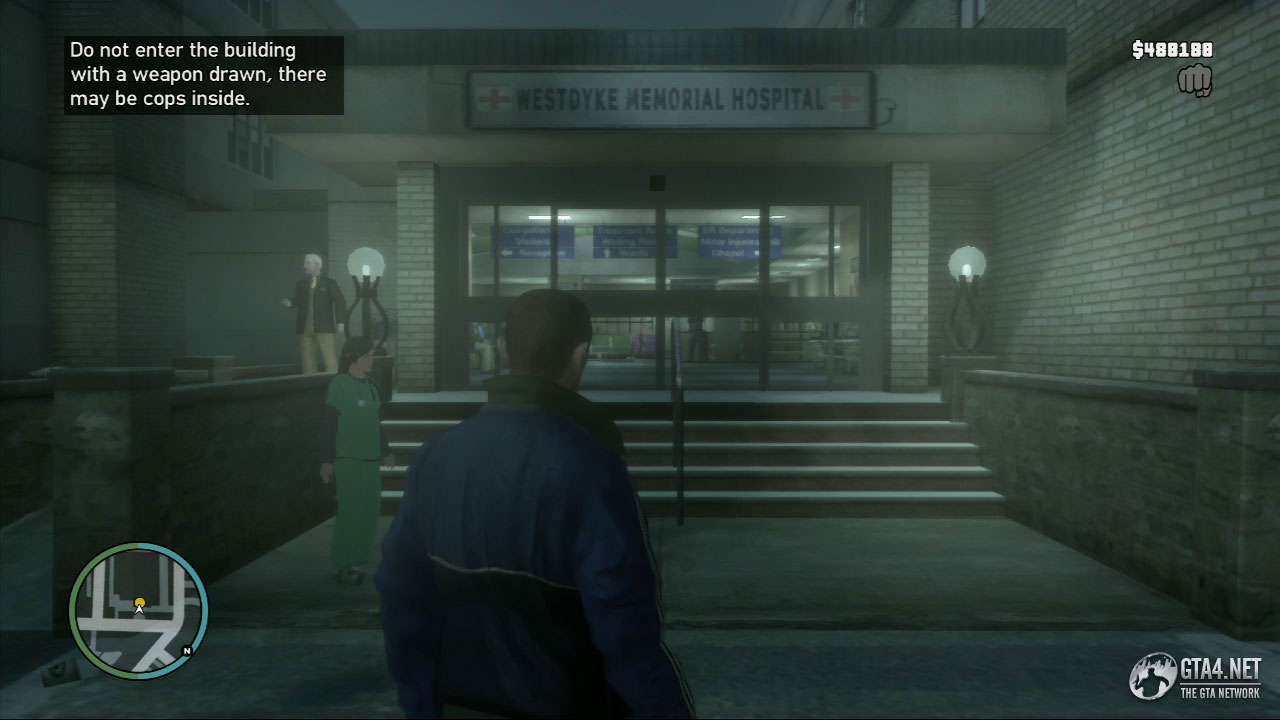
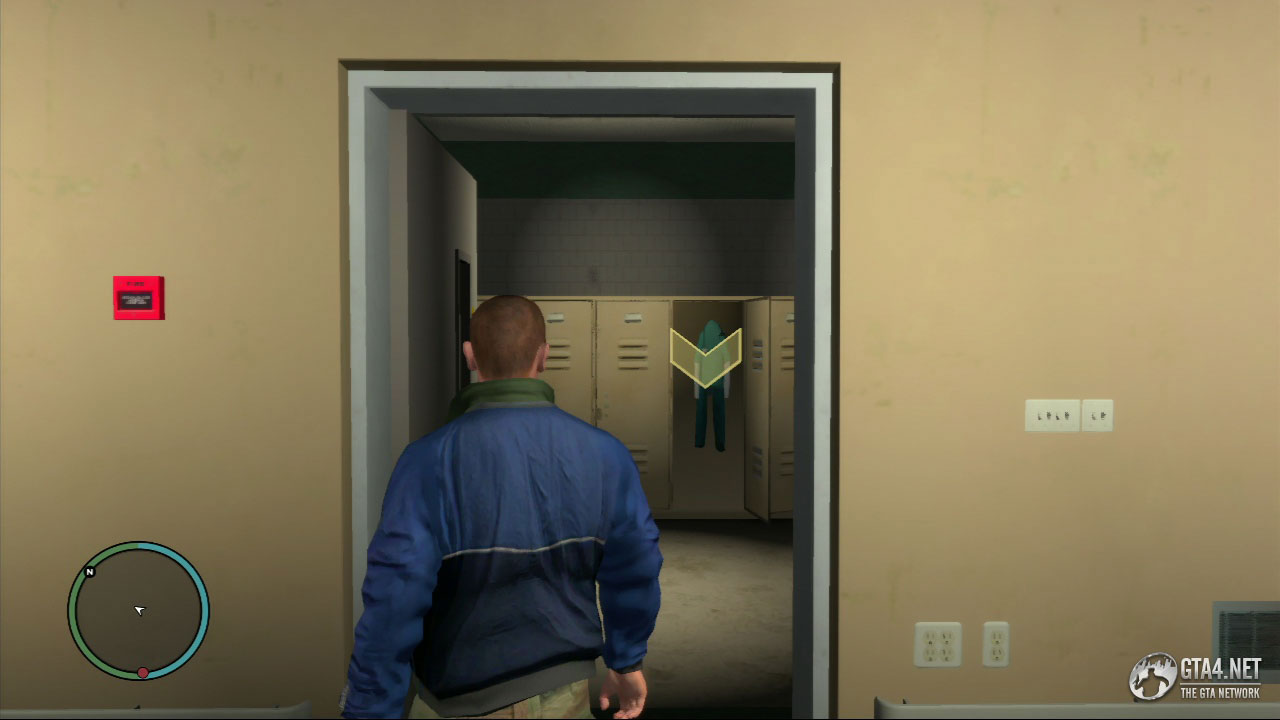
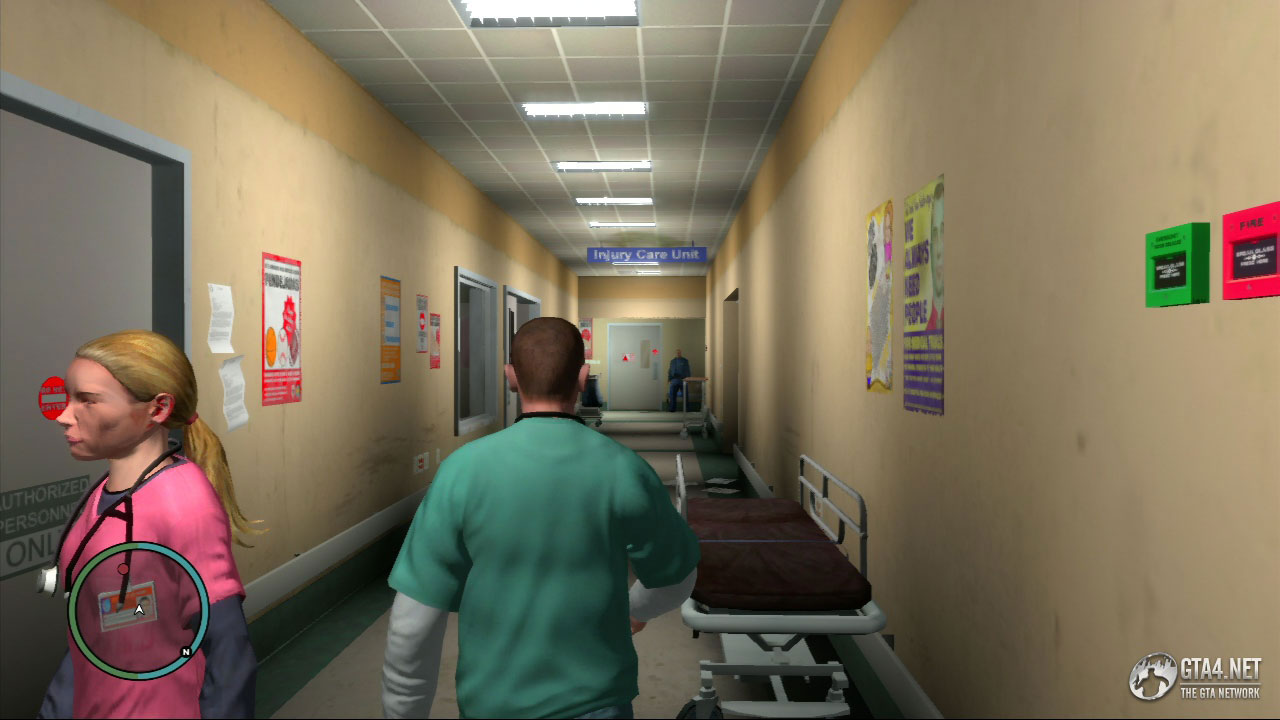
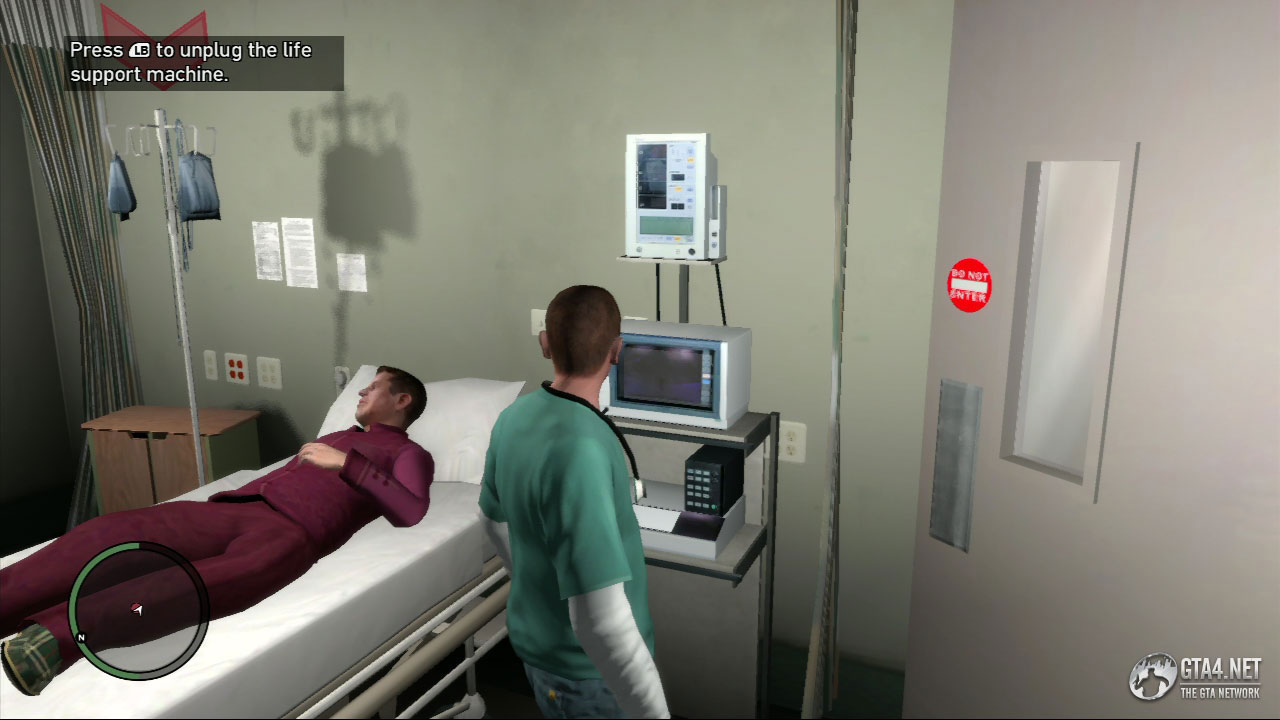
Go to the Leftwood Hospital on Long John Avenue. There is a heavy presence of cops inside (protecting Anthony) so don't enter the building with a weapon drawn. Anthony is in the ER Department, so enter the building and follow the signs to get there. Turn right when you go in, and turn right again to enter the locker room. Walk into the yellow marker to disguise yourself as a doctor, and then make your way to Anthony's room down the corridor.
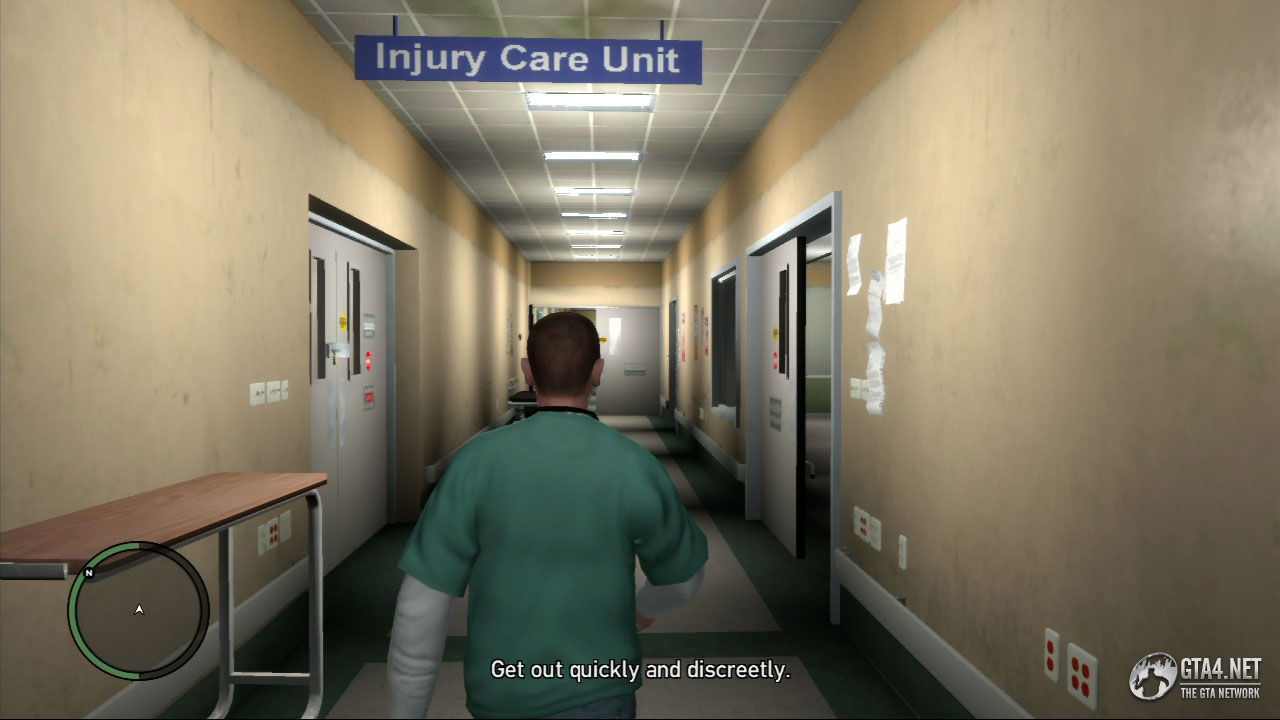
Unplug the life support machine, and then leave the hospital quickly and discreetly. The cops become aware of Anthony's death as you are walking down the corridor, so prepare yourself for a shootout. If you need health, use the Sprunk vending machine in the reception area. More cops are waiting outside the hospital entrance, so again be prepared. Find a vehicle and lose your wanted level to complete the mission.
![]() A text message from Ray arrives following the mission. Pegorino wants to see you all at his house. Ray says that "if you talk him up, he'll talk you up."
A text message from Ray arrives following the mission. Pegorino wants to see you all at his house. Ray says that "if you talk him up, he'll talk you up."
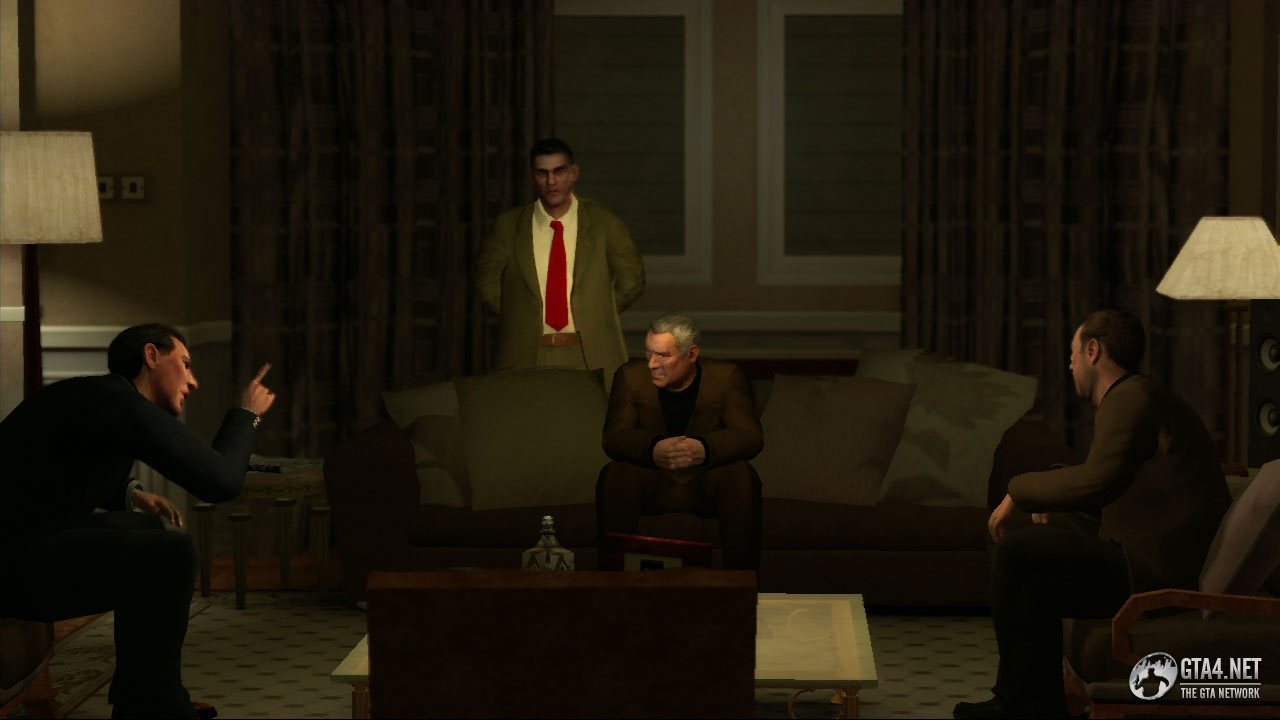
Pegorino is hosting a meeting with Phil and Ray to discuss the rat situation. Someone is talking, but they don't know who it is. Tensions are rising between Phil and Ray, and they each offer Jimmy separate advice before leaving the room. Jimmy reveals that he is suspicious of both Phil and Ray, but he doesn't know which one to whack. He's going to have to think about it, so he'll call you later with his decision.
A short while after the cutscene, Jimmy calls and reveals that he wants you to kill Ray. Head over to East Holland, where Ray is due to leave in a car shortly. Stop in the yellow marker and watch the cutscene which follows. Niko calls Pegorino for further instructions, and Pegorino reveals that Ray has hired protection because he has grown suspicious of Niko.
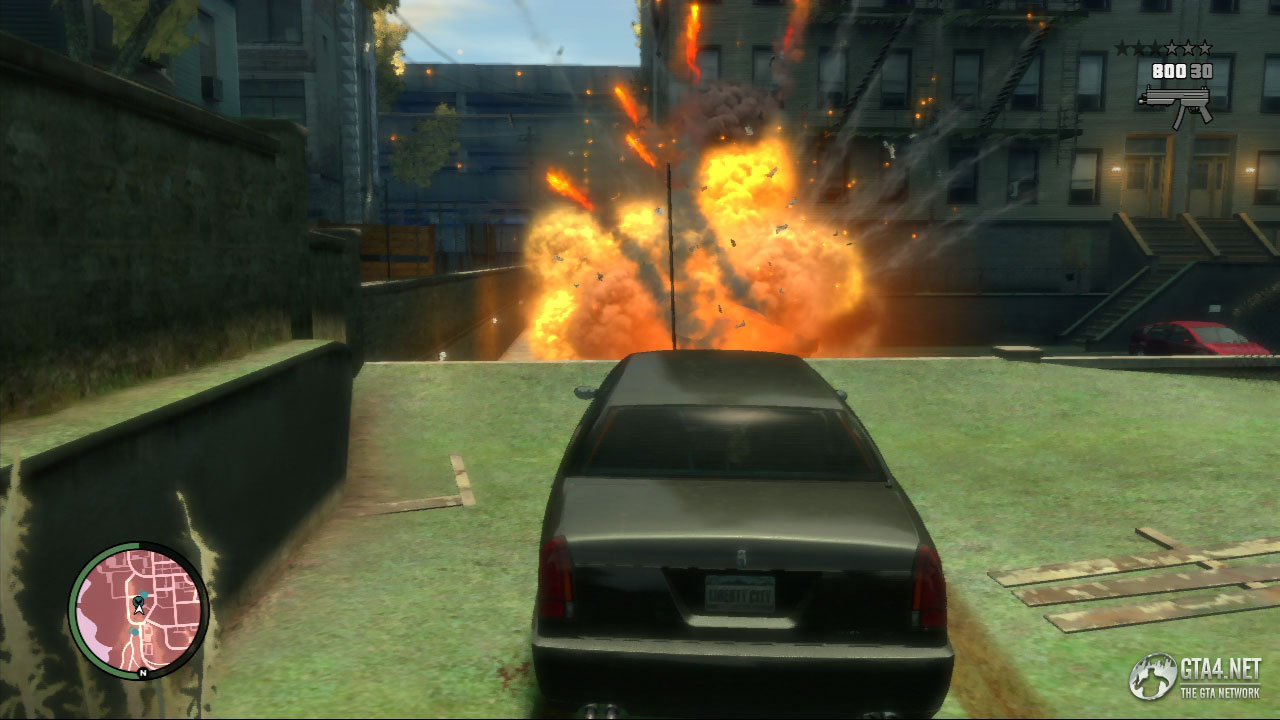
Ray and his bodyguards are heading to a chop shop in BOABO. Pegorino has ordered them to stop at a gas station, in order to give you an opportunity to kill them. Overtake Ray and his bodyguards when you reach Lancaster, and exit your vehicle at San Juan Road. Ray and his bodyguards will stop at the Terroil gas station, so use the rocket launcher to exterminate them. Wait until the cars are close to each other so that one catches fire as the other explodes.
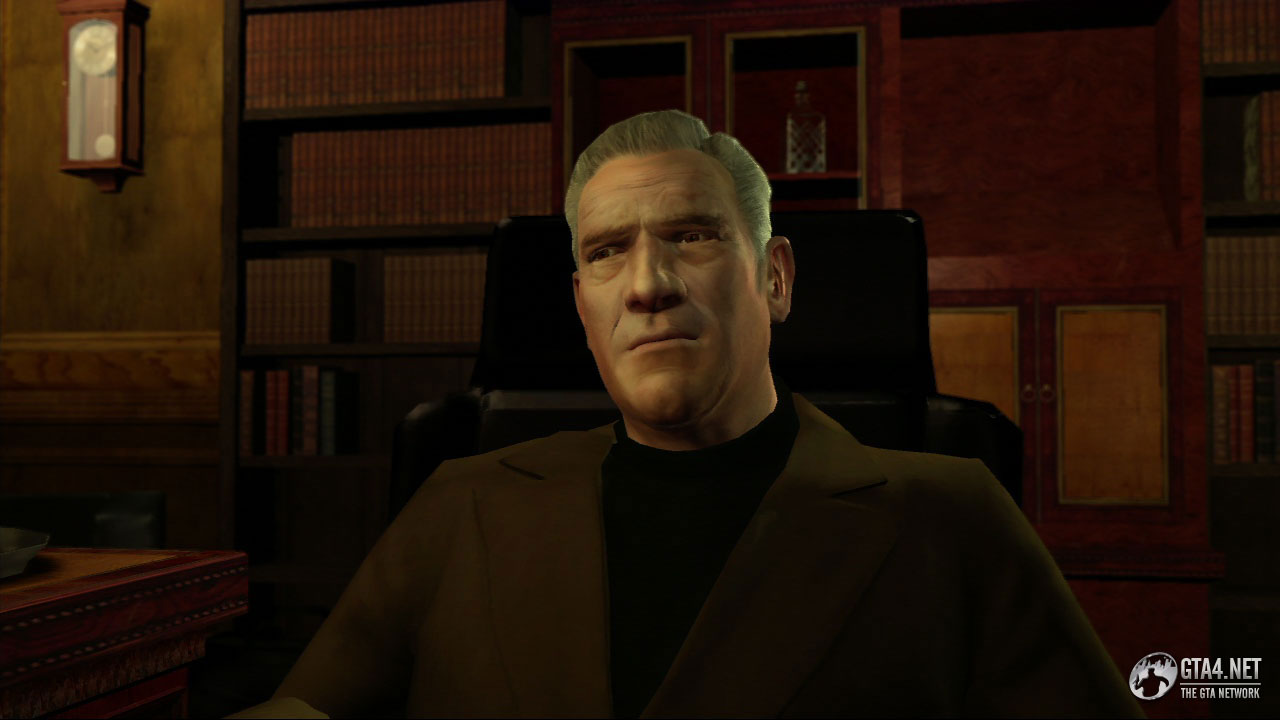
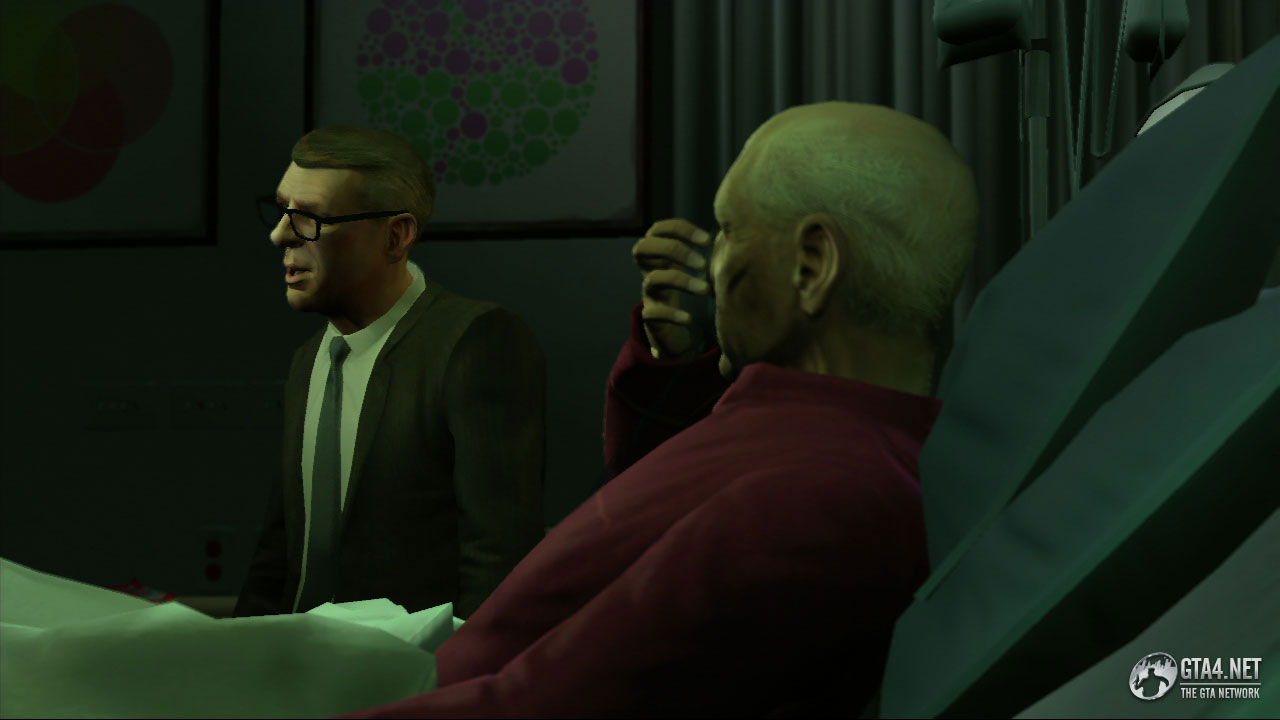
Go and meet Jon Gravelli at the Schottler Medical Center in Dukes. Mr. Gravelli heads up the Gambetti Crime Syndicate, and has connections with James Pegorino and your "mutual friend" from U.L. Paper. Gravelli is old and dying, but he still cares passionately about his legacy. Some Russians are trying to take control of rackets that his family has run for fifty years, and Gravelli isn't happy about it.

Gravelli wants Niko to work for him, in exchange for getting the police off his back, and in exchange for bringing Darko Brevic (the man who betrayed Niko) into the city. Gravelli then goes on to explain your task: a dear friend of Gravelli's is coming in from upstate to deliver a speech on Russian organized crime, and Gravelli needs you to act as security and get him to City Hall safely.

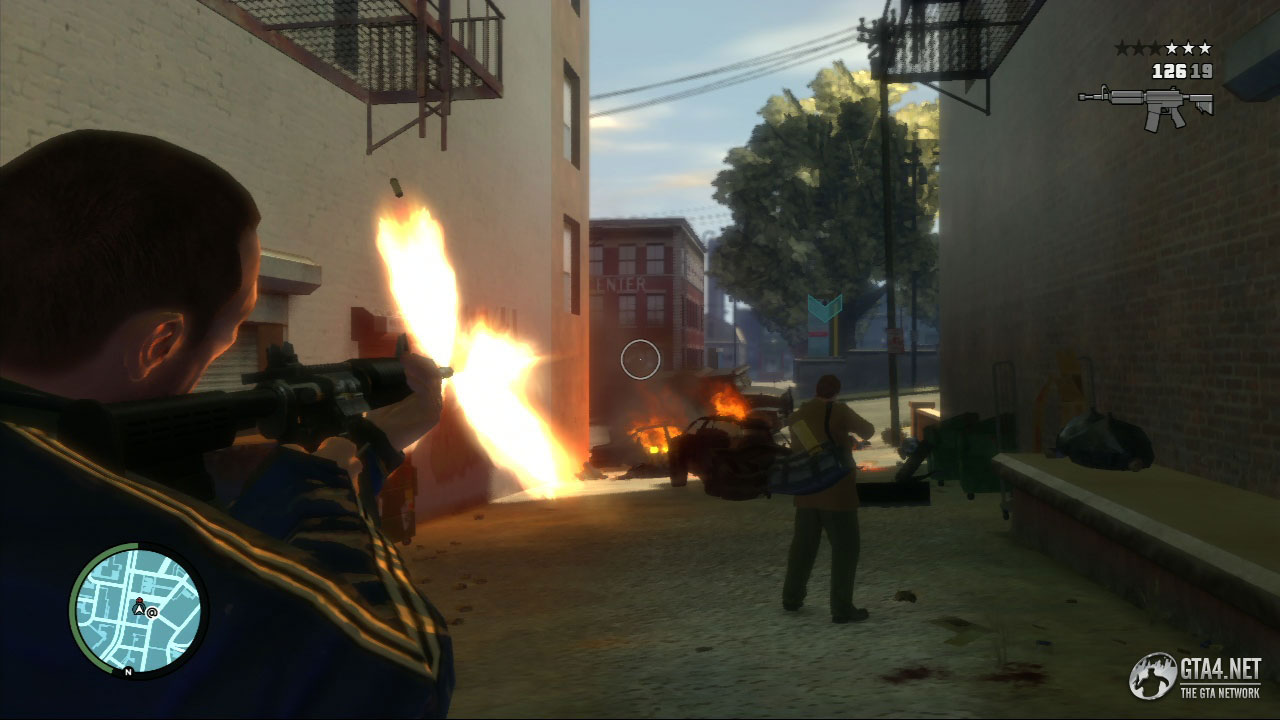
Go to Grand Easton Terminal, get in the car and wait for Bobby Jefferson to get in. Follow the convoy car to City Hall, and protect Jefferson at all costs. Roadworks on Luddite Row forces the driver in front to stop, and the convoy is ambushed by Russians. Take cover in the alleyway and eliminate all of the attackers. There are attackers situated to your left, to your right, in the alley across the street and on the roof above you. Deal with the ones straight ahead first, and then deal with the sides. Once they have been eliminated, move out onto the street and use the car as cover to eliminate the gunmen on the roof.
Now take Bobby Jefferson to safety. Four cars begin chasing, and you can choose to either destroy them or simply outrun them as you would if you were escaping from cops. Once you have lost the pursuers, take Jefferson to City Hall, and stop in the yellow marker to complete the mission.
Mr. Gravelli has some news about Darko Brevic. The "mutual friend" has located him in Bucharest, and it turns out he wasn't in Switzerland afterall. Darko is being brought to Liberty City as we speak. Meanwhile, Gravelli owes the mutual friend a favour. Remember Derrick's friend Kim, the guy you escorted with fake cash during the mission "Babysitting"? The mutual friend wants him dead.
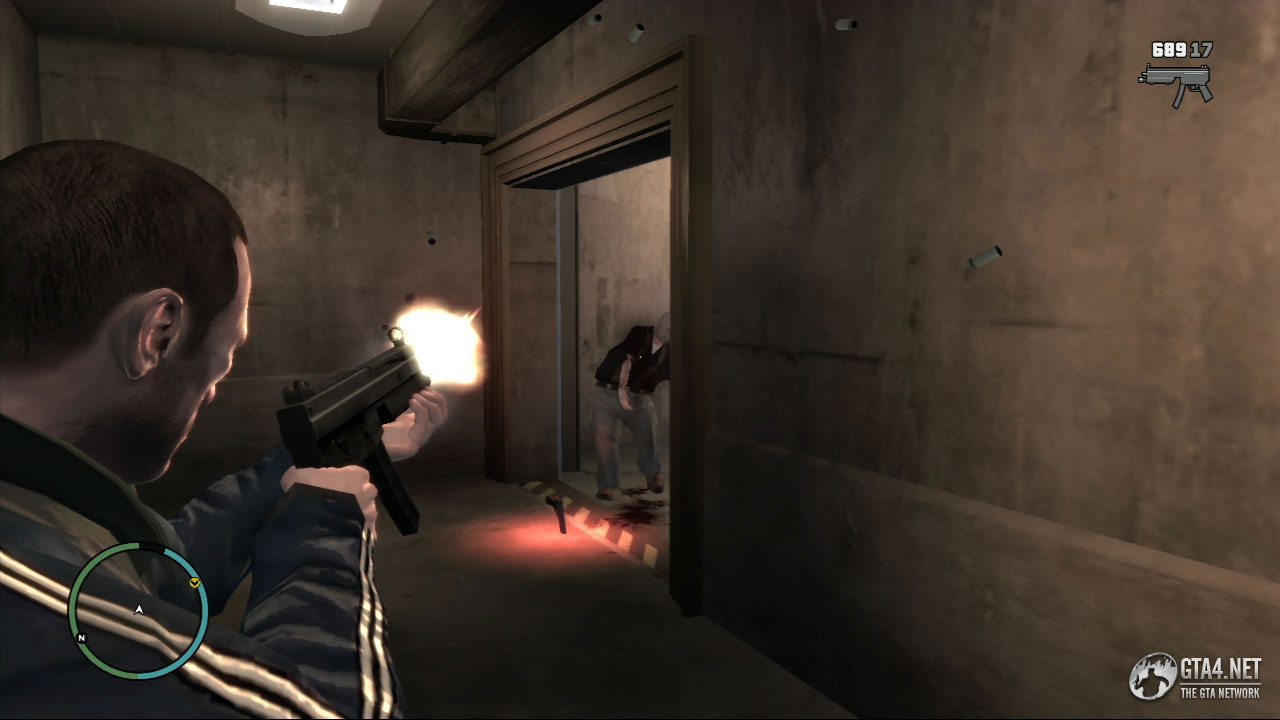
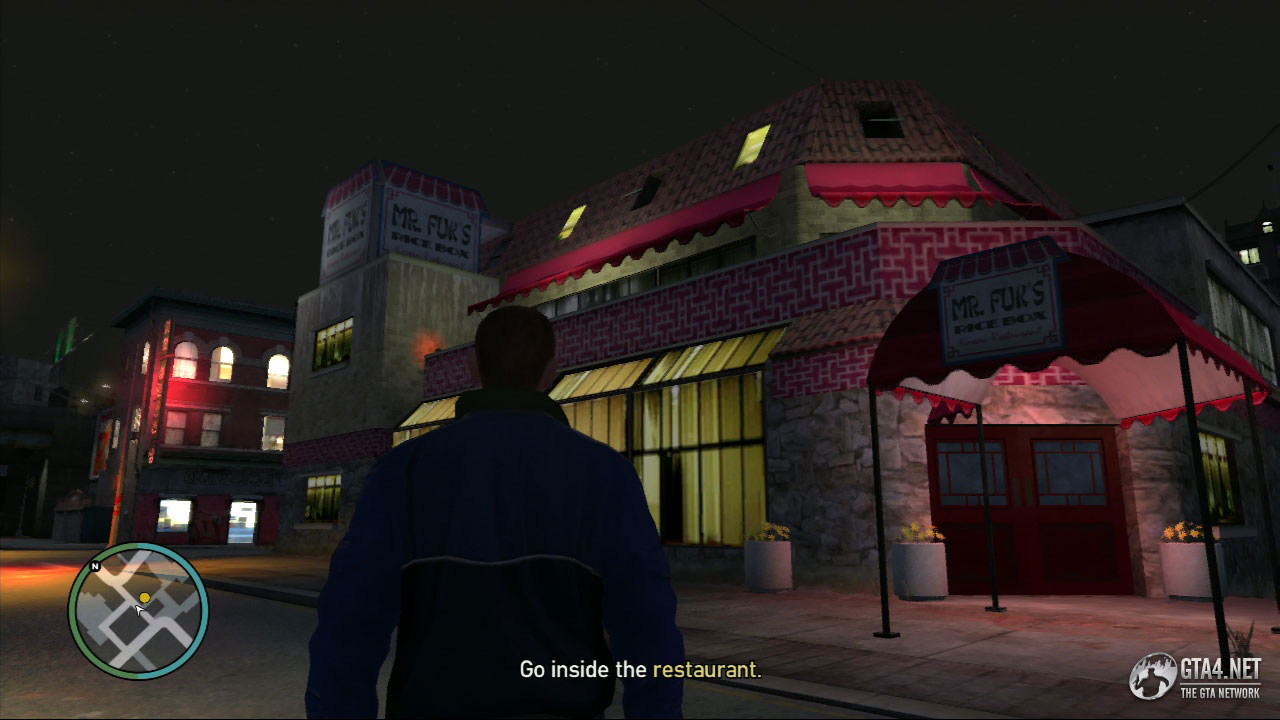
"Kim Young-Guk" eats at Mr. Fuk's Rice Box in Alderney City. Head over to the restaurant and destroy the vehicles in the car park around the back before entering the restaurant - this will make the chase later on a lot easier. The man at the desk says Kim is in a meeting and doesn't want to see anybody, so he orders you to "get lost." Kill the man behind the desk, and then look for Kim in the manager's office upstairs.
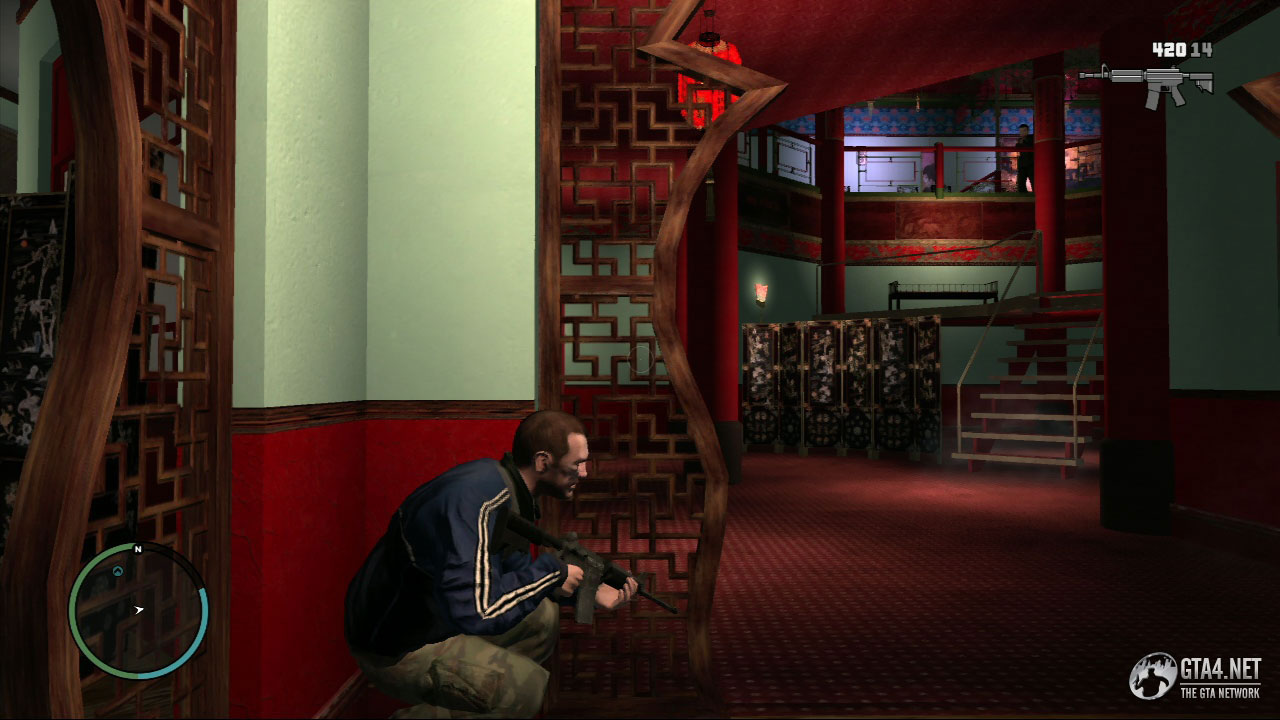
Kim is heavily protected, so be cautious as you move into the main section of the restaurant. Use the entrance as cover, and eliminate Kim's guards on the stairs. When you reach the top of the stairs, do a 180 degree turn and kill the enemies above you. Find cover when you reach the main eating area and kill any remaining attackers in the restaurant. There is no time limit on this mission, so don't rush, and plan your moves carefully. If you need health at any time, simply exit the restaurant, get out your cellphone, and dial 911 for paramedics. Then go back inside the restaurant and continue searching for Kim.
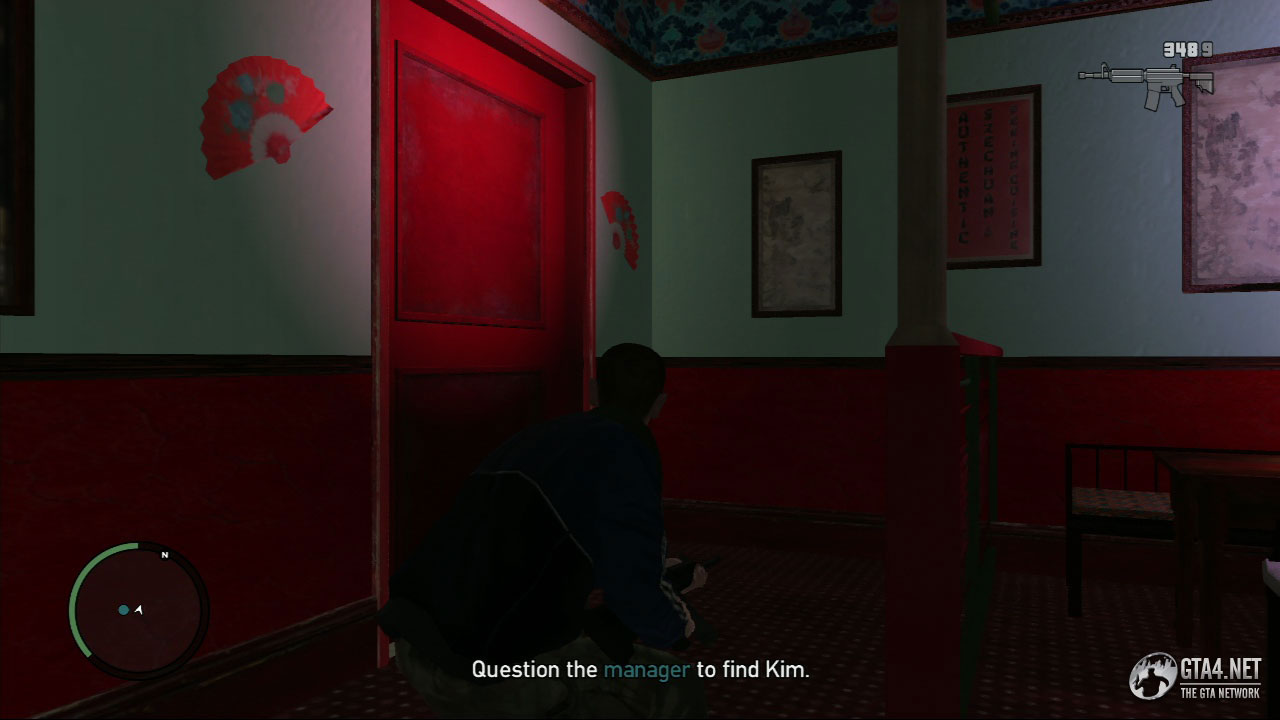
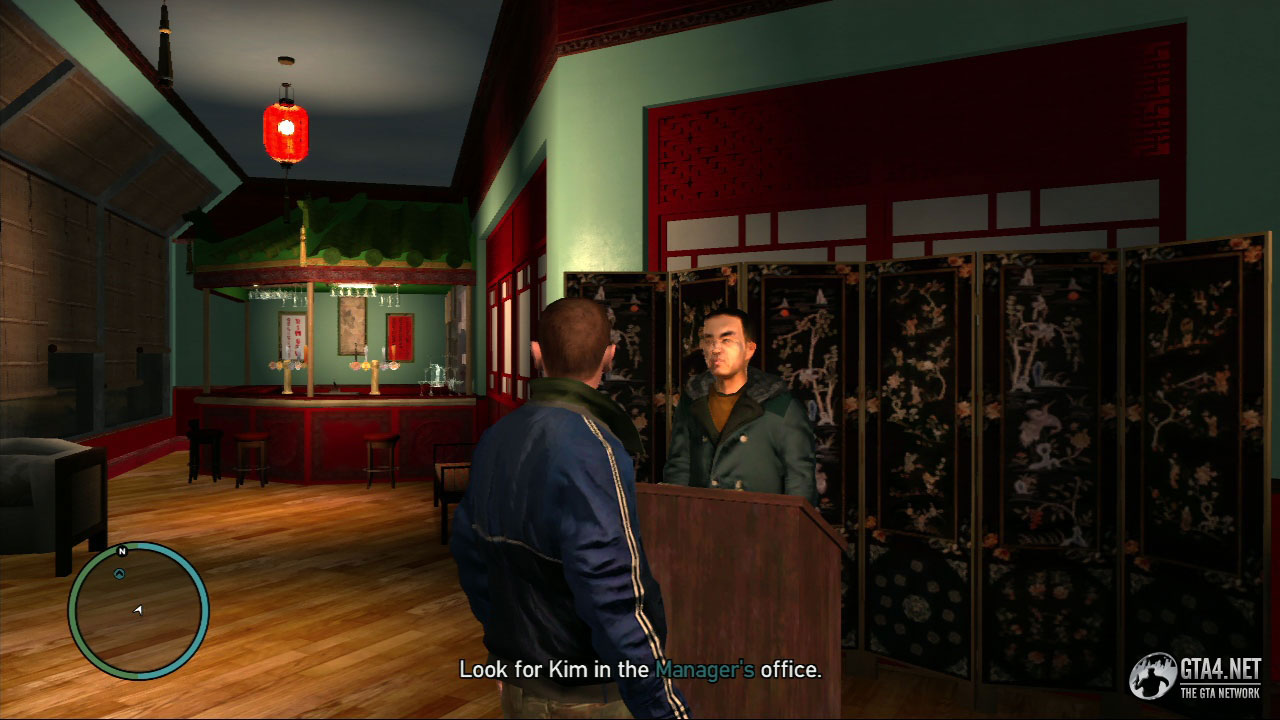
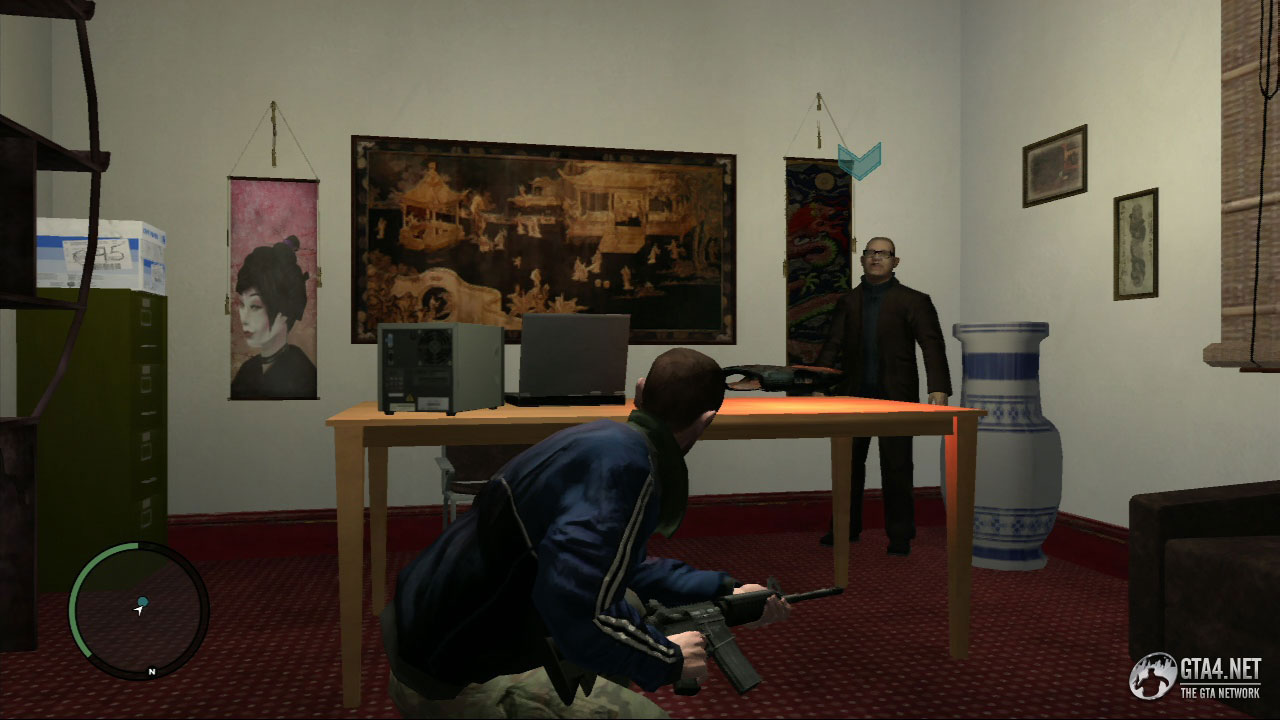
Go to the manager's office and talk to him. The manager denies having any knowledge of Kim's whereabouts, so target him to get him to talk. Kim knows you are there, and is currently trying to escape from the restaurant. Grab the armour on the manager's desk, and exit the office with caution - more of Kim's guards are waiting outside. The mission instructs you to "chase" Kim, but you can in fact take as long as you like at this part - Kim only starts running when you enter the kitchen on the opposite side of the restaurant.
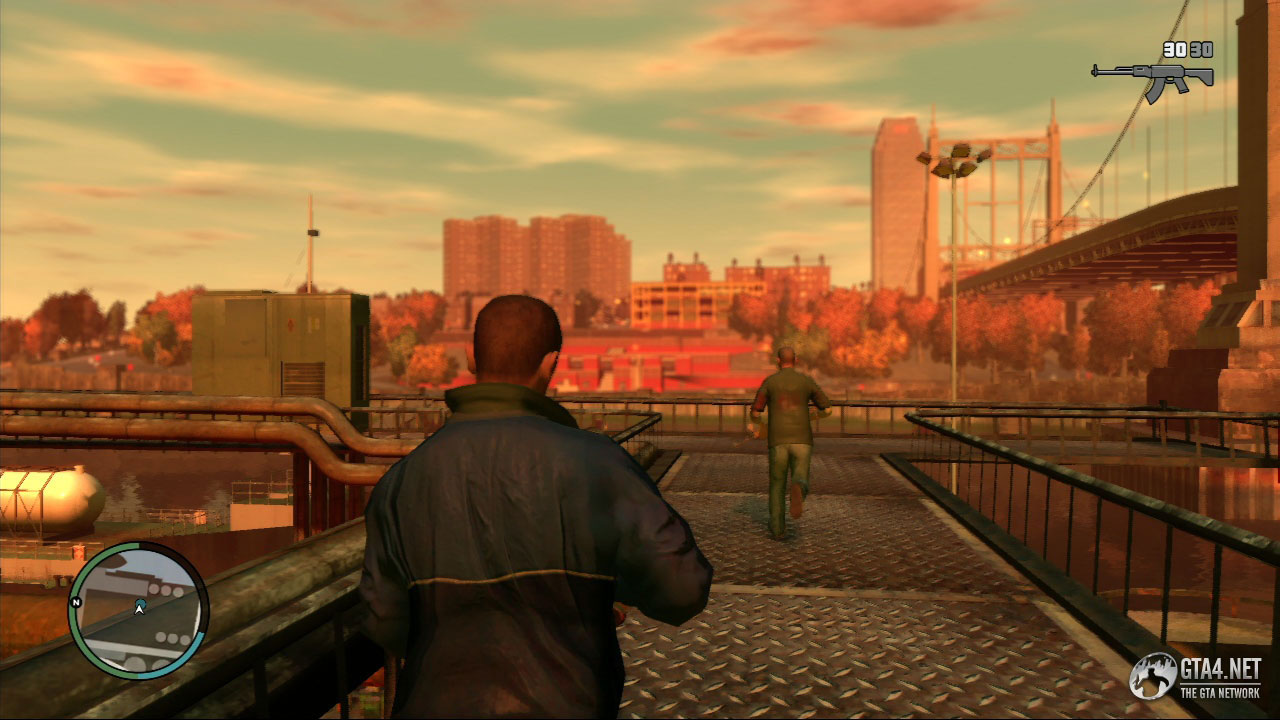
Kill the guards inside the kitchen, and then begin chasing Kim. Jump down the fire escape and kill Kim to finish the mission. He will try to escape on foot since you destroyed all the vehicles in the car park earlier.
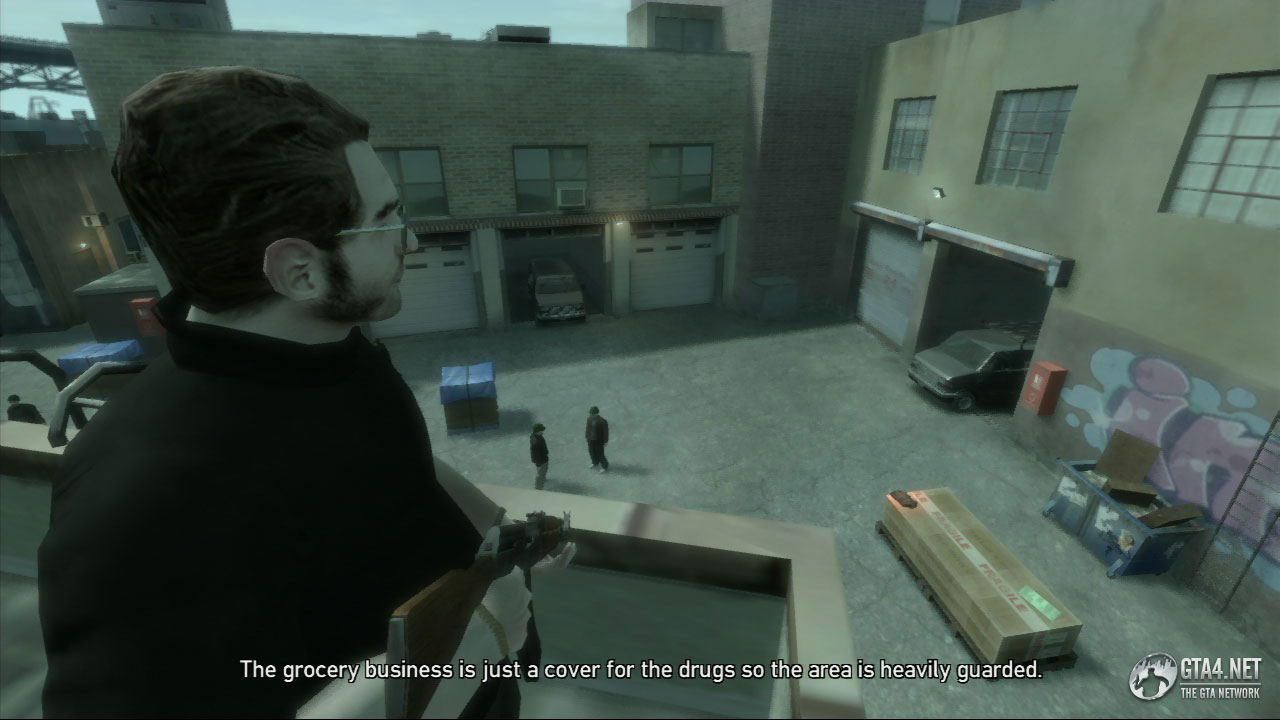
When you meet Gravelli this time, he's talking with the "mutual friend." The friend informs Gravelli that the Ancelottis are dealing cocaine with the Russians, and this is a relationship which greatly displeases Mr. Gravelli. The friend explains that the distribution network is a fleet of vans parked at a grocery warehouse in Alderney City, and he needs you to "destroy everything."

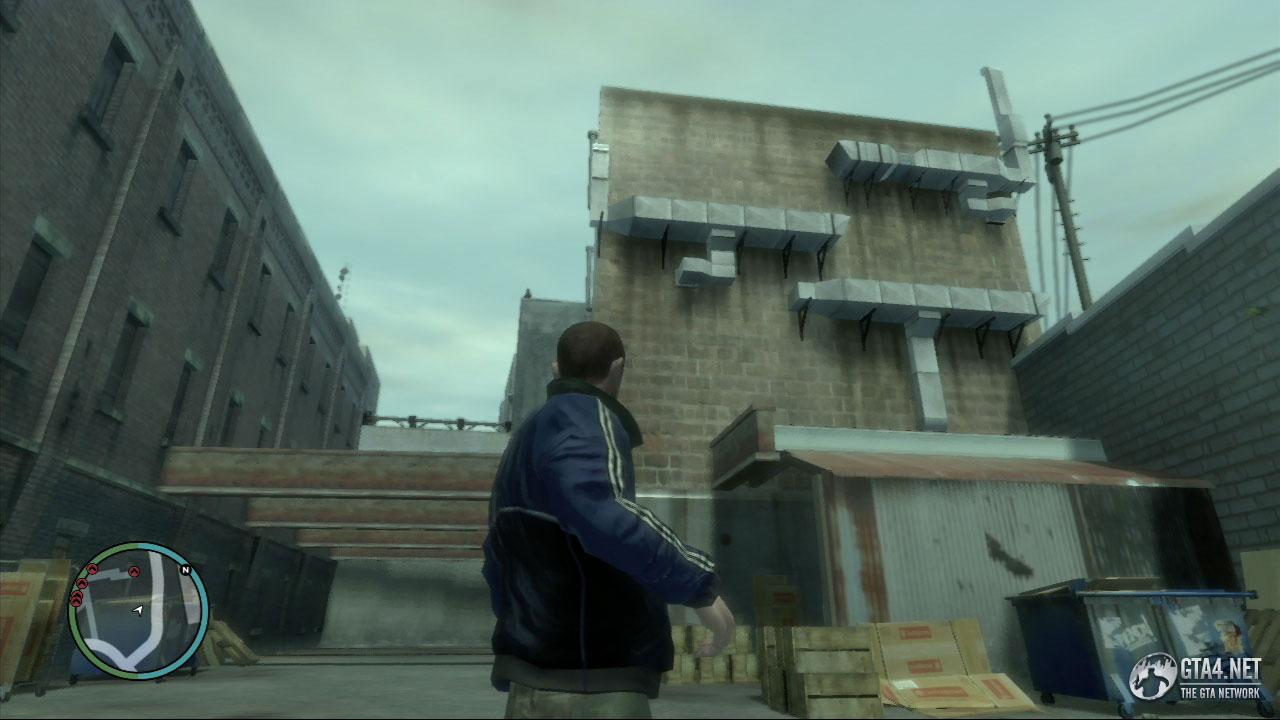
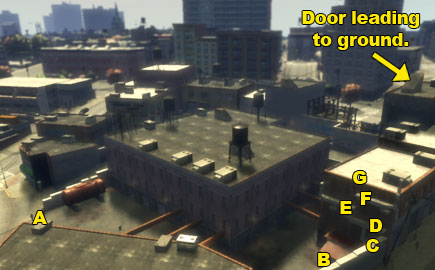
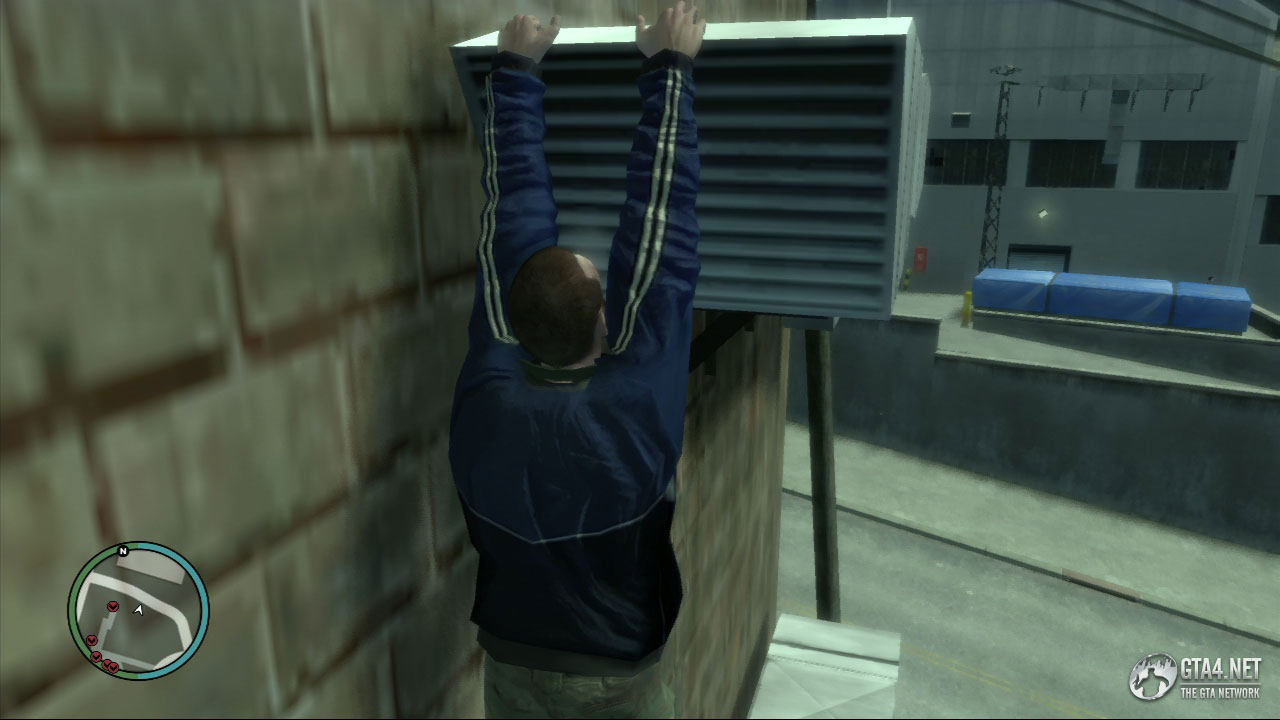
The warehouse is on Mueri Street, and there are five vans inside which are all lined with cocaine. The business is just a cover for the drugs, so the compound is heavily guarded by the Russians. The first thing you need to do is find a way into the compound, so climb over the metal fence, but not the main fence, use the fence to the right of it (A). Go straight ahead and climb onto the blue container next to the wall (B). Then climb onto the wall (C) and use the air vents (D-F) on the building to climb onto the roof (G).
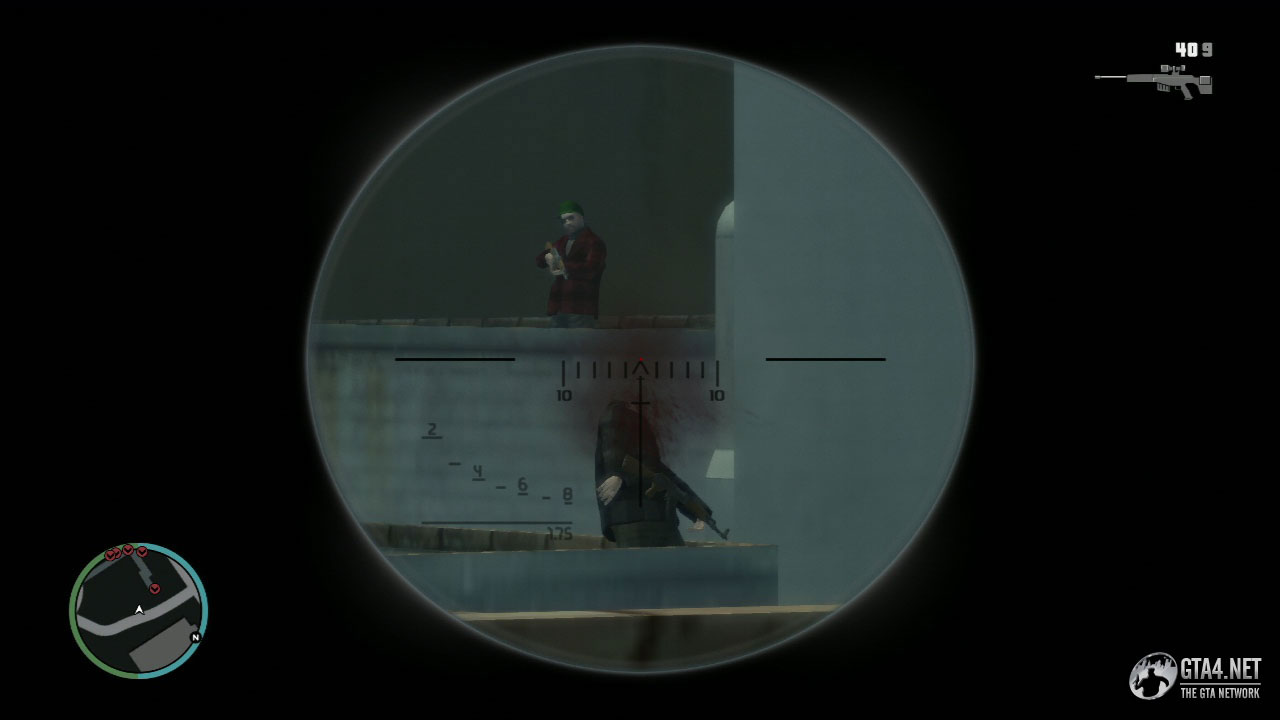
Find cover, and start picking off the snipers on the other buildings in the compound. Watch out for the two Russians who are situated on the building adjoined to the one you are presently on - they will climb down the ladder and try to attack you. Take your time, and eliminate everyone until you hear no more gunshots.
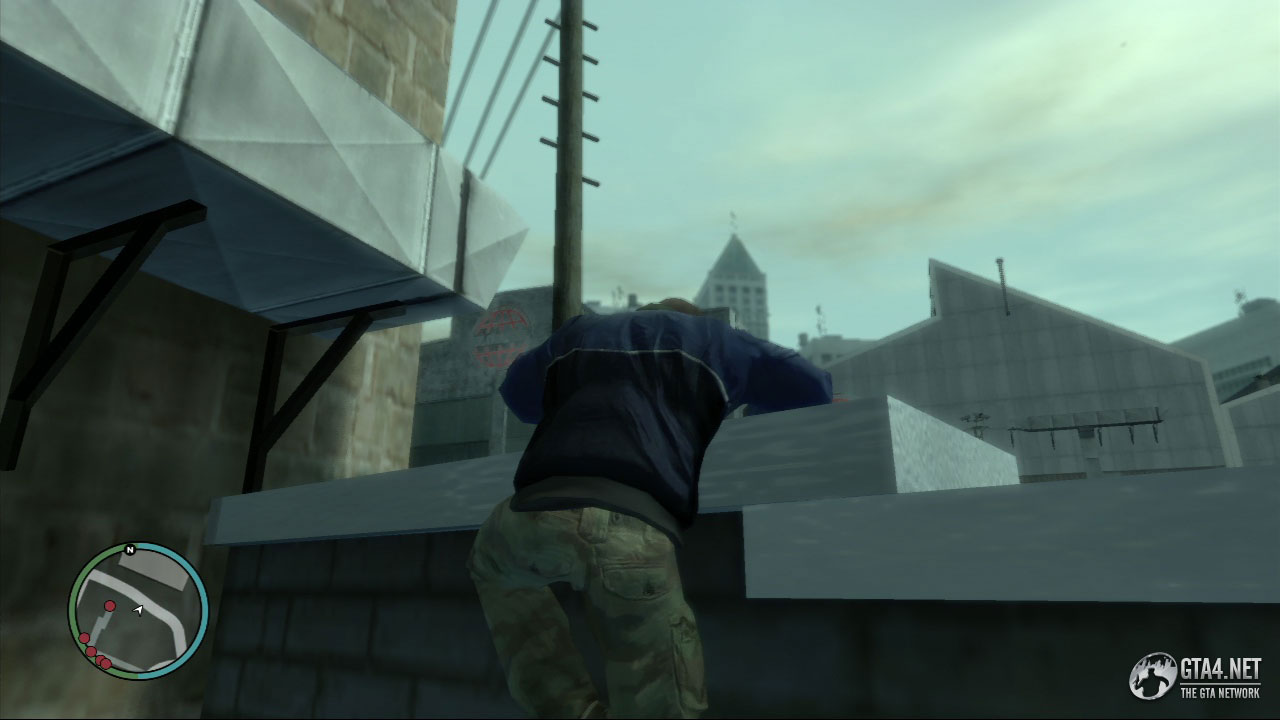
Proceed straight ahead and climb the ladder until you reach the roof of the adjoined building. Eliminate as many people on the ground as you can before heading down. For now, simply focus on getting rid of the guards, and ignore the vans for the moment.
Once you've climbed the ladder, collect the armour next to the door and make your way down to the ground. The first van (1) is right next to the door that you exit from. Stand at a safe distance from the van, and throw a grenade towards it.
There is a first aid kit on the wall up ahead, around the corner from where the second van (2) is situated. You can't actually see the second van from this location, but you don't necessarily need to - refer to the radar, and throw a grenade in the general direction of the van to destroy it. This will also take out the guards who are protecting the van.
Now move forward to the area which had the second van, and blow up the three remaining vans (3-5) using grenades or rockets. The remaining vans are all located in separate garages. Watch out for more guards though, and don't run into open areas until you are positive there is nobody else left. The mission is complete as soon as the final van is destroyed.