![]()

Clean and Serene
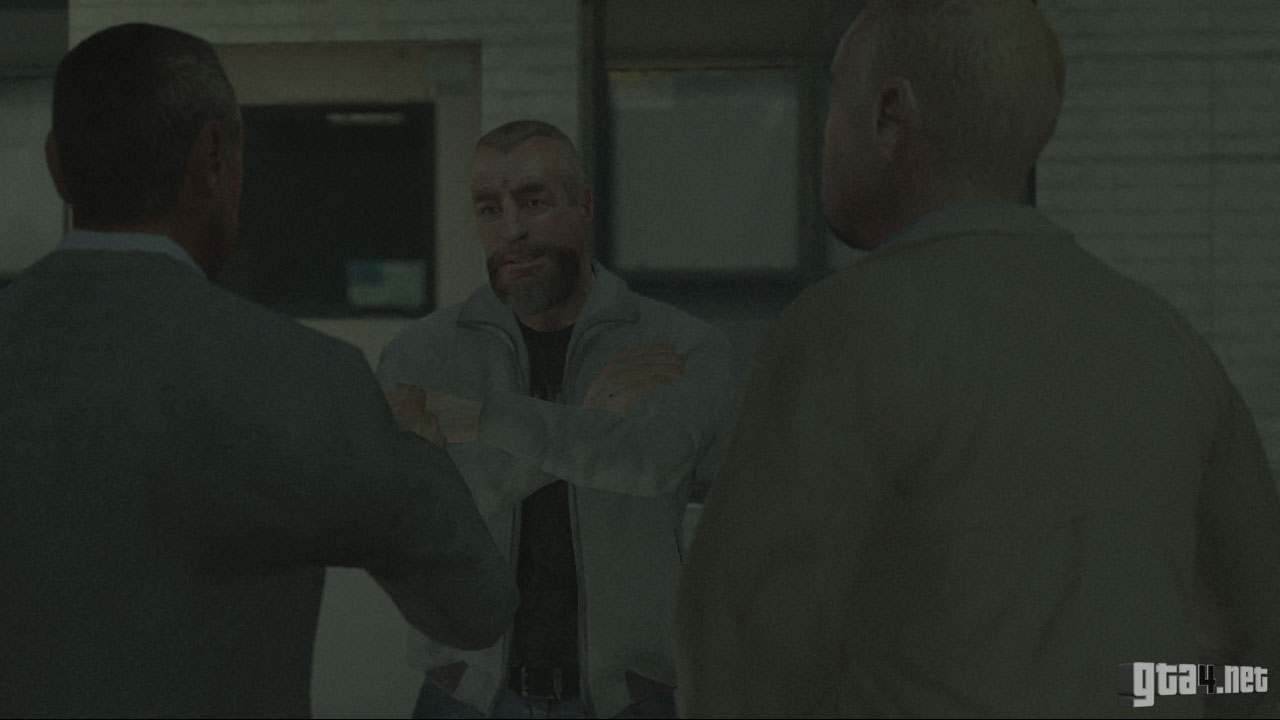
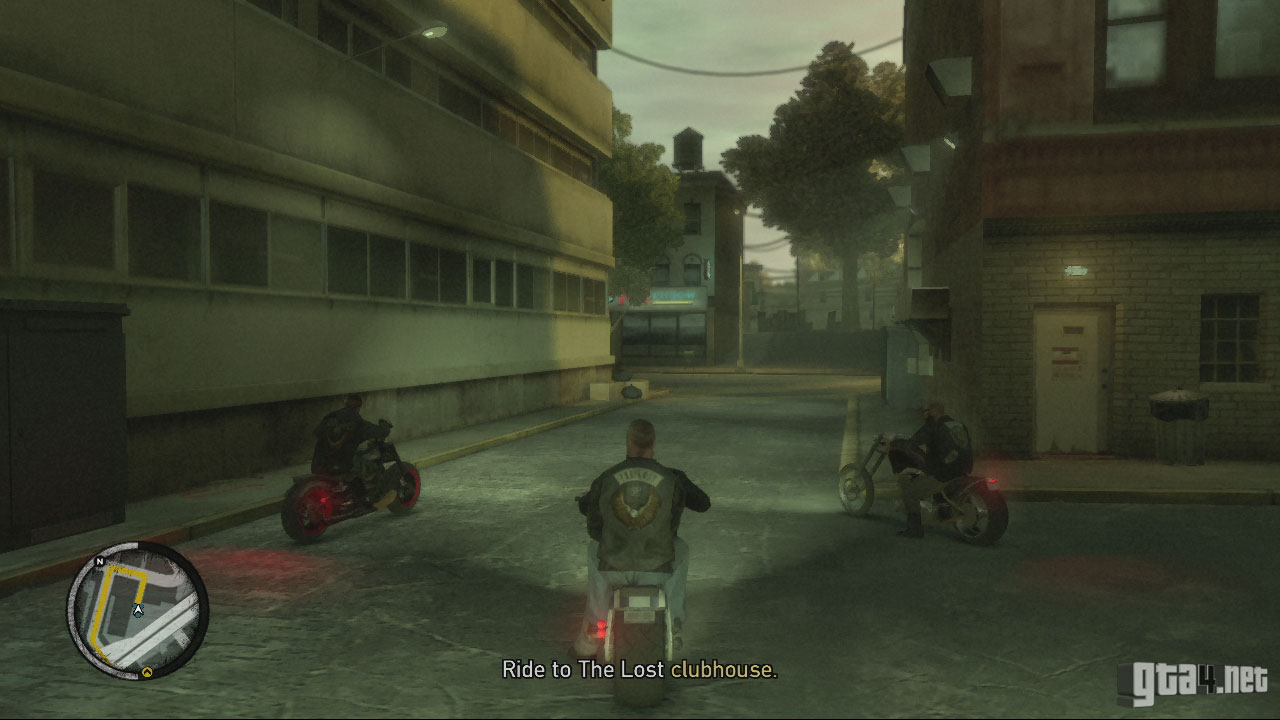
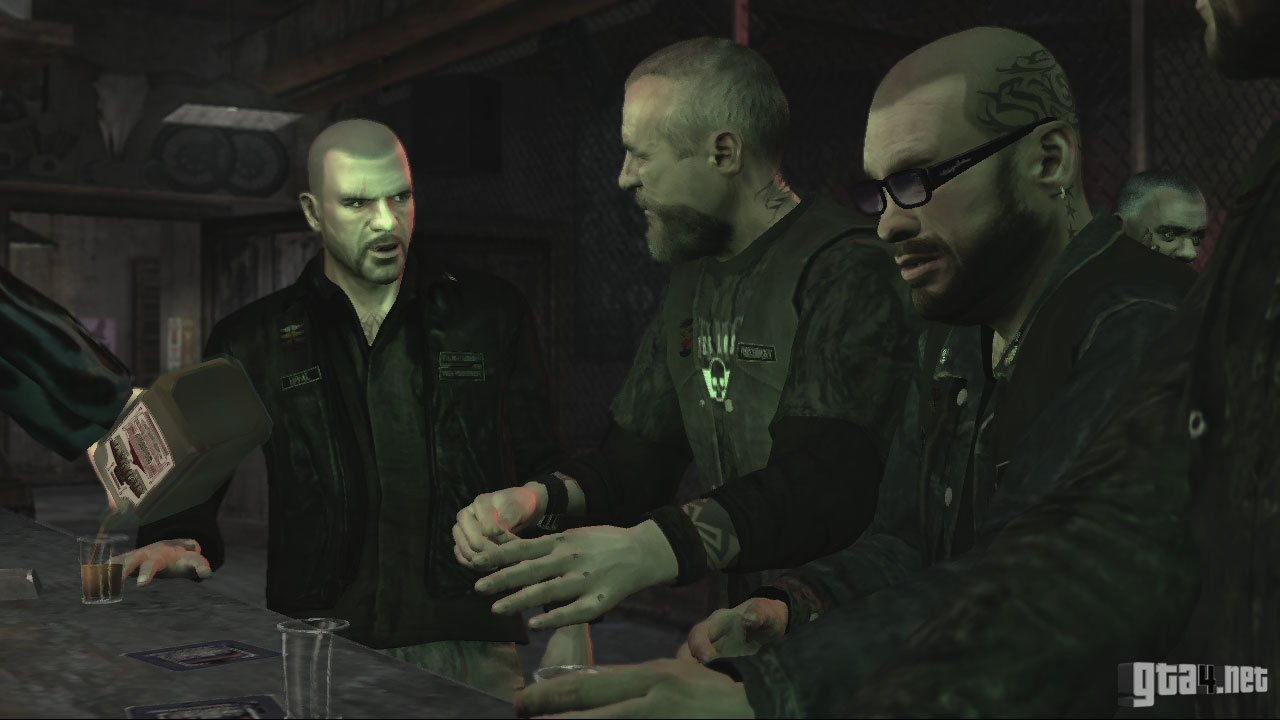
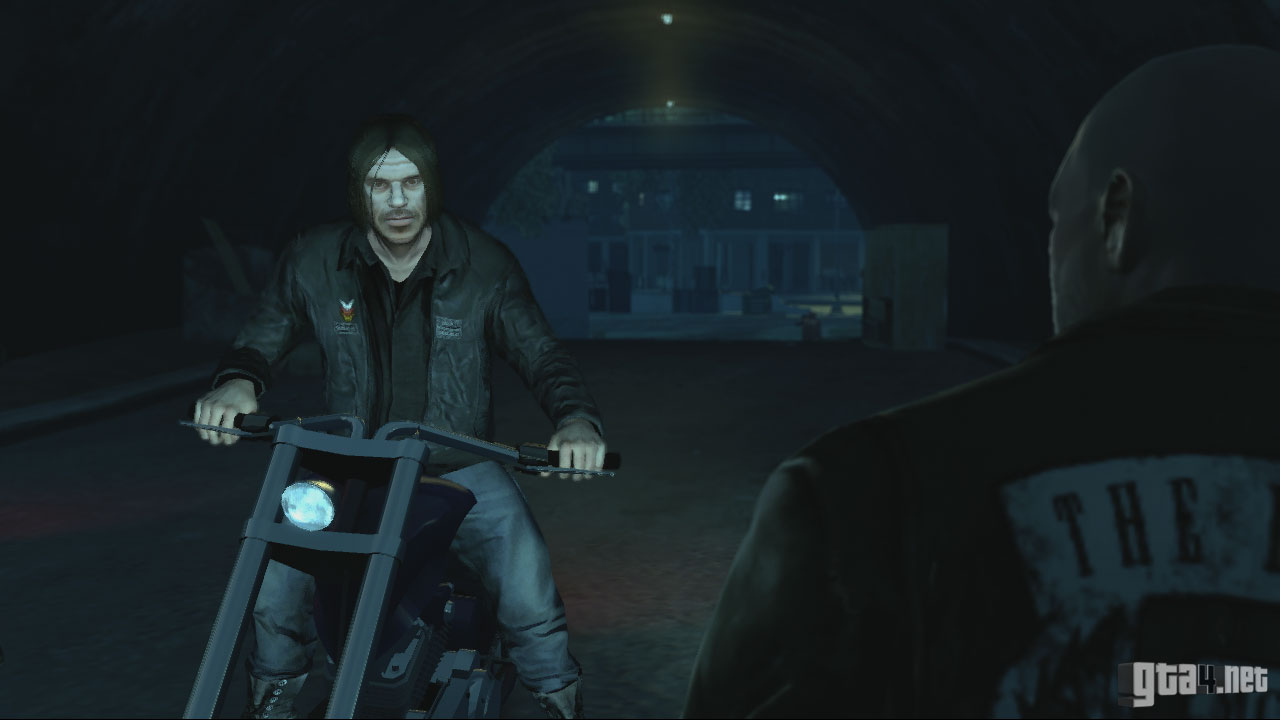
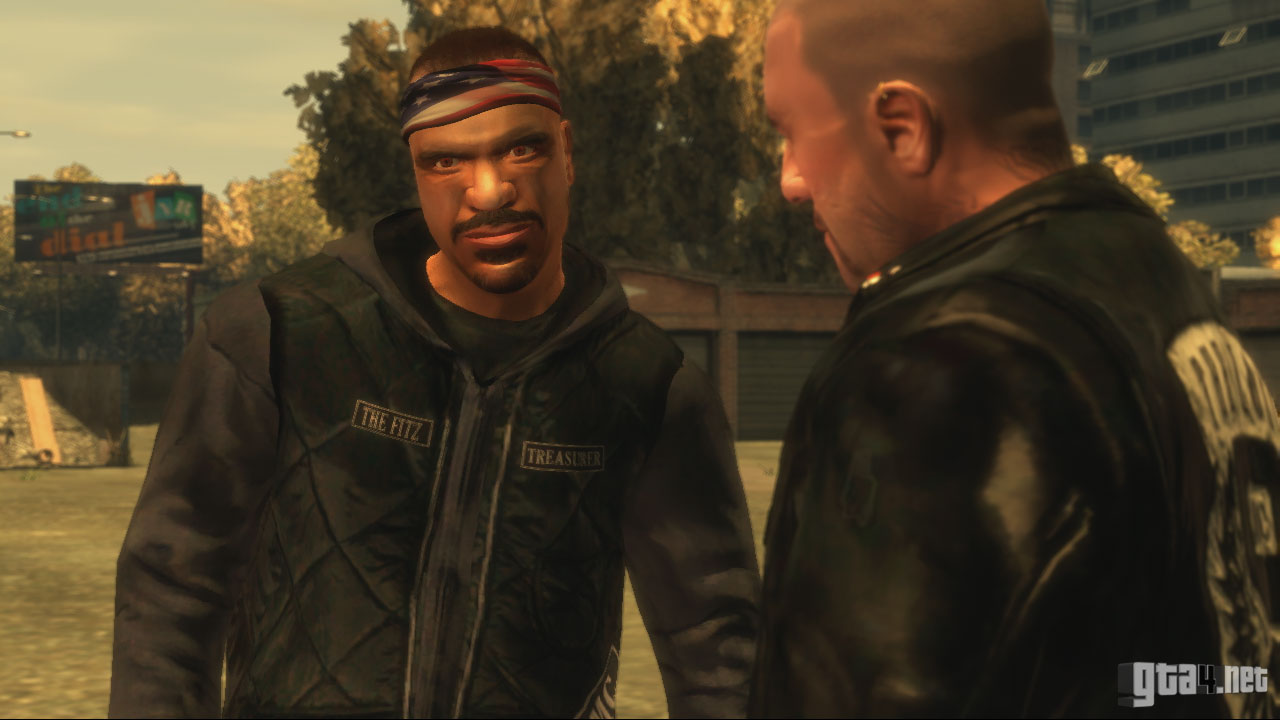
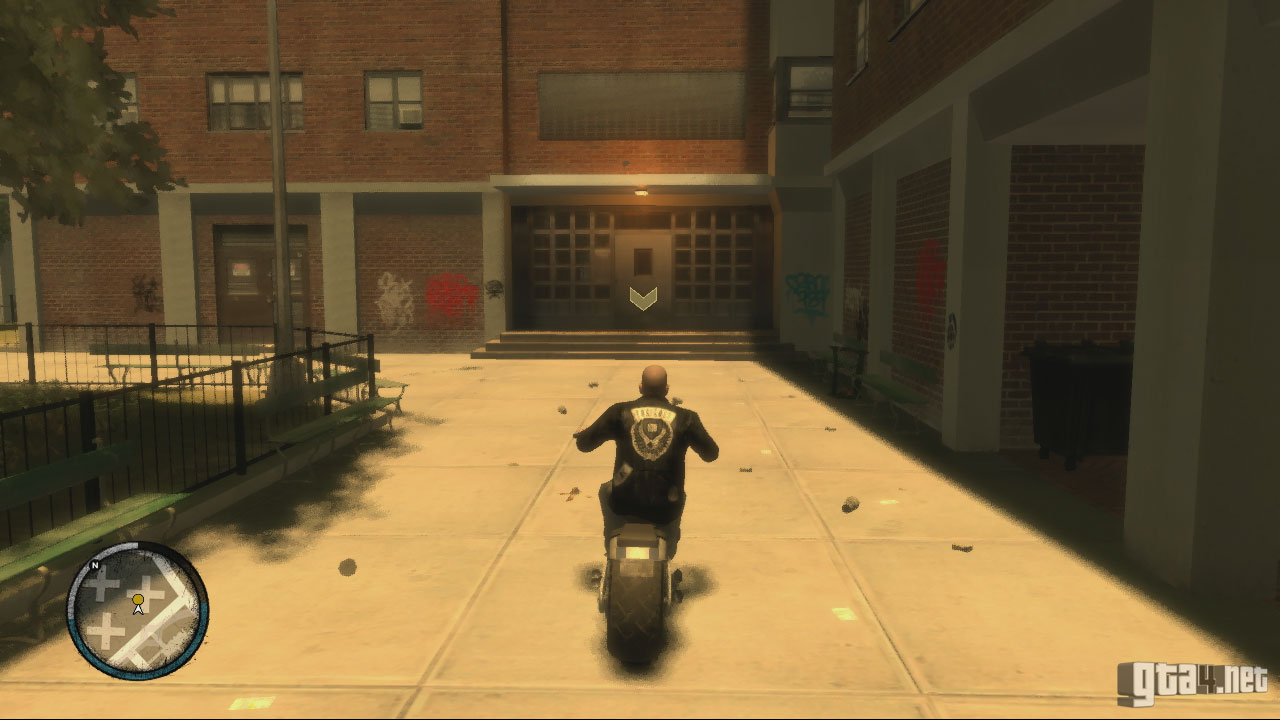
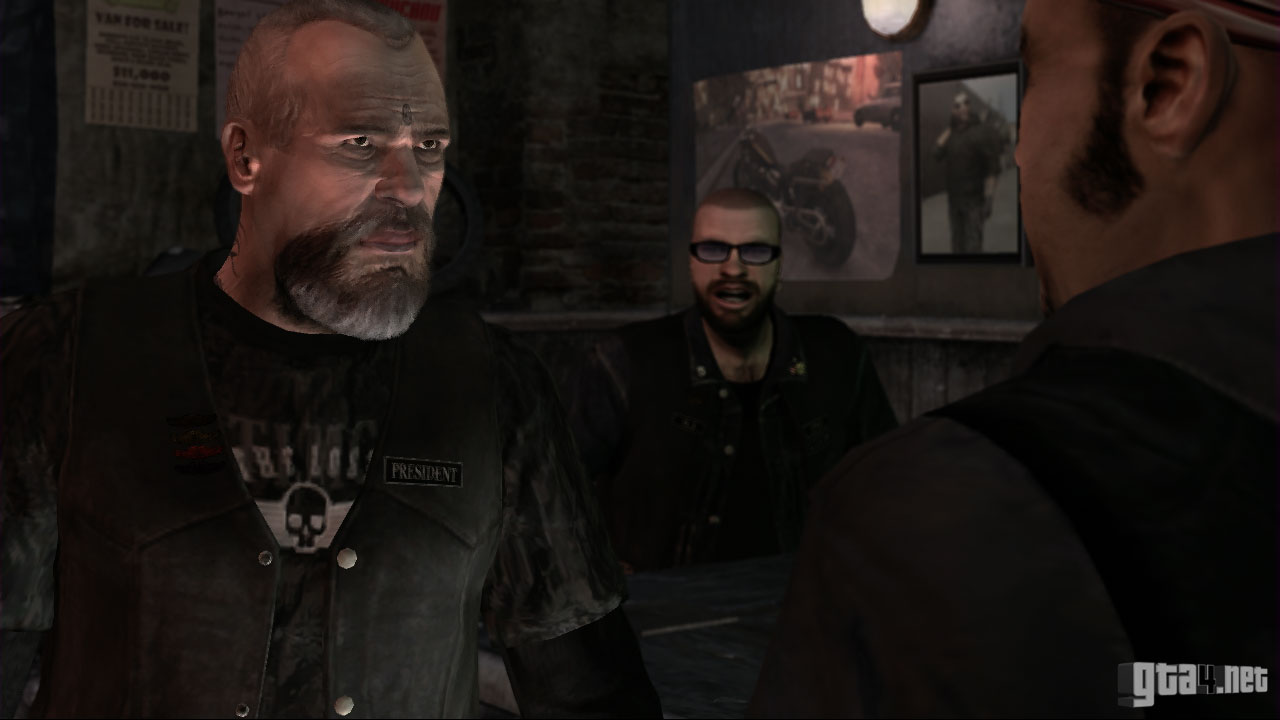
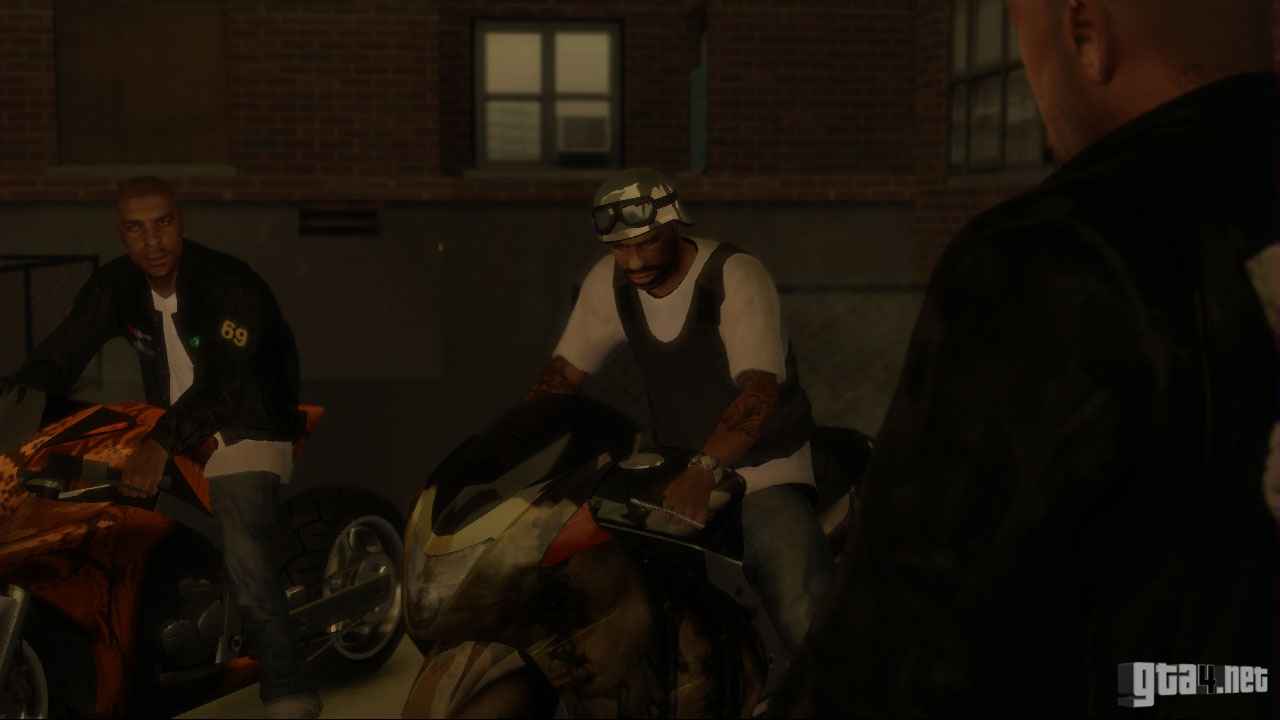
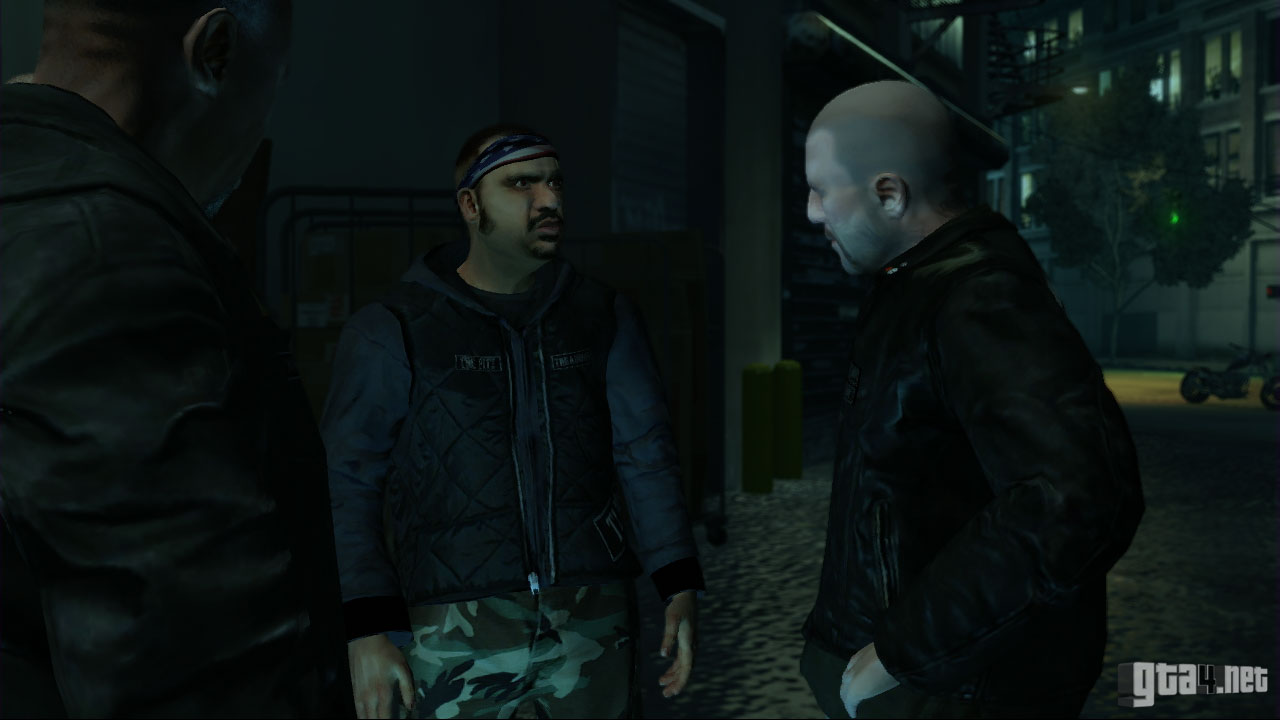
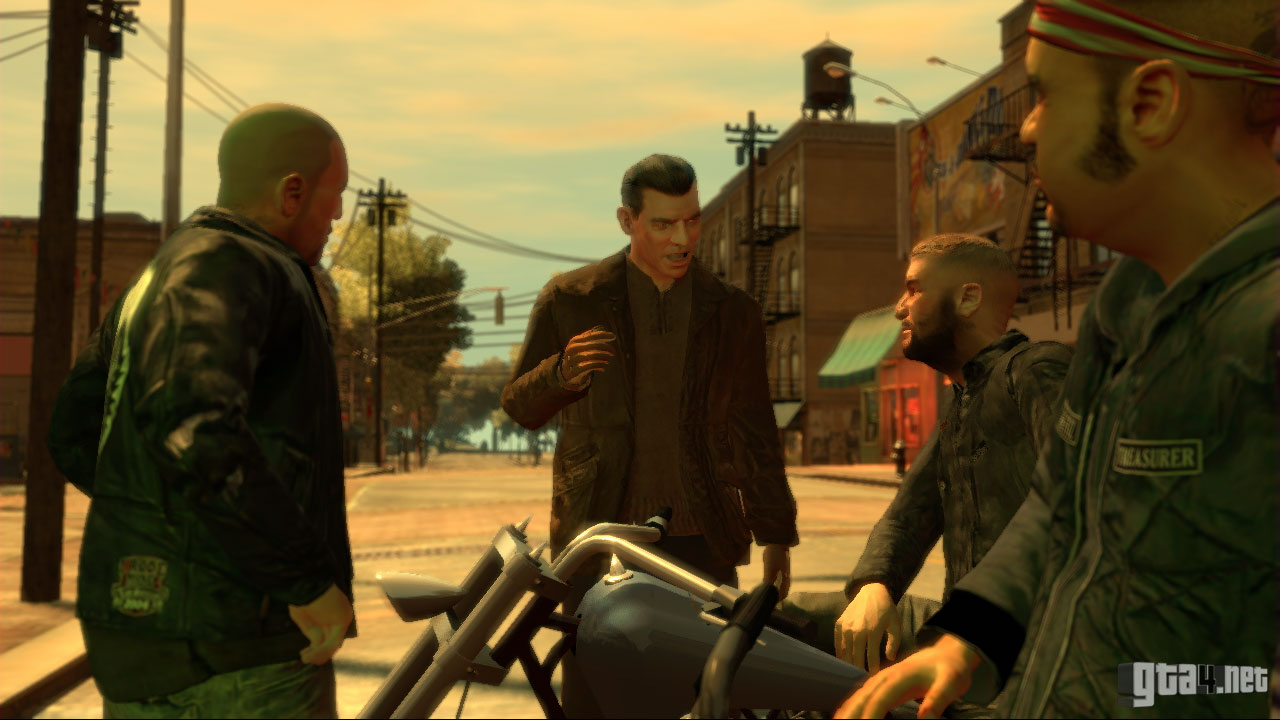
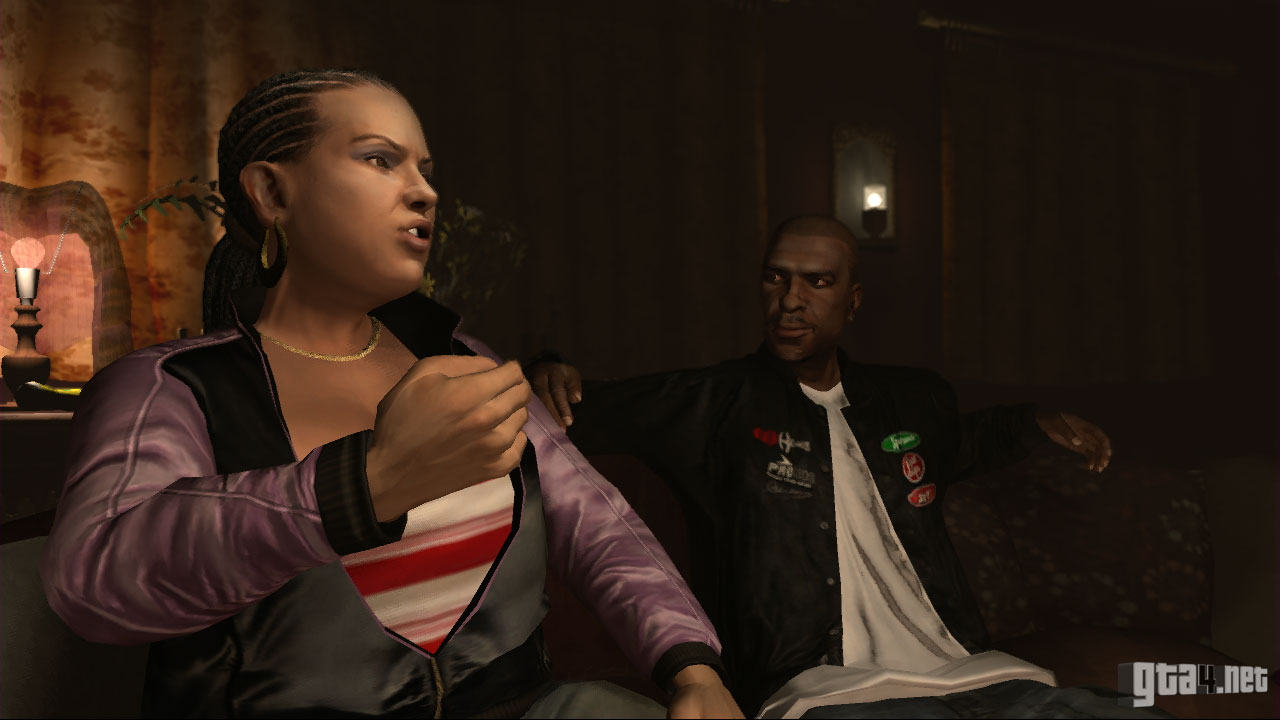
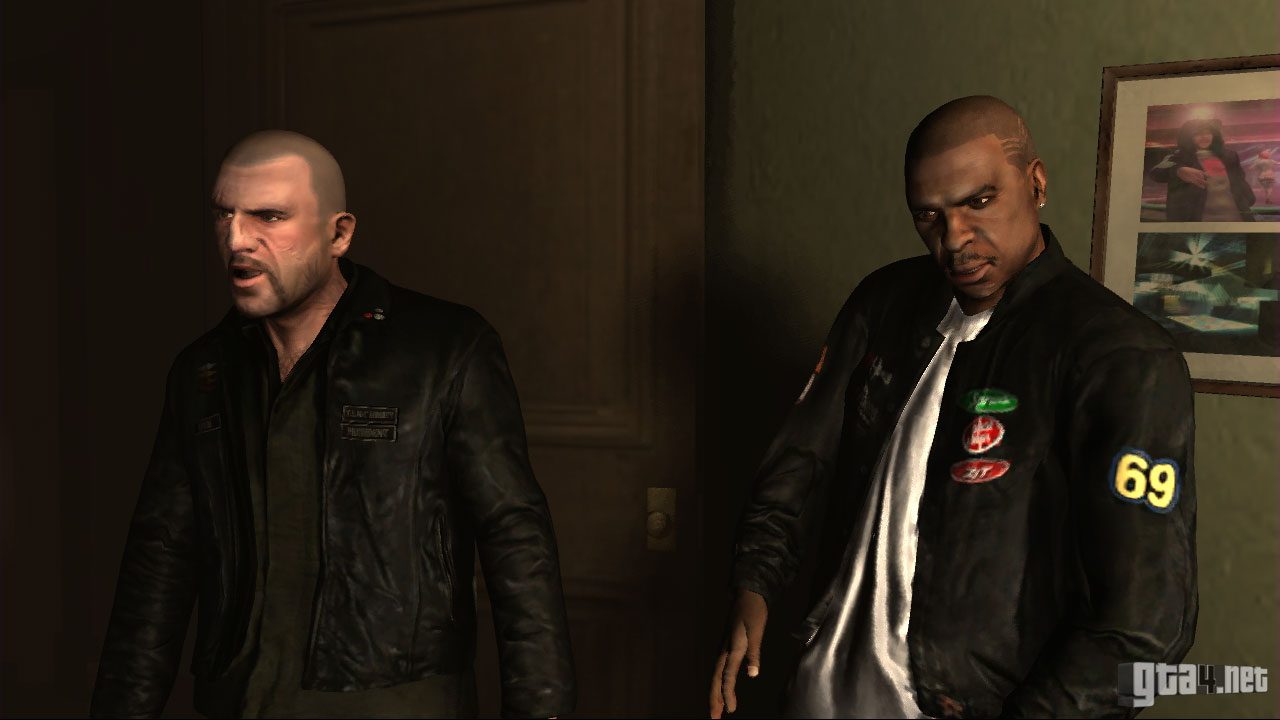
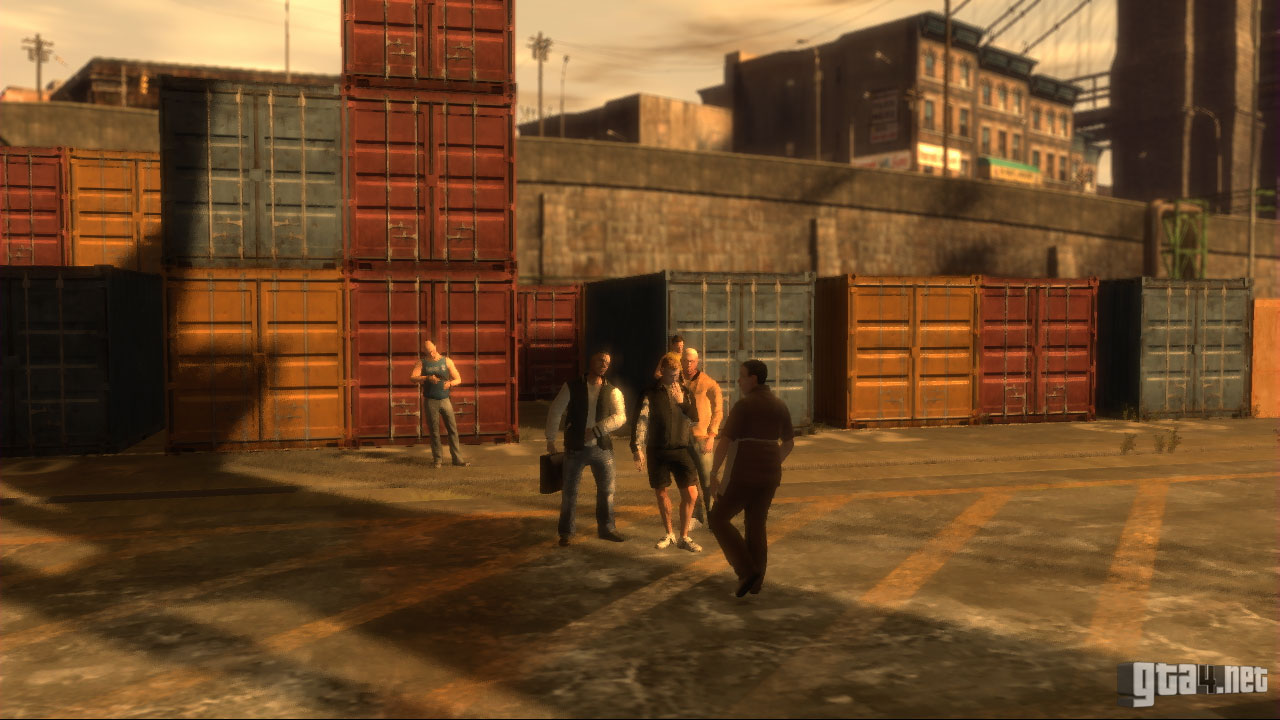
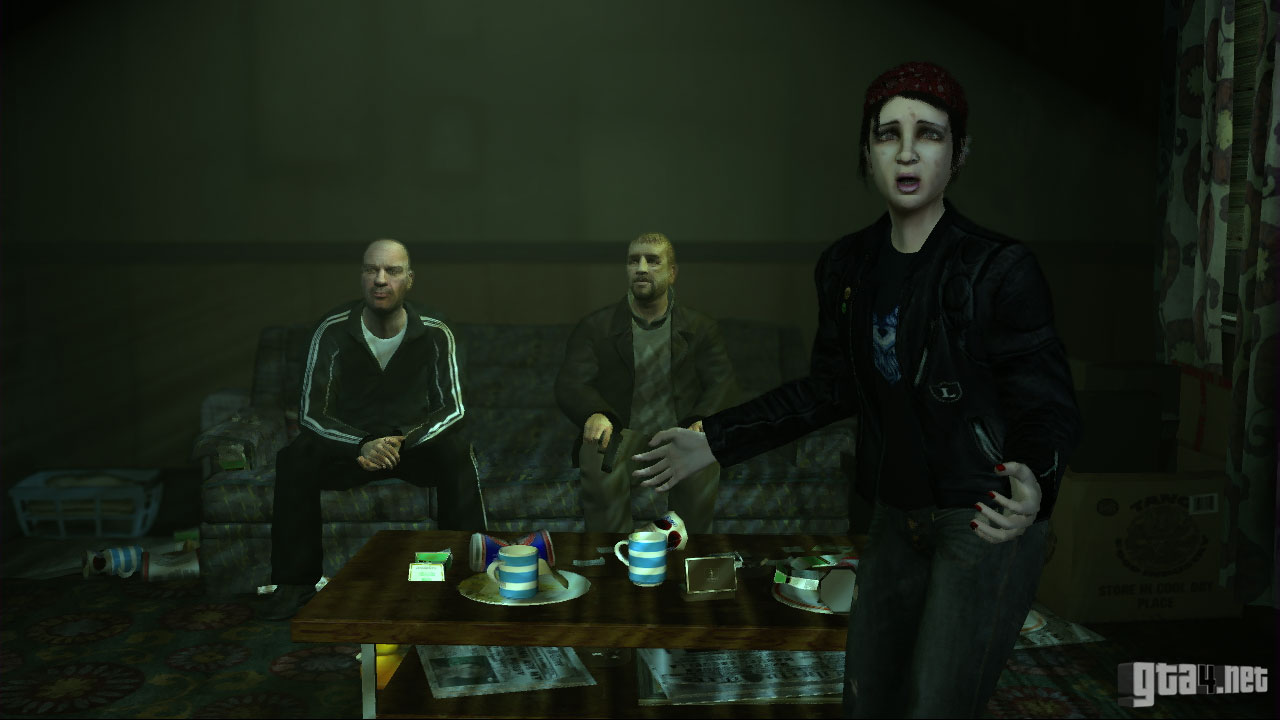
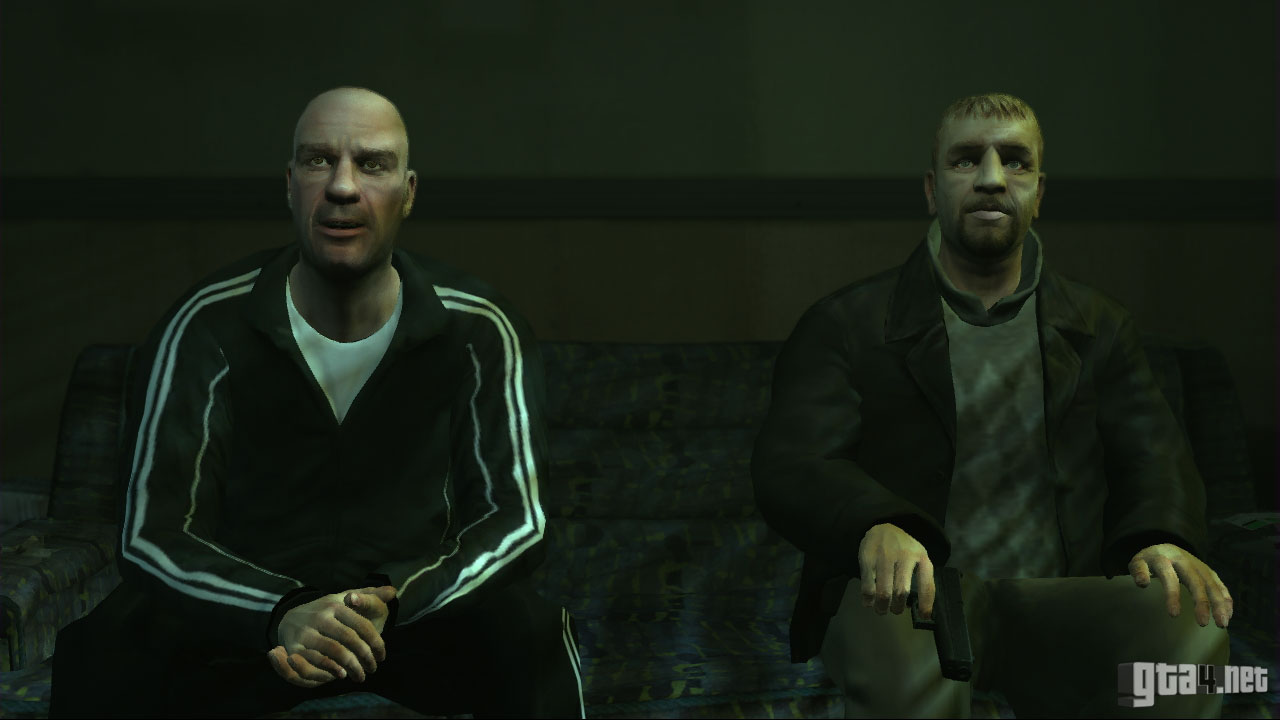
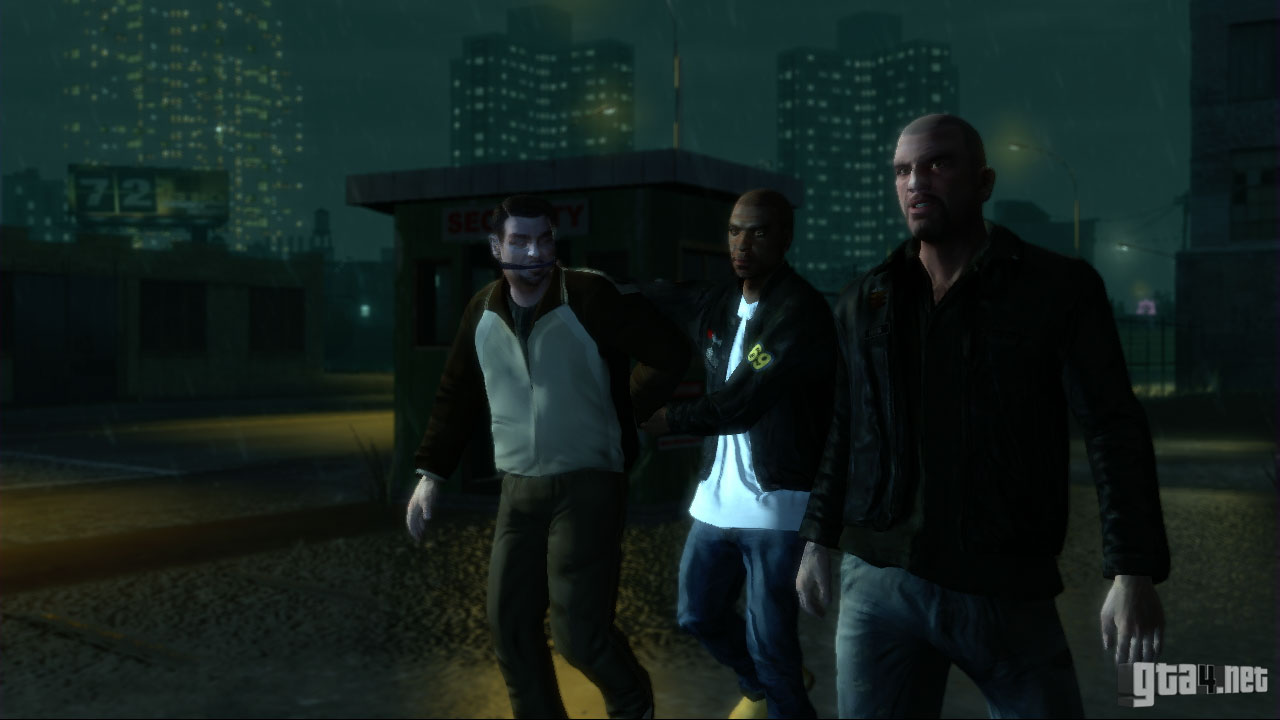
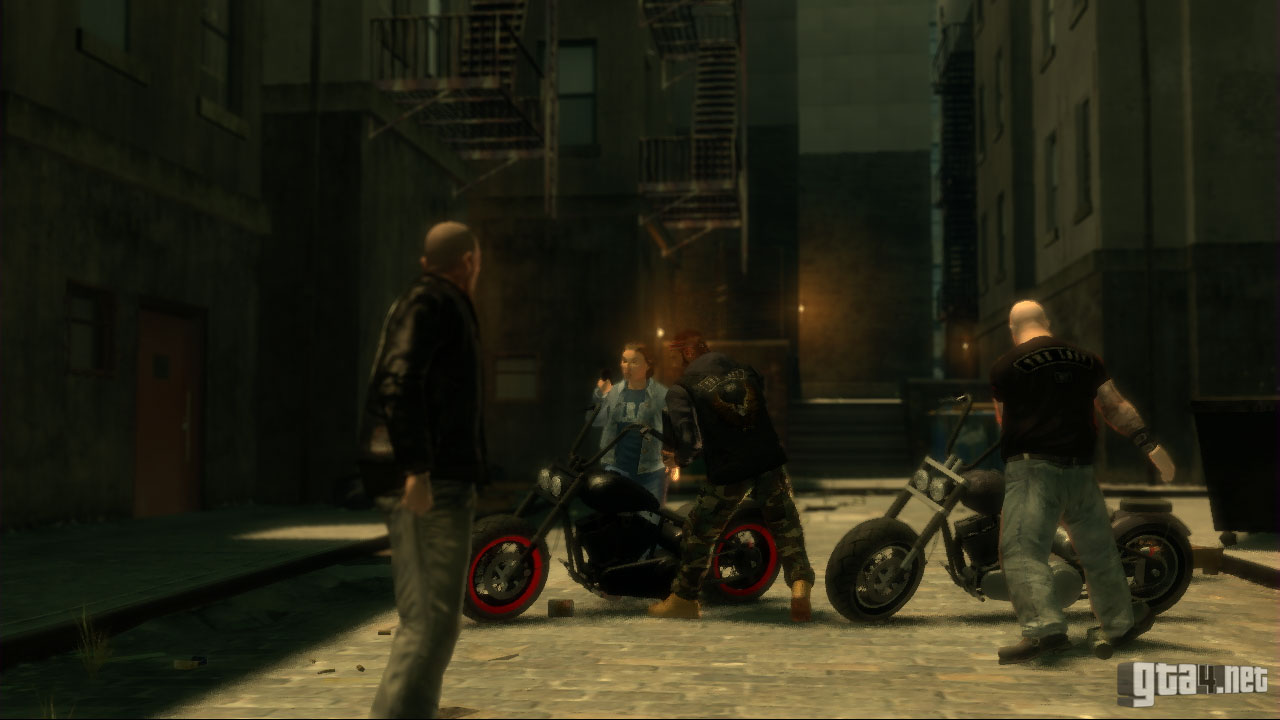
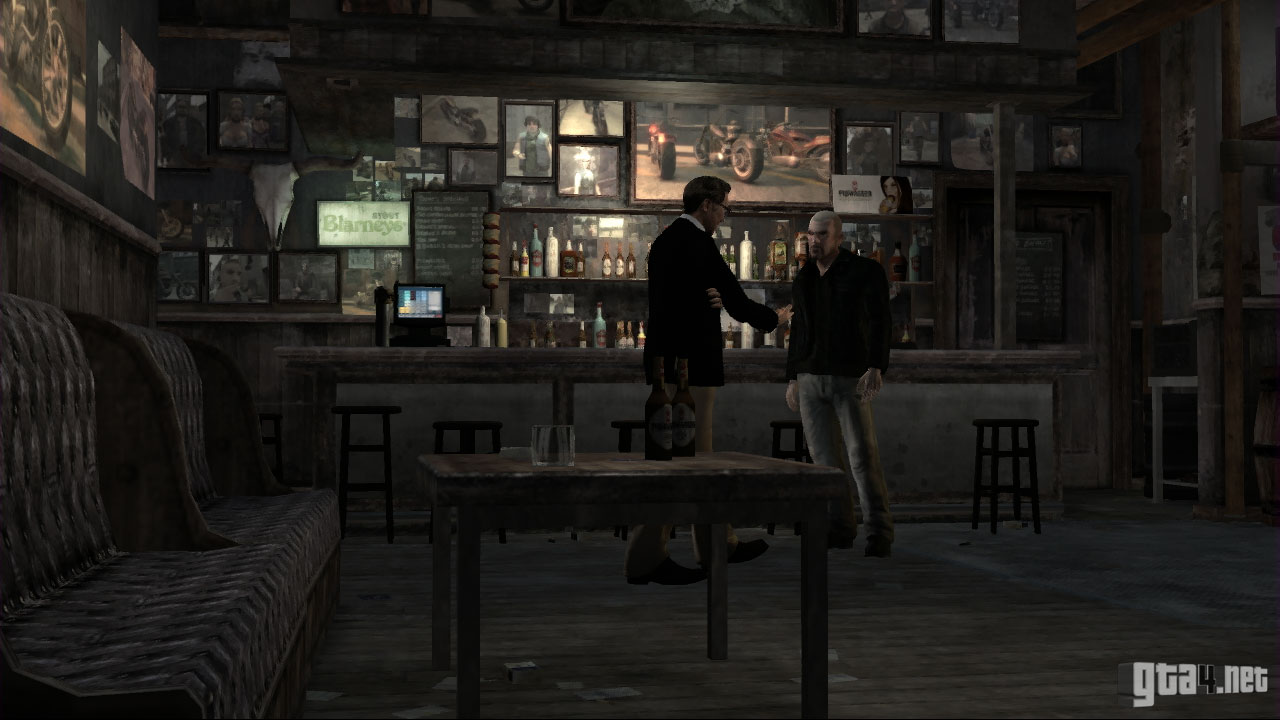
The initial cutscene provides some background to the story. Billy Grey - president of the The Lost motorcycle gang - has just completed rehab, and has now been sentenced to a period of probation. Billy is greeted at the hospital by his fellow Lost members - Jimmy, Brian, Terry, Jason, Clay, and Johnny (you). After the cutscene, lead the gang back to the clubhouse, and stay close to them if you want to hear dialogue.
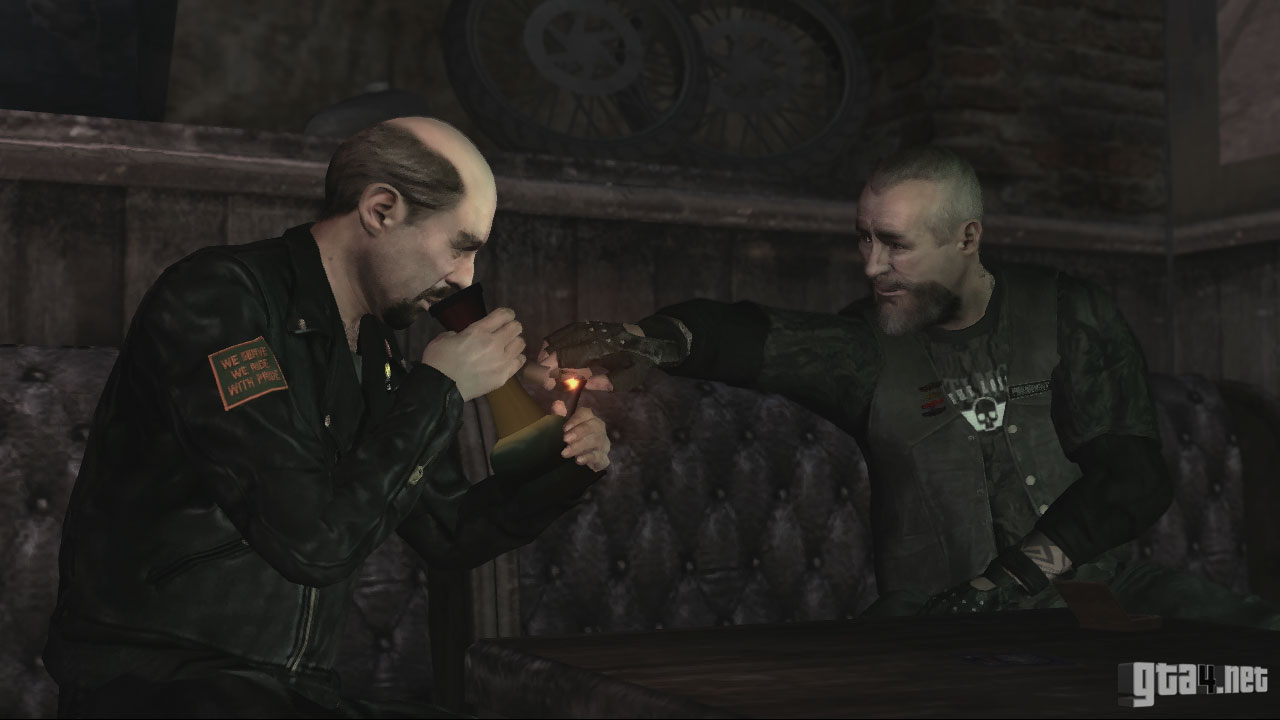
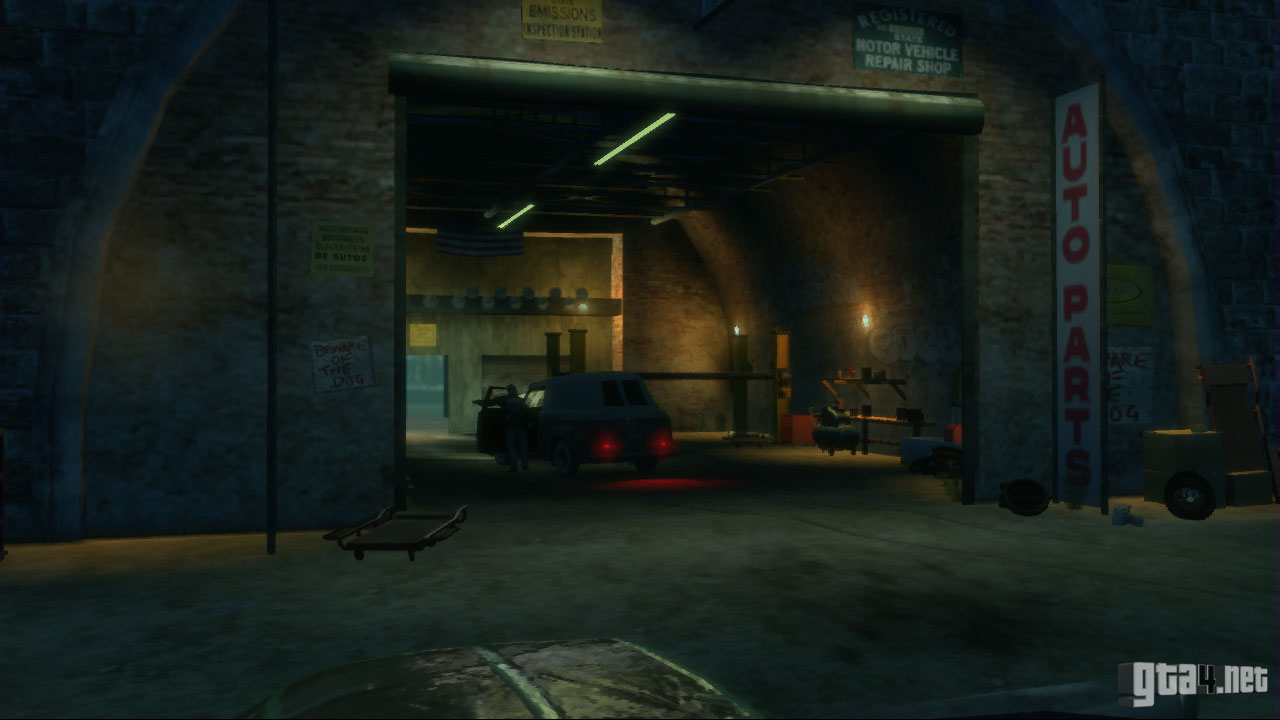
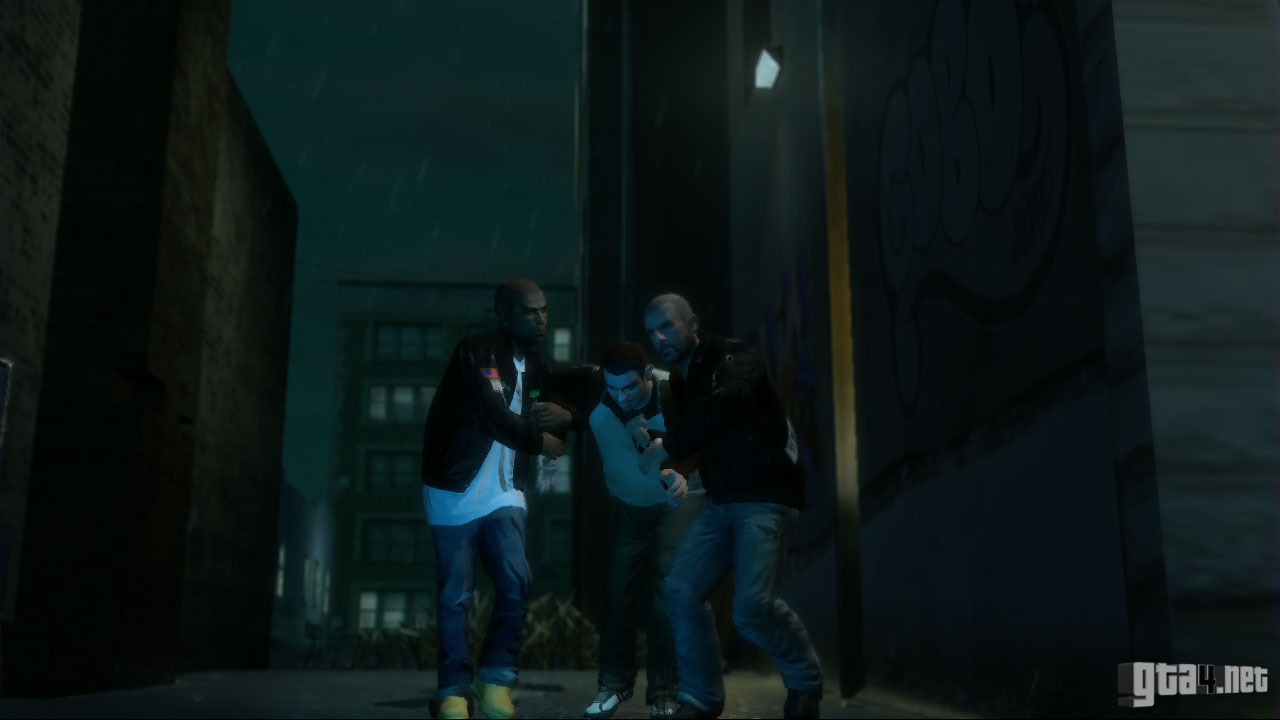
When you stop in the yellow marker at the clubhouse, a second cutscene begins. The gang share a drink and immediately get down to business - Billy wants his bike back! He is upset that Johnny hasn't already got it for him, because Johnny felt that more urgent matters required his attention. After the cutscene, ride to the chop shop in Bohan and retrieve Billy's bike. When you get there, the mechanic is reluctant to give details of its whereabouts, but after The Lost roughen him up he reveals that the Angels of Death took it to their place in Northwood.

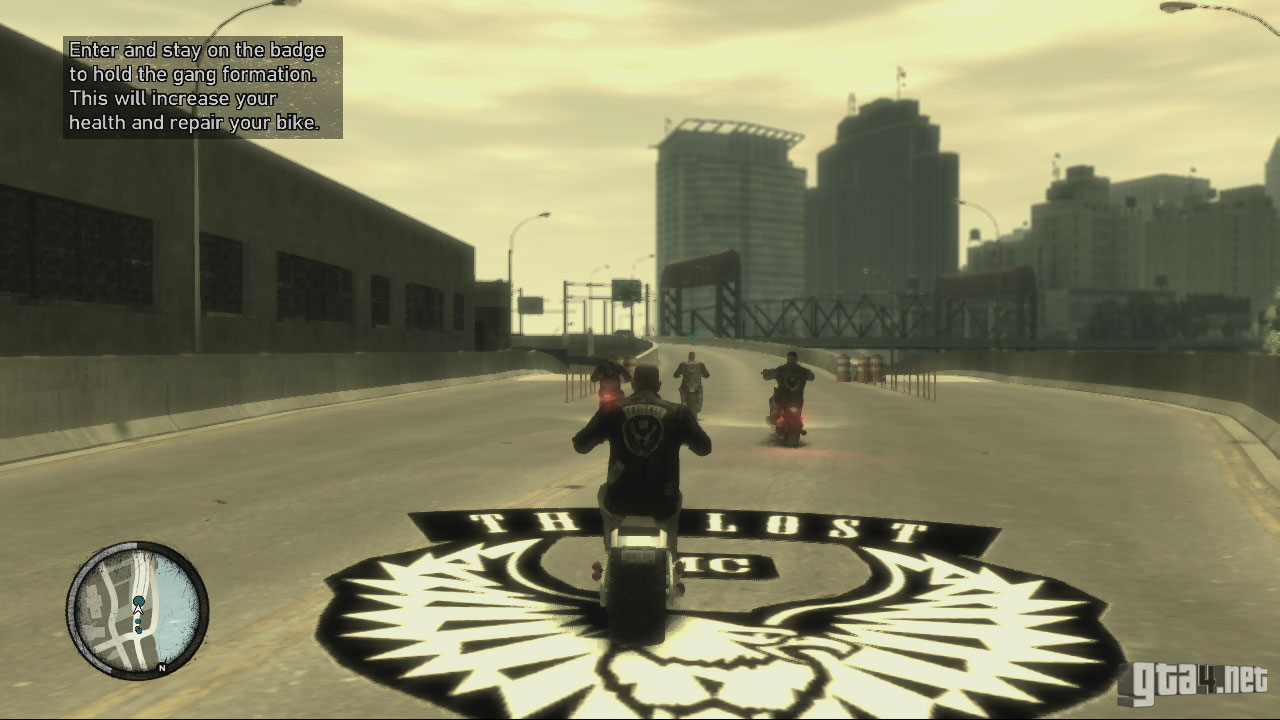
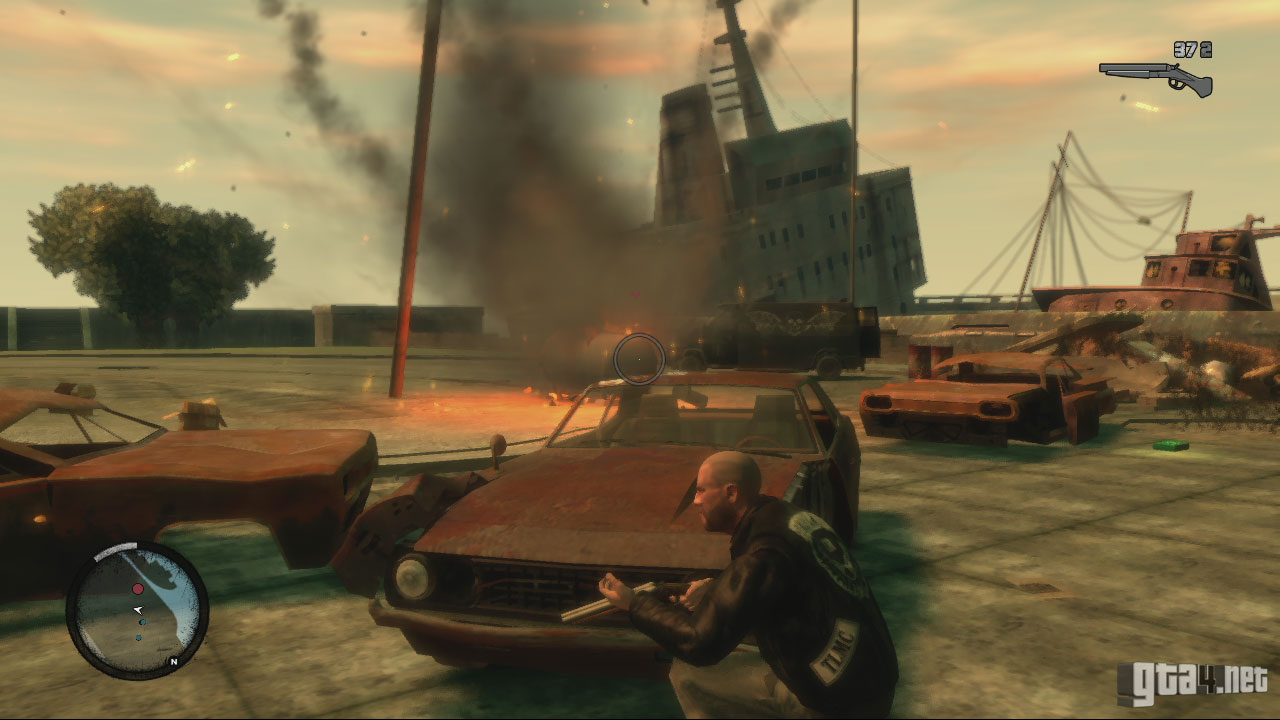
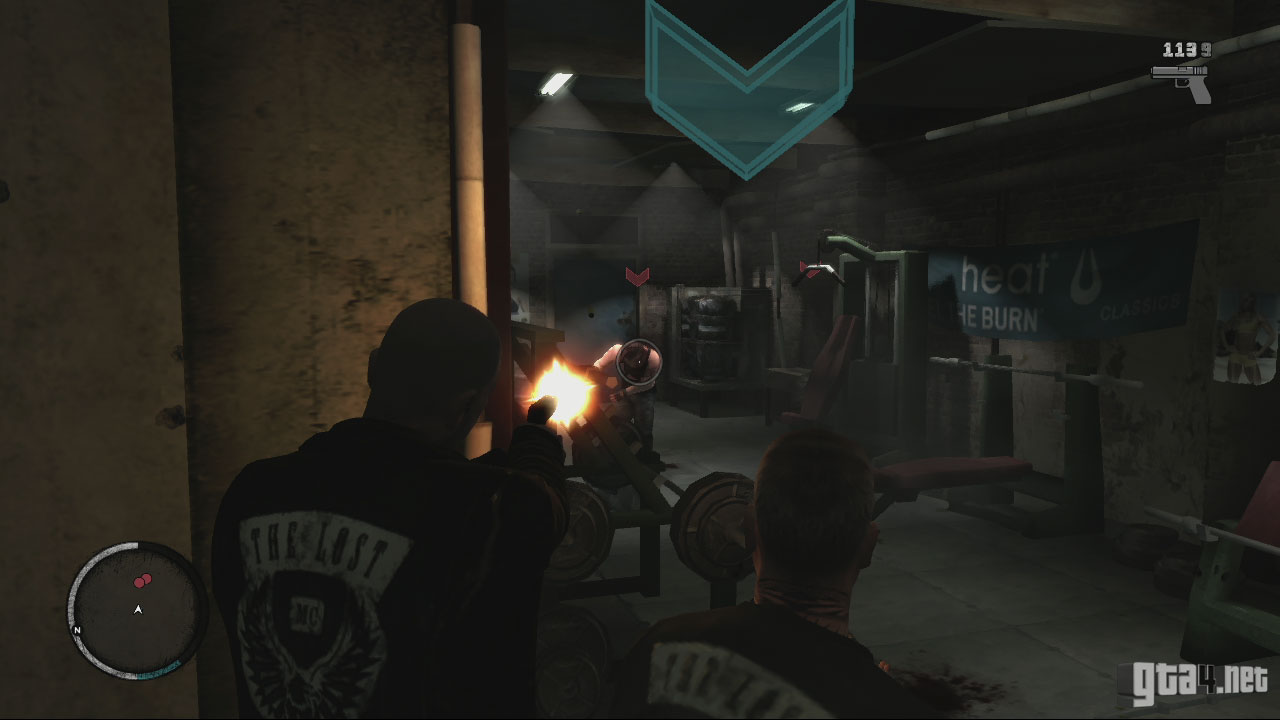
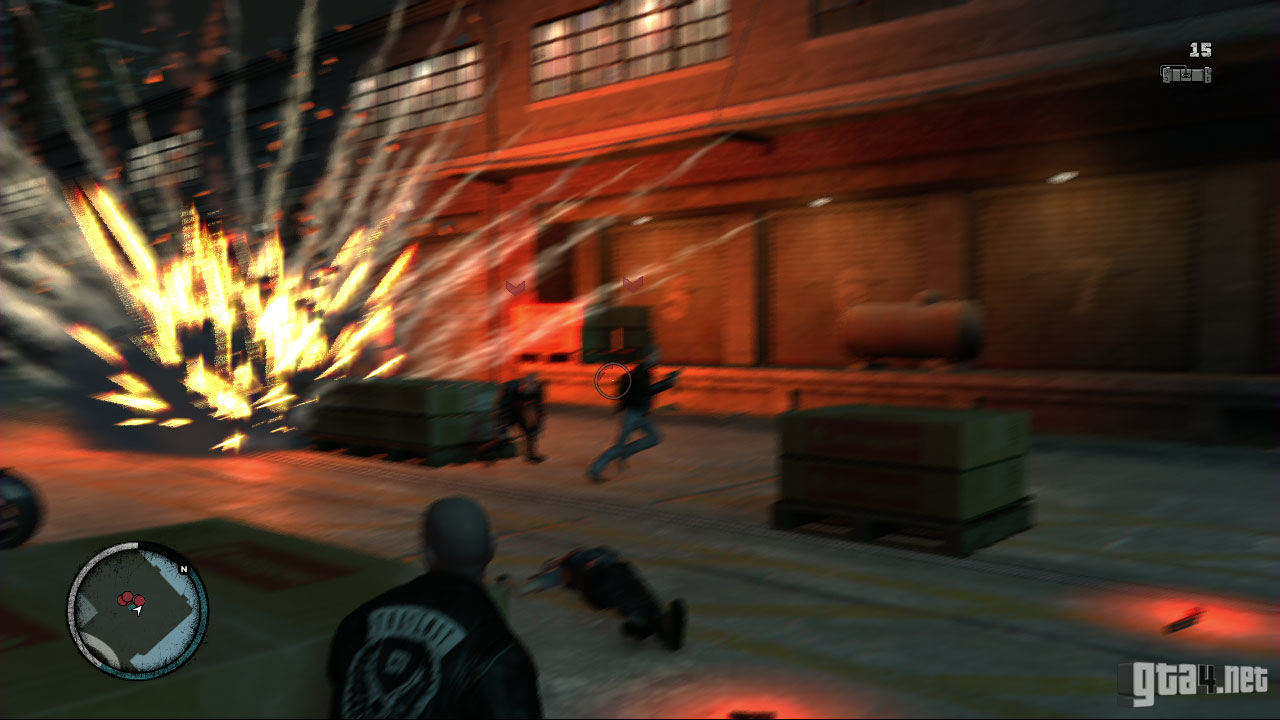
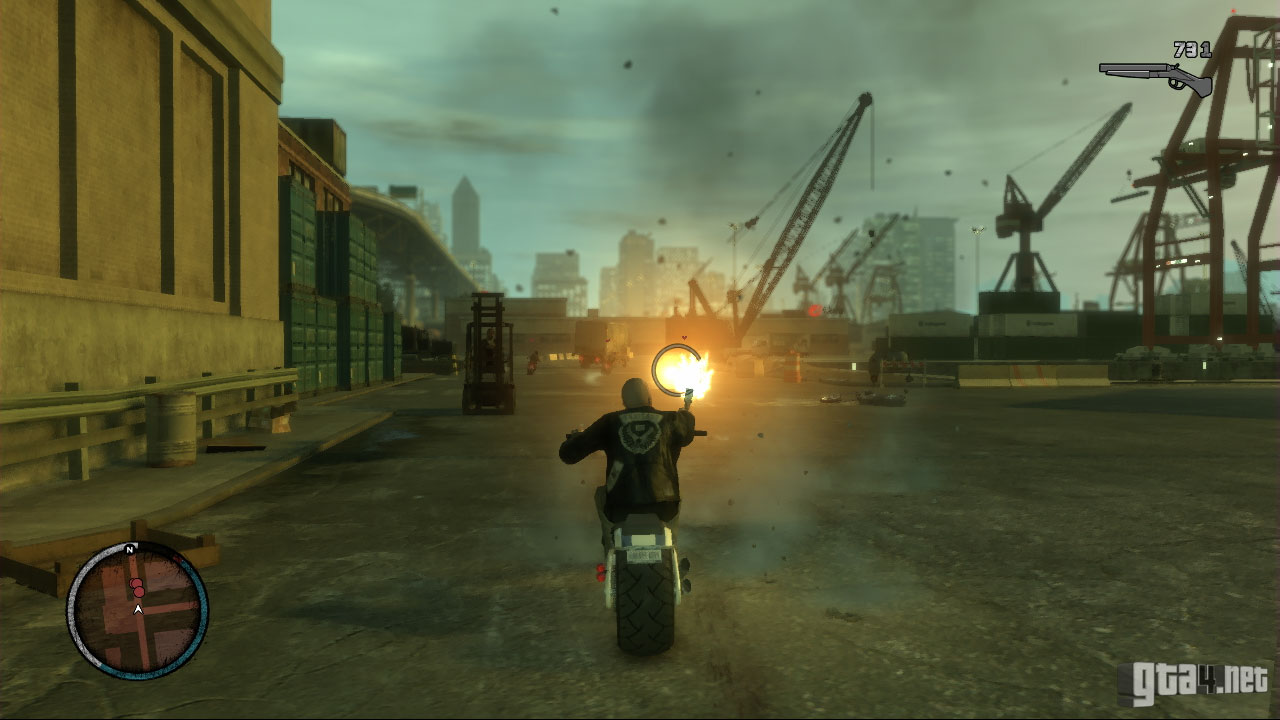
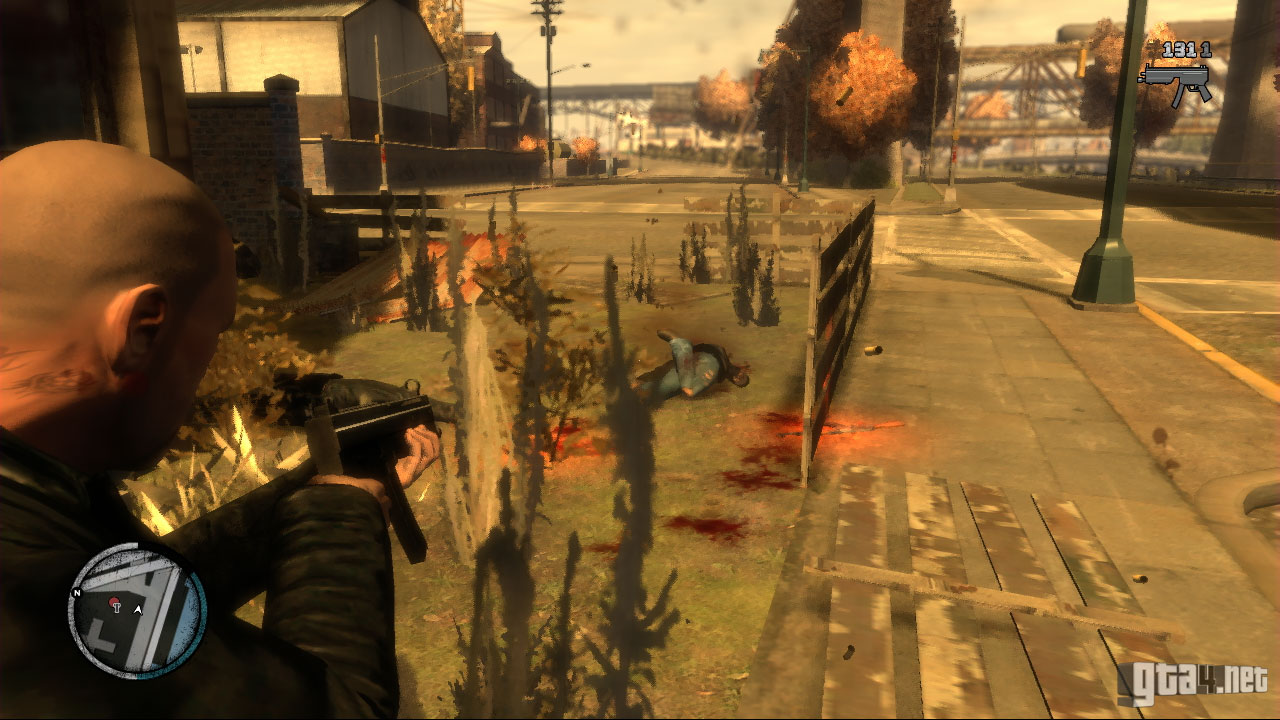
When you reach the AOD hangout, find some cover and begin to eliminate the attackers. There's about eight or nine in total, and most of them are concentrated next to the building. Shoot the explosive barrels and use them to your advantage, and whatever you do don't use them as cover! Once all the attackers have been eliminated, get on your bike (represented by a large green circle on the radar) and follow Billy back to the clubhouse. Occasionally, a Lost Motorcycle Club Badge will appear on the road, and if you stay on it for a few seconds you will receive health boosts and have your bike repaired. The final cutscene provides a mini-tour of the Lost clubhouse, and shows you how to save your game.

Angels in America
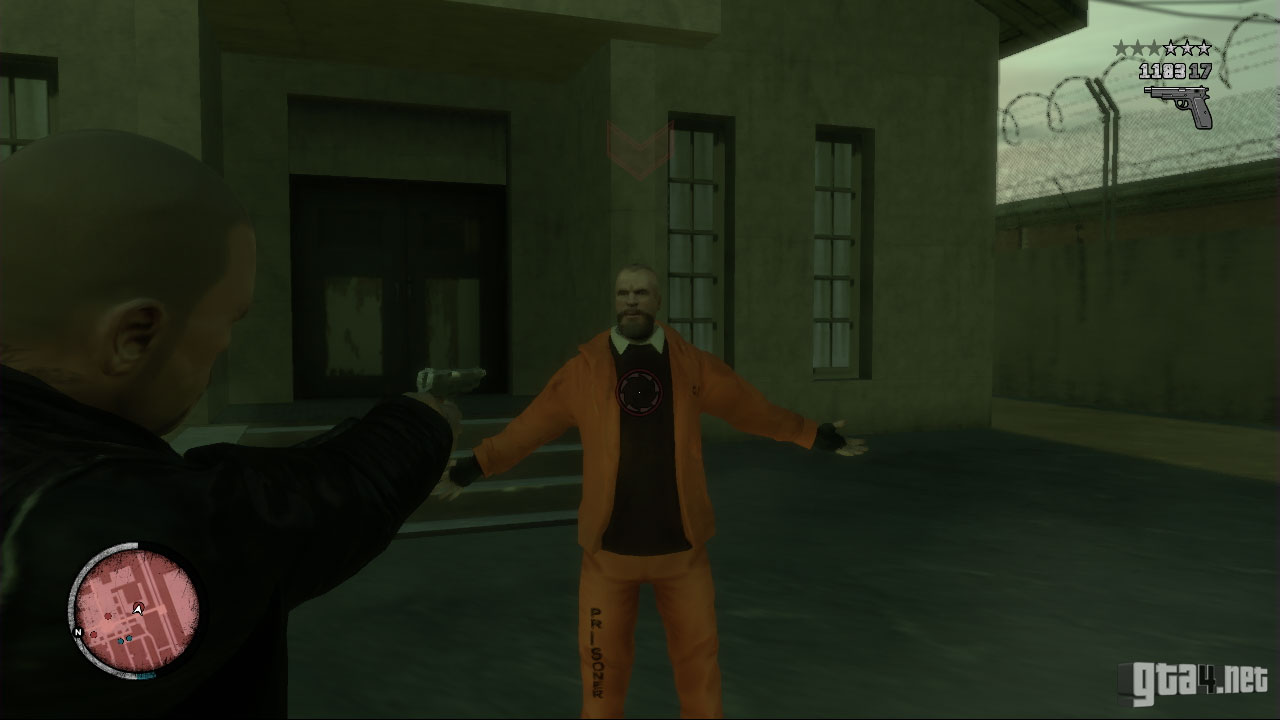
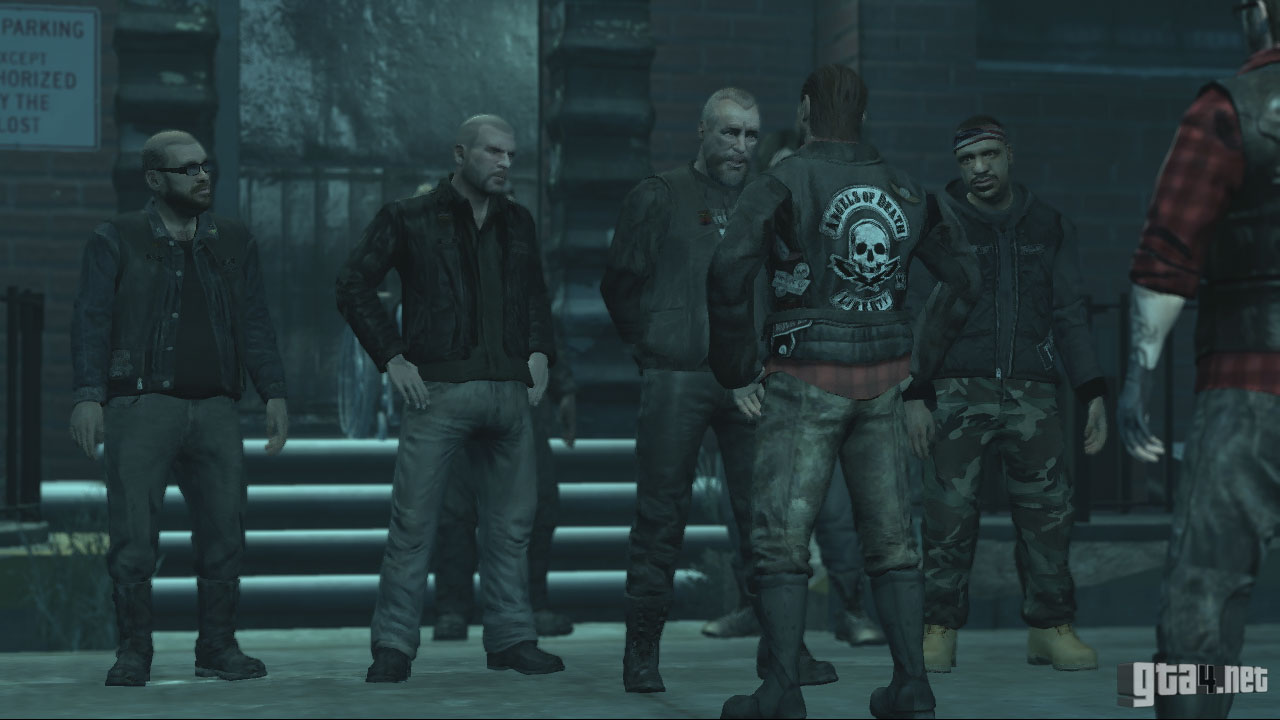
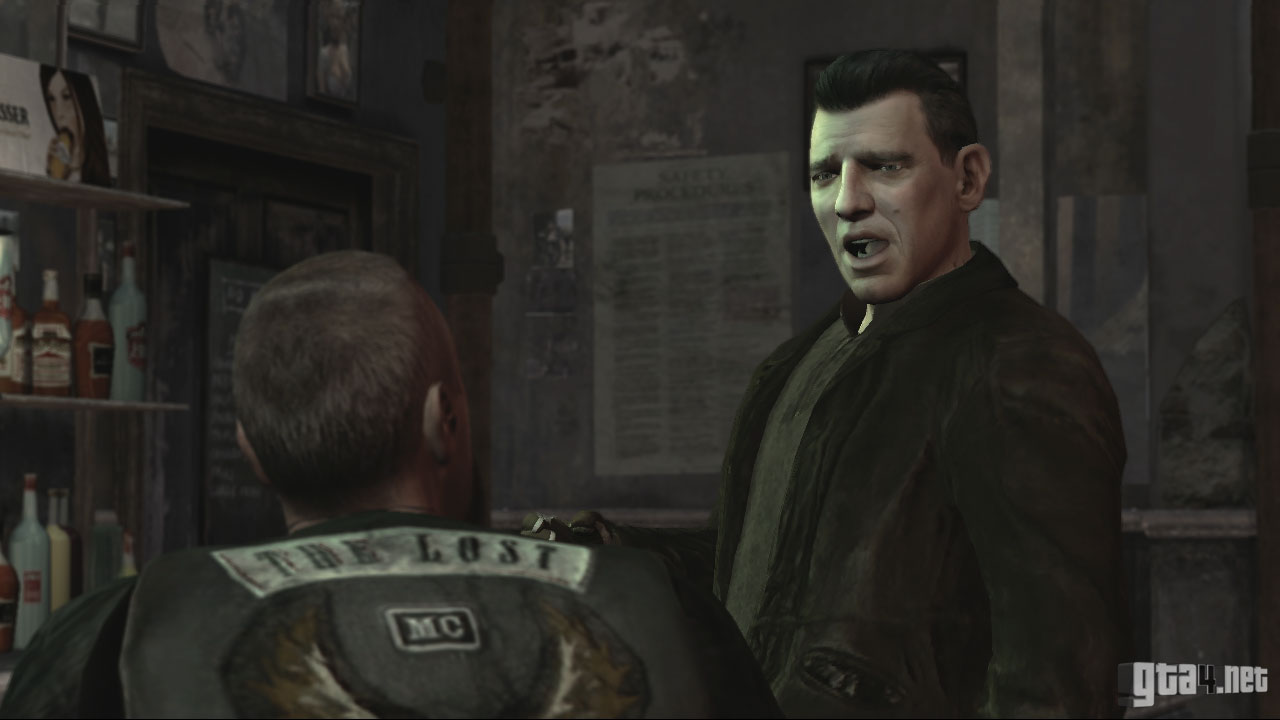
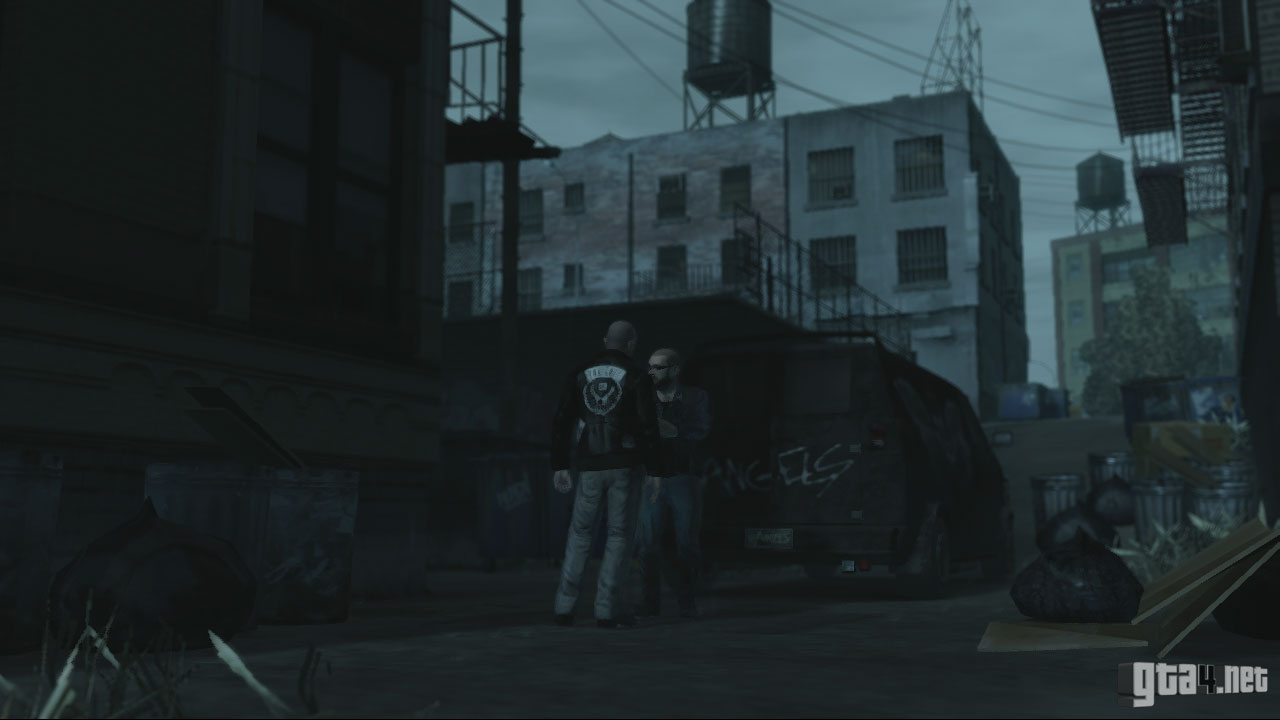
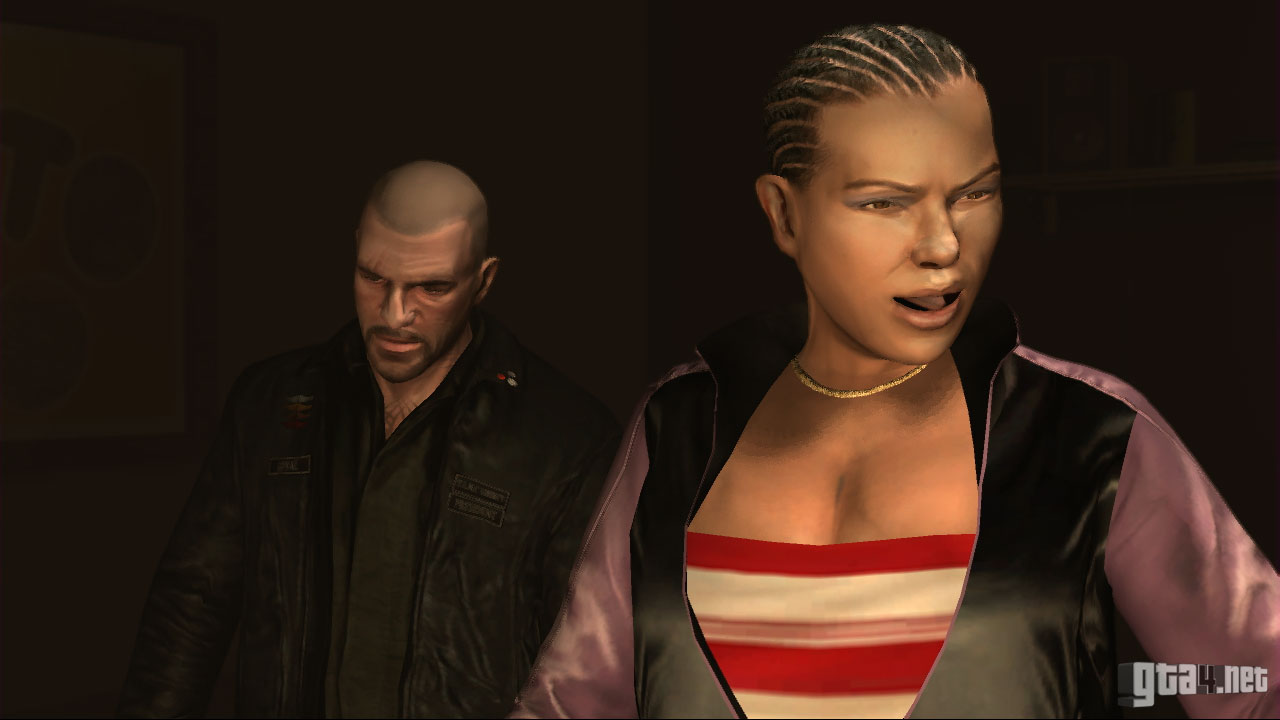
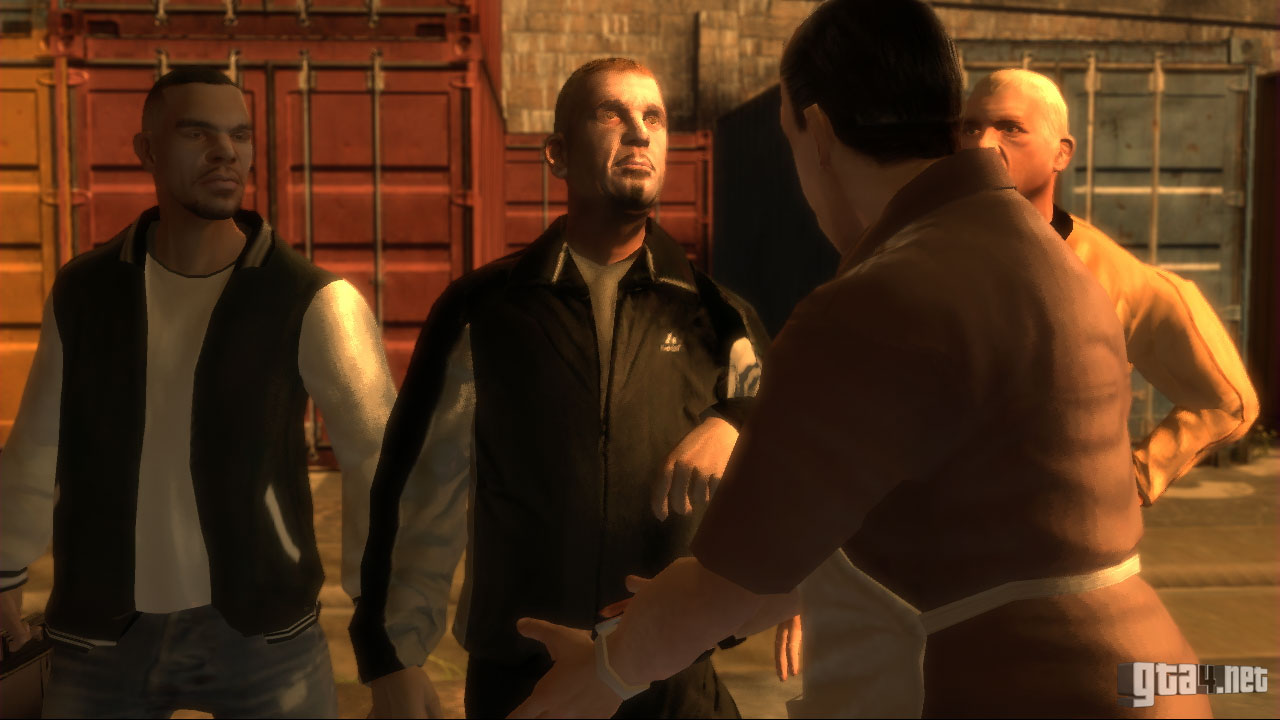
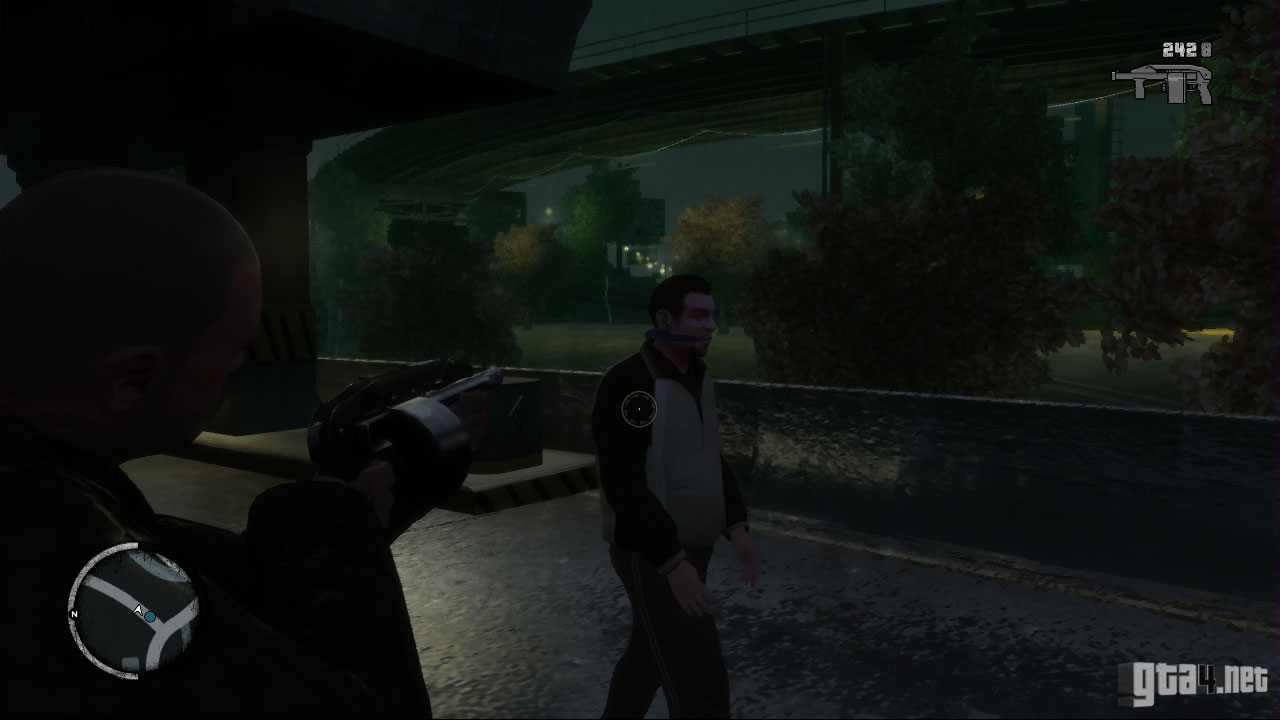
The cutscene shows Billy and the gang at the clubhouse, still celebrating his release from rehab. Billy isn't impressed with Johnny's attitude, and the two have a go at each other, but Jason interupts before it can get serious. Jason reveals that the Angels of Death are waiting outside, and apparently they're unhappy that Billy broke the truce. The leader demands an explanation, but Billy has no regrets and shoots him in the back.
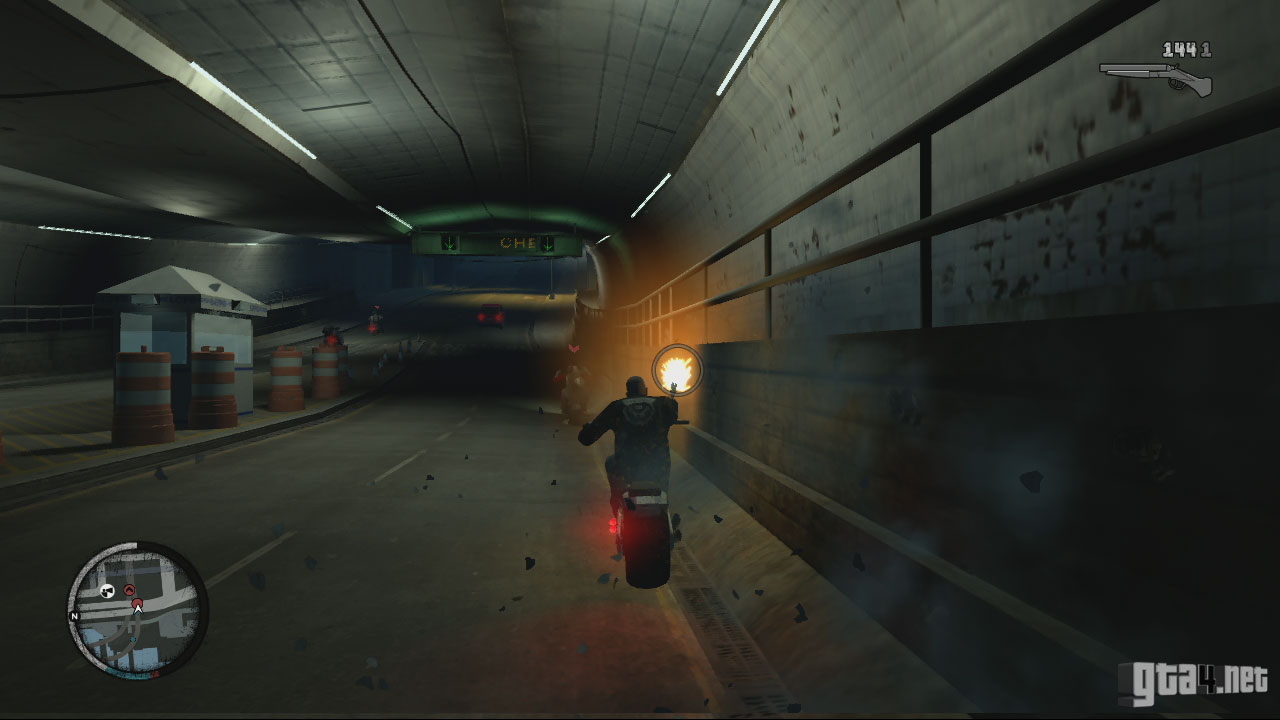
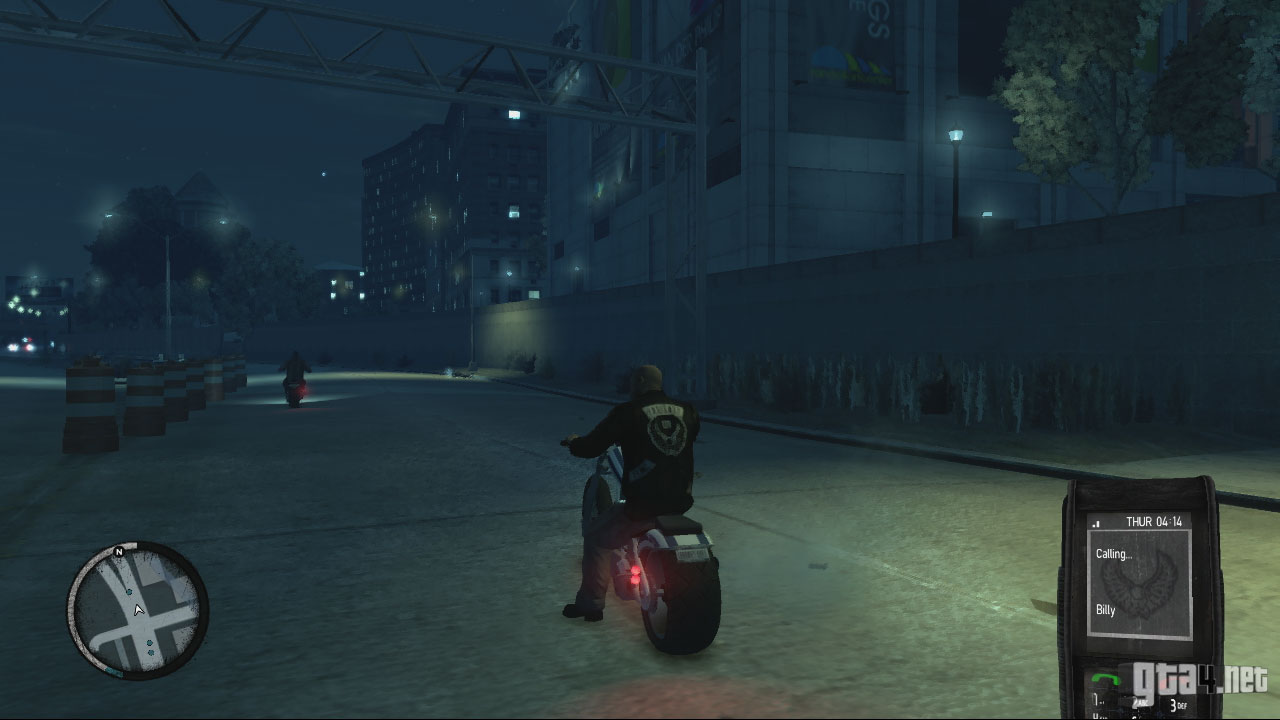
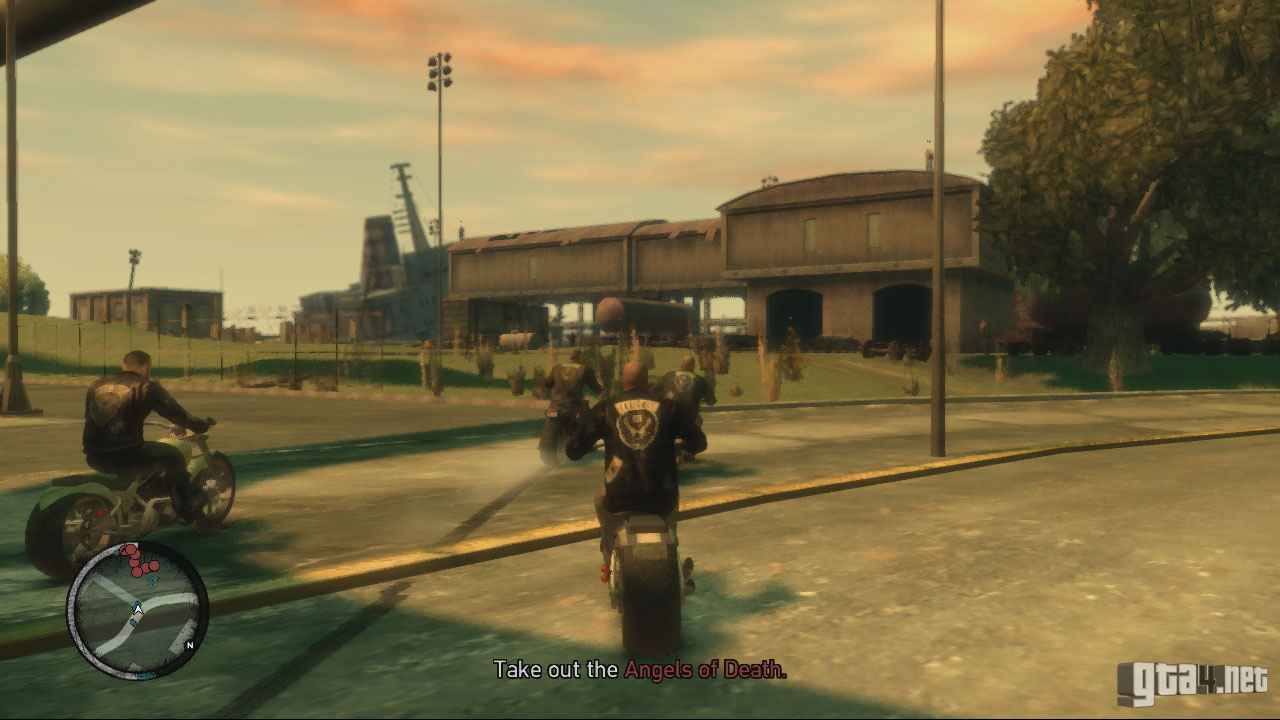
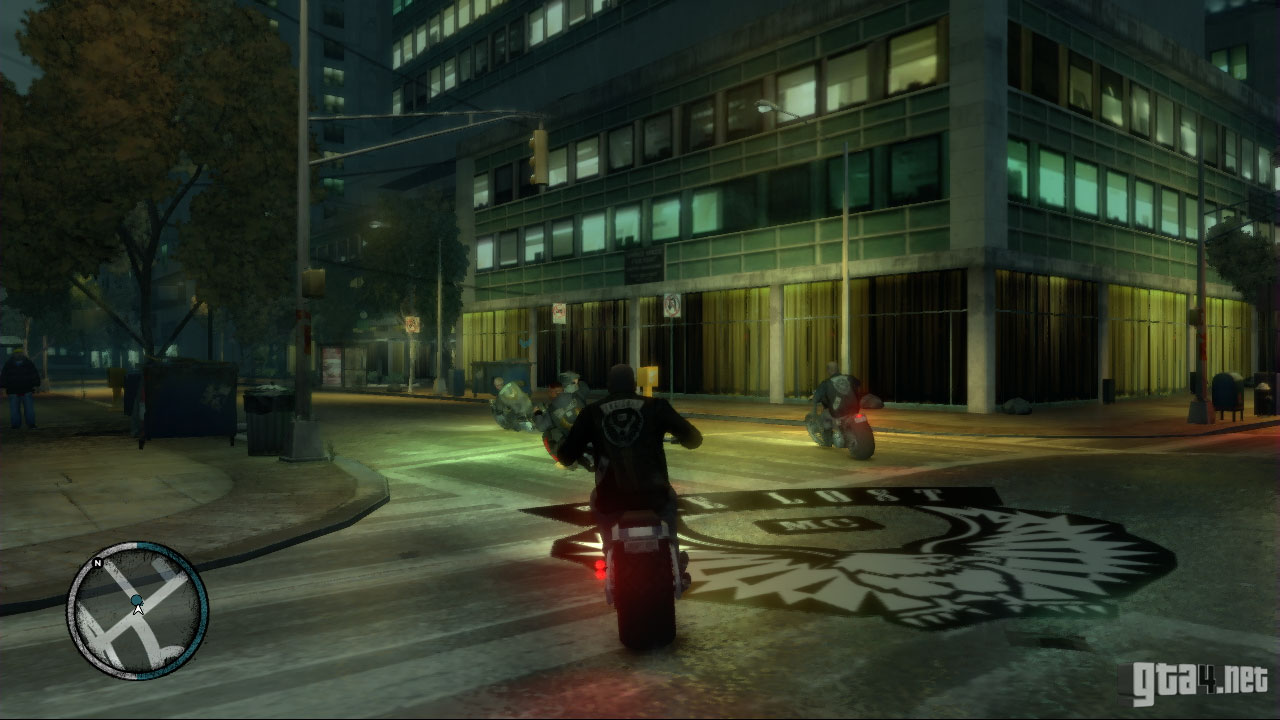
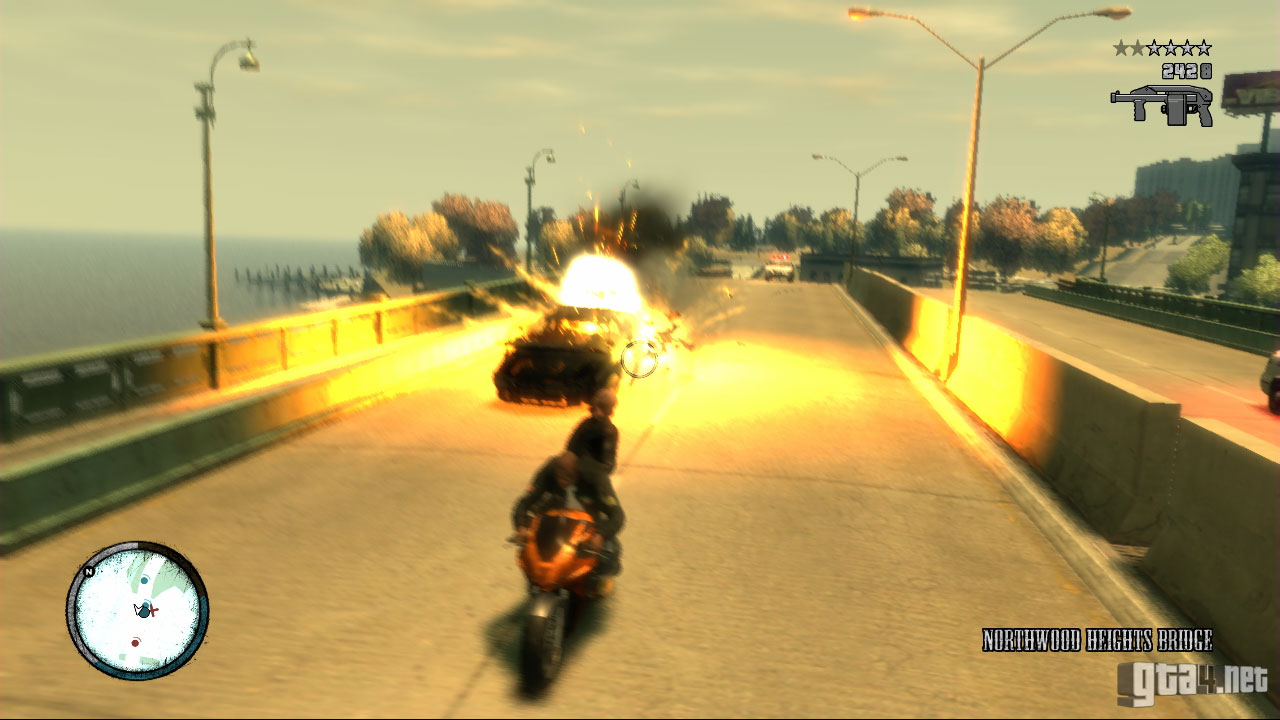
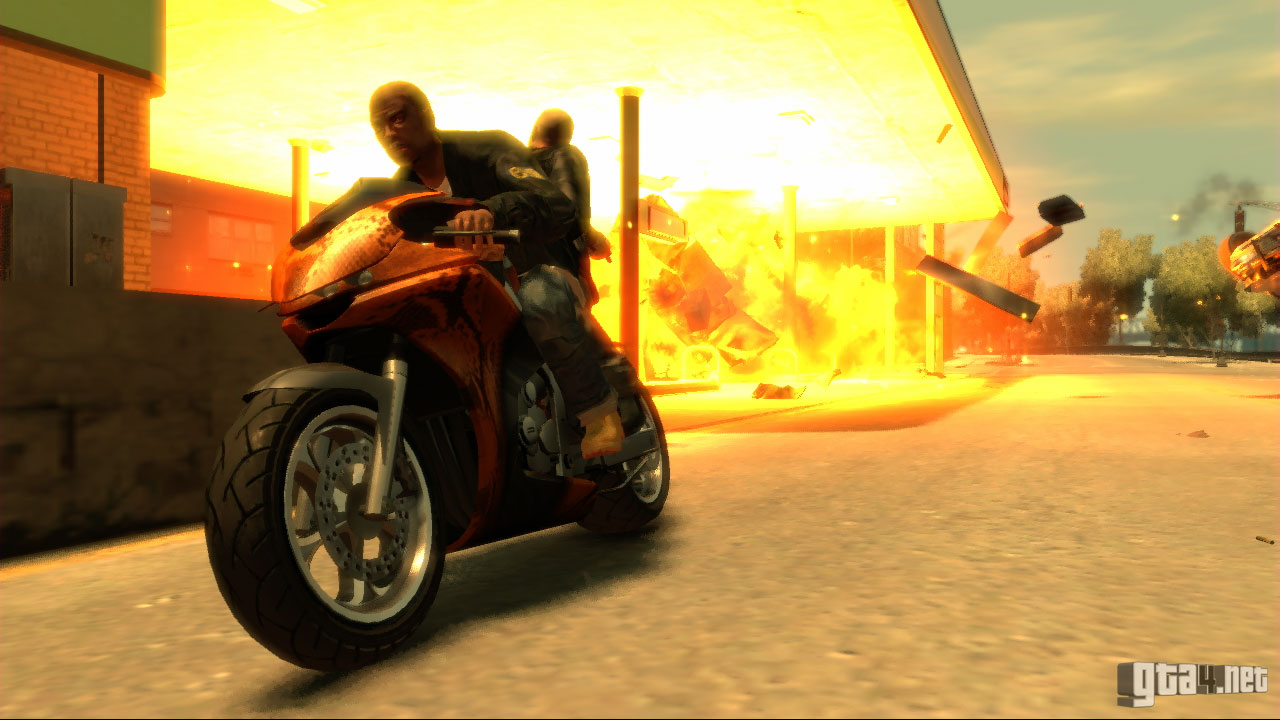
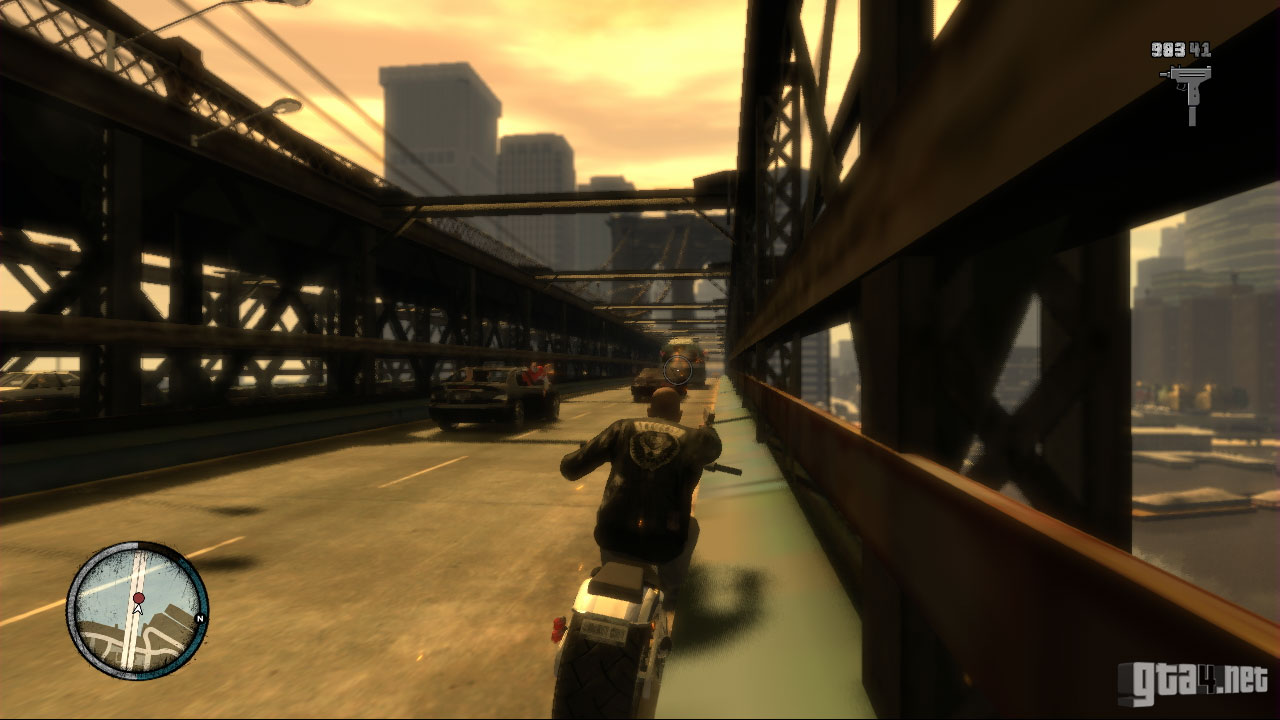
After the cutscene, get on your bike and begin chasing the Angels of Death. They have six bikes carrying two people each, and they're heading to their hideout to inform the others that a war is on. Get close to them, and use the sawn-off shotgun to shoot them off the bikes before they can reach their destination. Watch out for oncoming traffic (particularly as you approach the tunnel) and watch out for bikes skidding across the road in front of you. Once the bikers are dead, Johnny automatically calls Billy, and Billy asks him to meet him in Algonquin. Billy is in Grand Boulevard with Jason, and his position is highlighted on the radar by a yellow blip. Stop in the yellow marker to trigger a cutscene.

During the final cutscene, Billy invites Jason back to the clubhouse for a drink, but Jason reveals he is meeting a girl in Broker to "drink her daddy's expensive vodka and f*** her under the pier." This should sound familiar if you played Niko's story - check out the mission "No Love Lost" for a reminder.
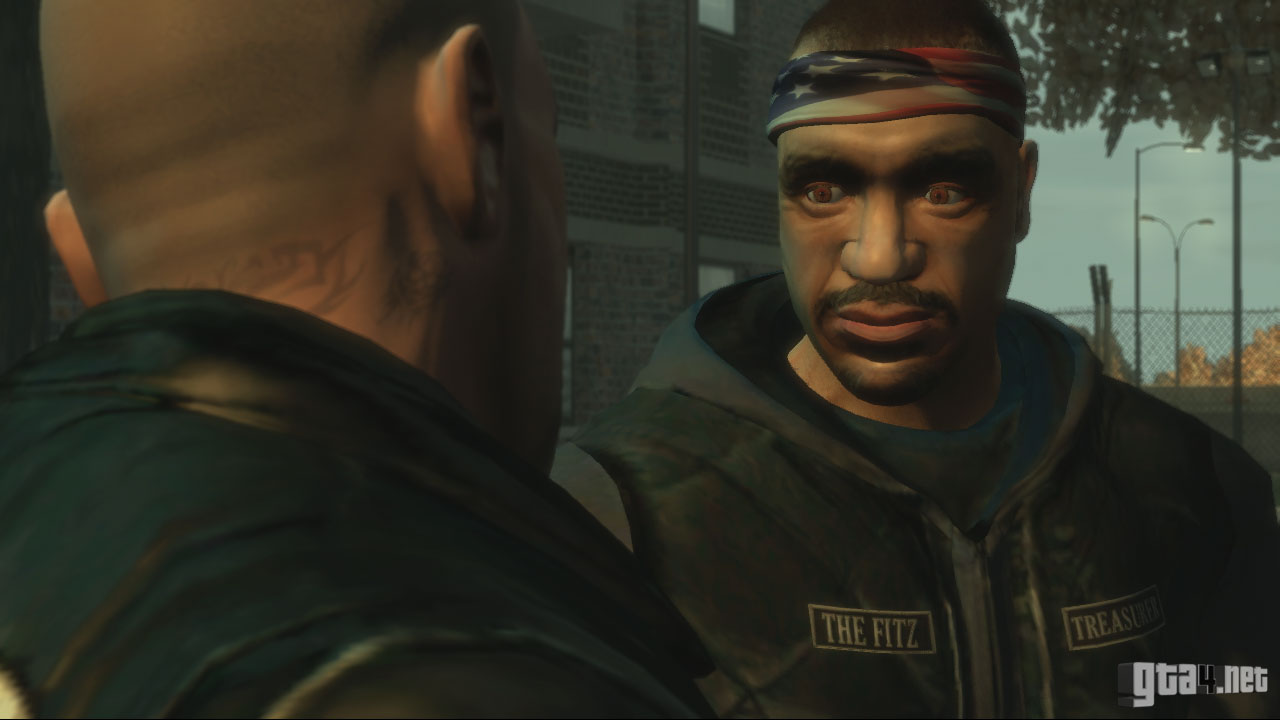
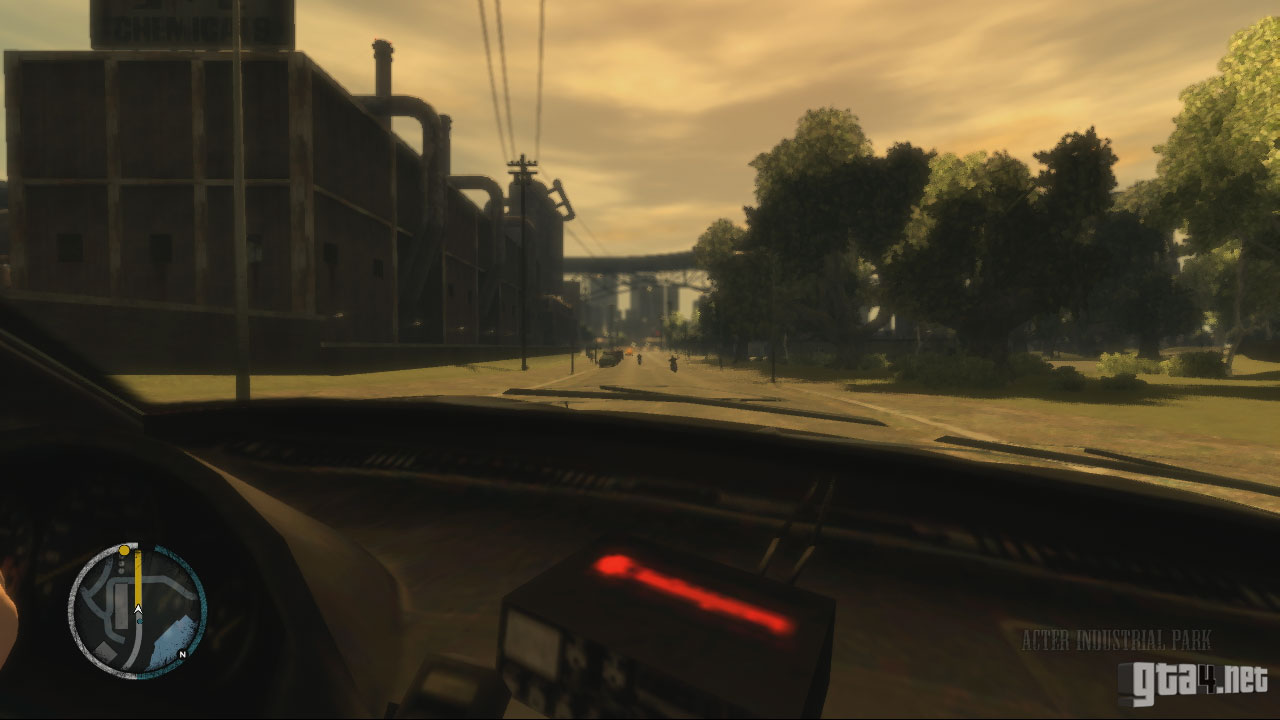
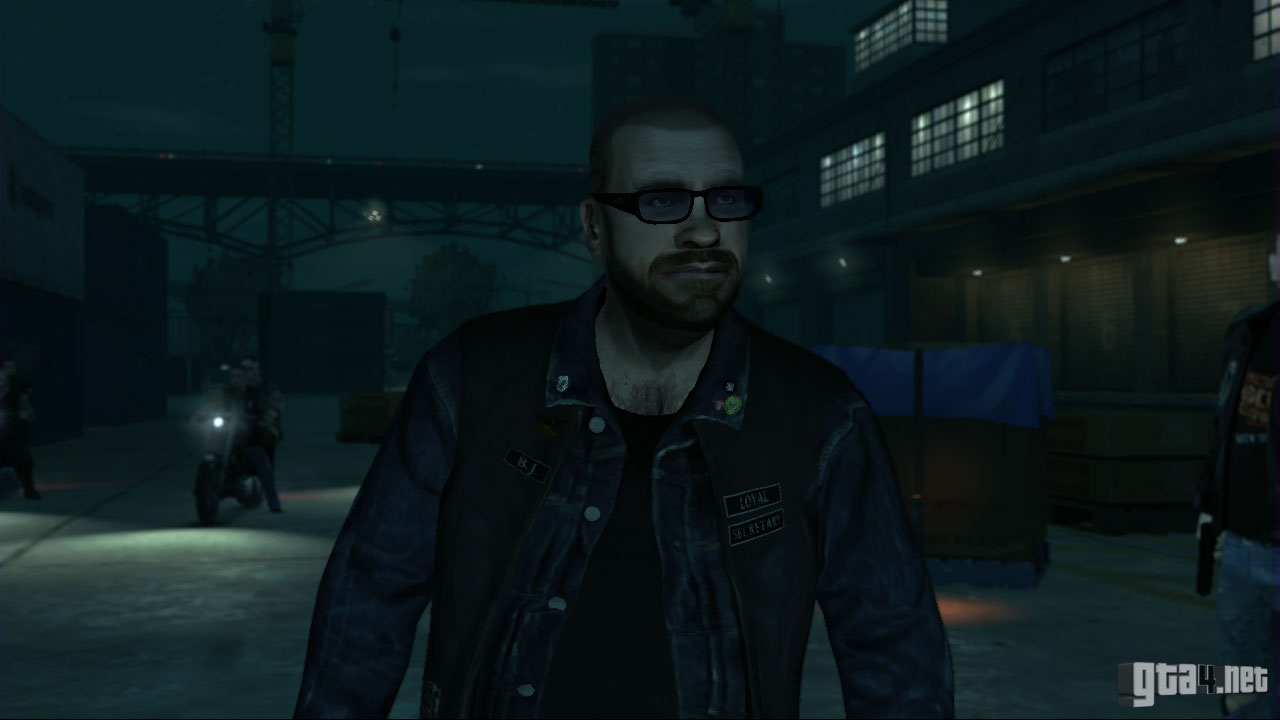
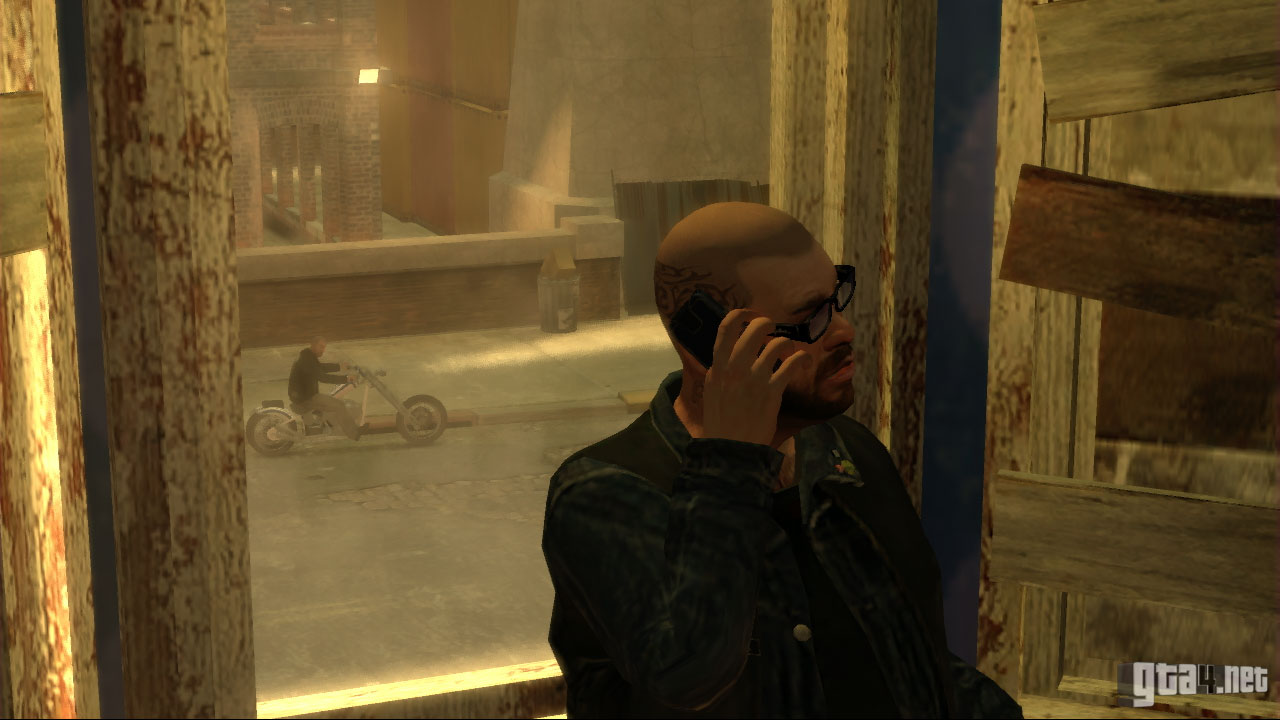
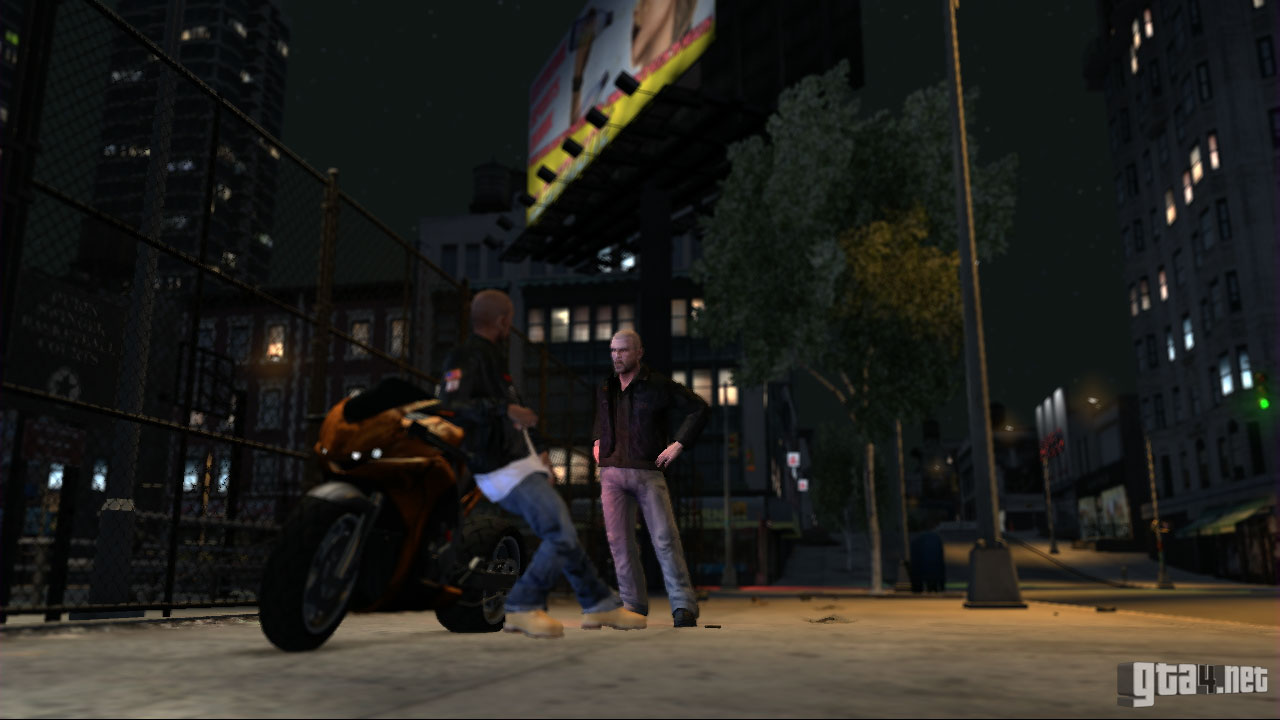
![]() Jim asks Johnny to meet him in Acter. Jim's missions are now available.
Jim asks Johnny to meet him in Acter. Jim's missions are now available.
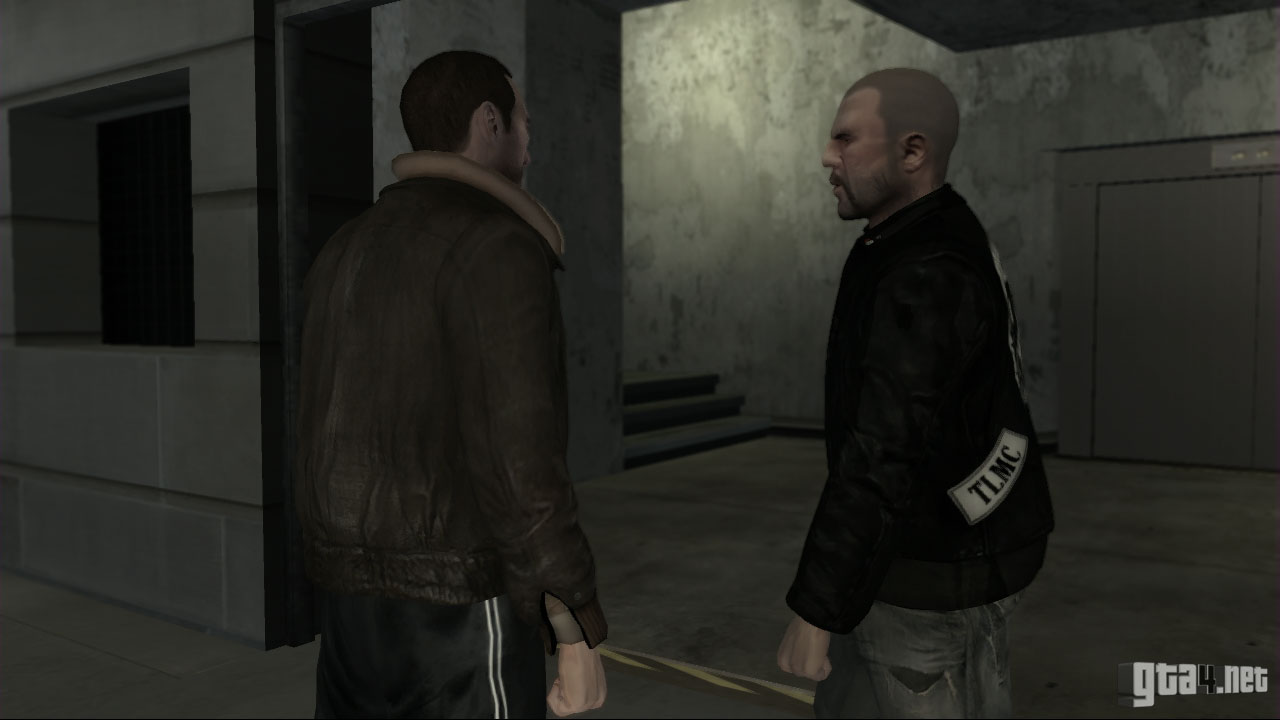
Billy is at the clubhouse talking to someone called Dave, who is supposedly a lawyer by day and a biker by night. Johnny isn't happy with Dave's inclusion into the gang. Infact, he's unhappy overall with the way Billy has been operating the gang since he got out from rehab, and there's clearly a growing tension between the two. Billy gets a text message with some urgent news, and it's down to business once again. After the cutscene, ride in formation with the rest of the crew to Acter Industrial Park, where the Angels of Death are waiting for you.
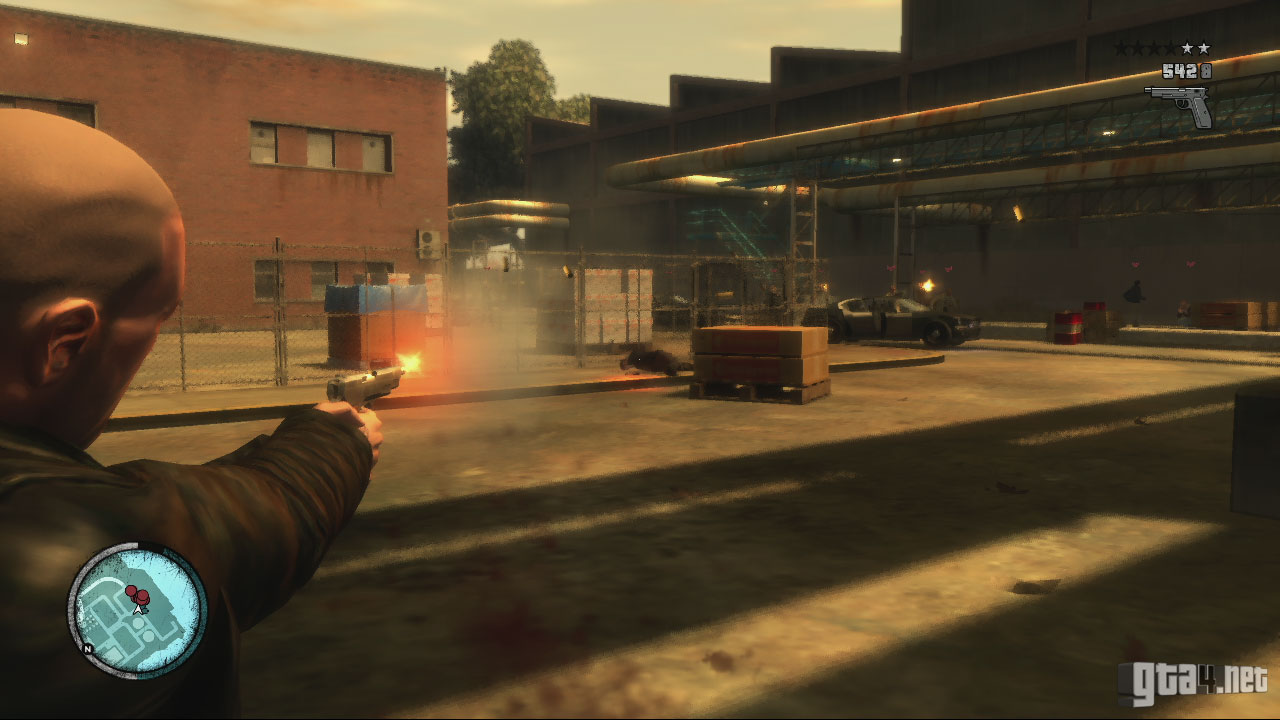
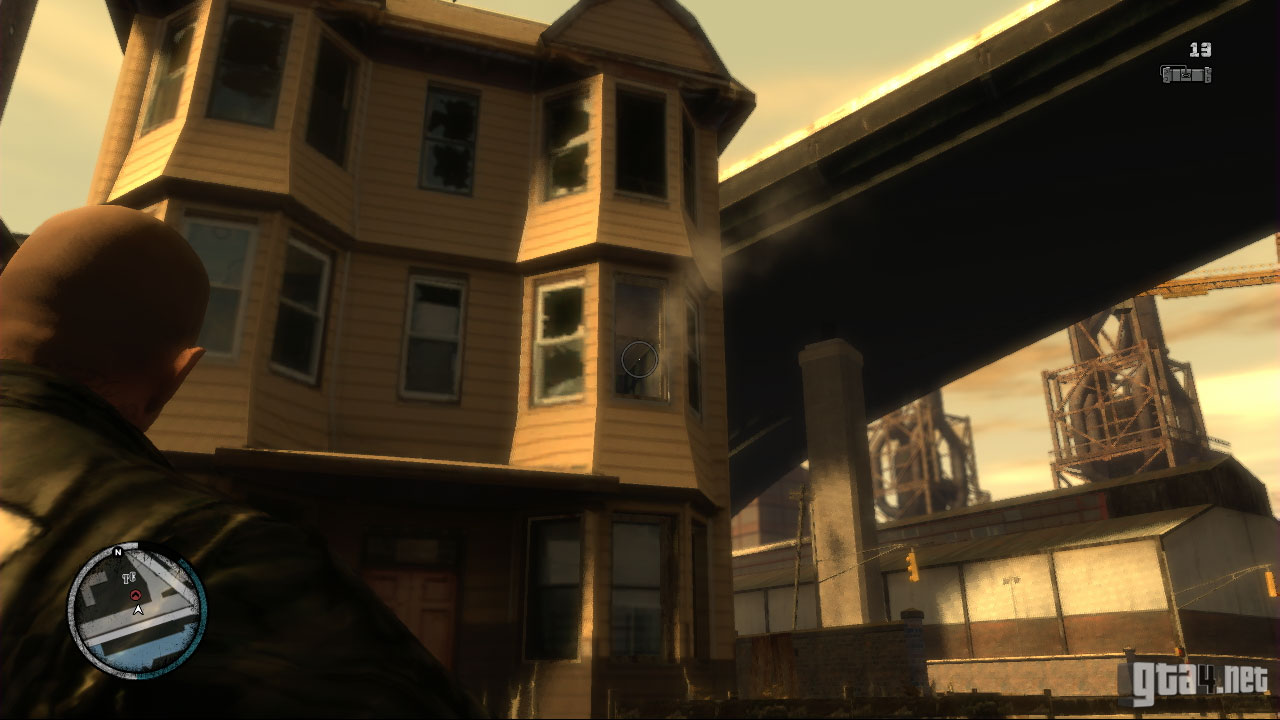
When you reach the shootout area, find cover and begin by taking out the shootist on the roof up ahead. Make your way south through the park, taking cover at all times and eliminating anyone in your way. Be careful what you use as cover, as some of the objects in the area are explosive. Reinforcements soon arrive - three bikes, then a van, followed by some more bikes. Watch out for a second shootist on the roof above you. Once the Angels of Death are no more, get on your bike and follow Billy to the next shootout area - and remember, riding in formation gives you a health boost.
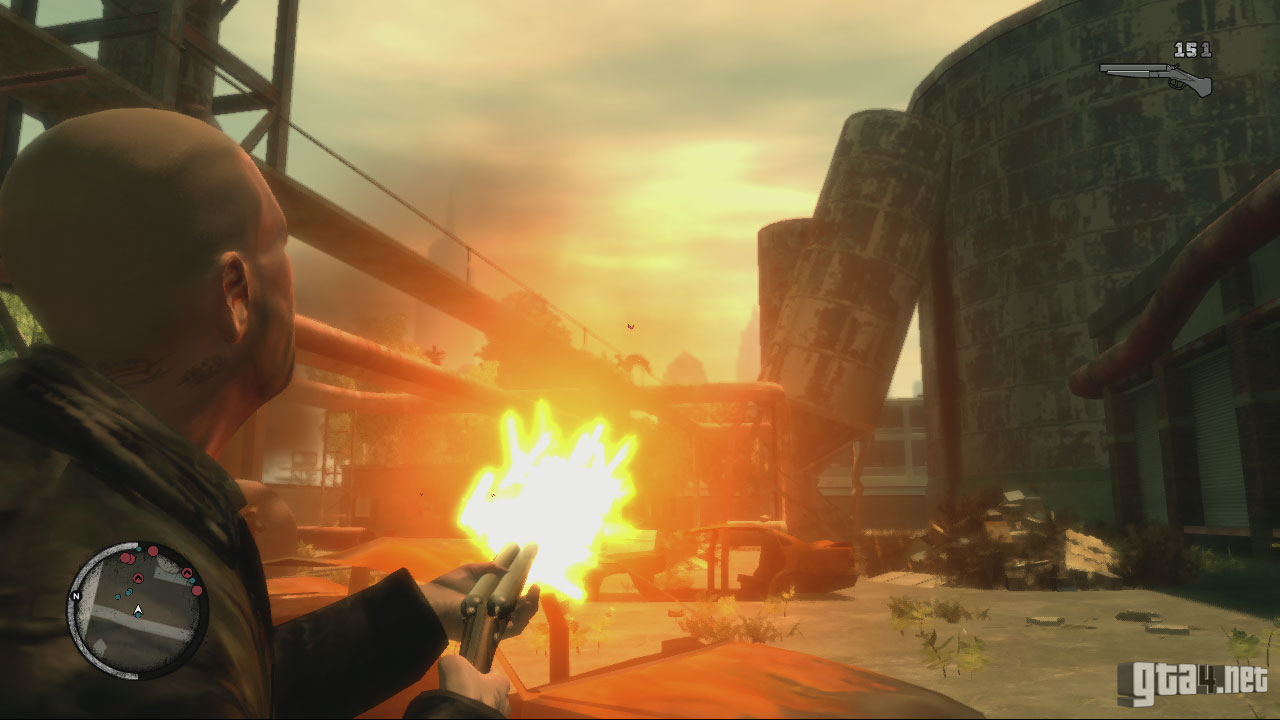
This time there are even more Angels of Death waiting for you. Start by eliminating the enemies above you (on the pipes) and then take out the ones on the ground. Bullets come in from all angles, so it's important to find cover and use the explosive barrels to your advantage. Proceed around to the back of the park, where more reinforcements arrive. Finish off any remaining attackers, and then get back to your bike. Try to pick up some weapons along the way, to save you having to pay money for them later on. There's also a health pack or two scattered throughout the area, should you need one.

Once you reach your bike, a cutscene begins and Billy announces that Jason has been killed by some Polish/Rusian/Serb (hmm, I wonder who that could be?). The mission concludes with the crew paying their respects to Jason.
At the clubhouse, Billy is talking to Ray Boccino - a face you should be familiar with if you played through Niko's story. Billy has more business to deal with, so it's off we go again. After the cutscene, ride in formation with the crew until you reach the freeway, at which point you'll be promopted to race the others to the Angels of Death clubhouse, in Algonquin.

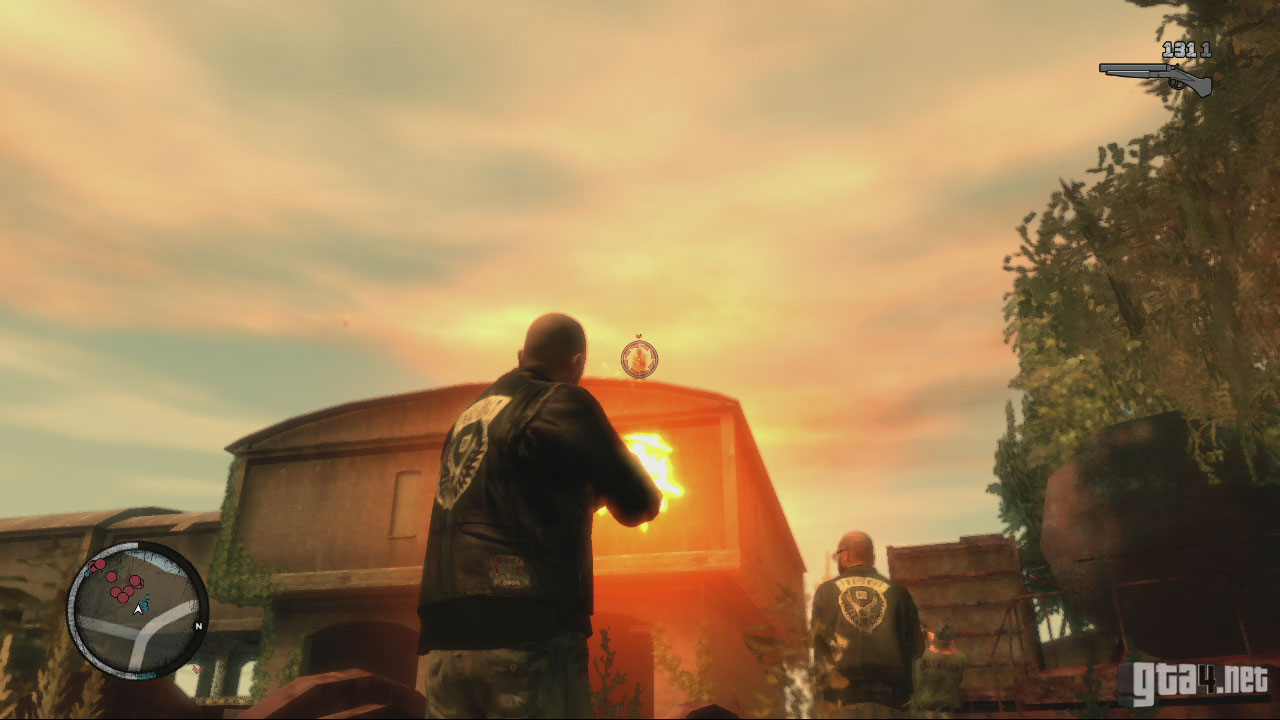
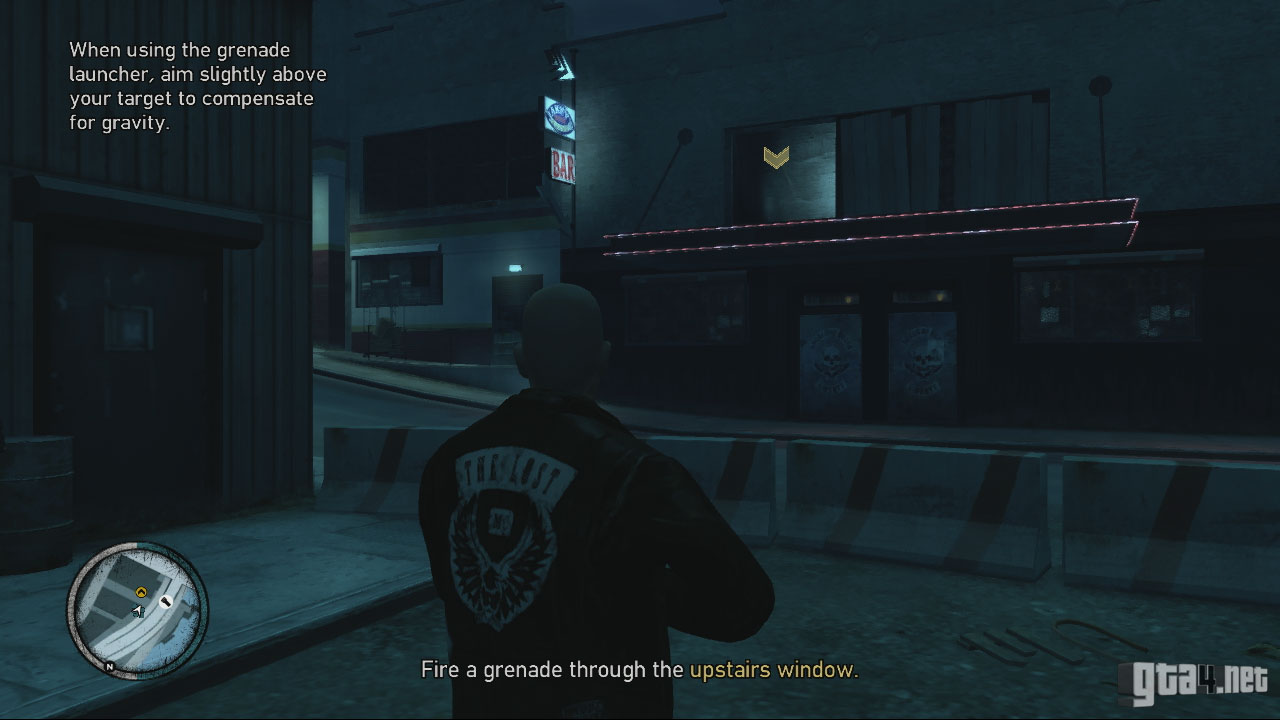
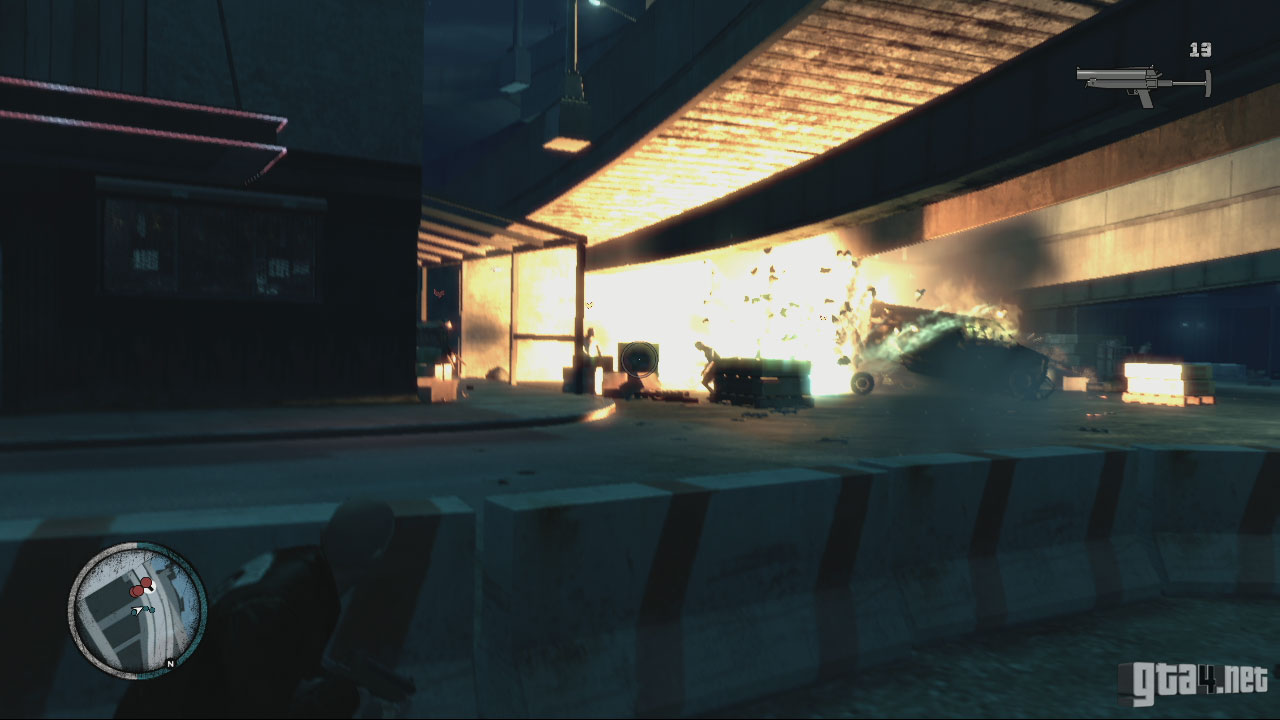
Once you reach the clubhouse, stop in the yellow marker and wait for the rest of the crew to catch up (if you won the race, that is). During the next cutscene, Billy gives a grenade launcher to Johnny and claims it was the Angels of Death who killed Jason, and not the Polish/Russian/Serb that they suspected earlier. Fire a grenade through the upstairs window of the clubhouse, aiming slightly above the yellow marker in order to compensate for gravity. The Angels of Death come out from the back of the clubhouse and attempt to defend their turf. Initially there are five of them, but more soon arrive, followed by more on bikes. Take cover and use the grenade launcher to take out multiple enemies at once, then use the shotgun or any other available weapon to pick off remaining targets.
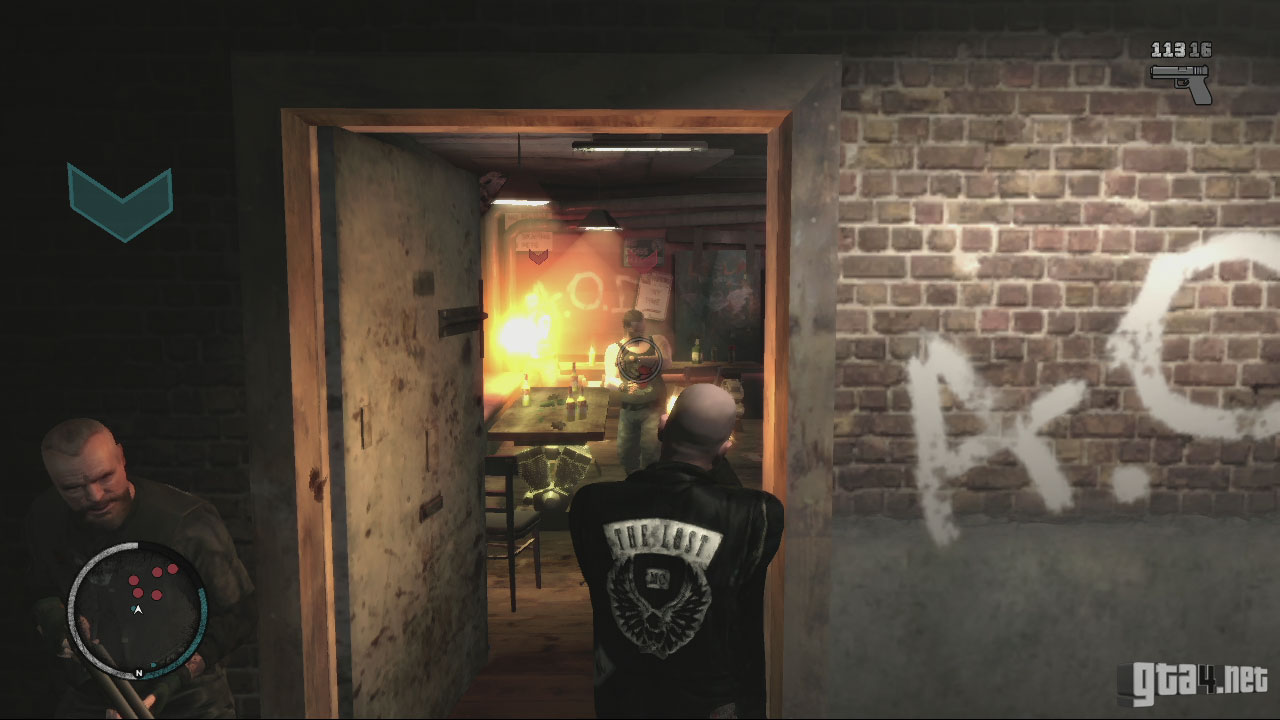
Follow Billy into the clubhouse, and take cover behind the door. Fire a grenade (or two) inside, and then eliminate anyone who remains. One target is taking cover behind the bar, and another is taking cover at the door up ahead. Make your way downstairs and kill the three remaining bikers. At this point, a cutscene begins, and Billy's motives for doing this mission suddenly become apparent - two huge bags of heroin lie on the table up ahead, which Billy orders Brian to retrieve. Exit the clubhouse, get on your bike, and clear the area to finish the mission.
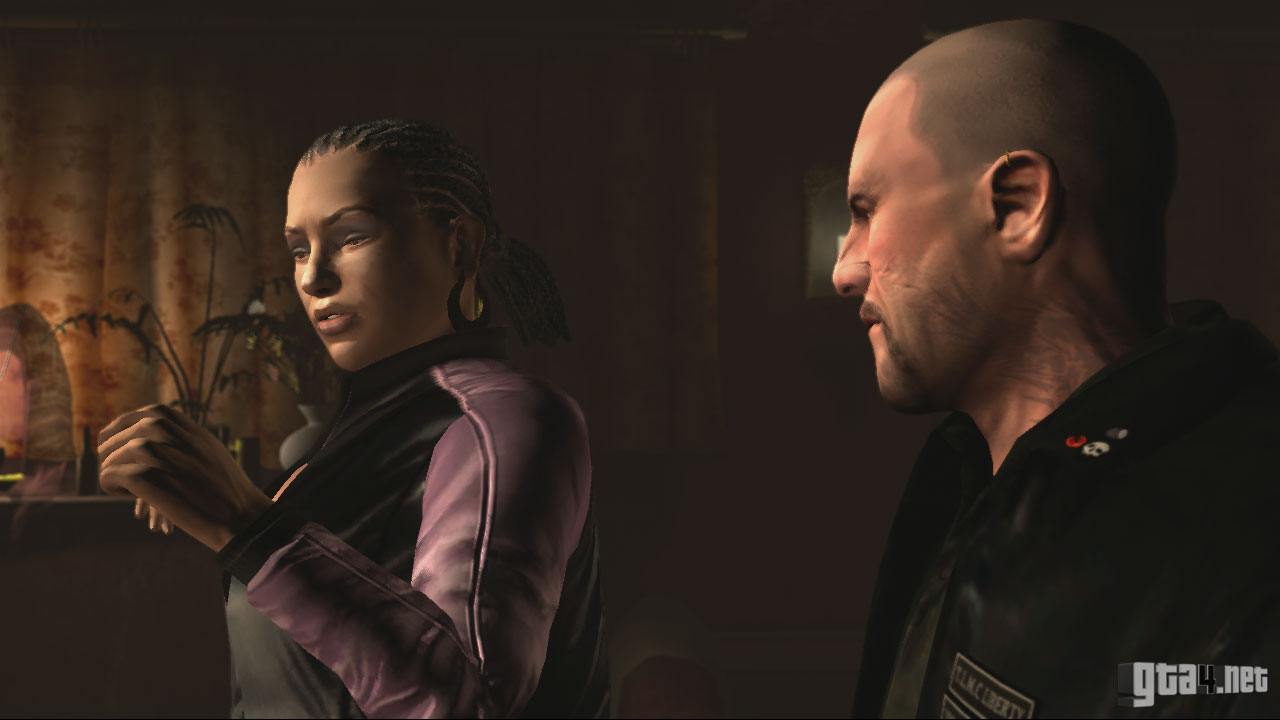
![]() Billy wants Johnny to see Elizabeta Torres. "She may be able to offload some of that shit we found."
Billy wants Johnny to see Elizabeta Torres. "She may be able to offload some of that shit we found."
Liberty City Choppers
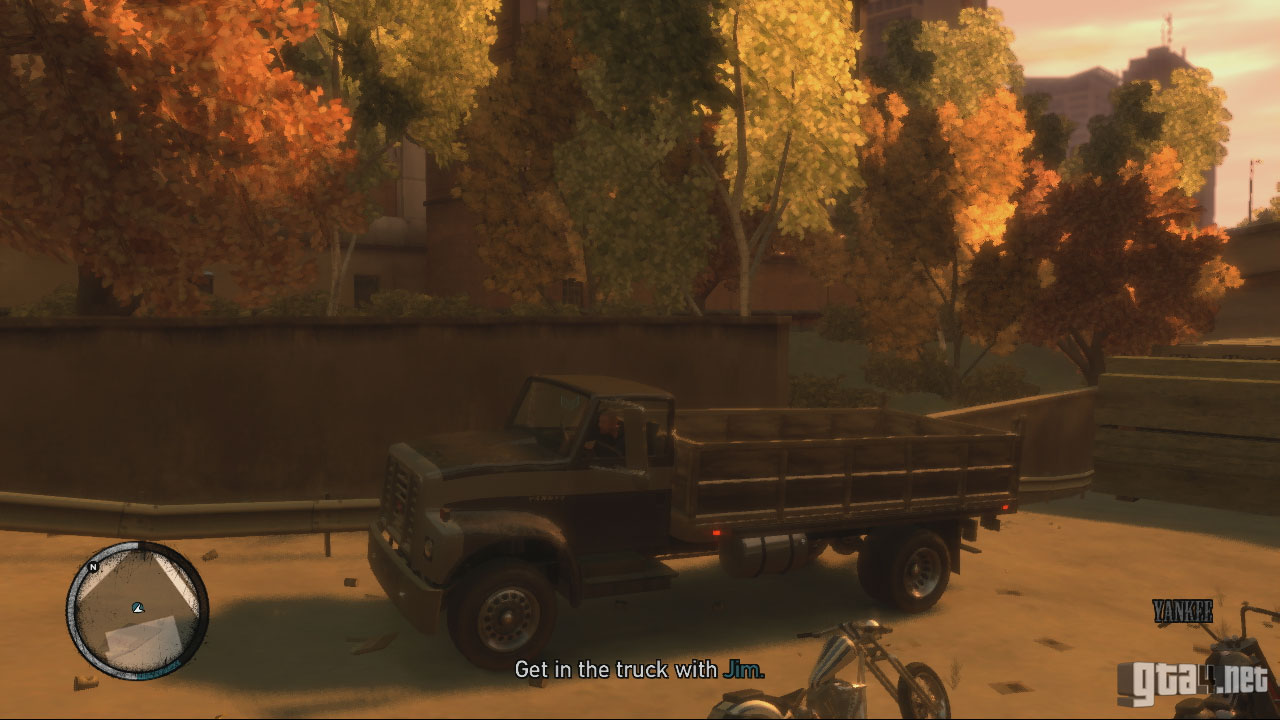
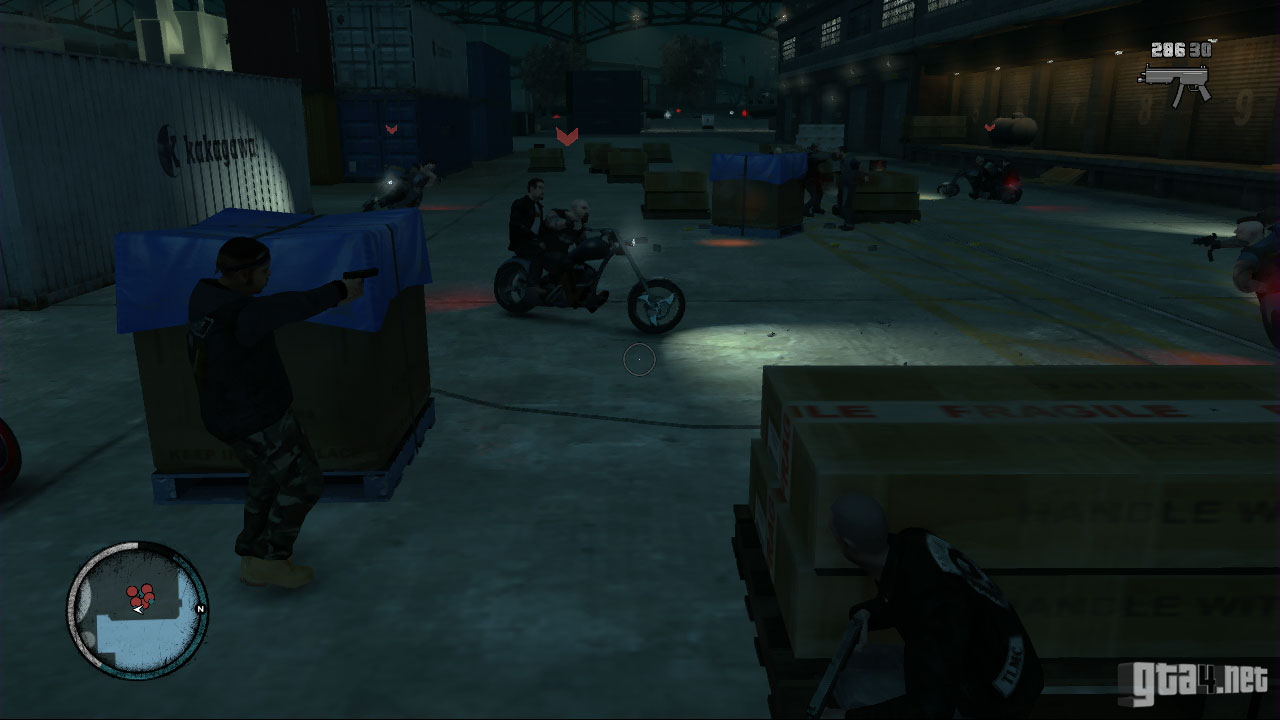
During a cutscene, Jim explains that he wants to steal some bikes from the Angels of Death. These particular bikes are in high demand, and Jim knows a guy who is willing to pay for them and ship them to Japan. After the cutscene, follow Jim to the truck in Alderney City, which you are you going to use to steal the bikes. Get in the truck with Jim, and then head to the diner in Tudor where the bikes are situated. There are five bikes in total, each represented by a green blip on the radar. Take one, and park it in the yellow marker on the back of the truck.
The Angels of Death become aware of what's happening, and a shootout takes place. Take out your phone, access your phonebook, and go to either Terry or Clay and select the 'Backup' option. Find some cover, and eliminate the attackers with Terry and Clay. Afterwards, park three more bikes on the back of the truck (giving you a total of four) and then get inside it with Jim. Reverse out of the diner, and make your way back to the yard with the stolen vehicles. Beware though, the Angels of Death haven't given up yet - four bikes begin chasing and firing at the truck. You can choose to stop and kill them, but it shouldn't really be necessary - the truck should have enough health to be able to make it back to the yard, despite the gunfire.


Stop in the yellow marker at the yard, and watch the cutscene that follows. Two bent cops arrive and claim that they saw everything that happened. They're demanding a fee in order to stay quiet about it. We'll meet them again shortly.

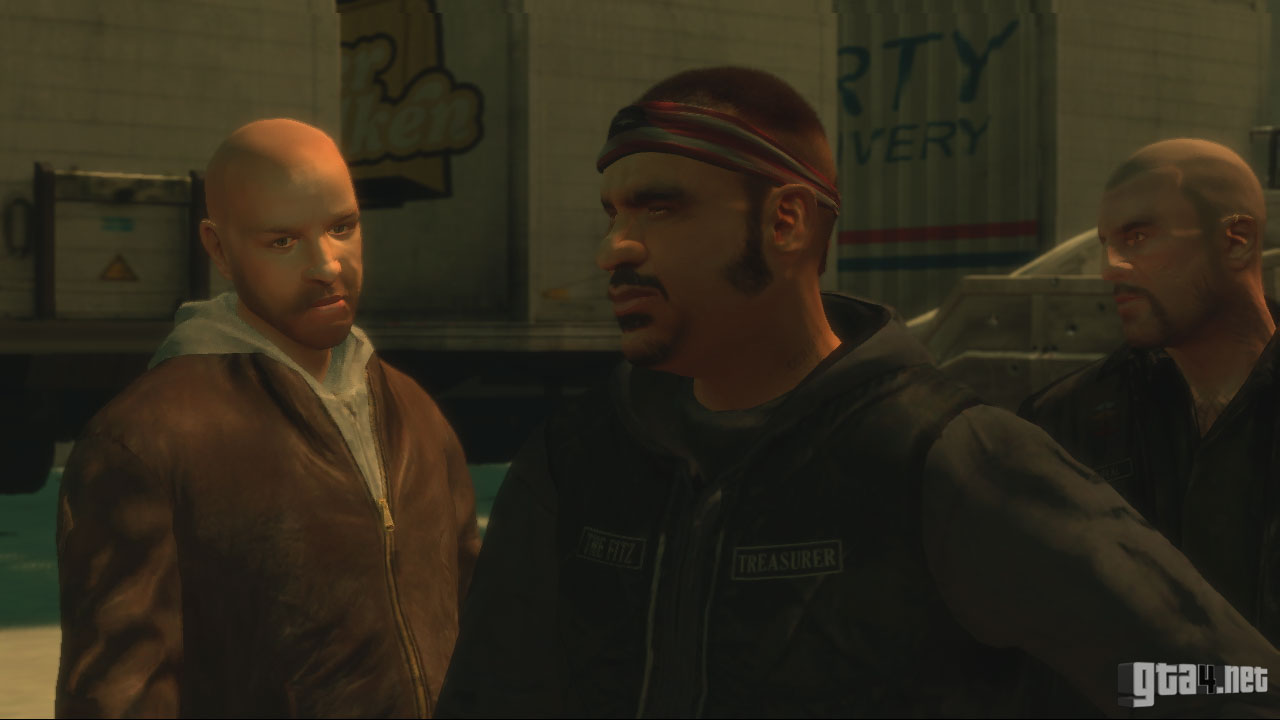
![]() Terry informs Johnny that a race is going down. Race side-missions are now available - simply go to the icon on the radar to start one.
Terry informs Johnny that a race is going down. Race side-missions are now available - simply go to the icon on the radar to start one.
Bad Cop Drop
Jim is still seething after some bent cops attempted to blackmail him. He's decided he isn't taking any crap from them and wants revenge. After the cutscene, Jim gives you an Auomatic Pistol and you must race him to the location of the bent cops. During a short cutscene, Jim throws a punch at one of the cops in order to antagonise them. Your task afterwards is to lure the cops to the ambush in South Alderney, so don't stay too far ahead of them or they'll get lost, but equally don't stay too close to them or you'll get shot. Holding B enables you to see from the cops perspective, so you can use it to help you stay in sight.
When you reach the ambush, three Lost members are waiting there to help you. Initially it looks as if they're shooting at you, but they're not! Find cover and help them to eliminate the bent cops, who have just called for reinforcements. Wait until all of the cops have arrived, and then shoot the red explosive barrels to take out lots of them at once. Once the cops have been eliminated, get on your bike and leave the area to complete the mission.

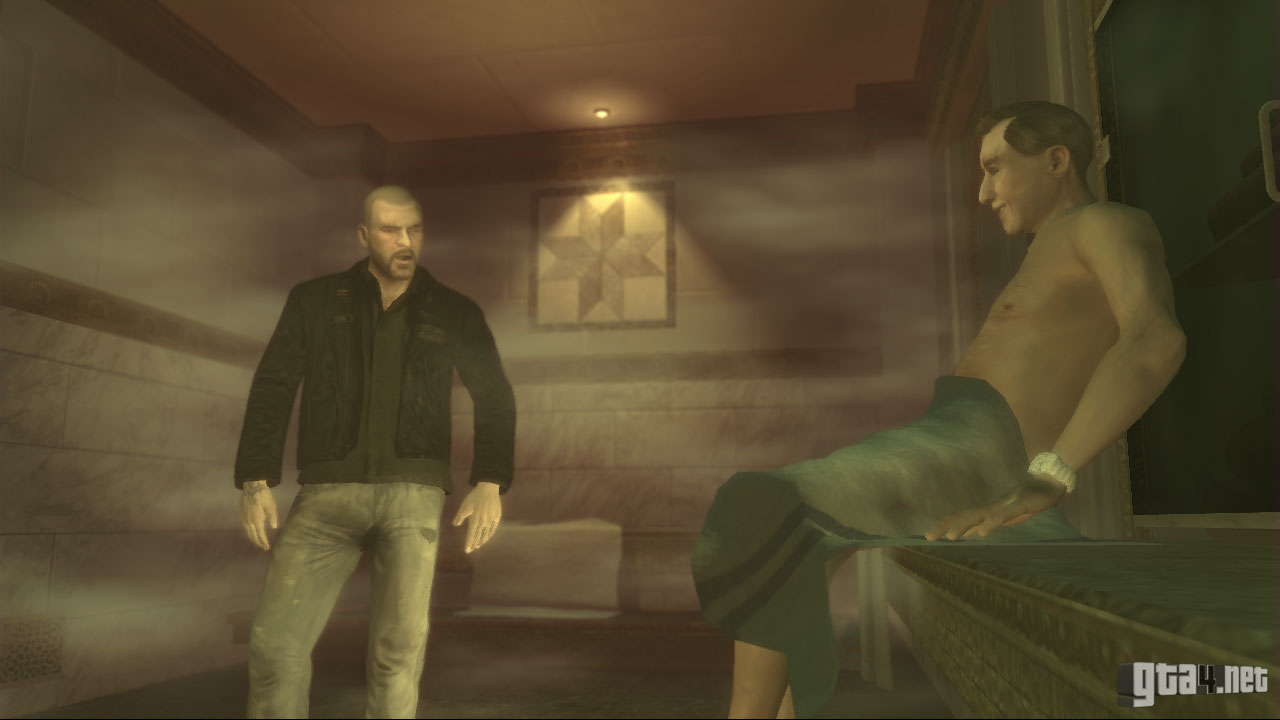
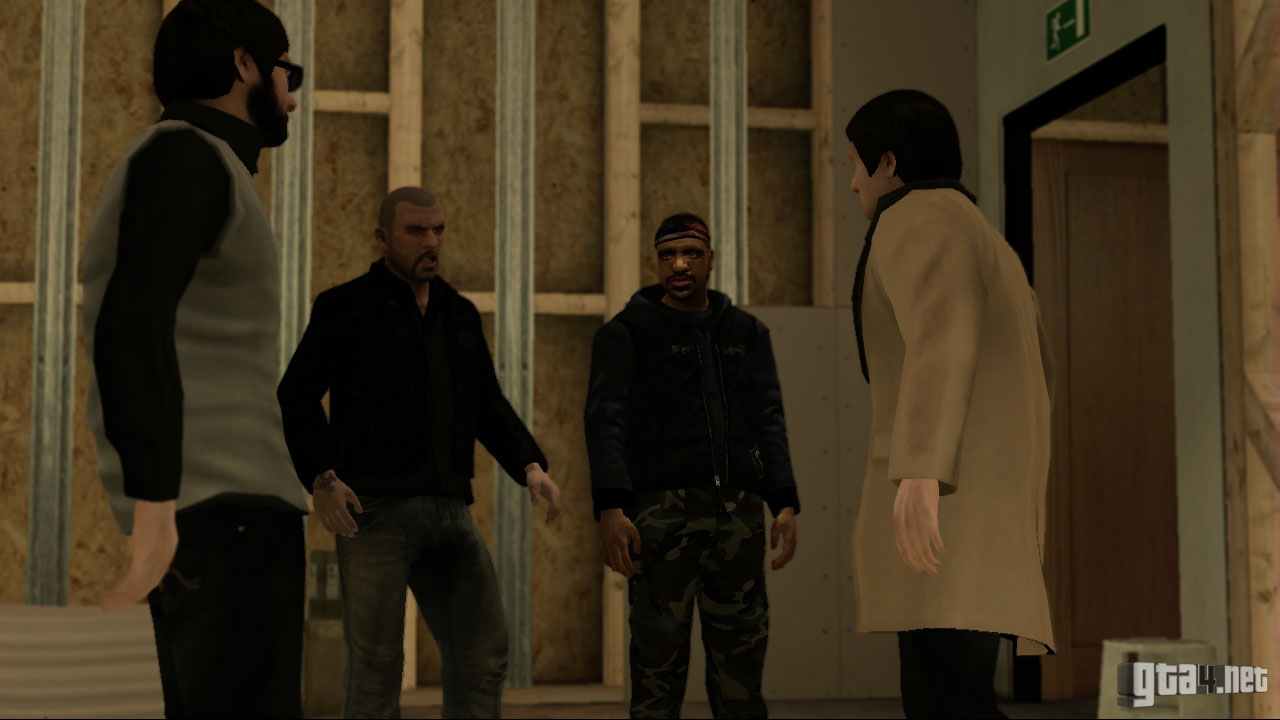
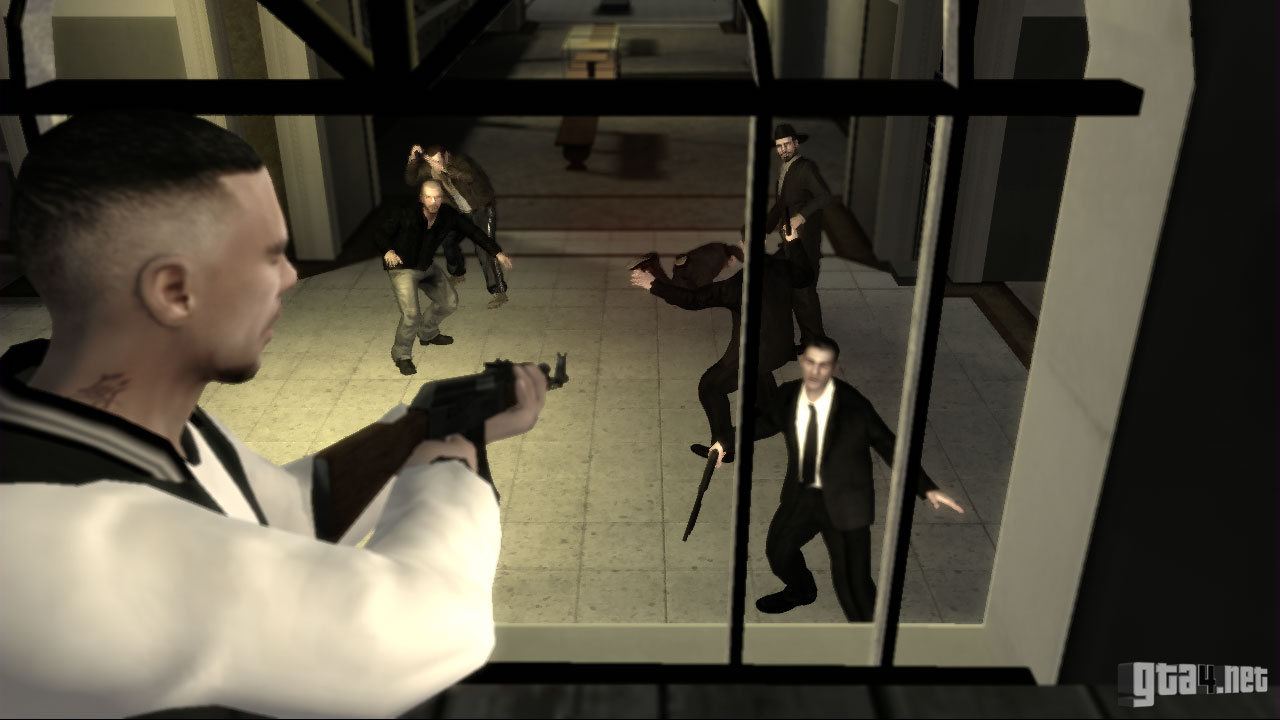
Elizabeta Torres claims she has a buyer for the heroin that you stole from the Angels of Death. She wants you to go to with Playboy X and Niko and attempt to negotiate a deal with the buyers. After the cutscene, head to Livingston Street in Dukes and pick up the heroin package from Brian. Then go to the building where the deal is taking place (Cayuga Avenue) and head up to the apartment on the third floor.
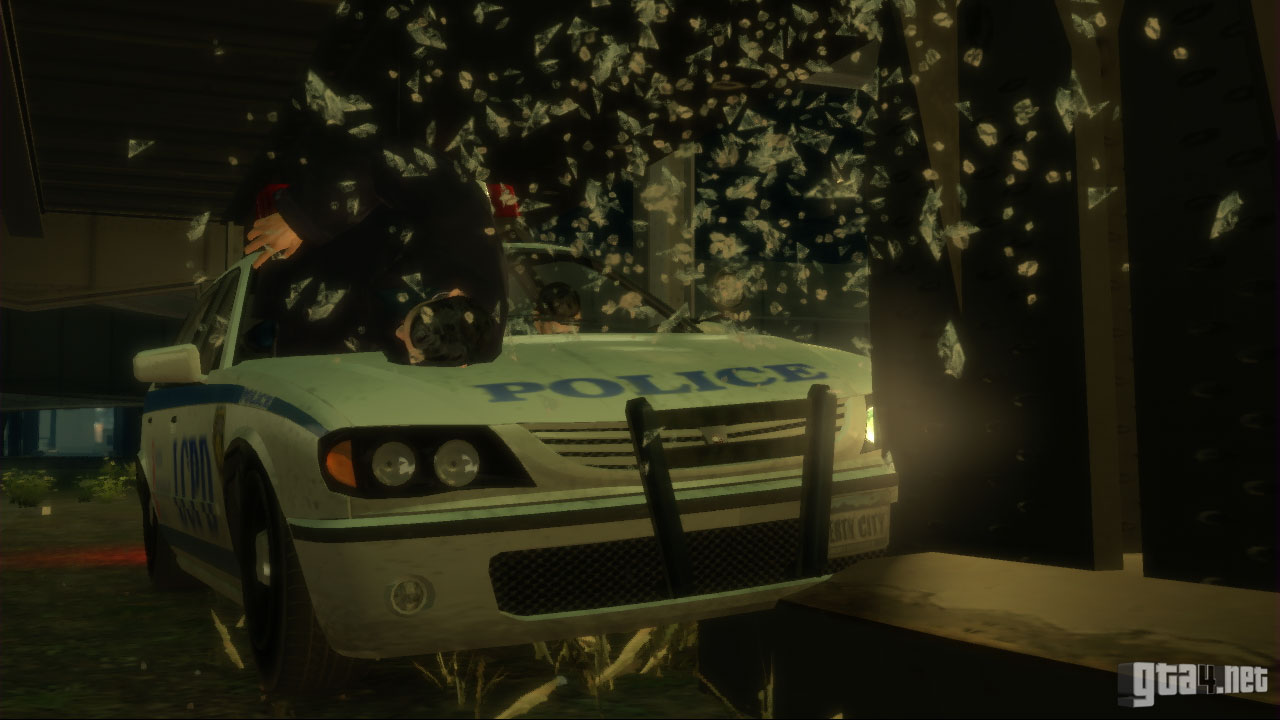
Wait for Niko and Playboy to arrive, and then watch the cutscene which follows. If you played through Niko's story, then you should be familiar with the events that follow, because it's exactly the same as "Blow Your Cover". The deal was a setup, and LCPD officers storm the building. Niko and Playboy head for the roof, whereas you must go the opposite way.

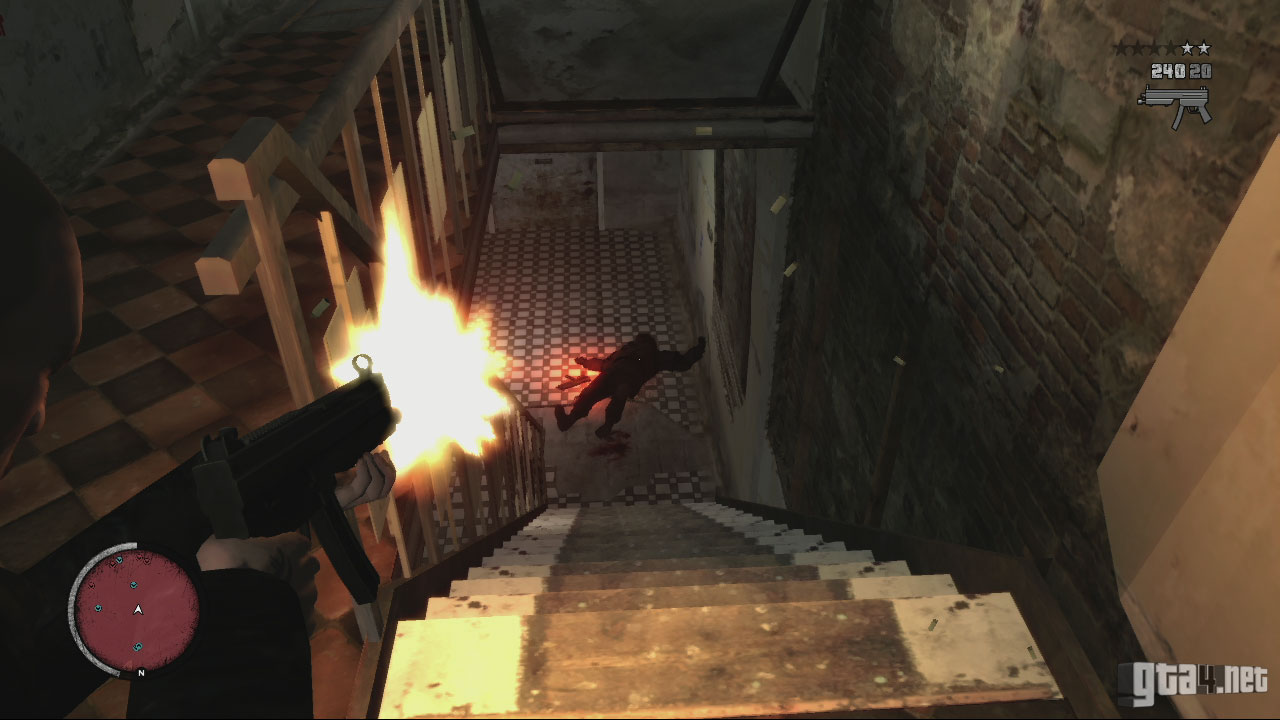
Use cover when eliminating the cops, and blind fire to minimise the damage you take. The bedroom to your right contains armour, so go and collect it before heading for the stairs. A few cops are waiting at the bottom of the stairs, and another is waiting at the top of the next set of stairs, so proceed down with caution. Two more cops are situated at the exit, and a whole bunch more are waiting outside. If you still have a lot of health at this point, the best thing to do is simply run outside, grab a vehicle and speed off, but if you don't have much health remaining, you'll have to use a more systematic approach and eliminate the attackers carefully. Outside, there are two police cars and an armoured police van up ahead, with about six cops shooting at you.

Once you have a vehicle, lose the cops to finish the mission. Turn corners regularly and use small roads/alleyways to escape them quicker - if you keep driving on the same stretch of road then it will take a lot longer to lose them.
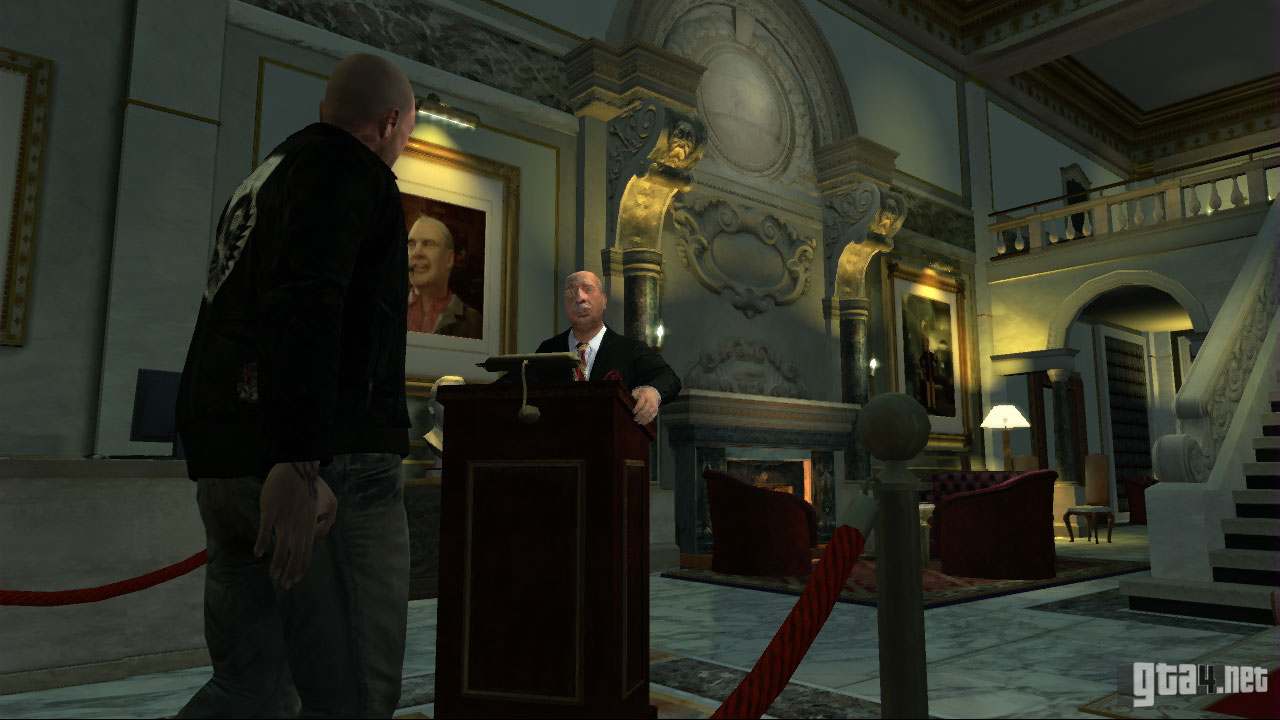
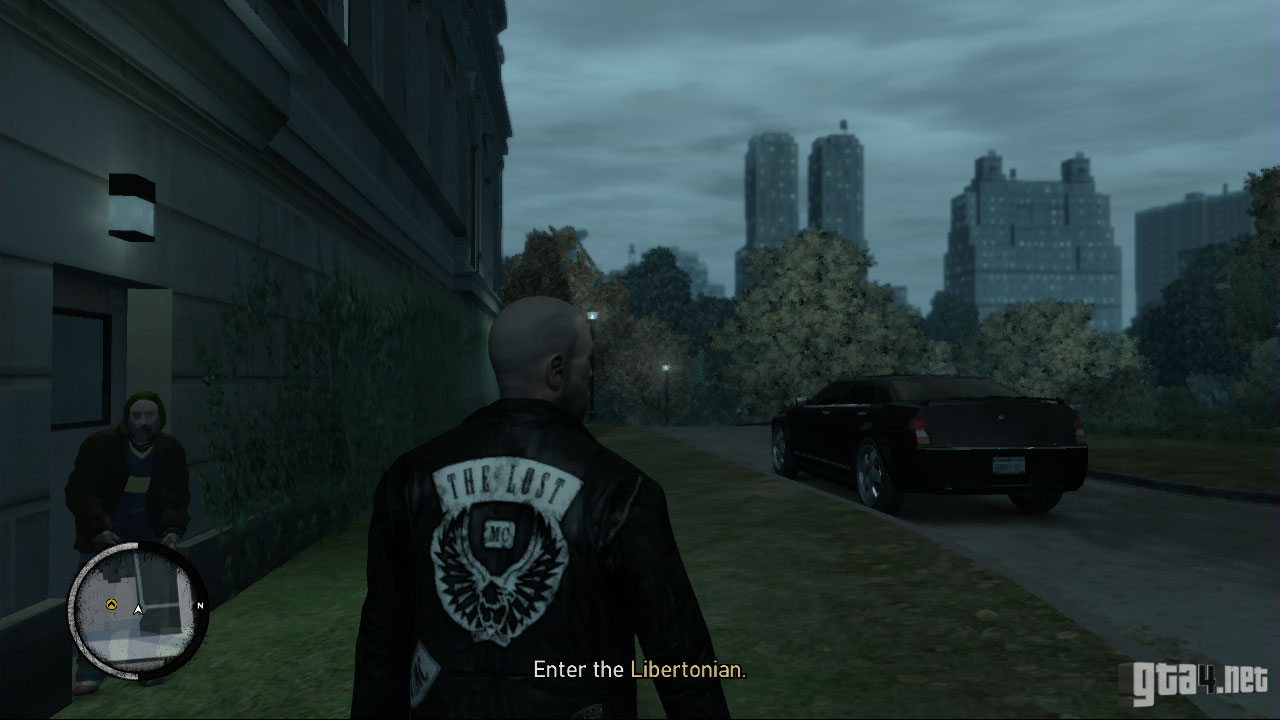
![]() Billy tells Johnny to go and see Tom Stubbs, a politican who can be found opposite the Libertonian in Algonquin.
Billy tells Johnny to go and see Tom Stubbs, a politican who can be found opposite the Libertonian in Algonquin.
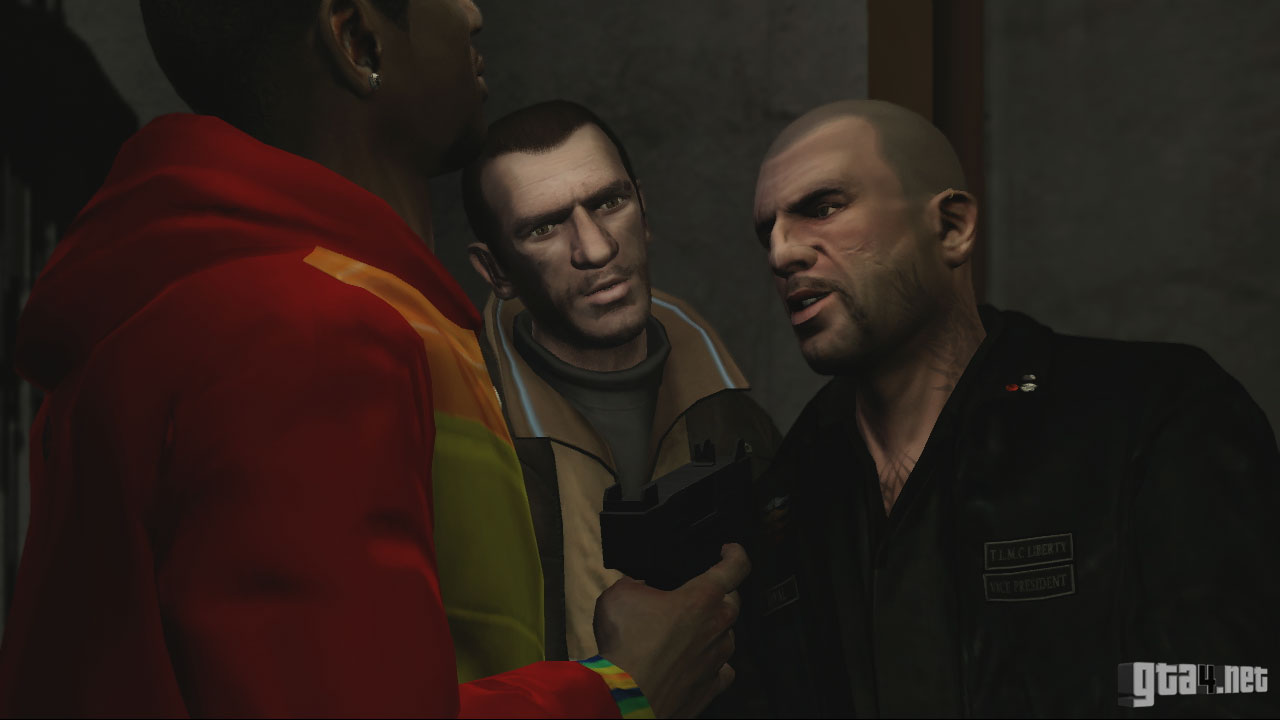
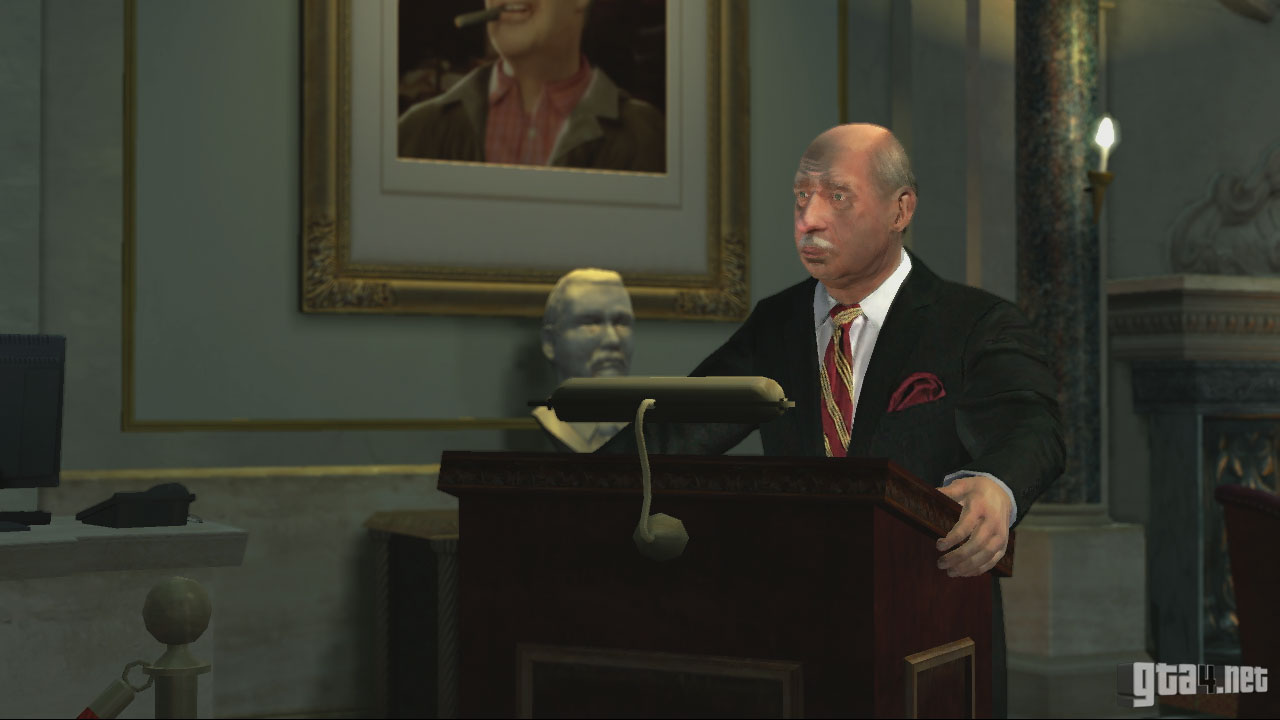
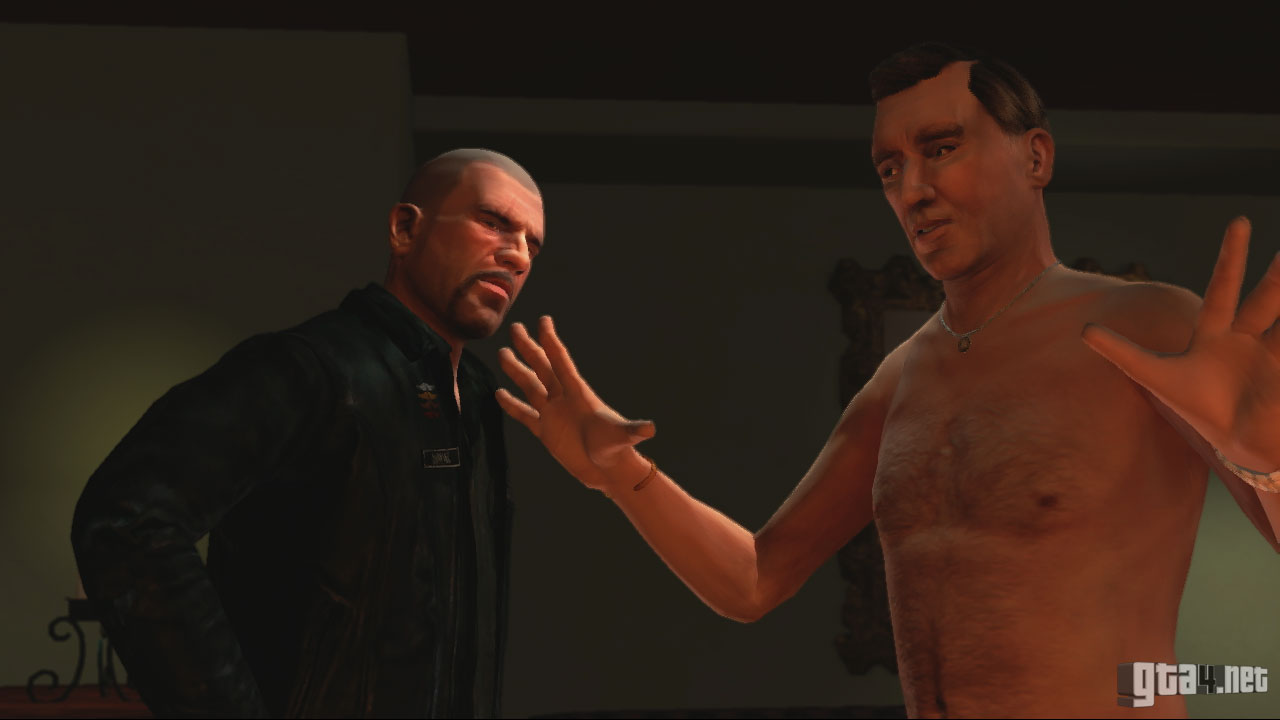
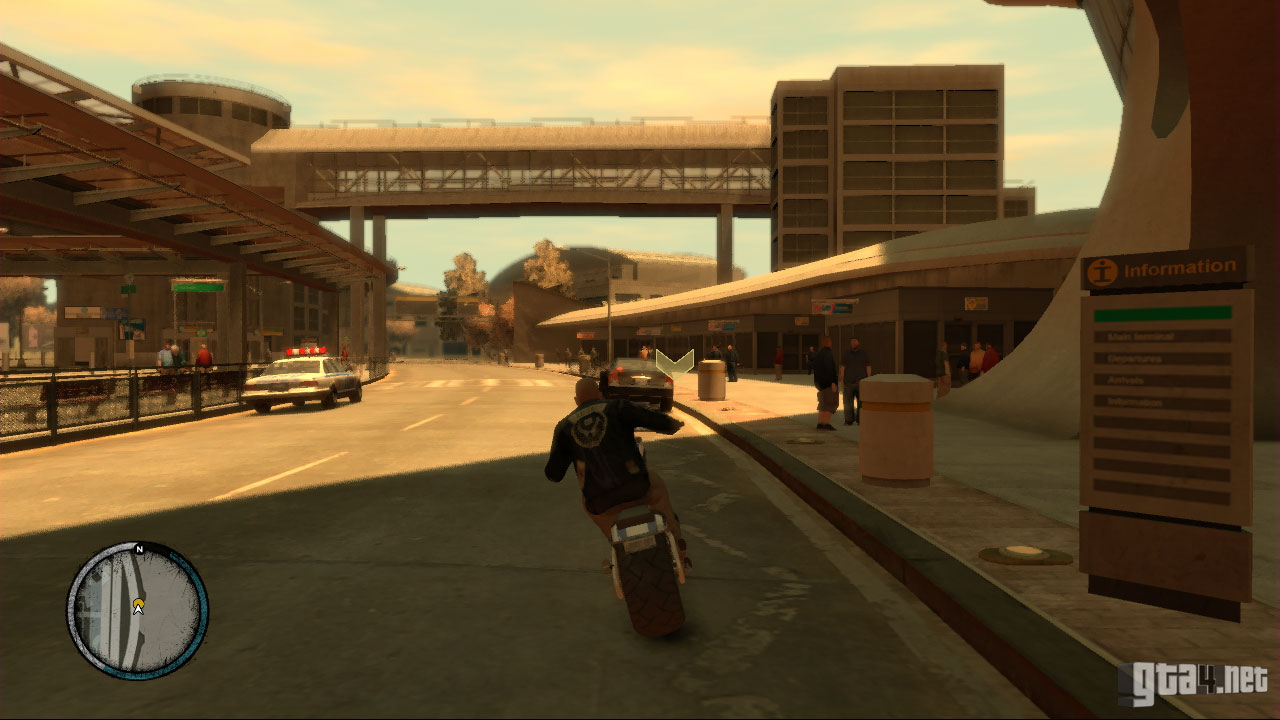
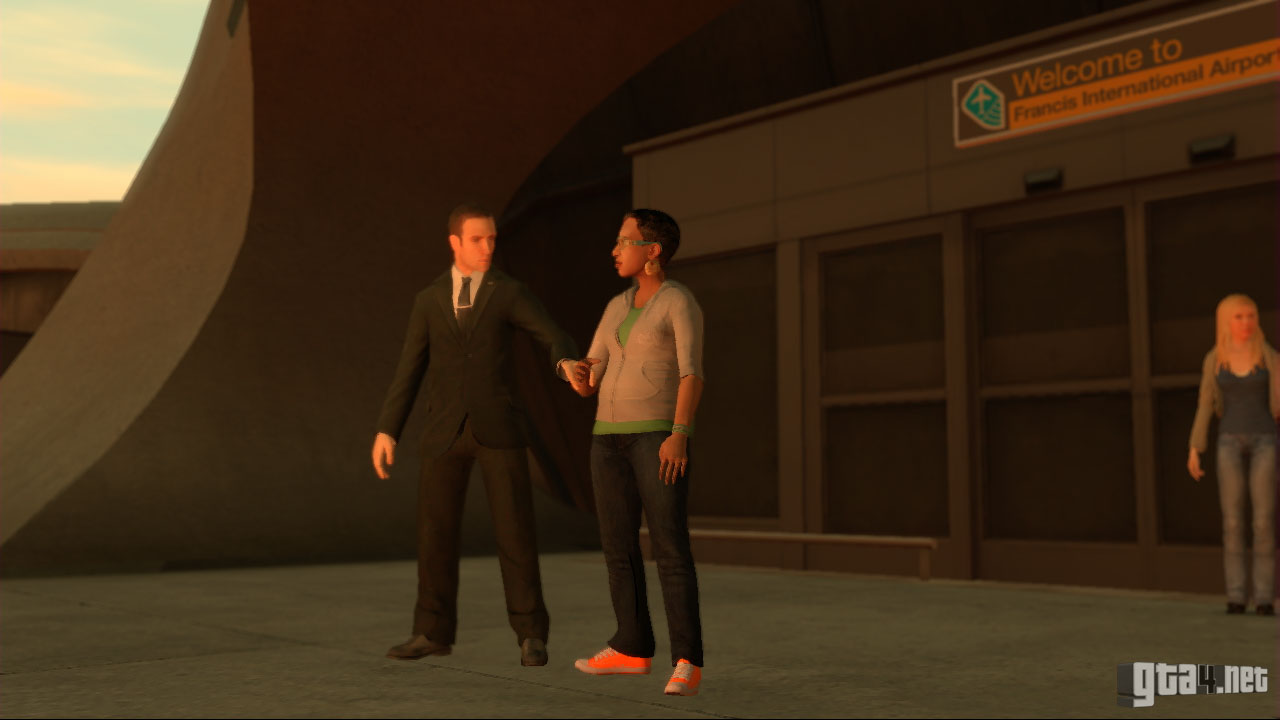
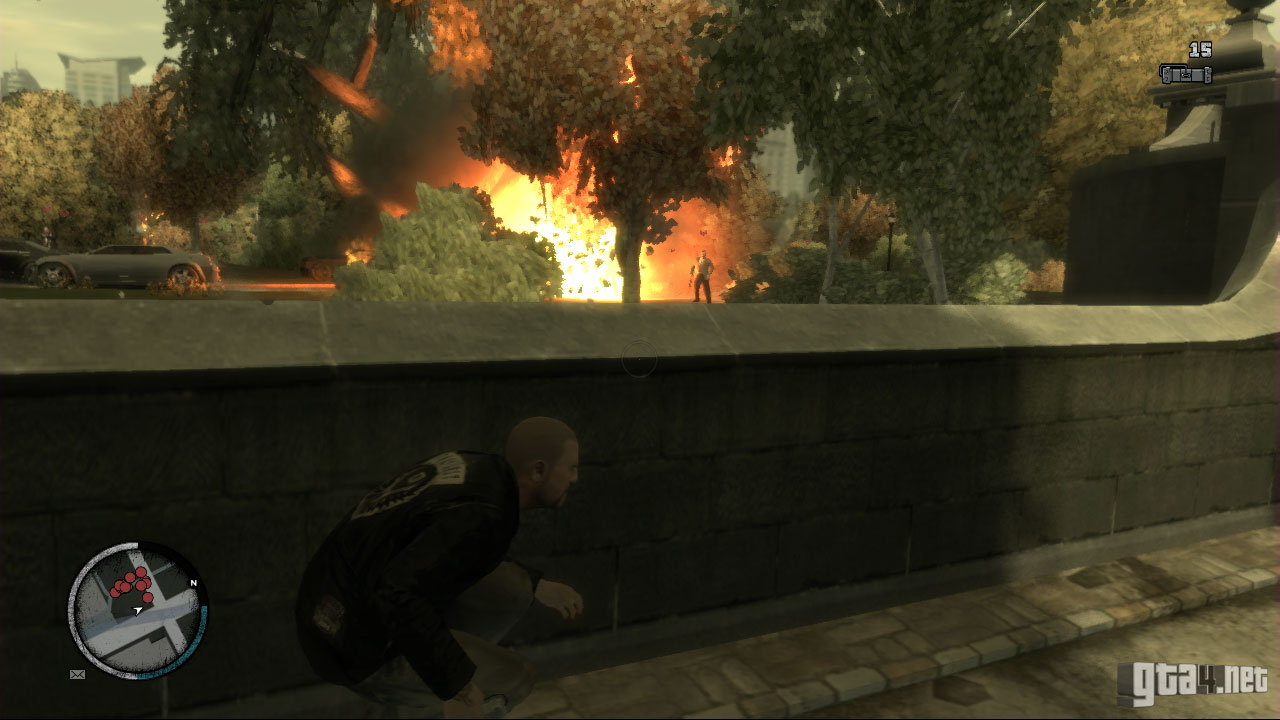
During the cutscene (beware: this cutscene contains wang) Tom Stubbs attempts to blackmail Johnny by claiming to know about the activities of The Lost. Tom requires money to stand any chance of being re-elected, so he wants you to kill his uncle because he controls the family trust. He wants to make it appear like a terrorist act, because it will aid his campaign! After the cutscene, you're automatically given a rocket launcher to help you do the mission, but you don't necessarily have to use it. Get to Francis International Airport by 21:30.
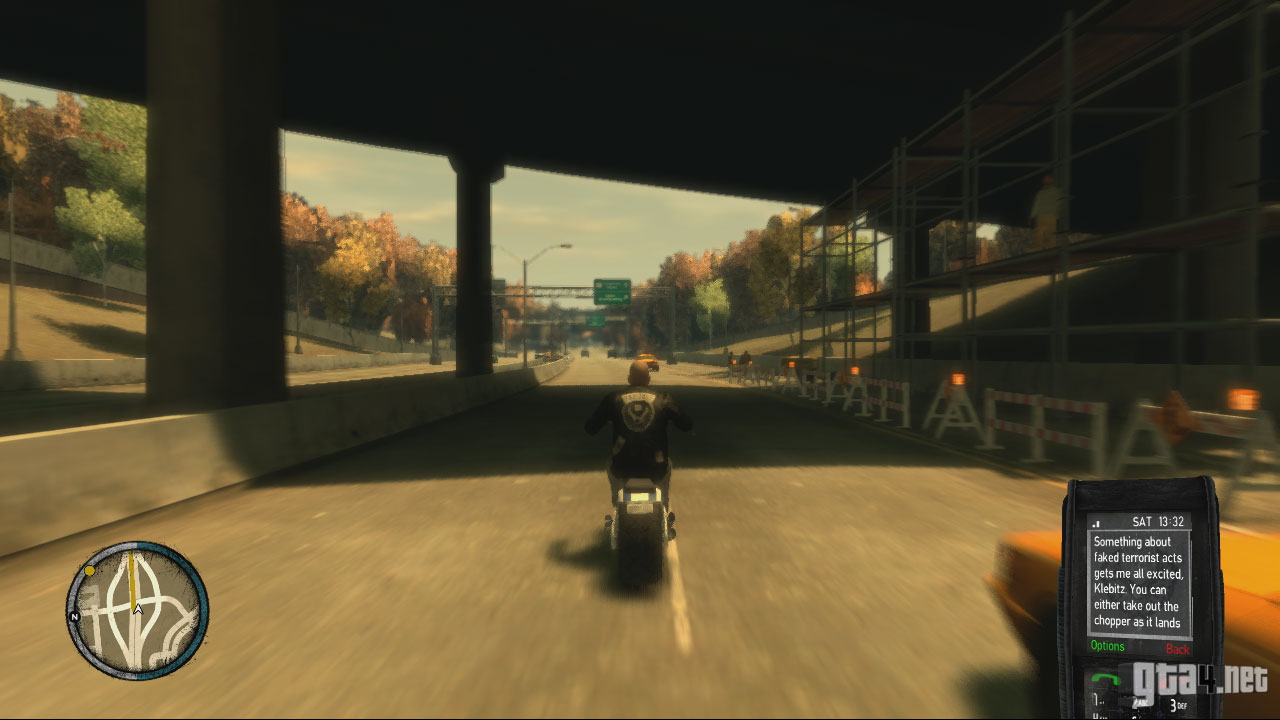
There are a couple of ways to complete this mission. You can use the rocket launcher to take down the helicopter as it lands, or you can ambush the convoy as it makes its way out of the airport. Stubbs has "a man" waiting at the southwest gate to help you if you happen to find yourself stuck in the runway area. For this guide, we are going to use the second method.
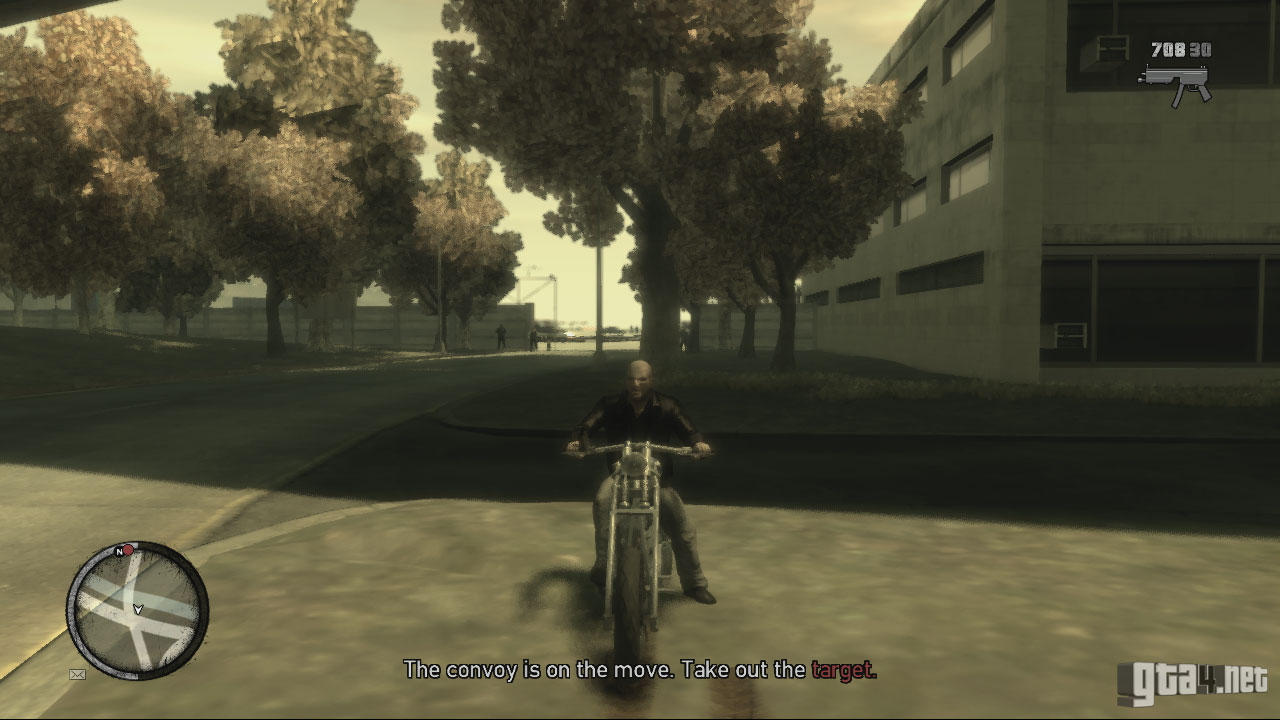
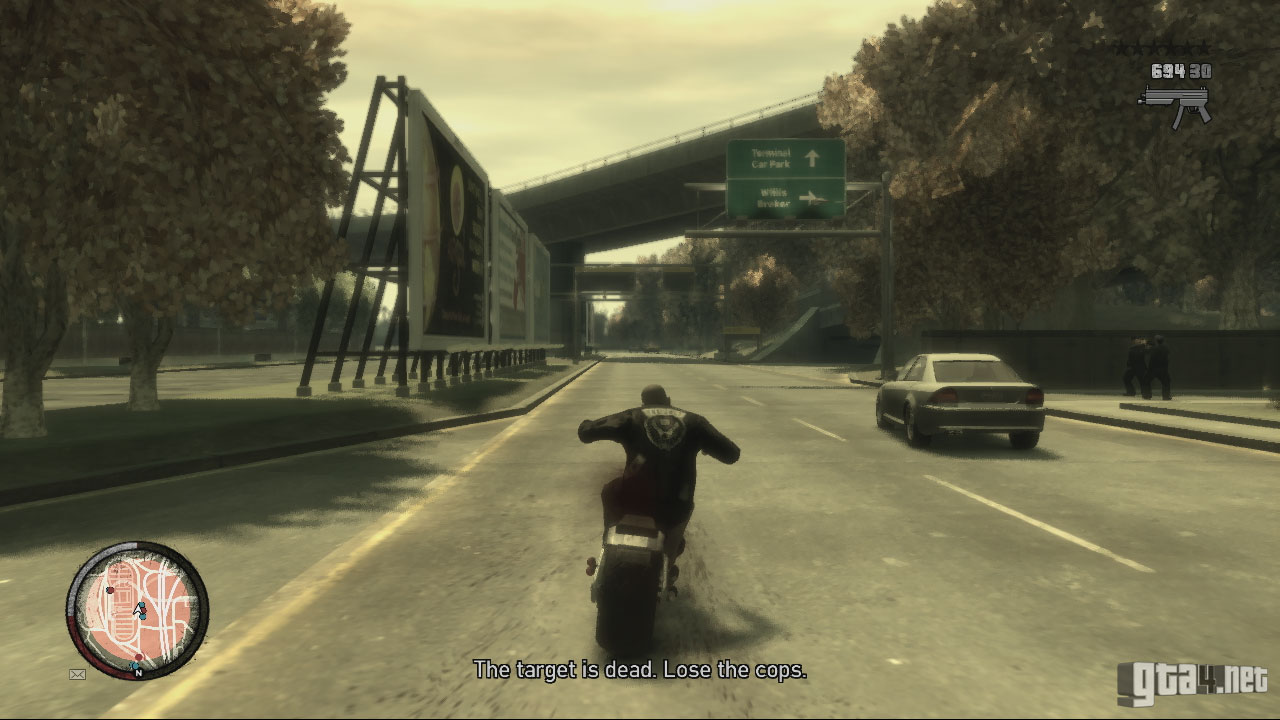
Stop in the yellow marker outside the airport and wait for the chopper to land - do not enter the runway area. Once the convoy is moving, drive behind the target, wait until it approaches the tunnel and then open fire. Once the target is dead, you need to escape the cops. There are cops blocking the Algonquin Bridge, so it's best to avoid going that way. Try getting off of the freeway, and then lose the cops as you normally would.

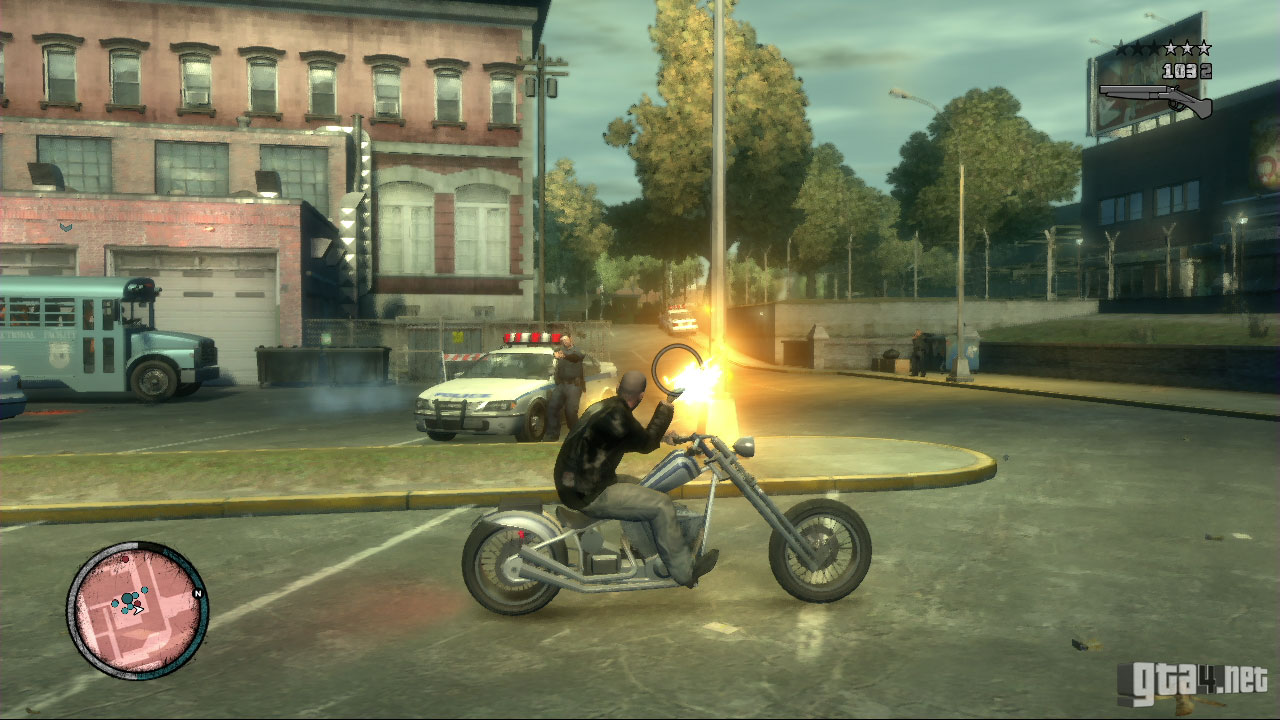
![]() Jim invites Johnny to "roll on some deadbeats." Gang war side-missions are now available.
Jim invites Johnny to "roll on some deadbeats." Gang war side-missions are now available.
This mission is triggered by a phone call from Ashley. She says she's "into something bad" and is afraid that she's going to be killed. Drive to the projects in North Algonquin, and go upstairs to find Ashley.
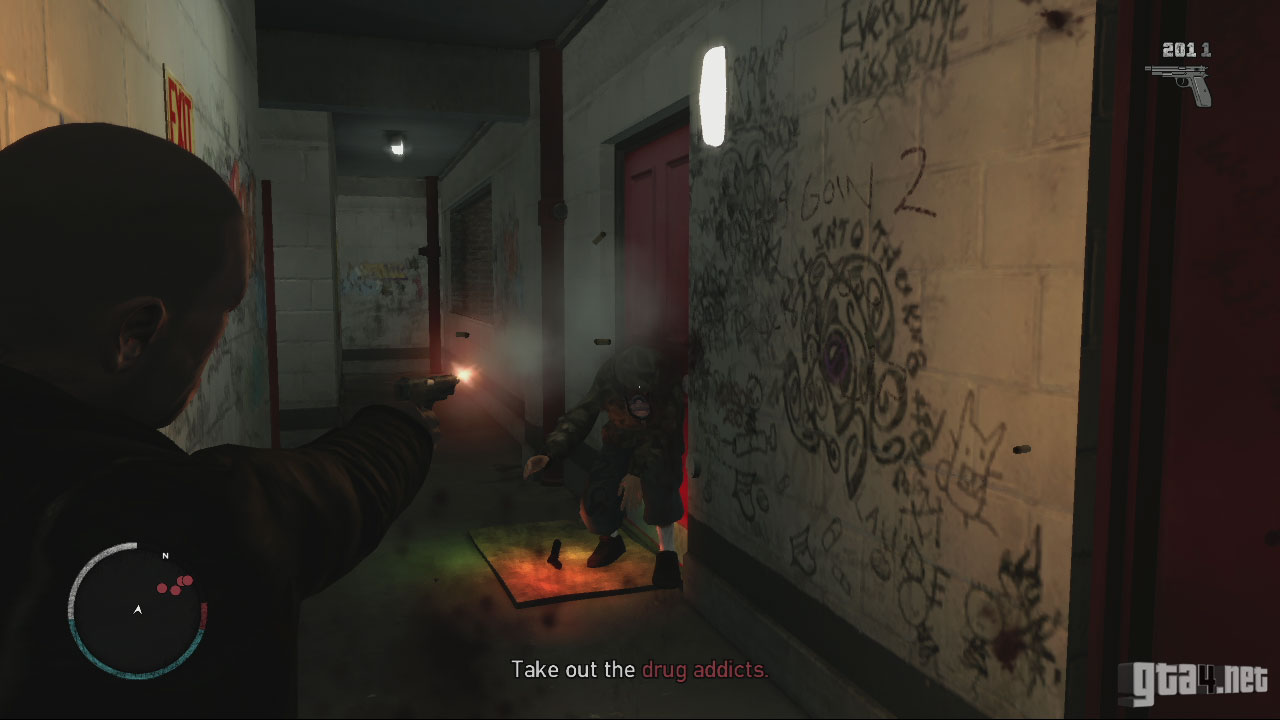
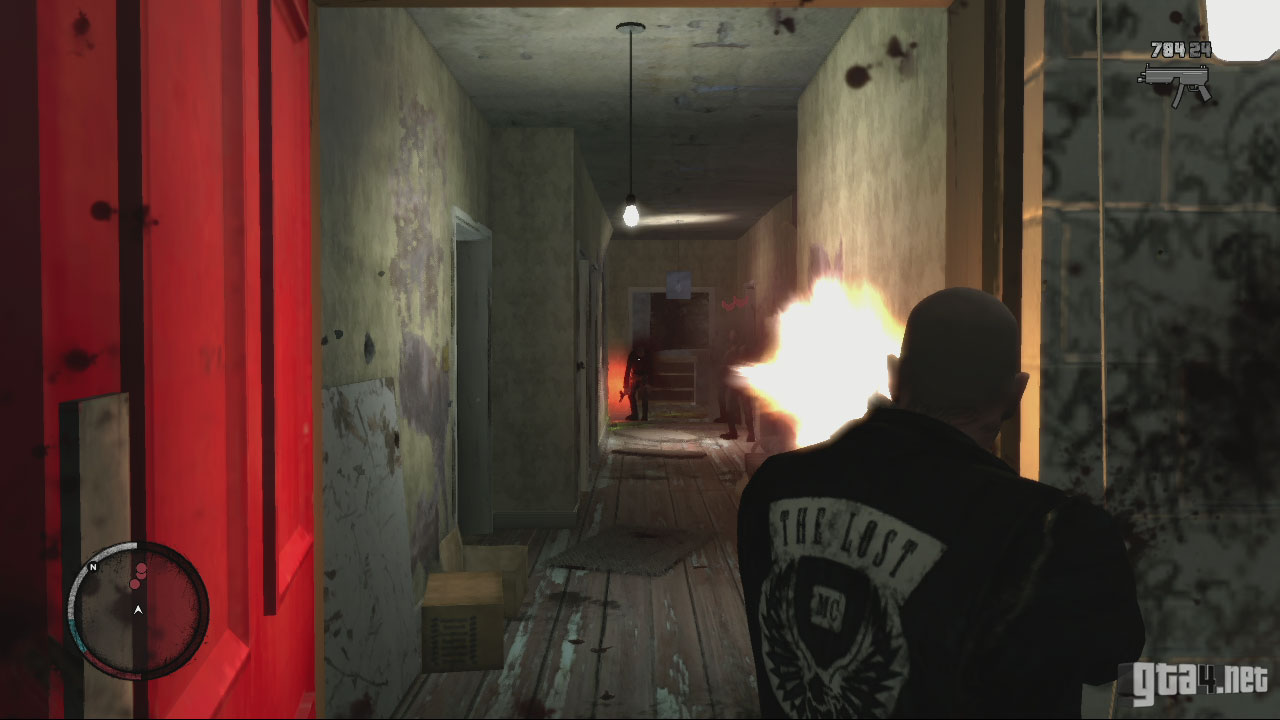
When you reach the top of the stairs, Ashley is in an apartment on the right hand side. Beware though, the place is crawling with (armed) dealers. Kill the dealer standing by the door, then take cover and shoot the dealers in the hallway. There's four dealers in the apartment altogether - two can be reached from the doorway, but you'll have to go into the apartment to reach the remaining two (one of them has a shotgun, so watch out). Pick up the money and weapons dropped by the dealers, and then go and talk to Ashley.
Take Ashley back to her home in Berchem (Alderney) to complete the mission.
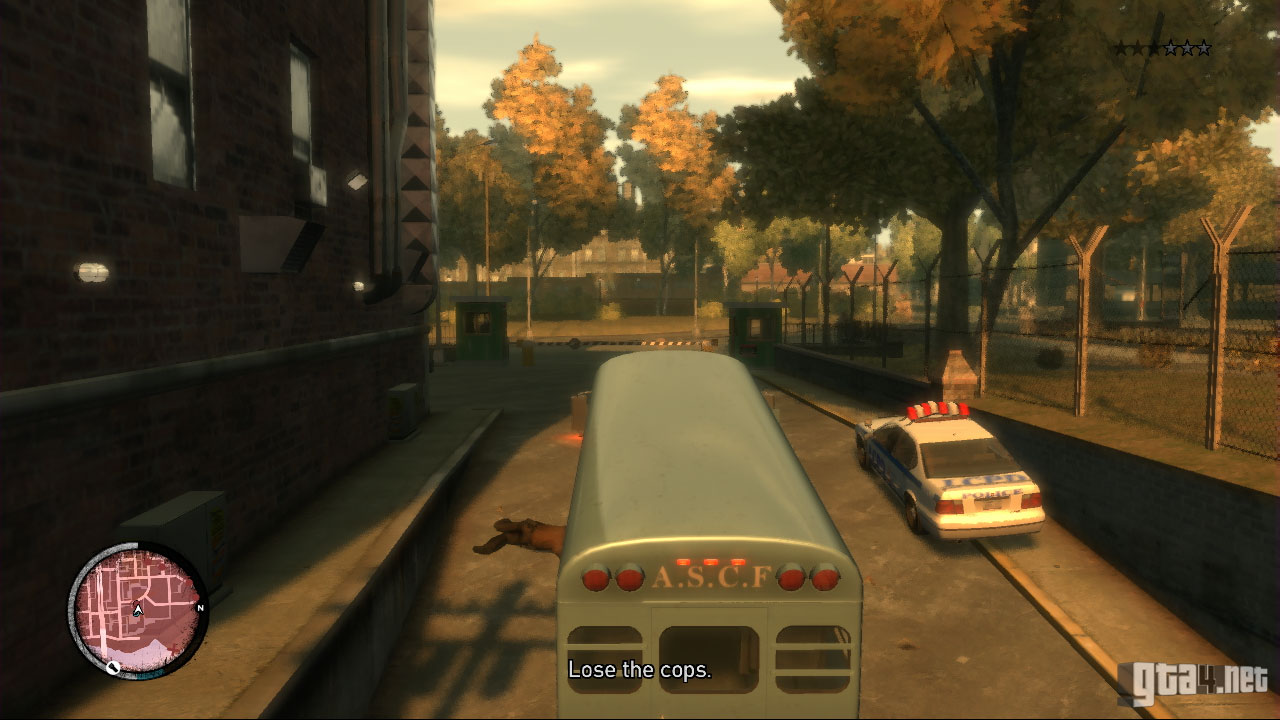
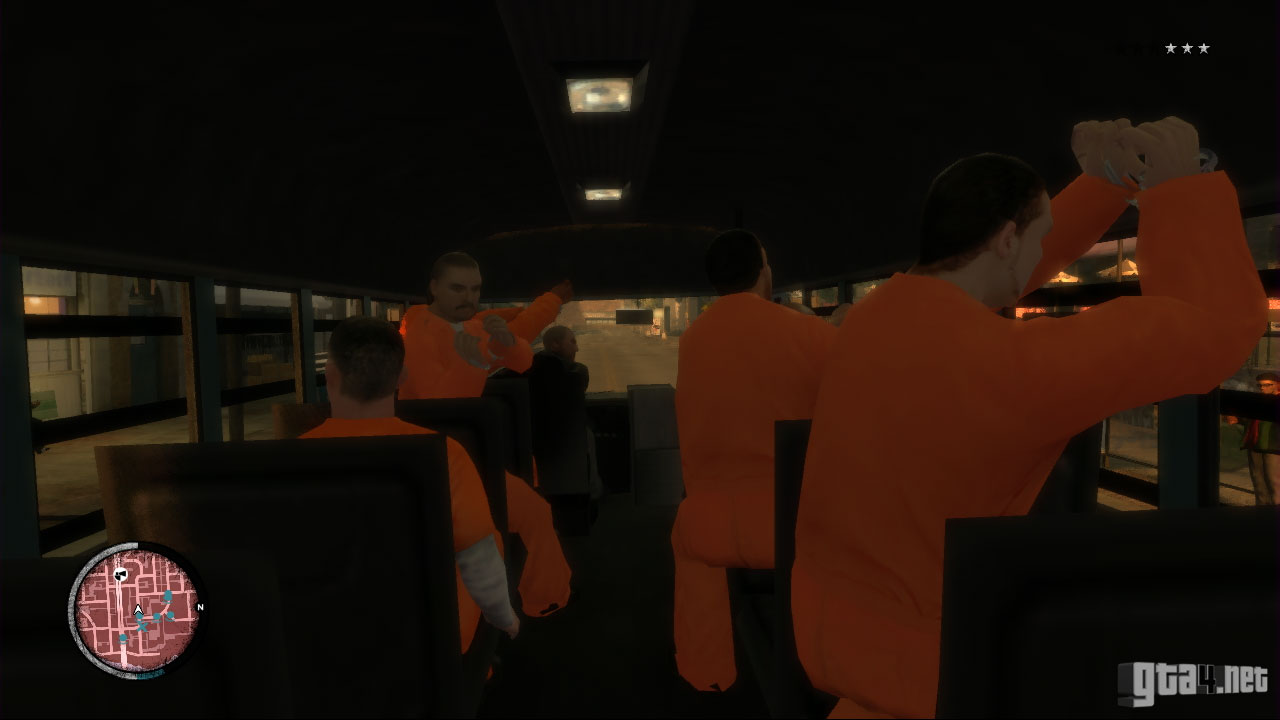
A group of "outstanding civillians" (aka Stubbs voters) have "mistakingly" been taken into LCPD custody. Stubbs wants you to do hijack the prison bus and "liberate" them. After the cutscene, find a vehicle and head over to the LCPD station in Alderney. It's best at this point if you have a bike, so you can take it in and drive-by most of the cops before hijacking the bus.
There are around eight police officers guarding the prison bus - watch out particularly for the one taking cover behind the police car, and the one situated in the tight space between the bus and the building. Once they've been eliminated, get in the prison bus and observe the tasty cutscene which follows. The next objective is fairly simple, and something that you should have plenty of experience doing by now - lose the cops. As mentioned previously in this guide, you should turn corners as often as possible and use small roads and alleyways to escape the cops. If you keep driving on the same stretch of road, it takes an awful lot longer to evade them.
Once you've lost the cops, take the prisoners to the drop off point behind the Globe Oil Plant in Acter Industrial Park, where a boat is waiting for them. Stop in the yellow marker to complete the mission, and then watch as the prisoners escape and the bus is dumped in to the water.

![]() Stubbs offers Johnny some new side-missions. Access them via the phone.
Stubbs offers Johnny some new side-missions. Access them via the phone.
![]() Billy wants Johnny's input on a discussion. New mission available at the clubhouse.
Billy wants Johnny's input on a discussion. New mission available at the clubhouse.
The heroin you stole from the Angels of Death actually belonged to some Chinese guys, and the AOD have informed them that it's in the hands of The Lost. Billy wants to teach them a lesson, but Jim feels it would be wise to do a deal with them instead. After the cutscene, follow Billy to the meet in Chinatown. When you reach Algonquin, you are instructed to race the rest of the gang to the location of the deal.
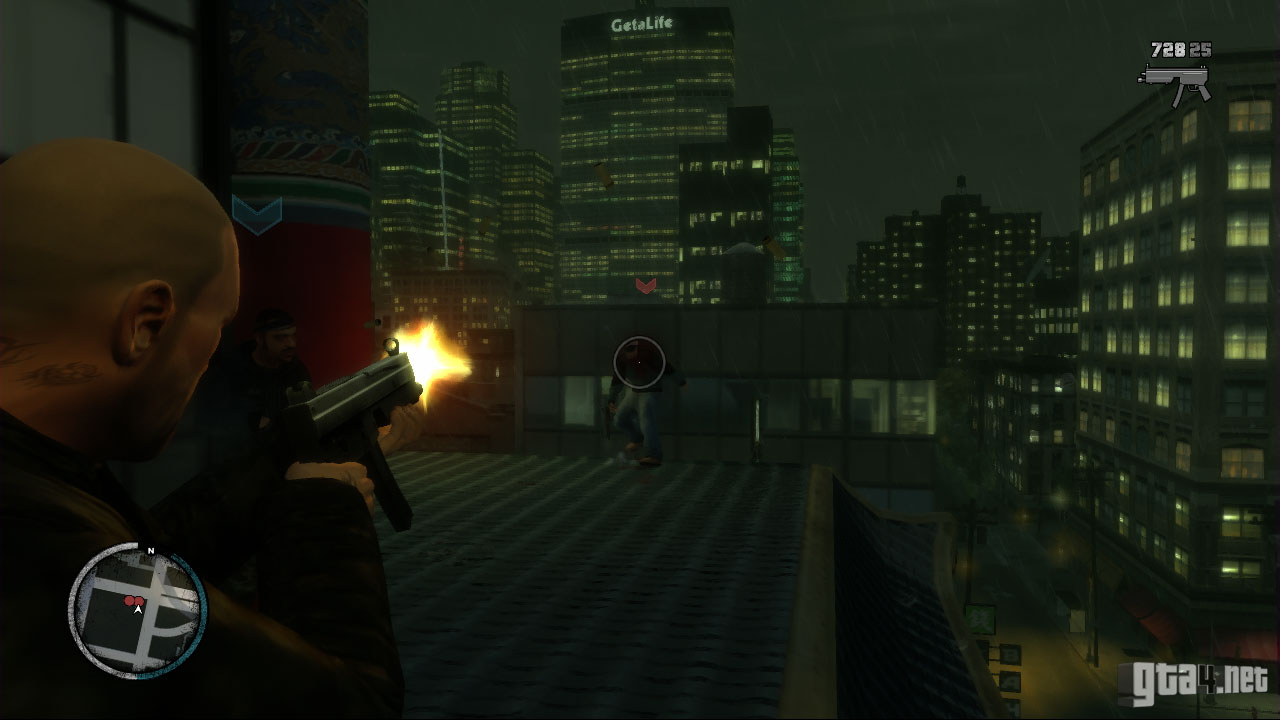
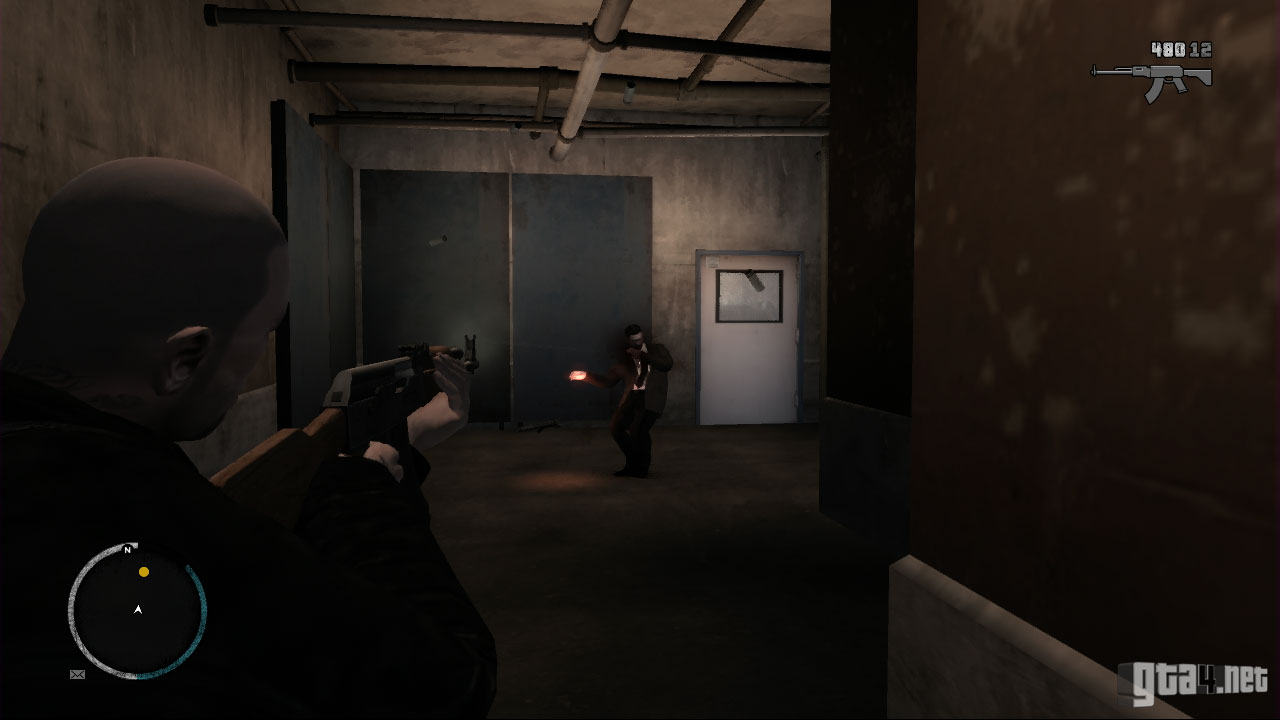
During a cutscene, Billy suggests that Johnny and Jim go in to do the deal, while he and Brian watch their backs. The deal (not surprisingly) goes bad, and a shootout begins. After the cutscene, you spawn on the roof with Jim. Approximately eight Triads stand in your way, with a few of them situated on the scaffolding ahead, and also one on the roof shooting down from above. Take cover, and eliminate the Triads one-at-a-time. It may be a good idea to blind fire in order to minimise the damage that you take, because there's a lot more shooting still to come.

Once the Triads are eliminated, follow Jim across the roof and kill the two attackers who approach from around the corner. Continue to proceed across the roof and kill the next batch of gangsters. There's a health pack situated on a section of scaffolding should you need it. Continue (again) moving across the building, and move down the ladders to kill the last remaining Triads. At this point a police message is heard, and they are on their way to the scene of the shootout. Walk to the yellow marker at the front of the building, and watch the cutscene that follows.
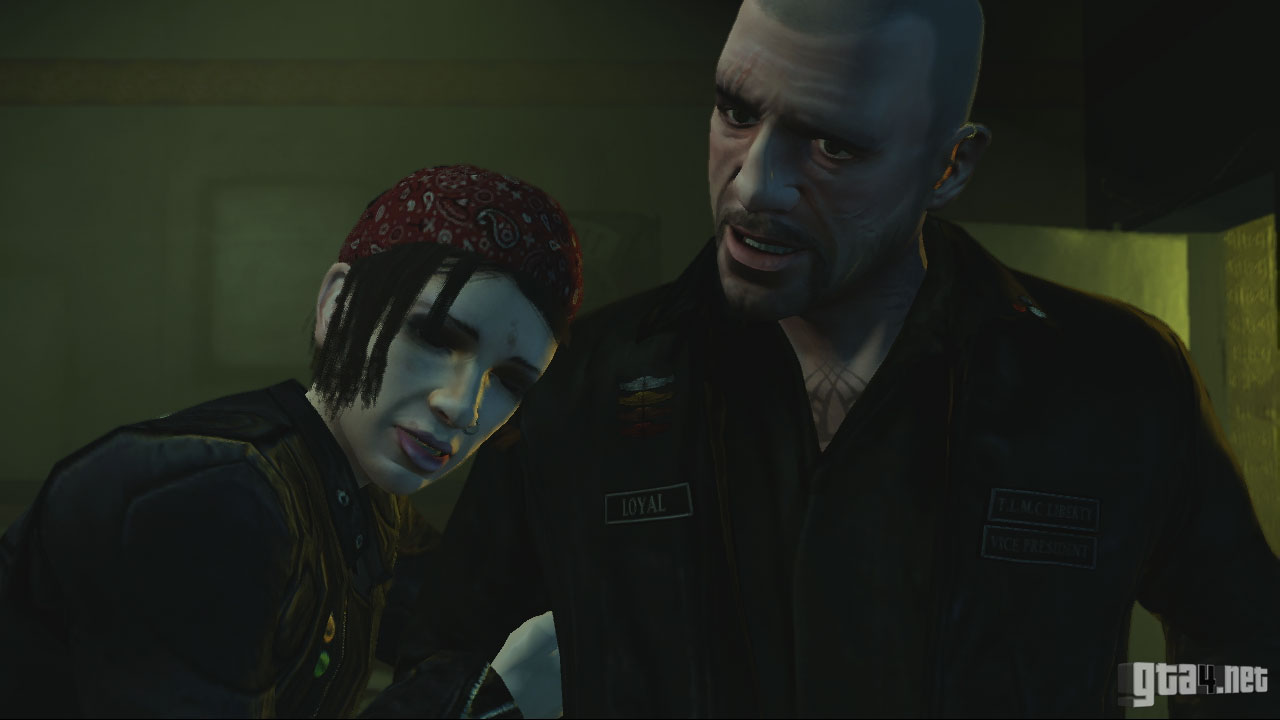
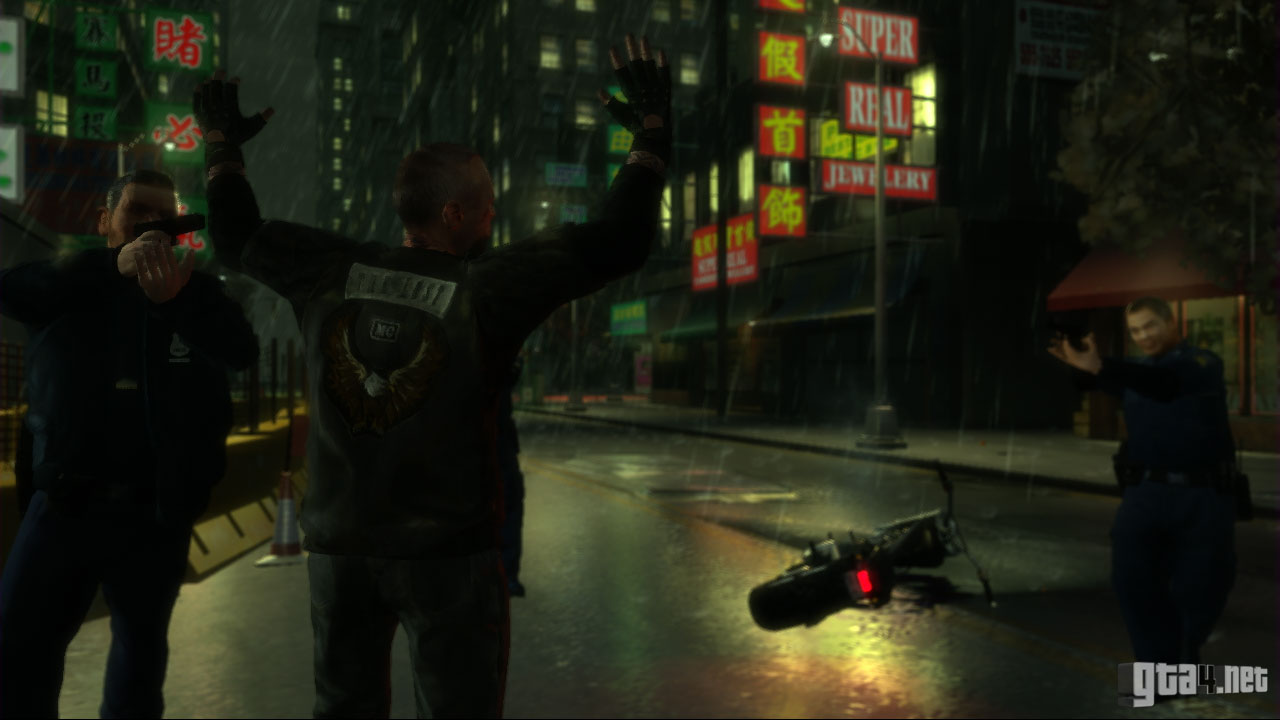
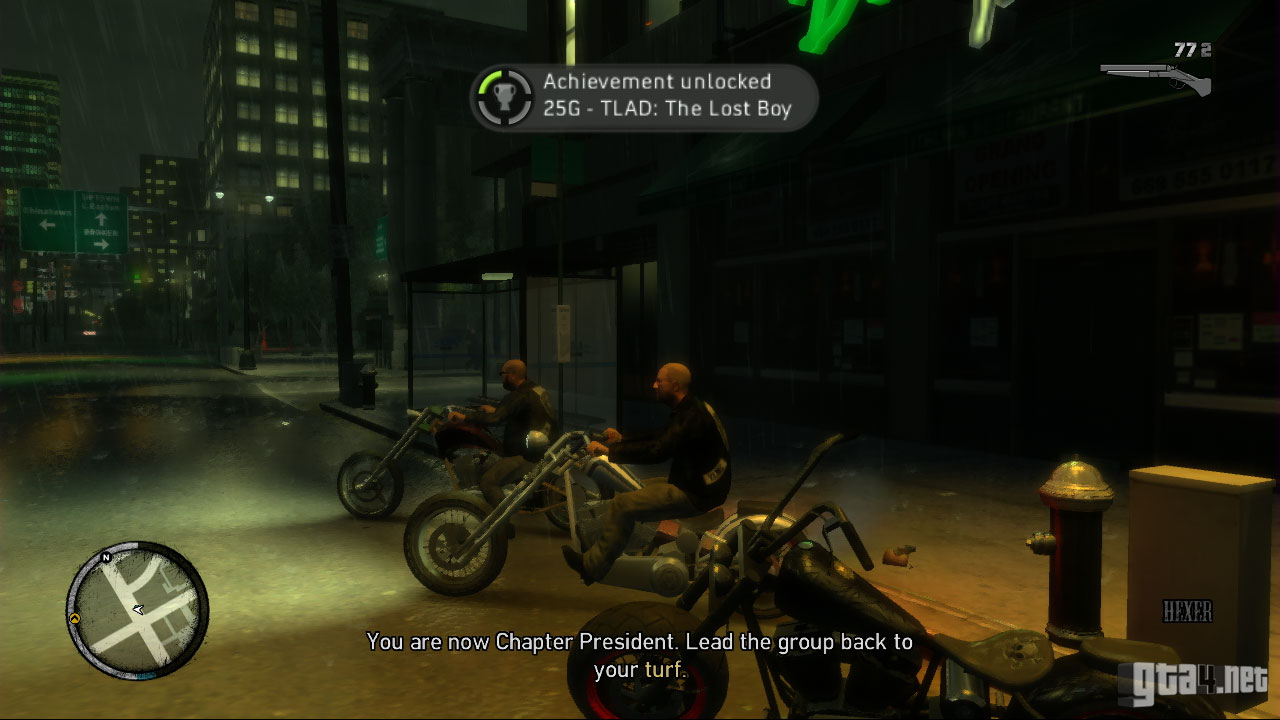
During the cutscene, Billy is arrested by the cops, and he believes that Johnny set him up. Brian calls a few moments later to say that he's waiting around the corner. You are now the Chapter President in Billy's absence, so get on your bike and lead the gang back to the clubhouse. During the final cutscene, Brian accuses Johnny of "talking to the law" and setting Billy up, which Johnny strongly denies.
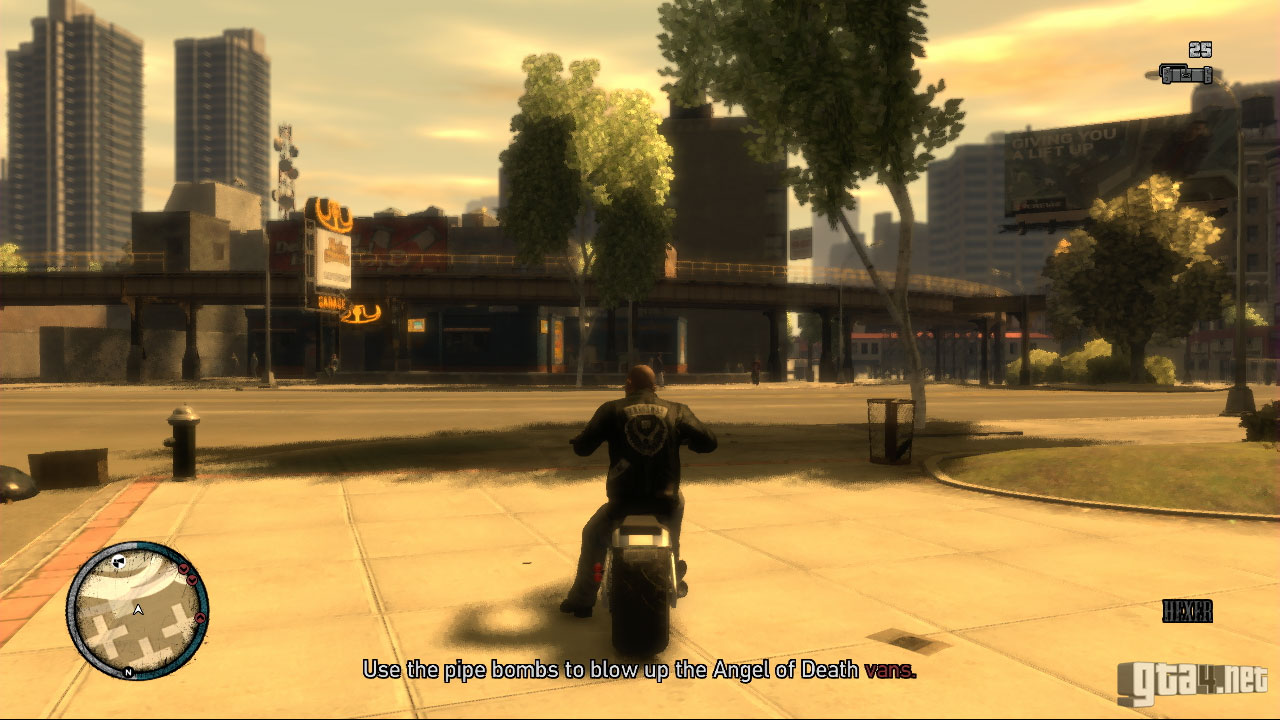
Hit the Pipe
Malc has a new connection who provides explosives, which Jim says could help put the Angels of Death out of business for a long time. After the cutscene, you are equipped with twenty-five pipe bombs, and three Angels of Death vans are marked on the radar in red.
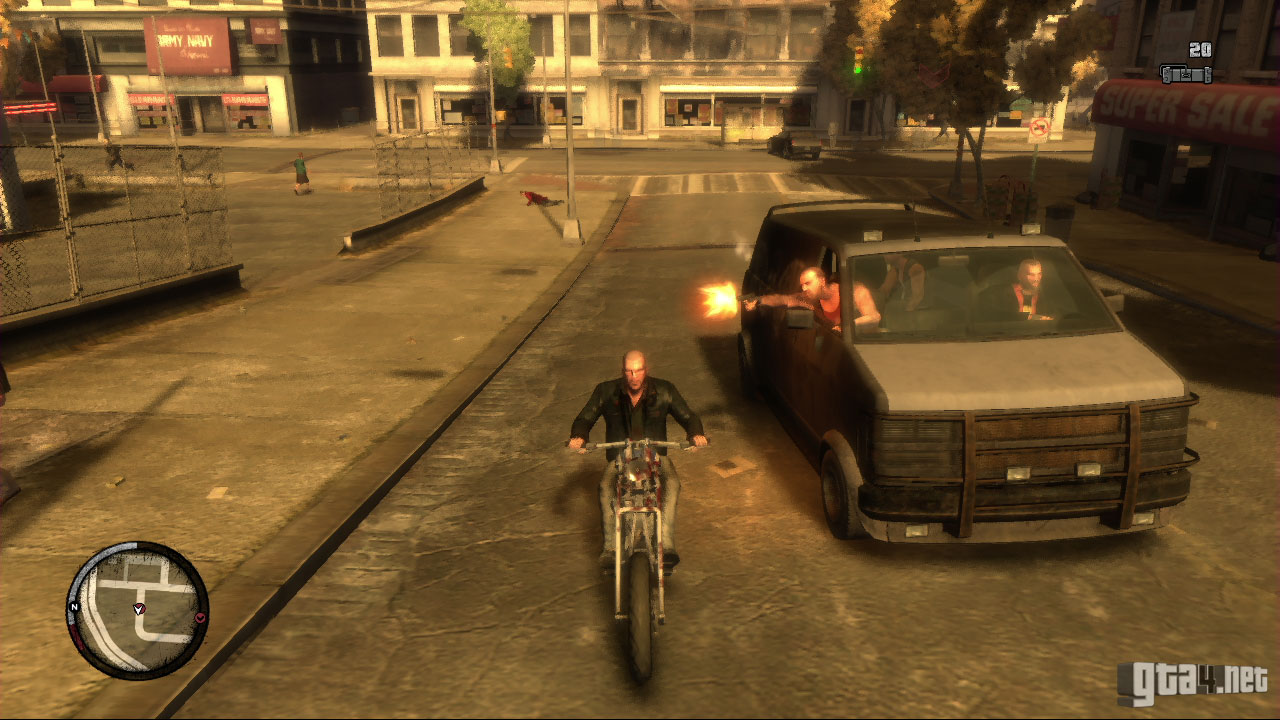
Head over to Alderney and locate one of the vans. Use a gun (initially) to shoot the driver through the back window, and use the pipe bombs to blow it up once it has stopped. This is easier than trying to blow it up whilst it's moving, because you have to time it correctly and it can be a bit awkward.


Two of the vans contain shootists in the passenger side of the vehicle, and the remaining van contains two shootists - one in the passenger side and one in the back. It might be wise, therefore, to grab some armour before starting the mission. Blow up all three of the vans to complete the mission.
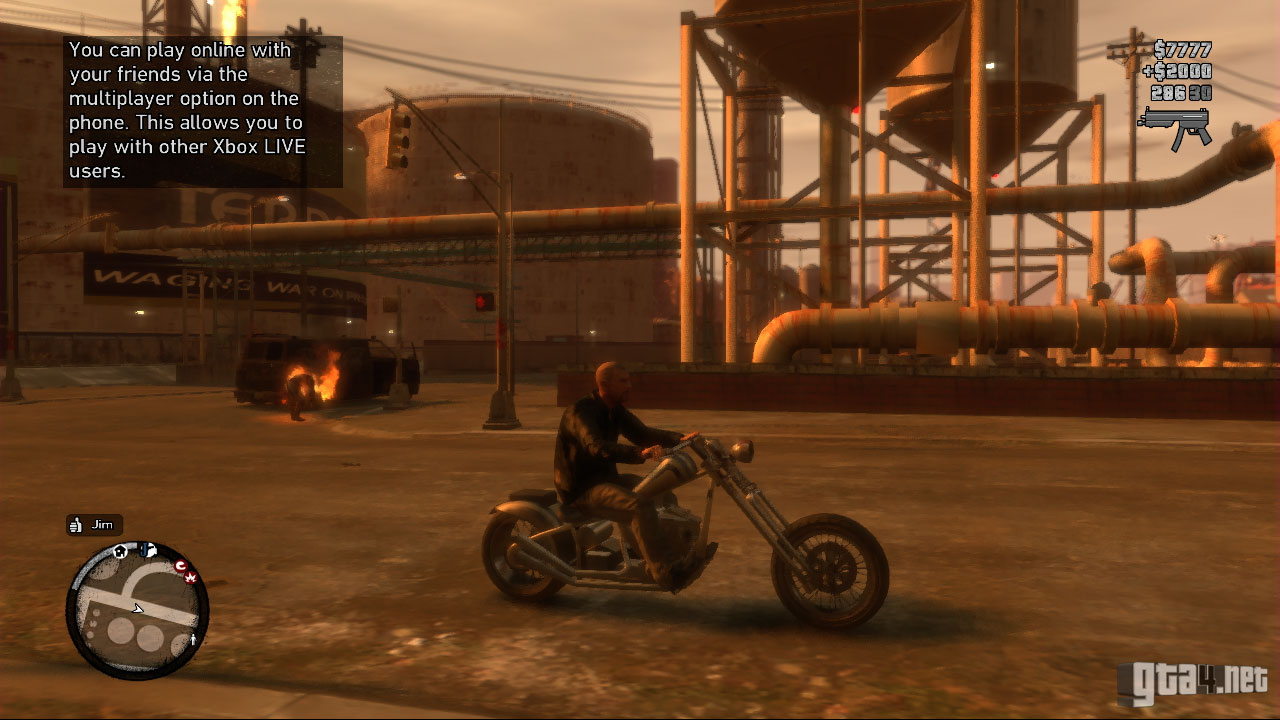
![]() Jim suggests using the brothers more to help out with business. You can now call Terry and Clay for backup.
Jim suggests using the brothers more to help out with business. You can now call Terry and Clay for backup.
![]() Text message from Elizabeta Torres. New mission available at her apartment in Bohan.
Text message from Elizabeta Torres. New mission available at her apartment in Bohan.
End of Chapter
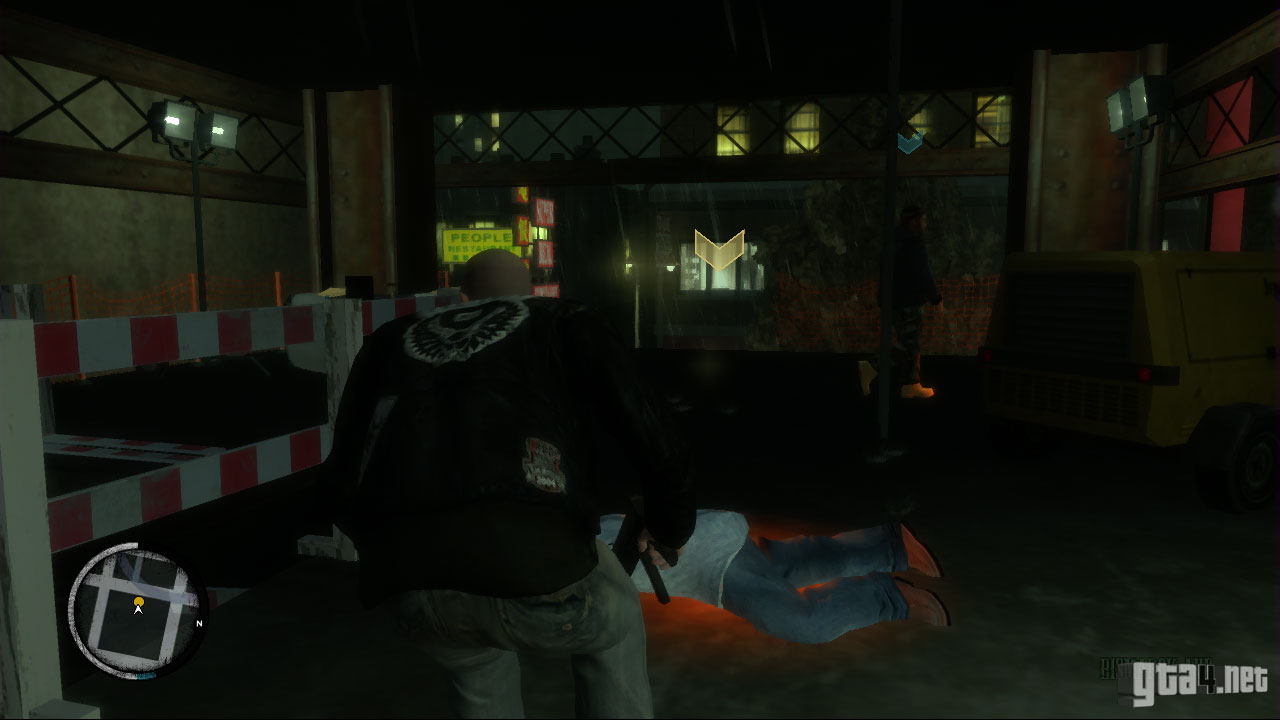
During the cutscene, Jim says that Brian wants to call a truce, however Johnny's having none of it. After the cutscene, lead the gang to the docks in Alderney, where Brian is presently situated. Brian accuses Johnny of betraying Billy, and an inevitable shootout begins.
Brian's faction are circling the area on bikes. They have five bikes in total, with two shootists on each one. Find cover and help Jim, Terry and Clay to eliminate them. Pipe bombs, grenades or a grenade launcher would be useful at this point, in order to reach those gunmen taking cover. Once they're gone, a van containing more gunmen arrives, followed by two bikes, and then another van. Take them out and then head south, where more gunmen are approaching at the wall. If you have grenades or pipe bombs, throw a few towards the wall as the gunmen climb over it, but if not, eliminate them individually as you normally would.
The remaining members of Brian's faction attempt to escape on bikes (four in total) so chase them down and kill them. They split up shortly after the chase begins, so it may take a while to catch all of them. Brian, by this point, has escaped.

Bad Standing
In the cutscene, Ray informs Jim, Terry, Clay and Johnny where Brian is hiding. Ray wants The Lost to resolve their dispute for the sake of business. After the cutscene, go to Brian's safehouse on Emery Street, Alderney. If you wish, you can call Terry and Clay for backup.

Terry and Clay (if you called them) will cover the rear exit of the house. There are two ways to do this mission - you can throw a grenade/pipe bomb through the window and smoke Brian out, or you can storm the building with all guns blazing and execute Brian. If you smoke him out, three attackers will make their way to the front of the house, followed by Brian on a bike. If you aren't able to kill Brian immediately, you may have to get on your bike and chase him on the freeway. Go for his tires first, wait for him to slow down and then eliminate him.
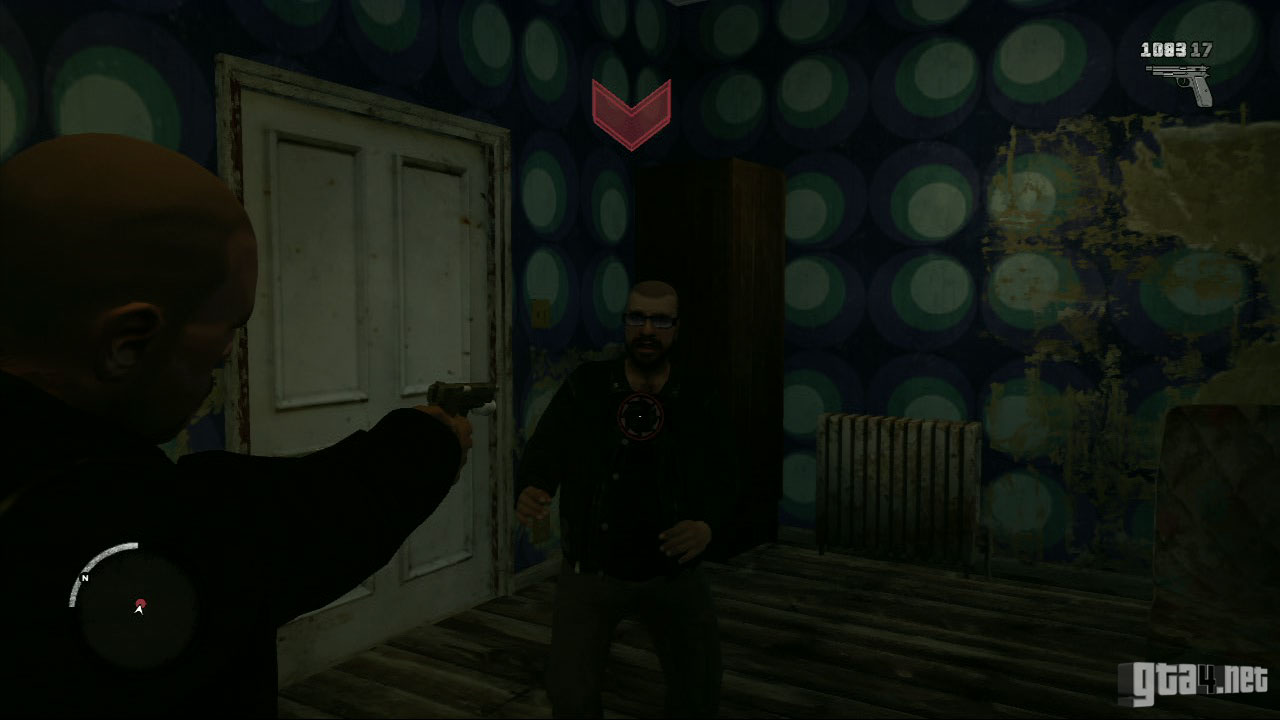
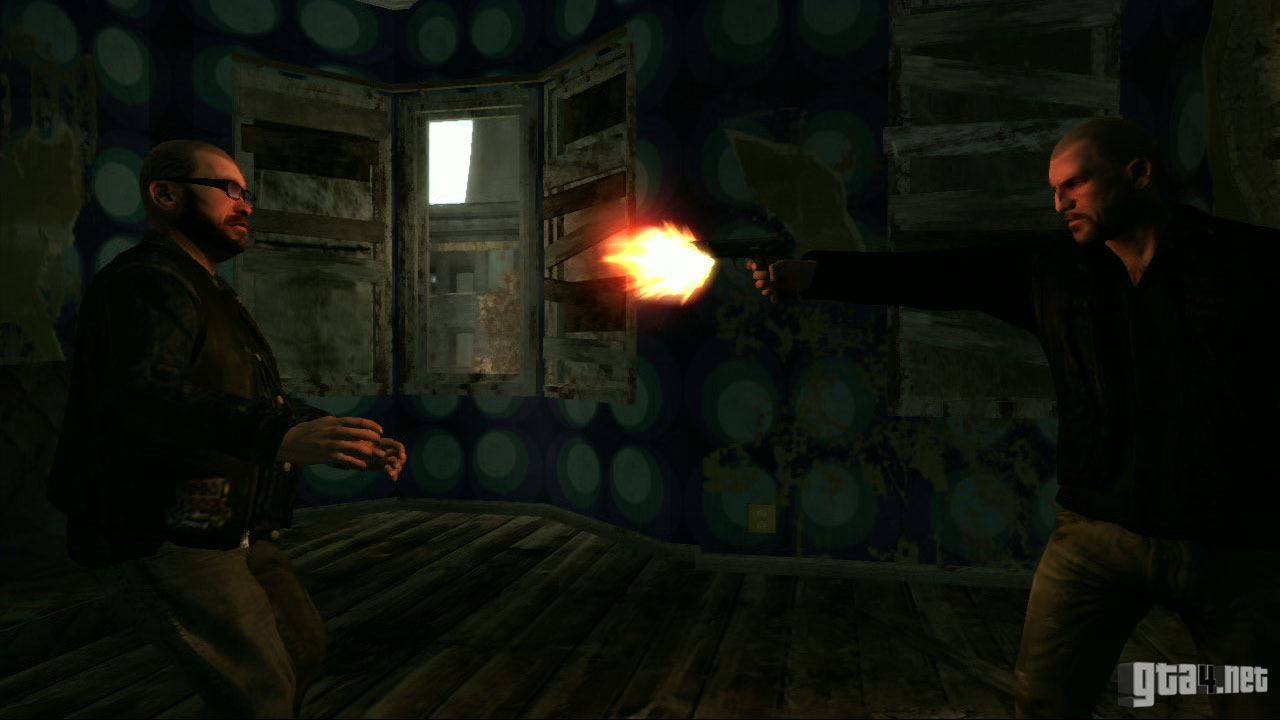
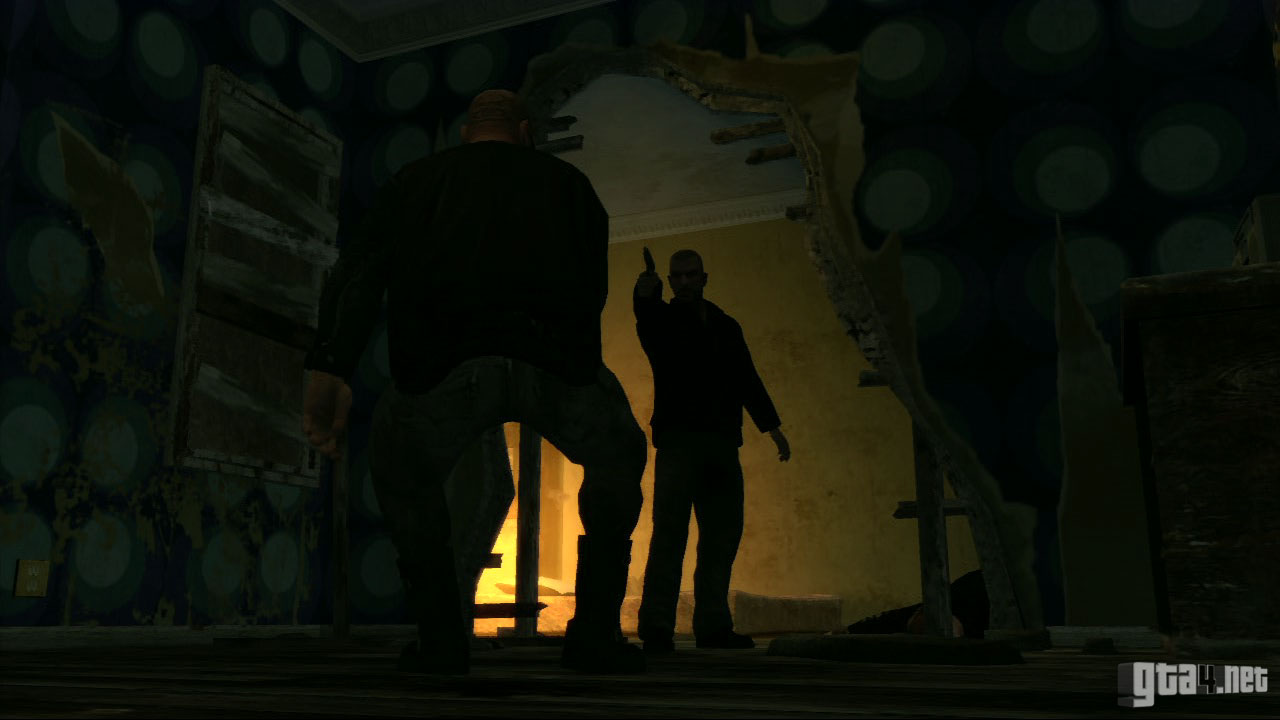
If you decide to storm the house, make sure you proceed cautiously as there are attackers waiting in every room. Enter via the door at the back, go through the living area towards the stairs, and turn left at the top to find Brian. Once you reach him, you have the opportunity to execute him or let him live (note: you need a pistol to perform an execution). If you let Brian live, you'll have an opportunity to meet him later as a random character.
Once the mission is over, Brian's safehouse becomes your property. You can now save your game there, and store vehicles in the parking space at the front.
Elizabeta needs you to take down some thieves. They have bribed one of the guards on the East Borough bridge to let them through without checking their load, so go to the toll booths and wait for the convoy to approach.

After the cutscene, you receive a text message from Jim urging you to make use of Terry and Clay now that you are the chapter leader, so give them a call if you'd like some assistance. For this mission, you are automatically given an assault shotgun to help you carry out the task, but you don't necessarily need to use it. Stop in the yellow marker on the bridge and watch as the convoy approaches. A cutscene shows Johnny knocking out the guard, and then Malc activates the barrier.


When the van pulls up, take cover and open fire on the convoy. Each enemy is represented on the radar by a small red blip, and there are roughly fifteen in total. Be careful not to blow up the van whilst you're shooting! Take the van, pick up Malc, and then lose the cops. Stick to small roads and alleyways to lose the cops quicker, and once you've lost them, take the van to the lockup in Bohan.

Marta Full of Grace
Elizabeta needs you to pick up a drug mule, who has just arrived in Liberty City on a flight from Puerto Rico. After the cutscene, drive to the airport, which is highlighted yellow on the radar. Jim sends a text message to remind you that Terry and Clay will offer their services should you need them, so give them a call at any time during the mission.
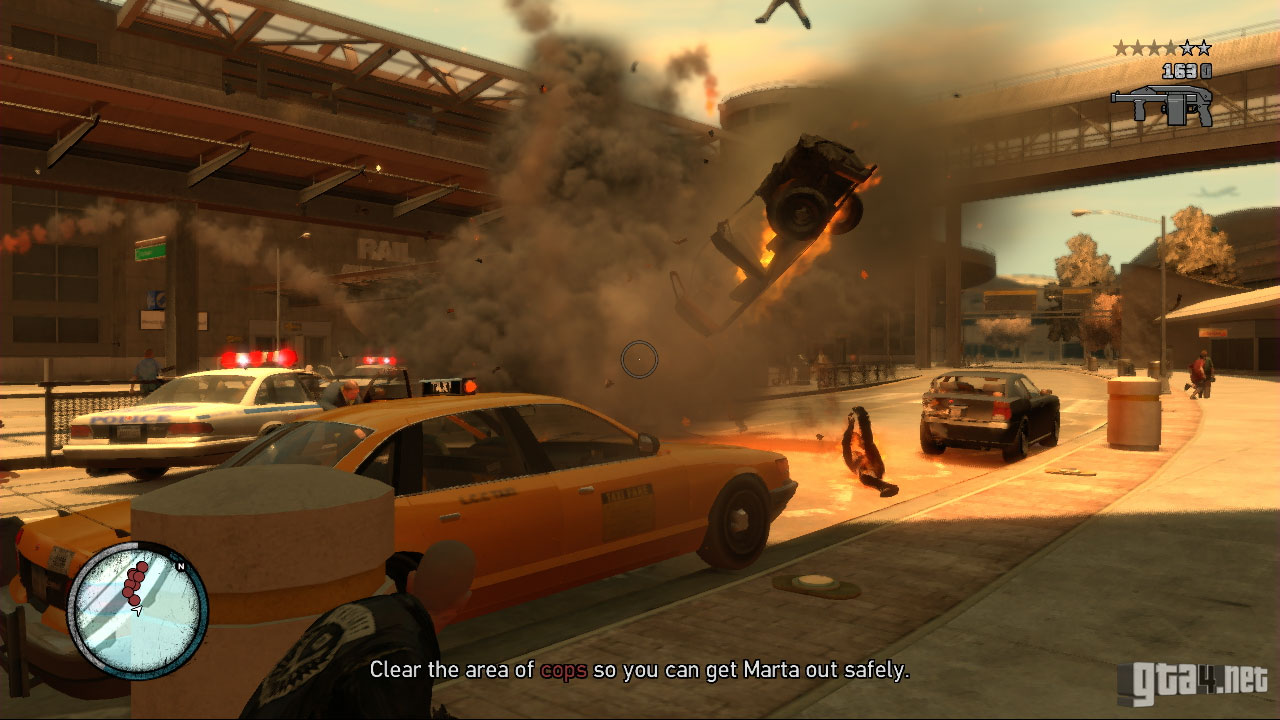
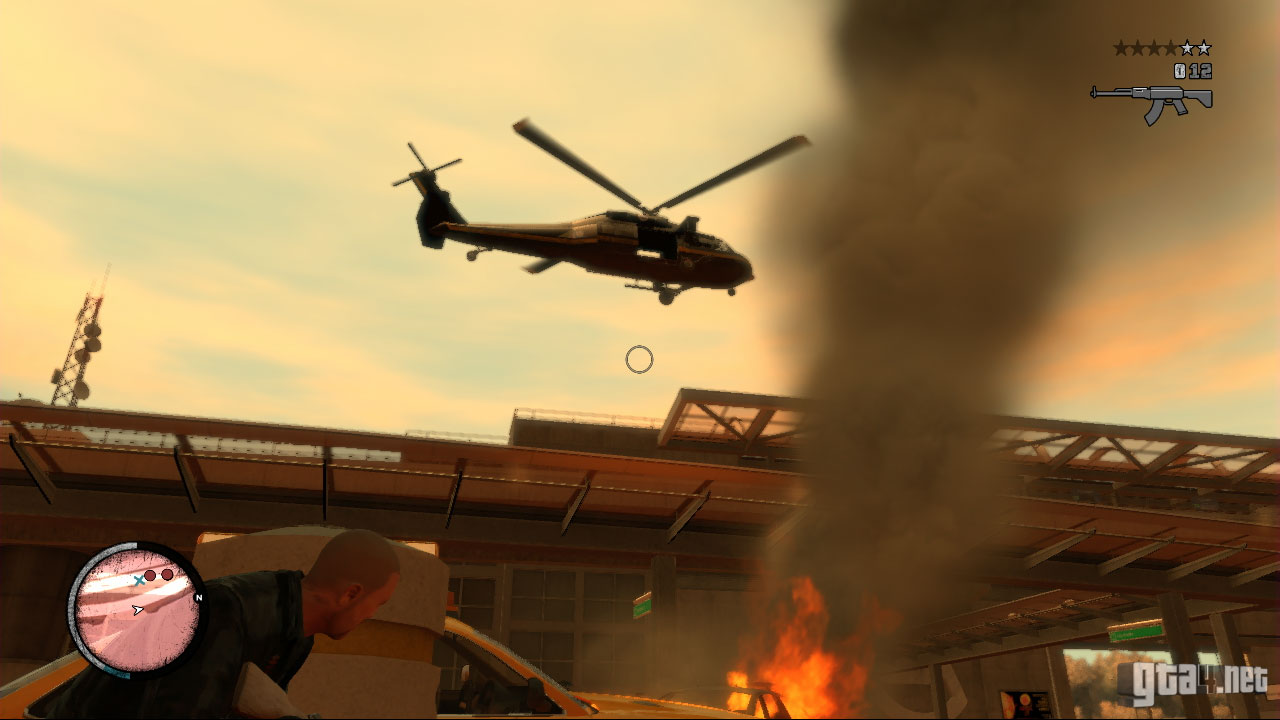
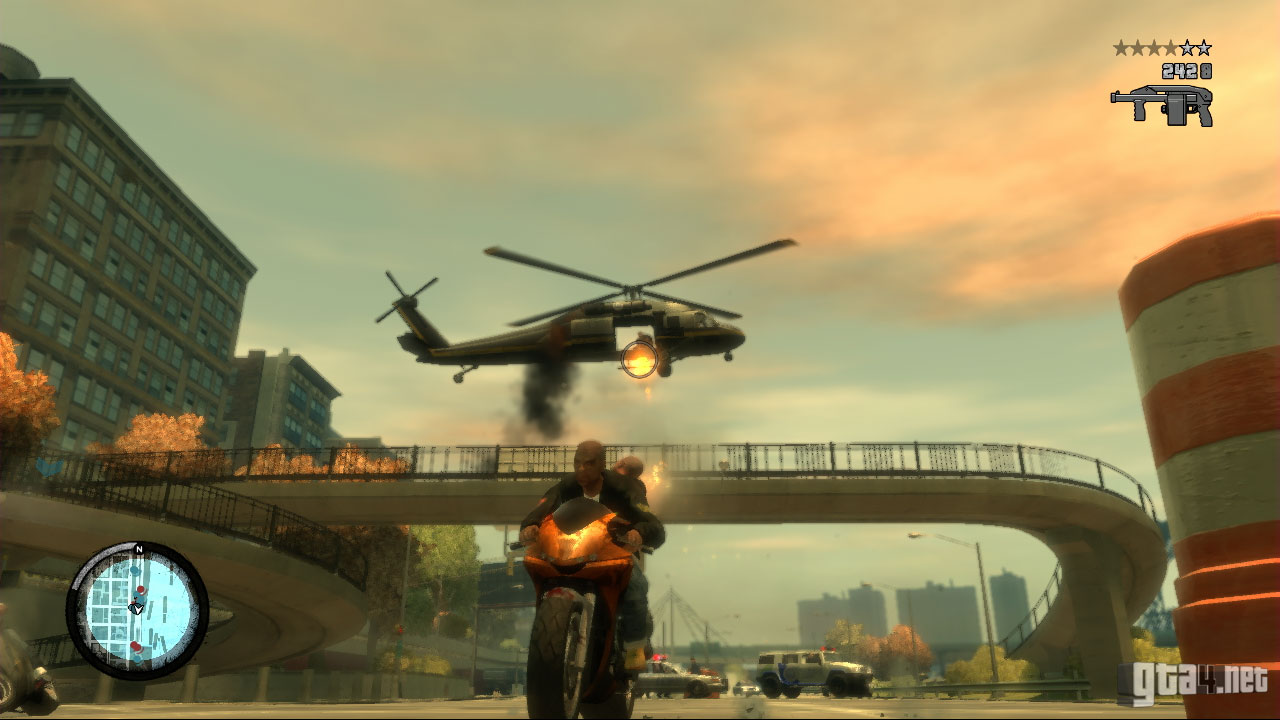
When you reach the airport, stop in the yellow marker. A cutscene shows Marta (Elizabeta's drug mule) being taken away by an FIB agent, so Johnny punts him in the balls and takes Marta to safety. More cops arrive on the scene, and they are represented as red circles on the radar. Find cover and begin taking out the cops that are closest to you. Use grenades, a rocket launcher or pipe bombs to get those hard-to-reach cops. Take out the chopper above you, and then finish off any remaining cops on the ground. You may have to move out of cover to reach the last remaining targets.
Afterwards, get in a (healthy) vehicle with Marta, and lose the 3-star wanted level. Avoid going on the highway - use small roads and alleyways to escape the cops quicker. Once the cops are out of sight, take the drug mule back to Elizabeta's apartment and stop in the yellow marker.

Shifting Weight
The objective in this mission is to sell the coke that Marta (Elizabeta's drug mule) brought into the country. After the cutscene, go to the location of the deal with the Uptown Riders. Stop in the yellow marker, and watch the cutscene which follows. The deal (not surprisingly) doesn't go to plan, and the dealers decide they want to keep the cash and the coke. However, DeSean is having none of it - he shoots one of the dealers and retrieves the coke, but the cops are on their way.

Get on the bike with Malc and defend DeSean from the cops. Two cop cars immediately begin chasing from behind, so aim for the drivers and shoot them through the windscreen. When you reach the highway, more cop cars and a chopper arrive. Aim for the cops shooting from the chopper, rather than the chopper itself. Keep shooting as you progress in to Algonquin, giving priority to the cops that are closest to DeSean.
Cops have blocked the road at Middle Park East, and there appears to be no way out. After the short cutscene, shoot one of the windows in the car showroom, so that Malc and DeSean can drive through and escape via the opposite side. Another chopper arrives once you reach the highway, so destroy it and then eliminate the attackers on the ground. Use pipe bombs to eliminate the last batch of chasers.
![]() Ashley needs you to meet Ray Boccino at Drusilla's in Little Italy.
Ashley needs you to meet Ray Boccino at Drusilla's in Little Italy.
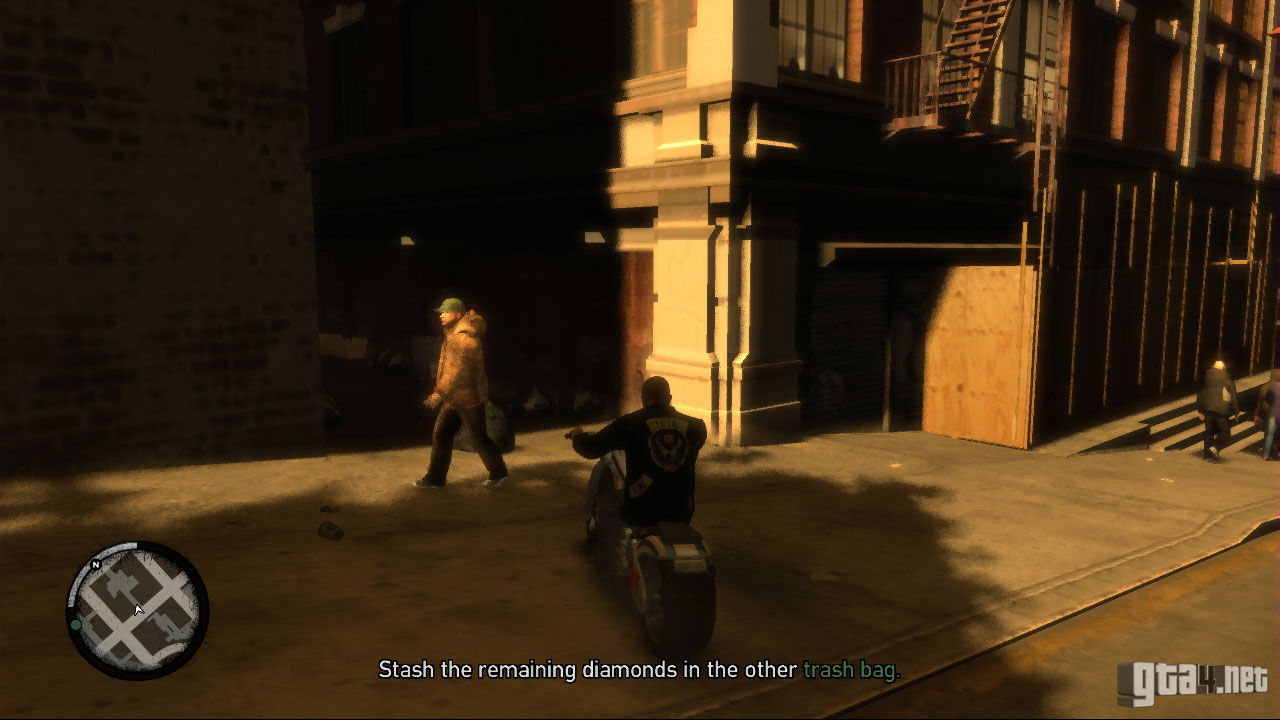
Ray Boccino needs you to pick up some diamonds from a guy called Gay Tony. After the cutscene, go and meet the other Lost gang members (highlighted green/blue on the radar) at the Broker Bridge and then proceed to the docks. Give Terry and Clay a call if you'd like some assistance during the mission. Stop in the yellow marker at the docks to trigger a cutscene.


The cutscene shows Gay Tony negotiating with the seller, but the deal is soon interrupted by The Lost and a shootout begins. Follow the limousine, take out Gay Tony's boy and retrieve the diamonds for Ray. The limo is fairly resilient, so you have to keep firing at it for several minutes until it catches fire. If you keep firing constantly at the vehicle, then the chase should end somewhere around Chinatown, in Algonquin.
Once the target has been eliminated, pick up the diamonds, drive to the two locations indicated on the radar, and stash the diamonds in the trash bags (as per Ray's instructions).
Ashley is in debt to Dimitri Rascalov, and two representatives are at her apartment to collect the money. Ashley doesn't have it, so instead they want Johnny to kidnap someone (Roman Bellic) and take him to a warehouse in Bohan.
After the cutscene, Johnny calls Malc to request some assistance, so meet him in Algonquin, and then travel to the gambling den in Broker. Stop in the yellow marker at the hardware store, and wait for Roman to emerge. After the short cutscene, proceed to the warehouse in Bohan.
Once you reach the bridge linking Dukes to Bohan, Roman exits the vehicle and attempts an escape. Go after him and target him to threaten him, but do not kill him. Once he gets back in the car, complete the journey to the warehouse and stop in the marker to finish the mission.
Collector's Item
This mission is triggered by a phone call from Ray. Go to the North entrance of the Libertonian museum and meet Niko. If you played the mission "Museum Piece" (in Niko's story) then you should know what happens next: the deal is ambushed (by Gay Tony's bodyguard, Luis) and the diamonds are stolen. Your task is very simple: escape from the Libertonian.
Find cover, eliminate the targets and fight your way towards the exit. Ray's guys are waiting for you outside (shown red on the radar) so immediately find cover and launch a few grenades if you have any. Give Terry and Clay a call if you need some help. A rocket launcher would be useful at this time, so you can take out multiple targets at once. Some of Ray's men flee in a vehicle, so begin chasing and don't let them get away.
Once all the targets are gone, take the money to Jim, who is waiting in an alley in Northwood.
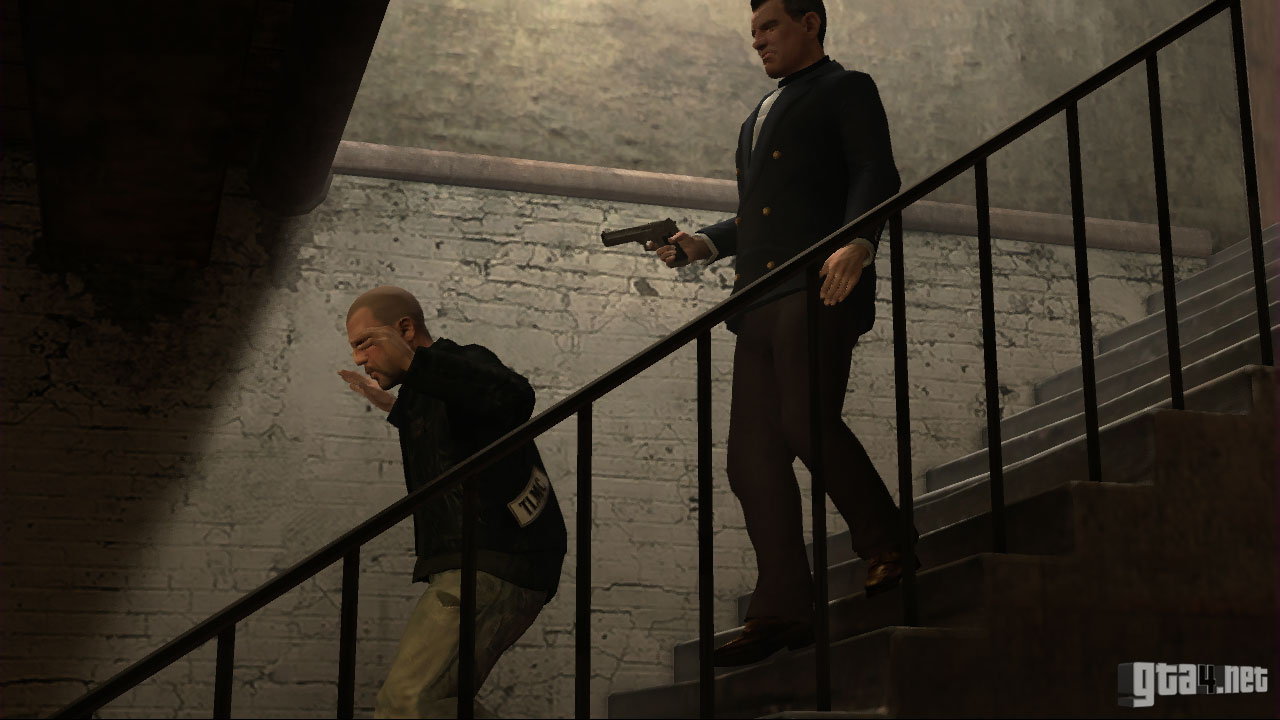
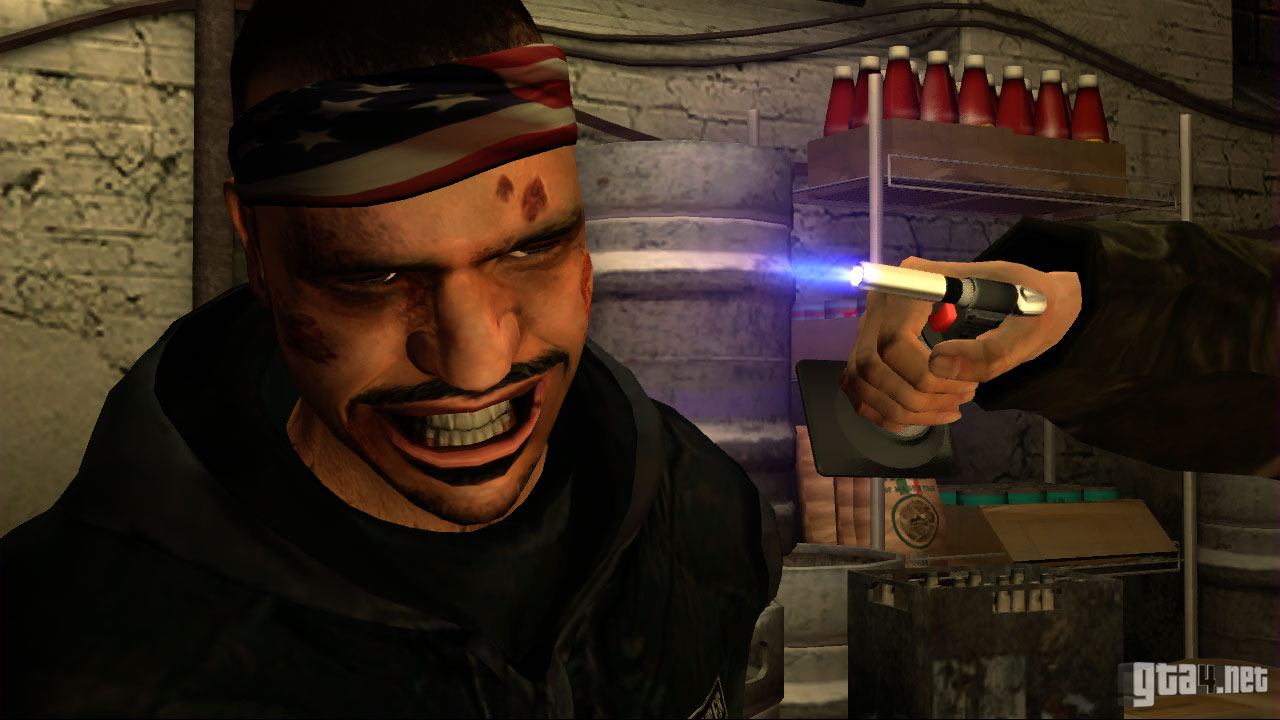
Ray wants to know where his money is, and he knows that Johnny is hiding something. The initial cutscene shows Ray torturing Johnny and Jim in the basement of his restaurant in Little Italy. They refuse to reveal where the cash is, and manage to escape after a brief struggle with one of Ray's mafia goons.
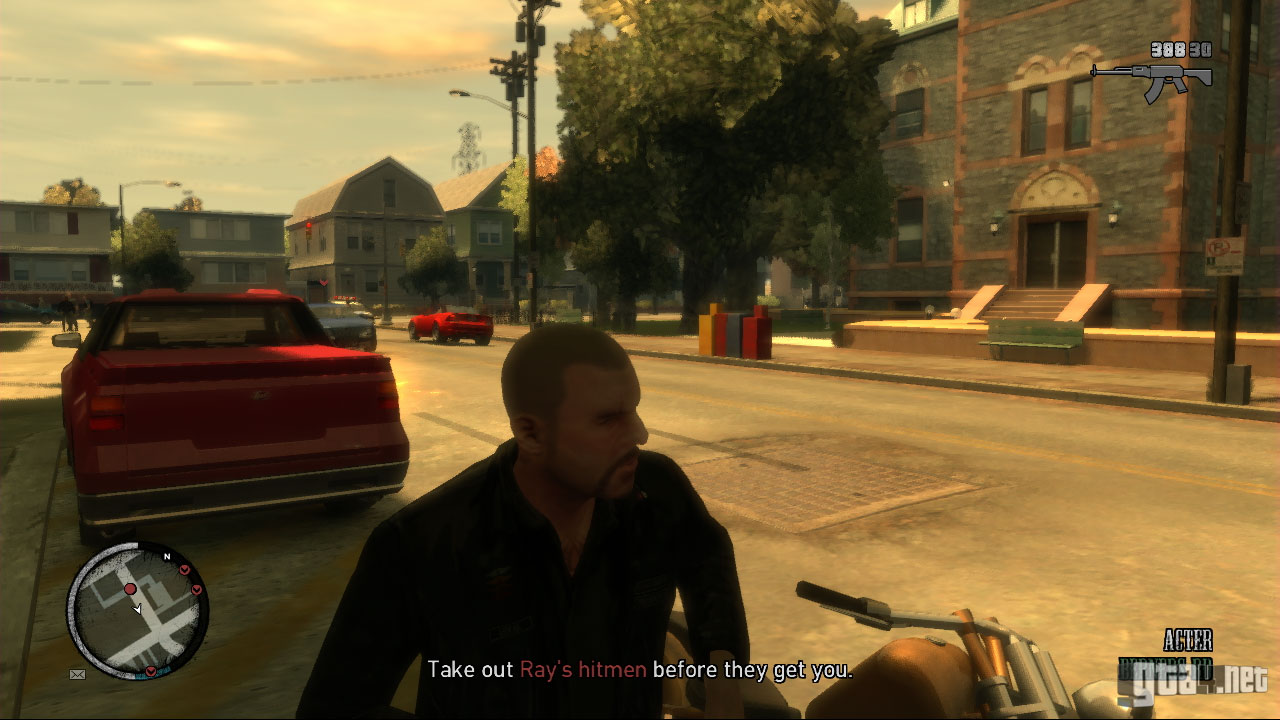
After the cutscene, a marker appears on the radar indicating Ashley's location. Shortly before you reach the marker, Ashley calls and reveals that Ray has sent some men after you. 4 new markers appear on the radar, representing Ray's hitmen. Call Terry or Clay, and meet them next to the freeway where they have setup an ambush. Climb the ladder to reach the roof, and wait for the hitmen to arrive.
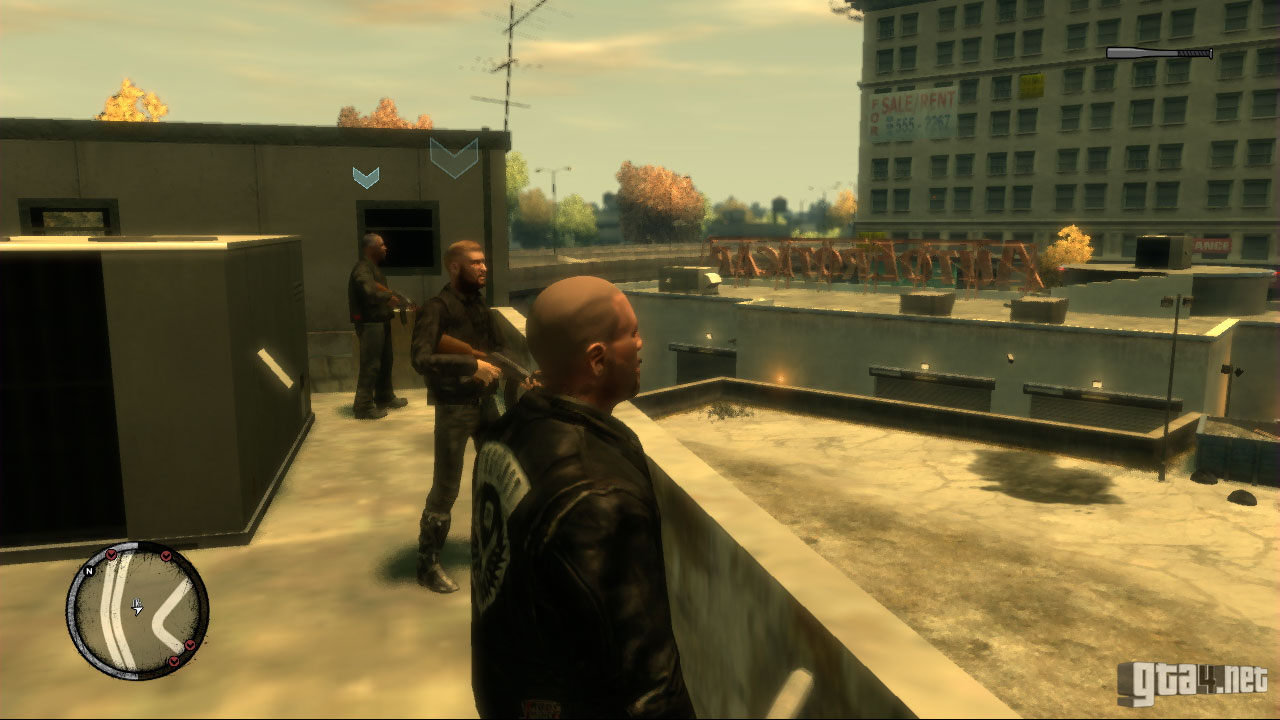
Crouch and take cover to avoid taking any unecessary hits. Use a rocket lanuncher to take out multiple targets at once, or launch some grenades (or pipebombs) if you happen to have some available. If not, use whichever weapon you have and pick off the targetsindividually. Each vehicle contains four hitmen. Once the targets are dead, go and meet Ashley at the clubhouse. During a cutscene, Ashley reveals that Jim is dead, and tries to convince Johnny that Billy is the problem - not Ray. She recommends calling Congressman Stubbs for help.


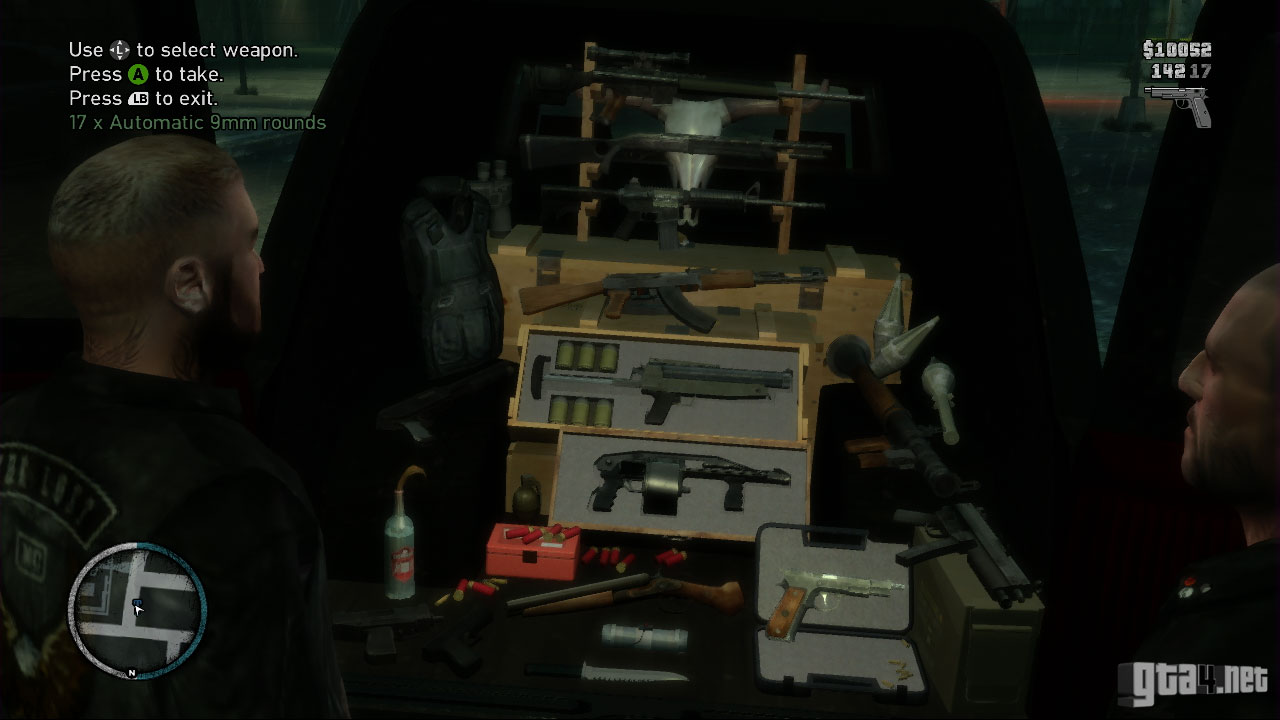
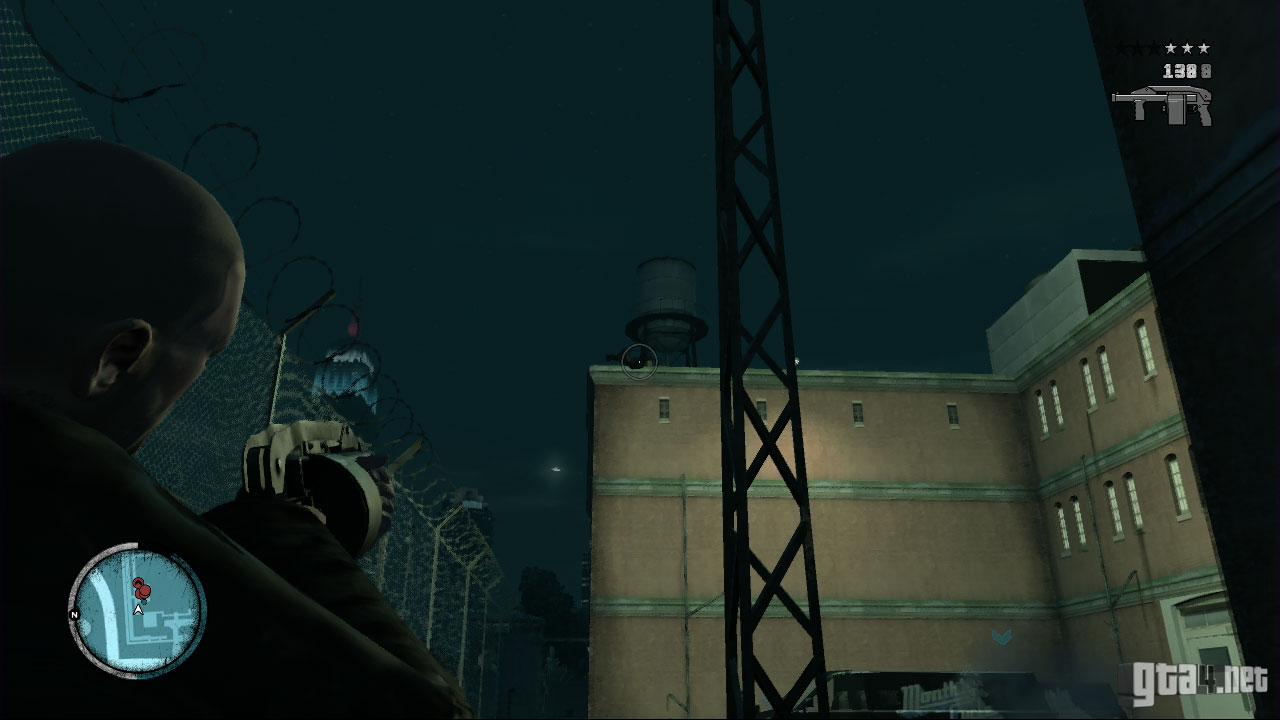
During a cutscene at the clubhouse, Stubbs claims that Billy is trying to pin the drug deal on Johnny and Angus, and hints that Johnny should eliminate him. After the cutscene, go to the prison (which is marked yellow on the radar) and meet Terry and Clay. Go to Terry's van and take as many weapons/ammo as you like - you don't have to pay for anything, so take full advantage of this opportunity. Be sure to grab some armour as well.
Once you are stocked up, head towards the red marker on the radar and block up the prison doors using a rocket launcher. Fire a few more rockets to kill the guards immediately ahead of you. Then go through the entrance, use the laundry trolleys for cover, and begin taking out the prison guards. Use grenades or pipe bombs to reach targets who are using objects for cover - this will save you having to move out of cover, and will prevent you taking unecessary hits.

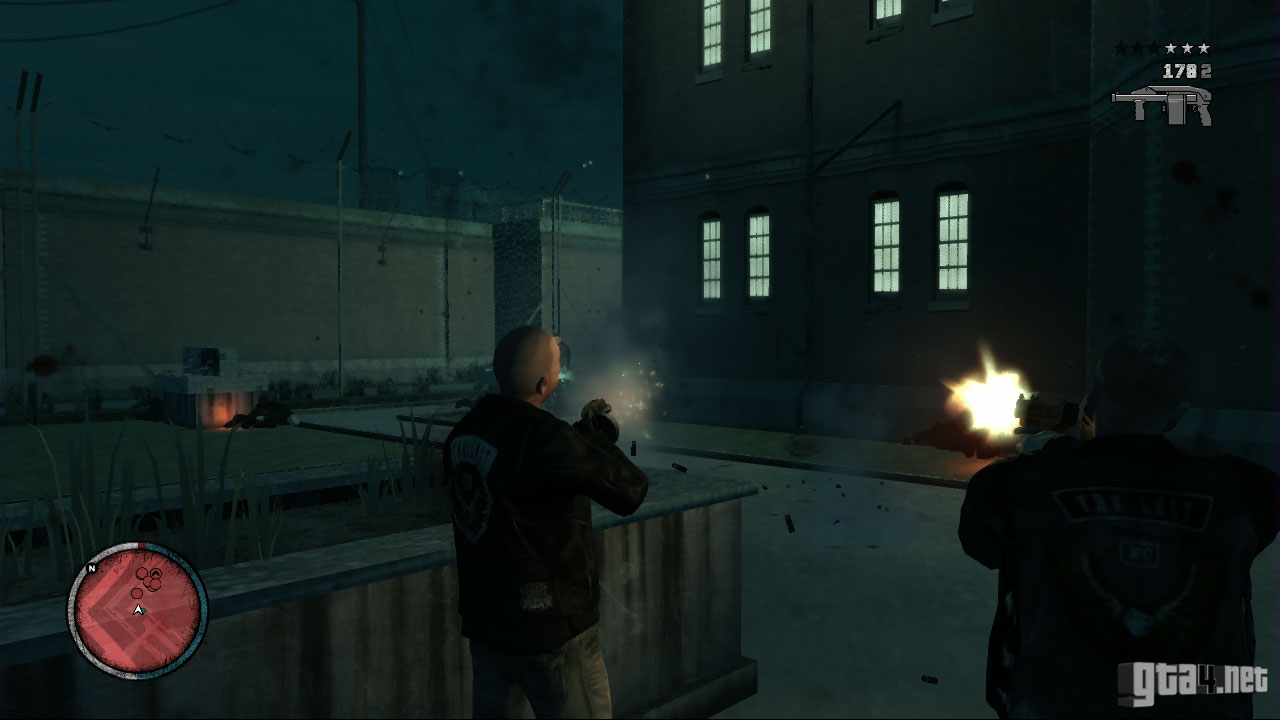
Follow Terry and Clay through the gate, take cover, and eliminate the next batch of prison guards in the same way you dealt with the first batch. When you have the opportunity, pick up the ammo left behind by the deceased prison guards. Collect the health pack up ahead if you need it, and take cover behind the sink on which it is situated. Take out the sniper on the roof ahead, and help Terry and Clay deal with the rest of the guards, using the vans as cover.
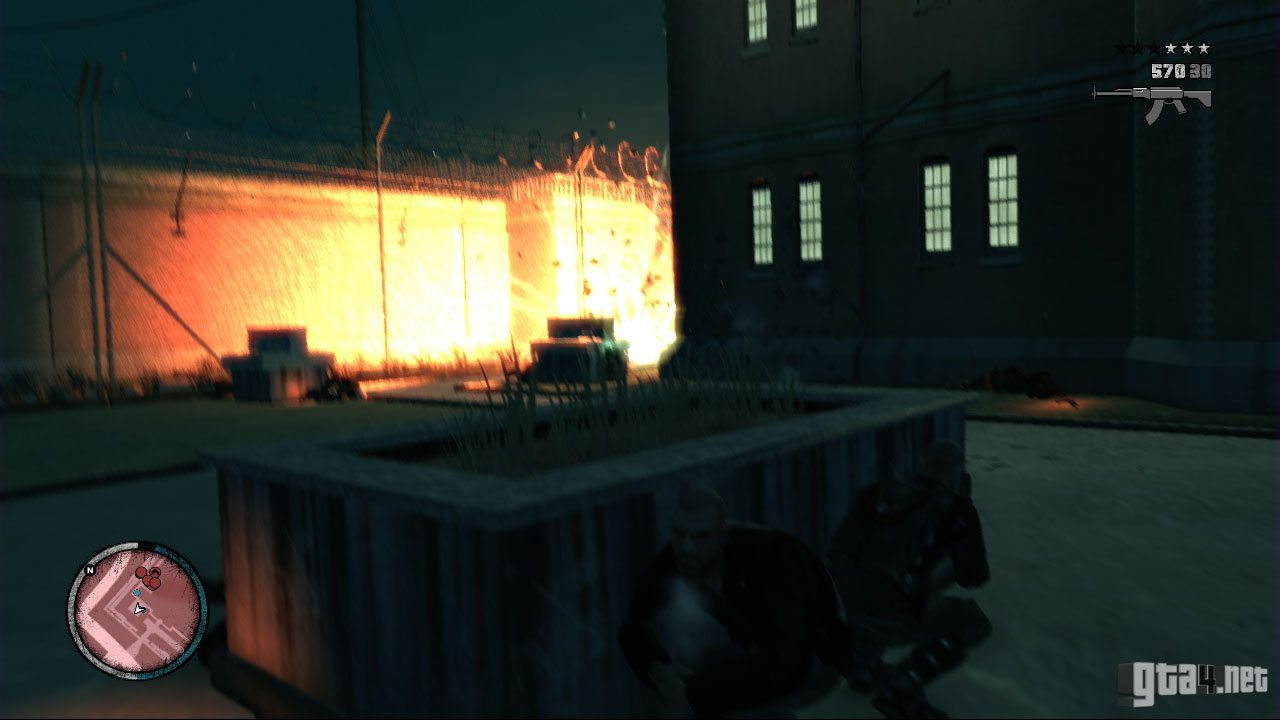
Proceed East towards the Recreation Yard, use the large barrels for cover, and launch some grenades high into the sky to take out the targets up ahead. Proceed towards the yard, and eliminate any remaining attackers. A short cutscene shows some choppers arriving with SWAT teams onboard. Throw everything you have at them - rockets, grenades, pipe bombs - and ensure there are no survivors. More reinforcements soon arrive.
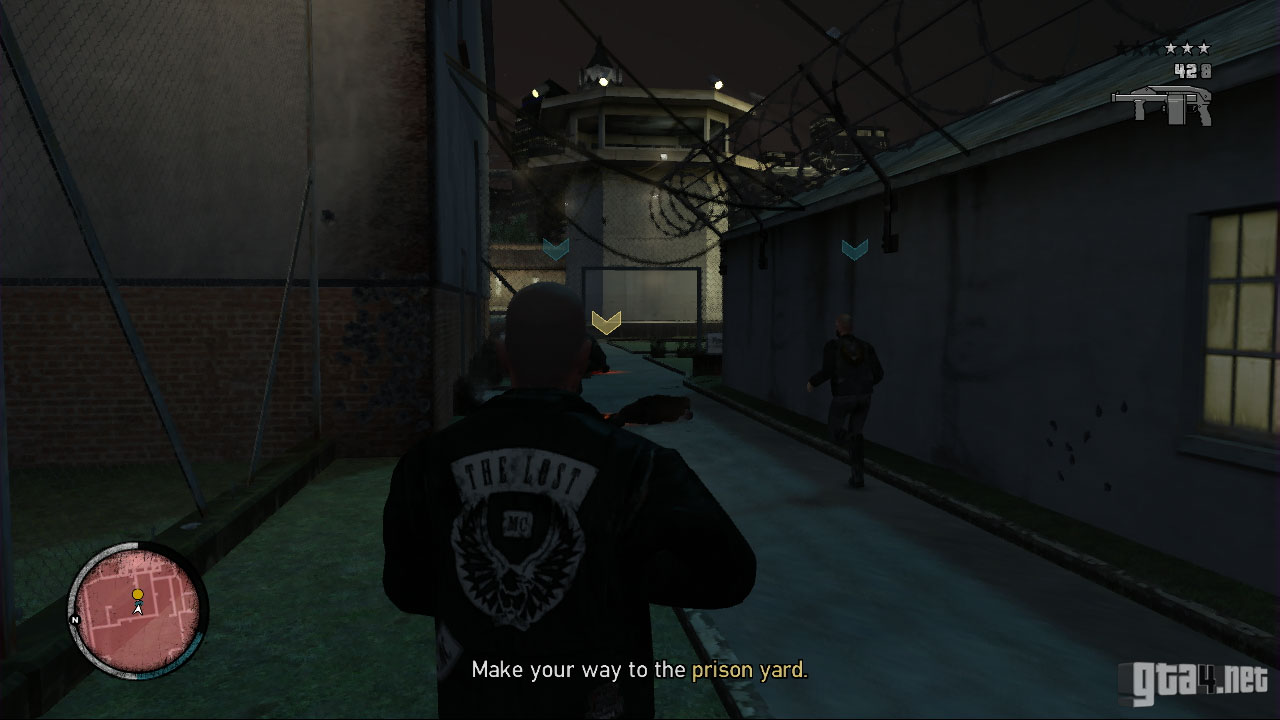

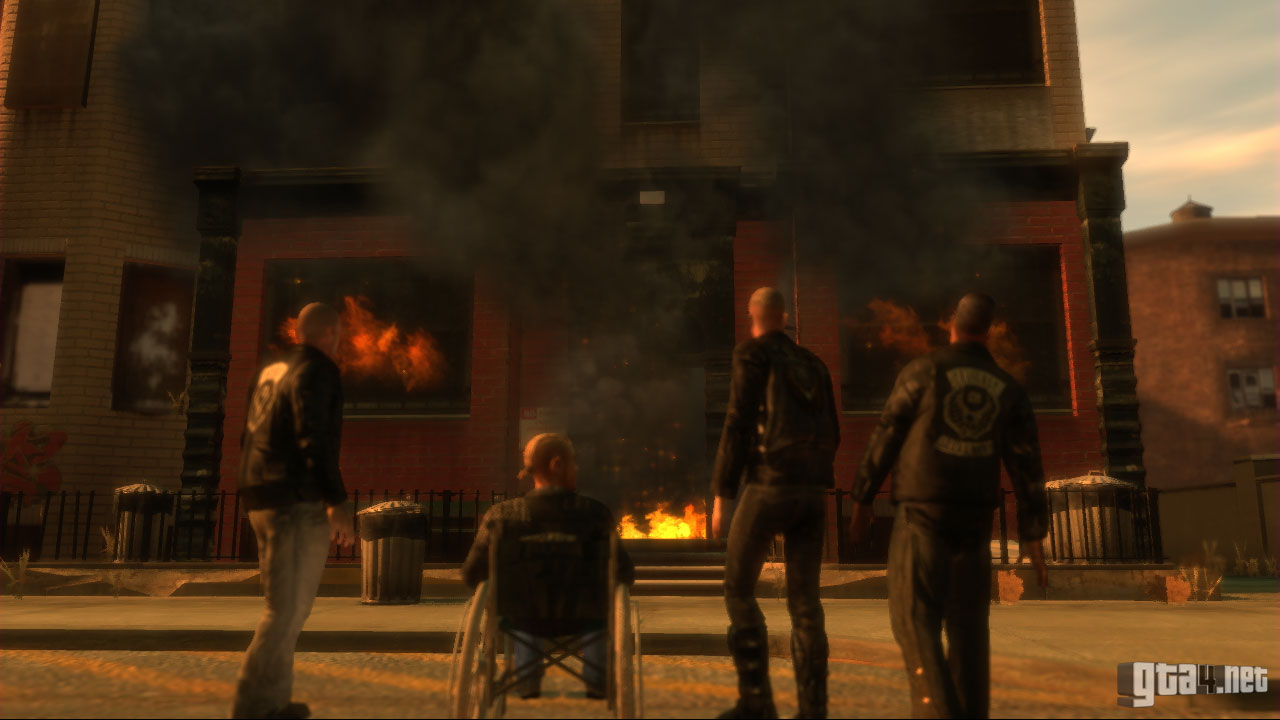
Once the reinforcements are dead, Billy's location is marked on the radar in red. There is some armour next to the tower should you require it. Go towards Billy, but watch out for any remaining cops or prison guards who are shooting at you. Use a pistol to execute Billy, then go back to your bike and follow Terry and Clay out of the prison. Finally, lead the gang back to the clubhouse, which has been trashed and burned to symbolise the end of the The Lost. Enjoy the end credits.